Rib modifications

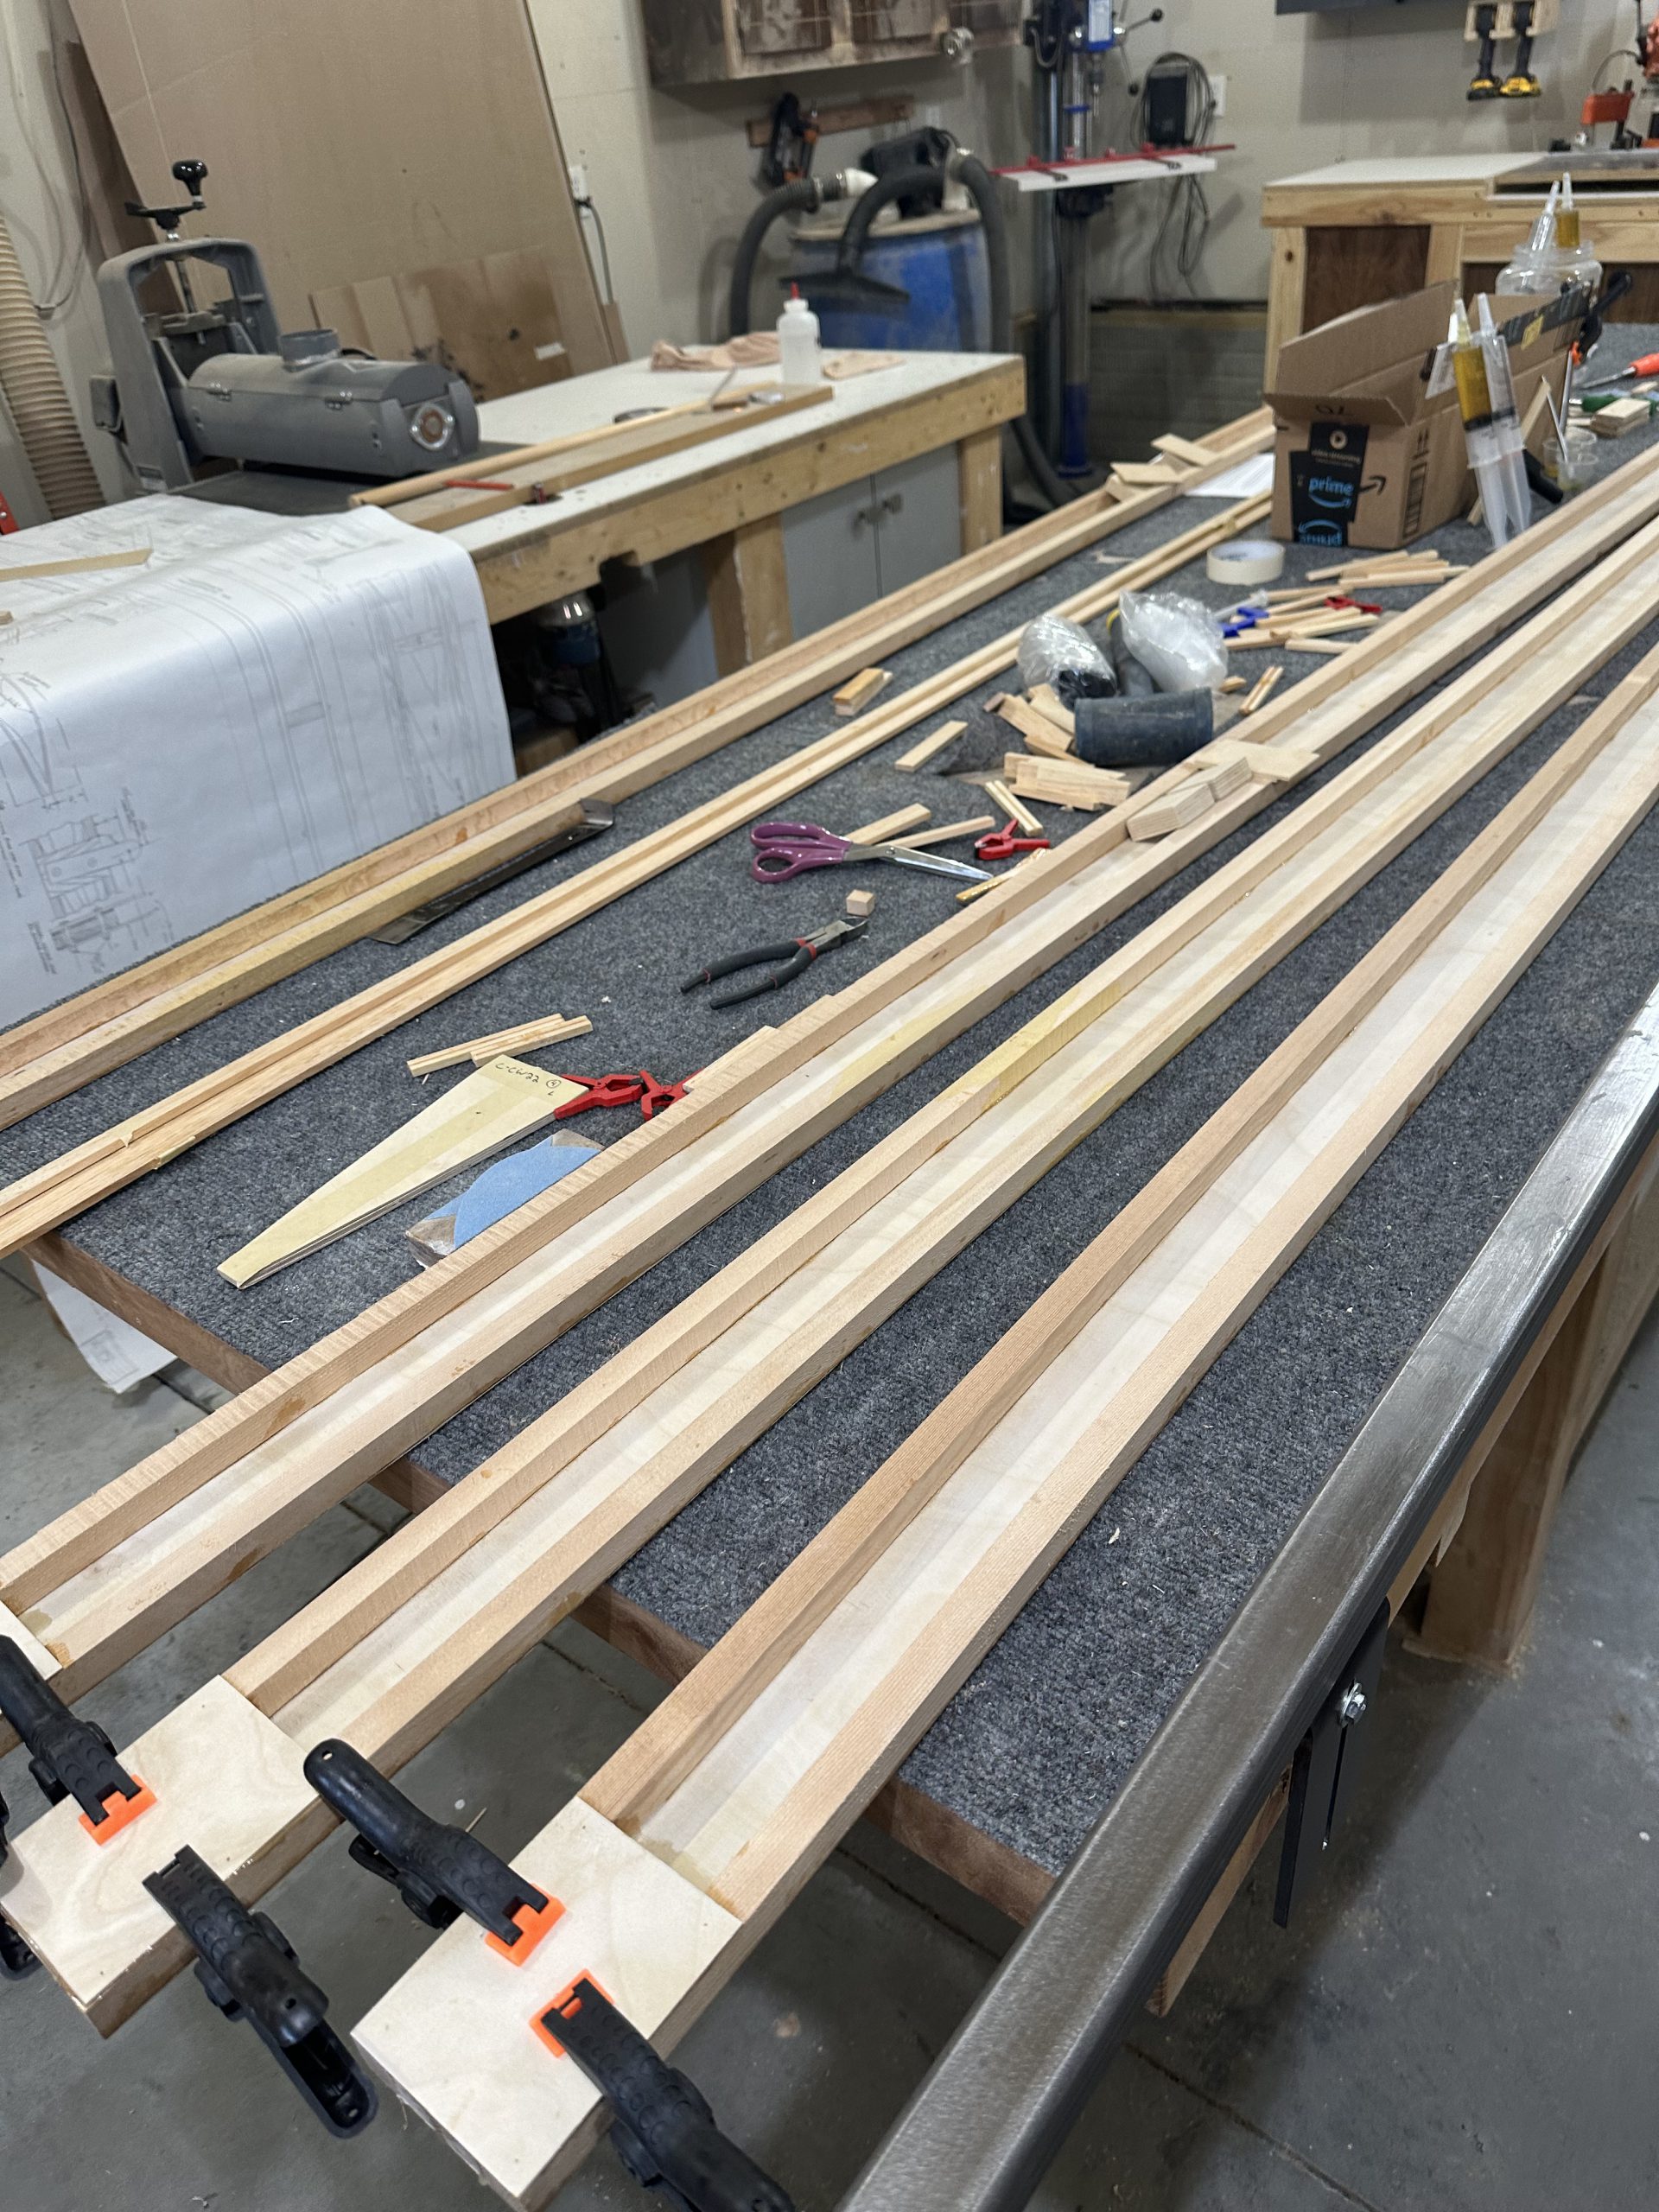
I built all of the wing ribs exactly to plans, per Sheet 1 of the plan set. Unfortunately, that sheet has not been updated since the rear spar was changed from using 1/2″ square spar caps to 3/4″. As a result, the X braces just aft of the rear spar were way too far forward in all of the ribs I built — all except for the 16 aileron ribs, which don’t get those X braces. Installing the rear spar would require extensive trimming or notching of the geodetic stock — I just wasn’t happy with that. Plus, there’s another piece of square stock on the aft face of the rear spars on the upper wings. It already needs to be beveled to clear the ribs, and with the braces in place would need to be cut down to almost nothing.

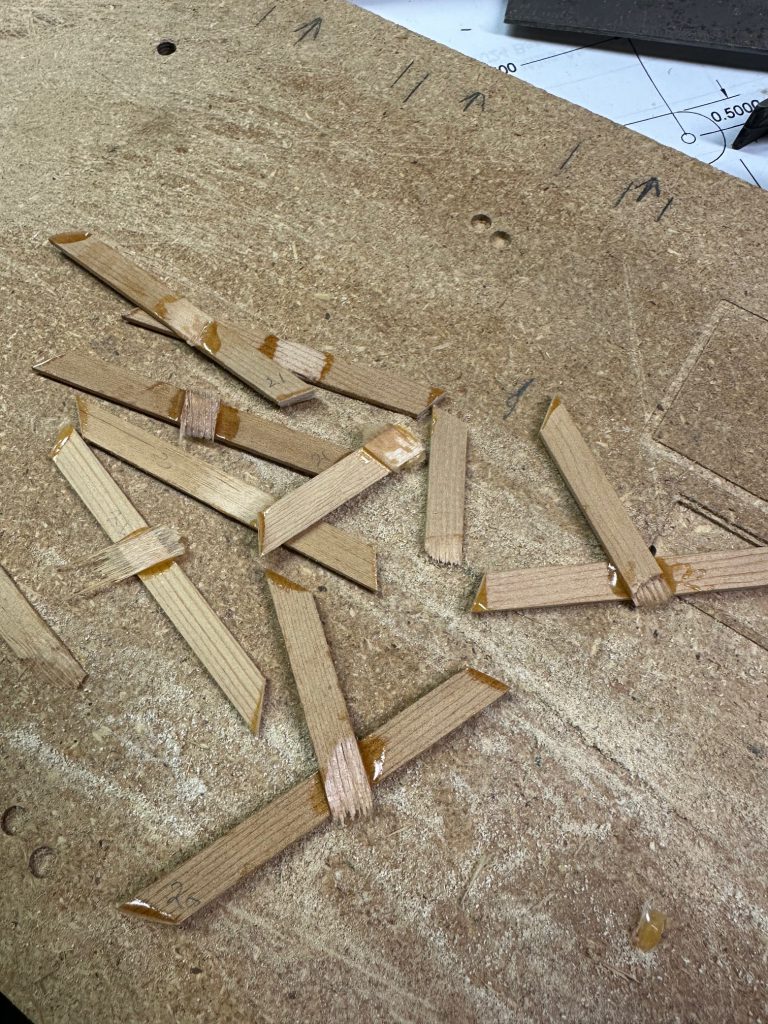
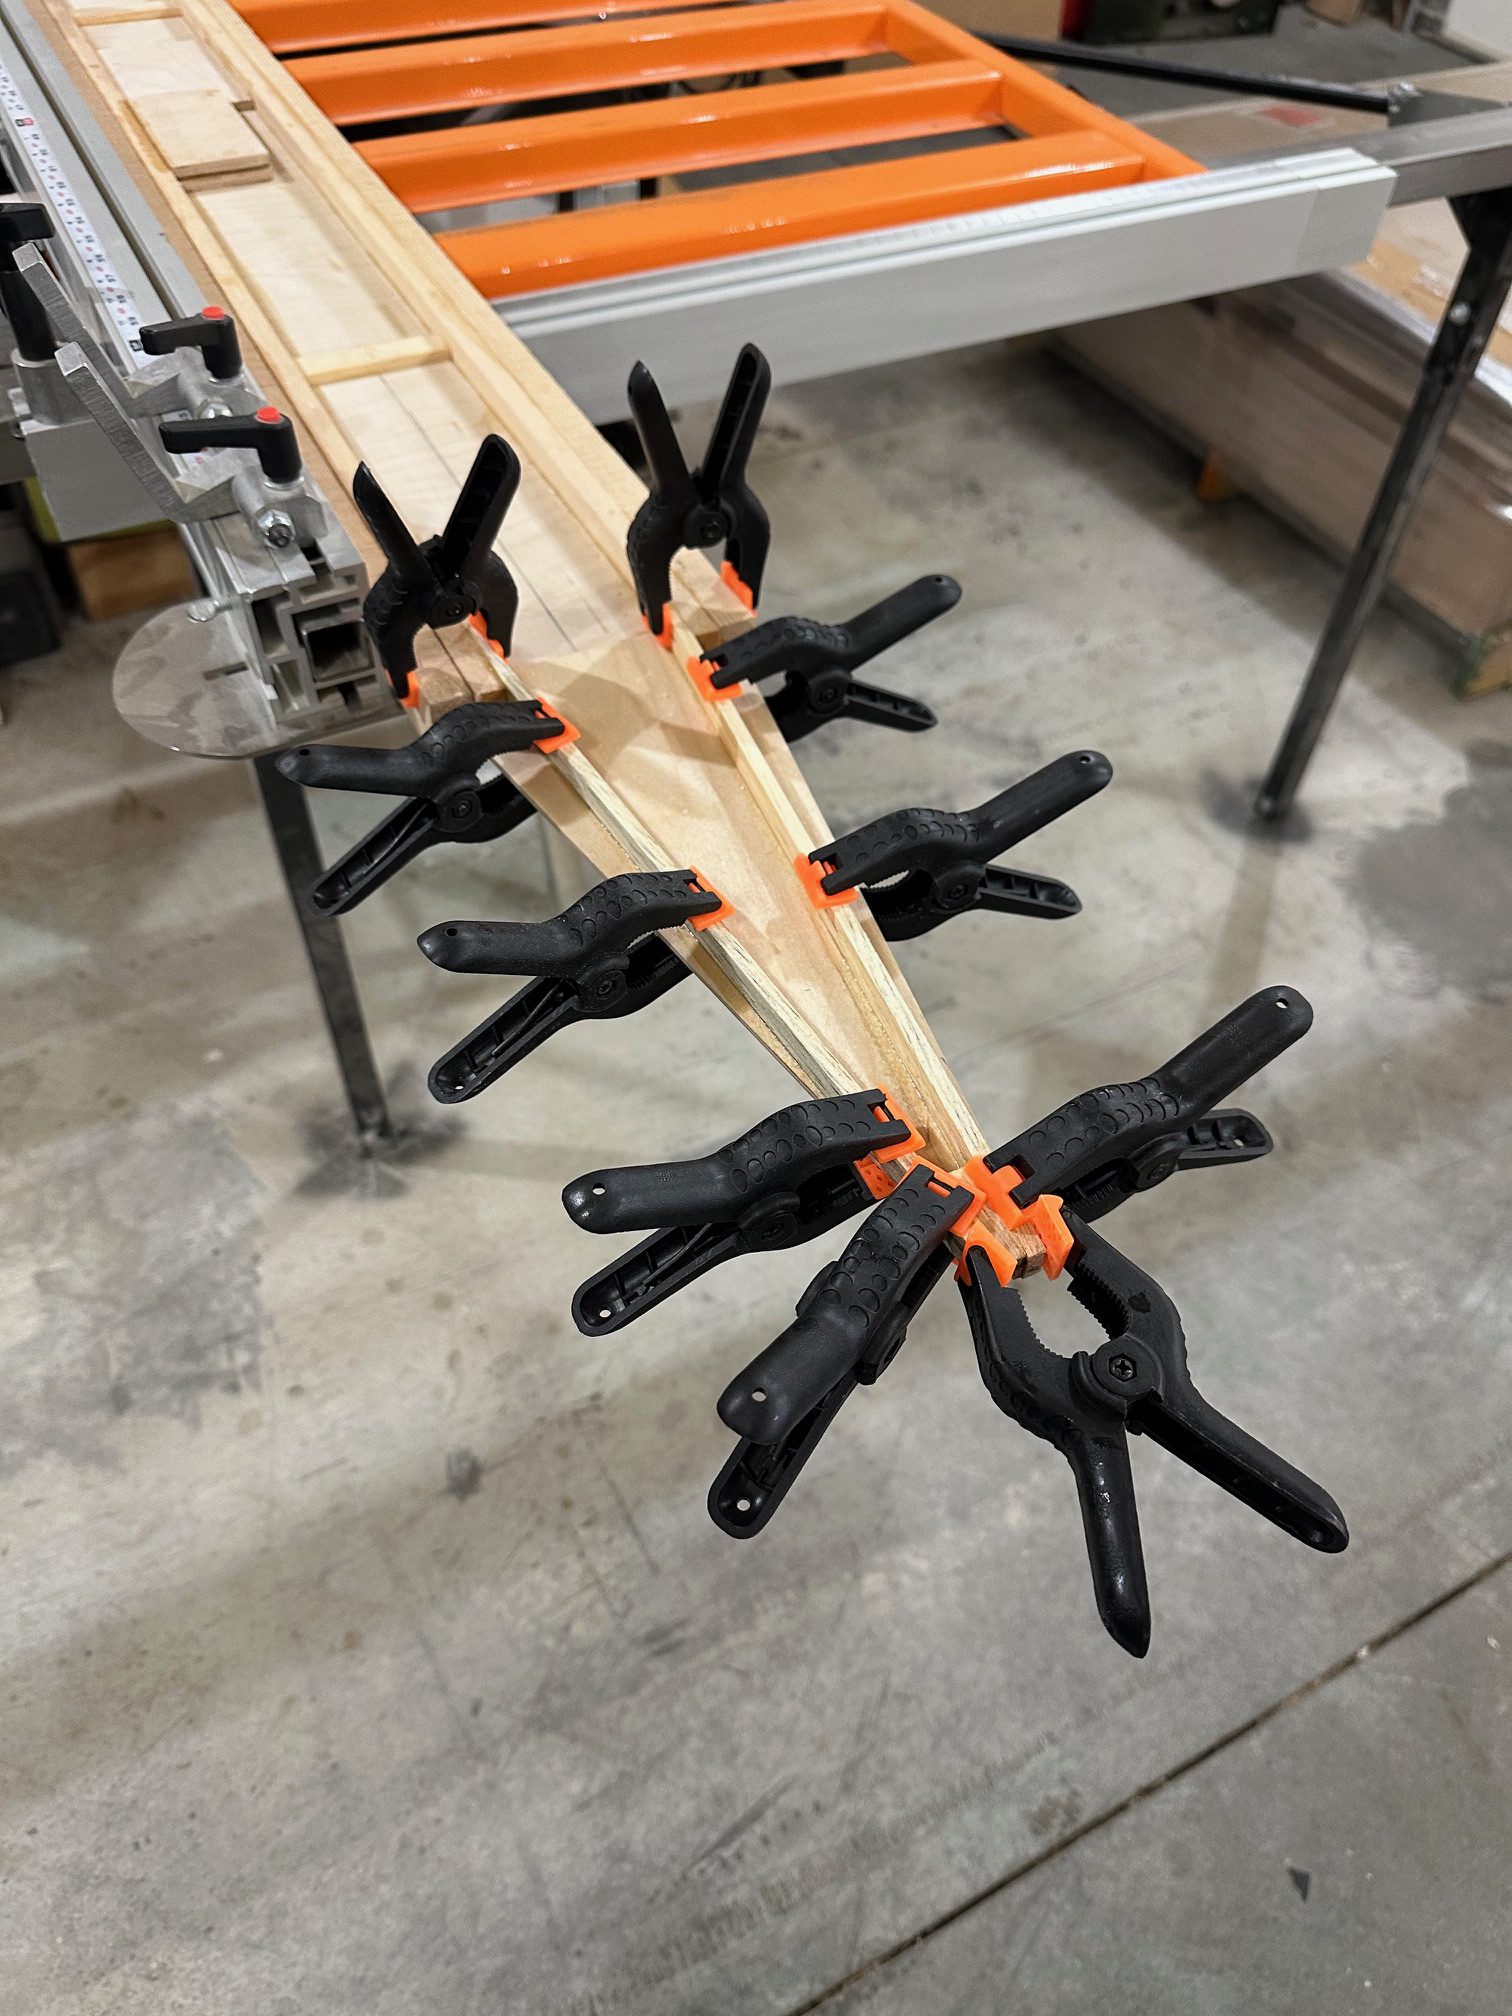
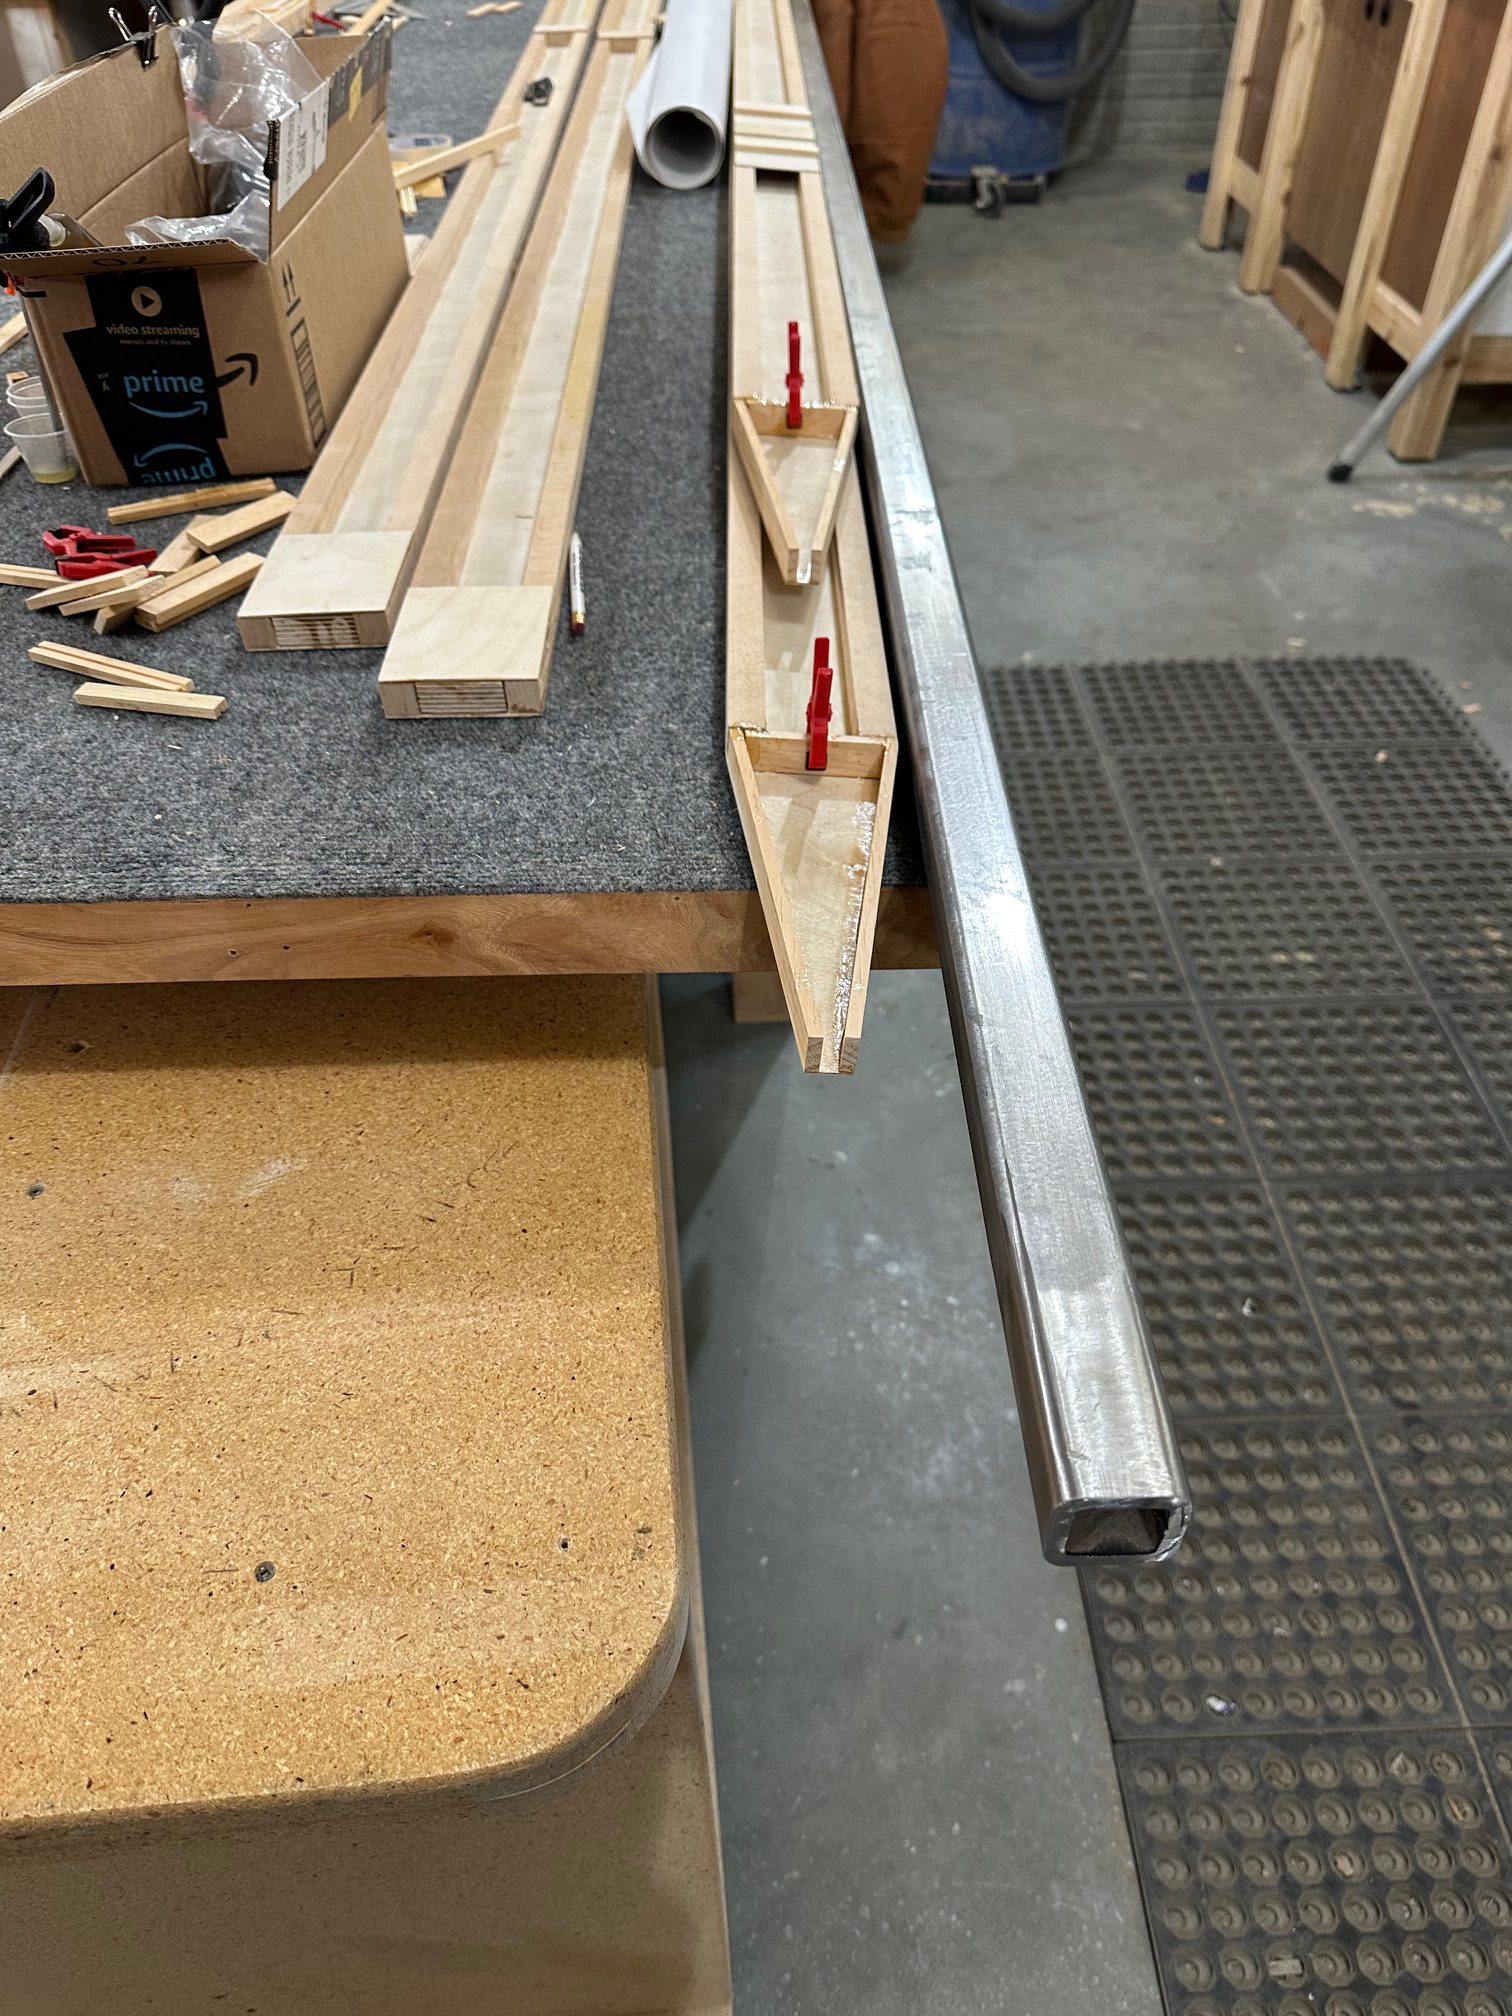
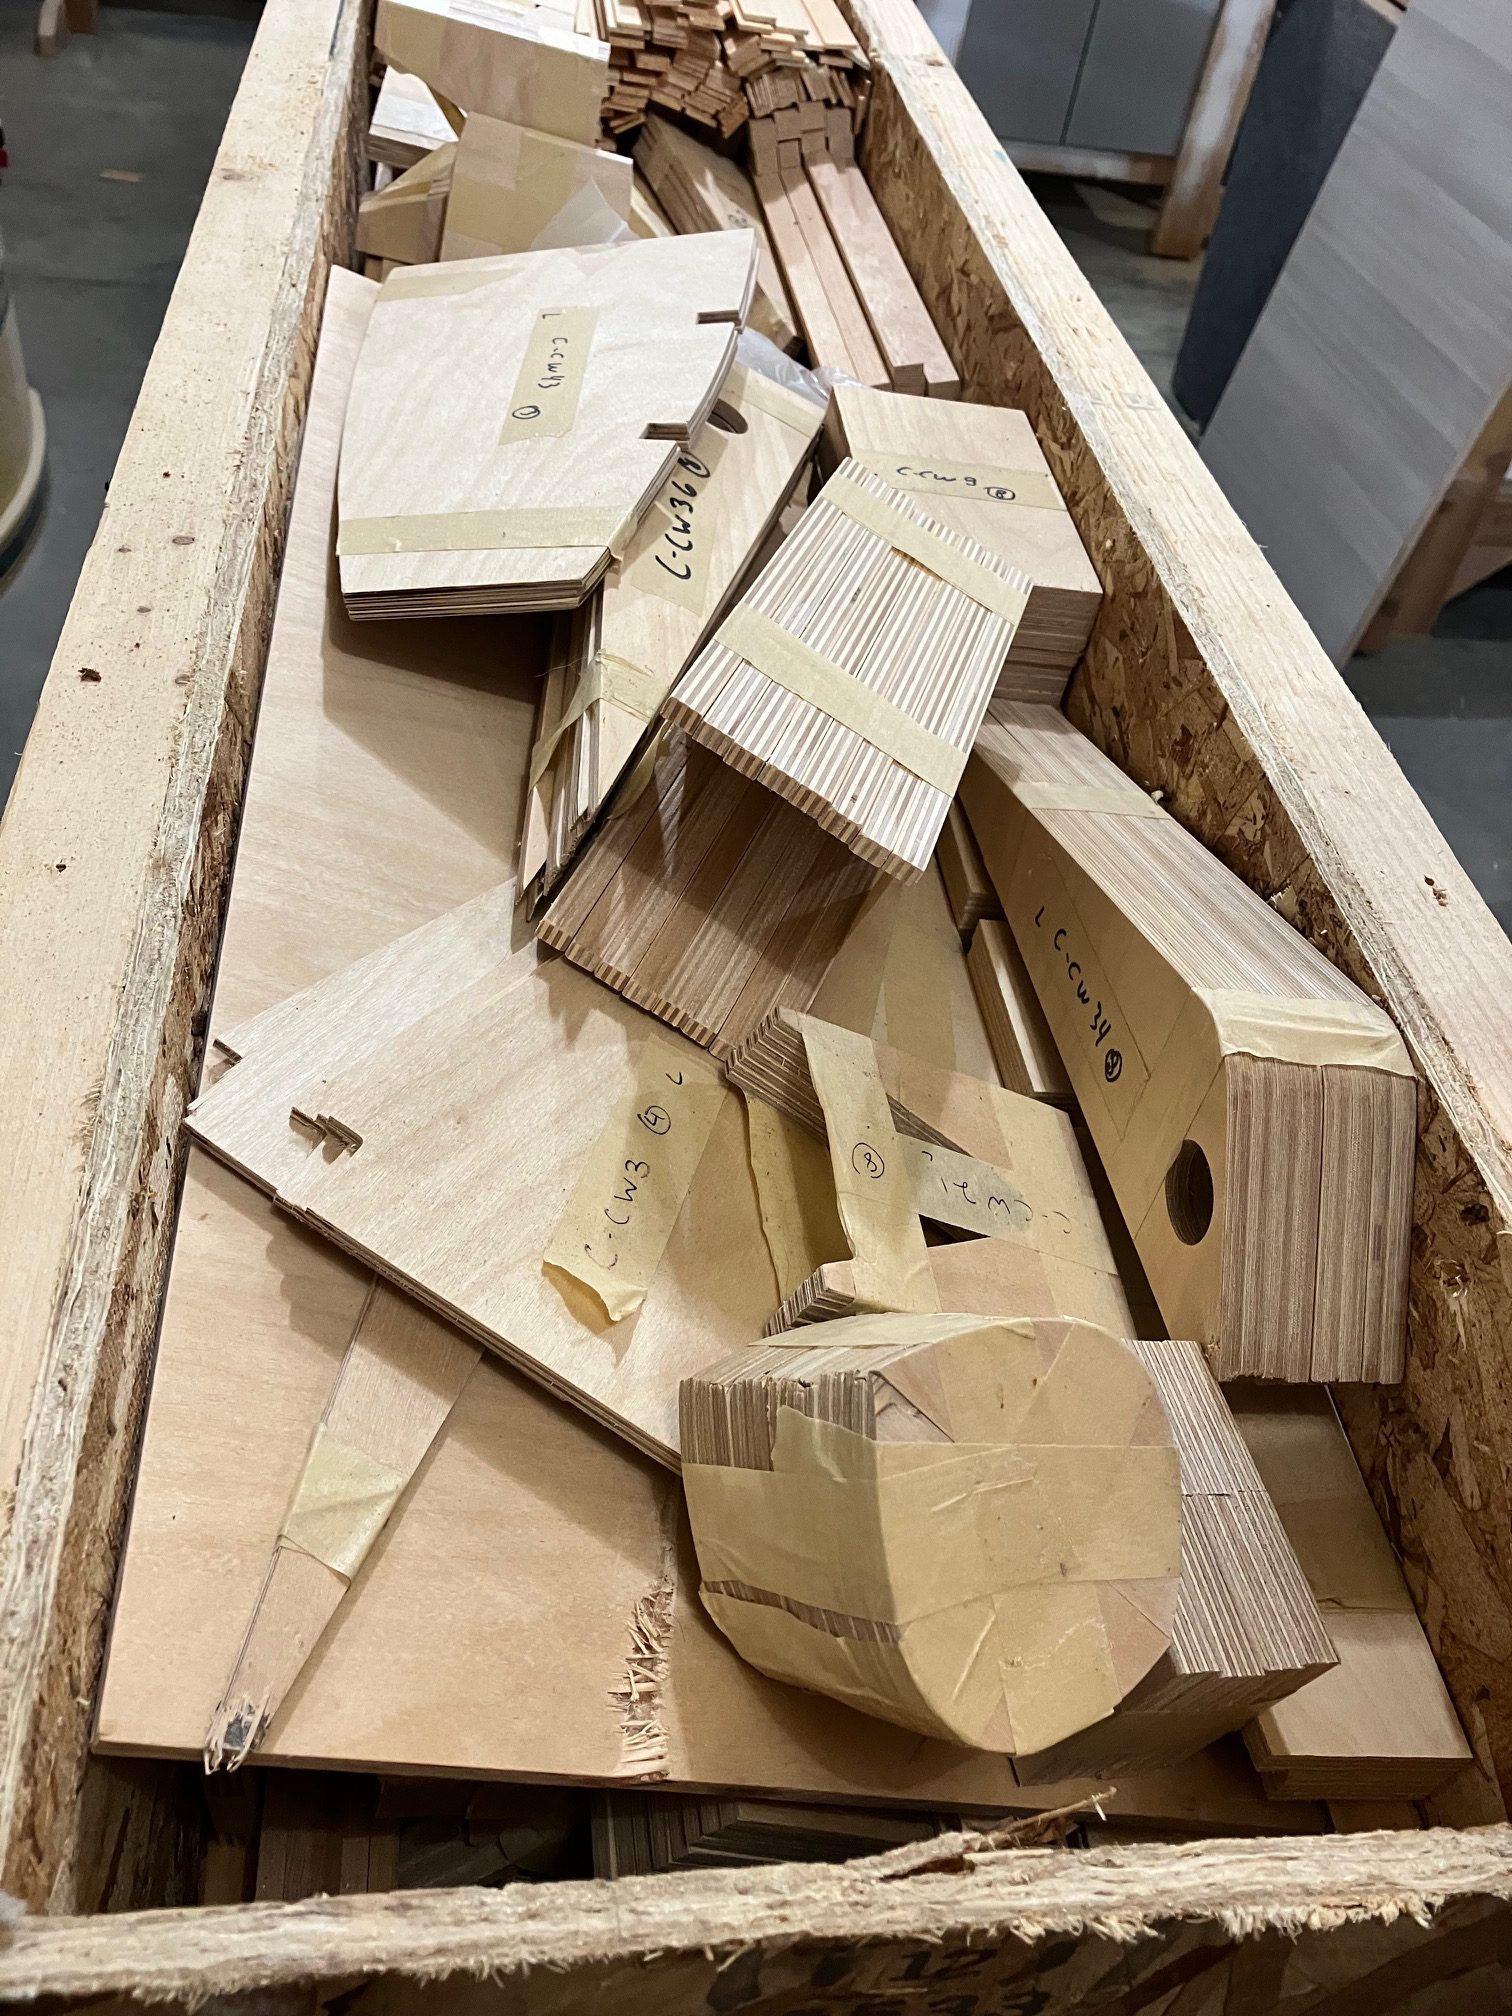
So, out came the razor saw. I cut those two X braces from every one of the ribs, cut new ones, and glued them in place with enough clearance for the rear spar. It was a couple hours’ work, but since I have a lot of extra rib geodetic material wasn’t that big of a deal. On the bright side, I got to test the glue joints on all of the pieces I pulled out. We want the wood to fail before the glue does. Every single one of them broke the brace or separated it along a grain line before the glue gave up — 100% successful tests. That was not unexpected, but was reassuring nonetheless.

Now we can move forward with assembling the wings.

First Aluminum

Today I picked up some flat bar stock from Millard Metals. The Celebrity wings use fittings of various sizes to attach flying wires, landing wires, N struts, and of course to attach the wings to the fuselage. These are made from 1/8″ and 3/16″ 6061-T6 and 3/16″ 2024-T4. I ordered some 6061 tubing from Aircraft Spruce to use as bushing stock. It will take me a while to get all of the brackets cut and drilled, but I did cut at least one of each piece and marked them for the bolt holes. I’ll drill them with small pilot holes, and once they’re all ready I can start drilling the spars for the bolts to attach them. Once those holes are drilled we can start assembling the first wing. I can install the bushings after the wing is assembled, but the holes need to be drilled first.

11/5/23 updates

Went over this morning to see what remaining tasks I could knock out before starting the first wing assembly, and to do some planning and figuring stuff out — like, how I was going to jig up the trailing edge and other stuff for the wings. Stu came in and had a fantastic idea for using the existing steel rails on his workbench to hold the TE flat and perfectly straight, then supporting the front of the ribs with the other rail. It’s a 10′ bench with 12′ rails, so plenty big enough. It’s a significantly different method than that suggested in the plans, but it’s a pretty unique setup. I’m sure a 2×4 shimmed for the correct angle is a lot easier solution for most people than adjustable 12′ long steel square tube rails. I’m just glad he had them built out of square tube and not round.

Next I gave the main and rear spars a once-over to make sure everything was right. It wasn’t. One of the upper wing main spar tip bow supports was off by 1/2″, the result of not having the two spars oriented the same way when I installed those parts. Or, maybe it was something else. Those supports have been a real pain in the rump, and I have a sneaking feeling I’ll run into issues there again. Anyway, the easiest fix was to cut the offending tip support off with a razor saw, put a slight angle cut on the root end, and re-attach it with appropriate splices. Right now part of the re-assembly is drying; I’m hoping to complete the assembly tonight after the epoxy cures.

I got the ten ribs that I have over there trimmed fore and aft, so they’re ready for assembly. I’m planning to start with the lower left wing, just for the sake of simplicity. The lower right wing gets the wing walk. The two upper wings may or may not get fuel tanks, so I’ll do the lower wings first while I work that out. Therefore the lower left is the simplest and a good place to start, I think.

Stu and I discussed building the wingtip bows. He’s got a 48″ square table with a melamine top. It’s big enough to lay our two bows. I’ll wax it thoroughly and use a glue roller for gluing up the lamination strips. This will be good practice for the tail surfaces, which will need to wait until after the wings are done as they’ll need a 4 x 8 work surface. Now I just need to order a glue roller and about 40 or 50 more spring clamps. Given the size of the stabilizer & elevator assembly, more is better… I’m pretty sure there is no such thing as too many clamps.

Spar update 10/29

Work continues on the spars. Over the past few days I’ve put the wingtip bow supports on all but the upper main spars. Hopefully I’ll do those today or tomorrow.

I’ve been looking for the aluminum stock to make all of the wing attachment fittings. I need a mix of 6061-T6 and 2024-T4, in two different thicknesses. The 6061 isn’t too difficult to find, but as yet I haven’t found anyone that has the 2024 in stock. In fact, Wicks is the only place that even claims to carry the size I need, and they’re out of stock. I’m ordering the 6061 and bushing material. Irritatingly enough, the instructions call out the size of tubing used for the bushings but not the material. I’m fairly sure it’s 6061 AL tubing, and fairly sure it doesn’t matter if it’s AL or 4130 steel.

Still hacking away at it

Rear spars built, and tip supports added. Now building the tip supports for the main spars. At some point I need to get some AL stock and see if I can find my box of 4130 tubing to see if I’ve already got bushing material. Then I will need to drill the holes for the attachment and strut/wire fittings before starting wing assembly.

The spars don’t look terribly complex on the plans, but there really is a lot of detail work involved. It’s dragging on longer than I had hoped since it’s a trip over to Stu’s every time I want to get a little work done. I think I may need to take a little more structured approach to this — study the plans, then make a punch list for each trip so I don’t waste time while I’m there trying to figure out the next step.

Spar update 10/6/23

Happy birthday to me! 🎂 This morning I glued the two lower rear spars up – webs to caps only, and set them aside to cure. That’s all four rear spars now ready for the addition of the plywood blocks for attachment brackets, flying wires, landing wires, and N struts. The cut-off pieces of 1/16 ply will make shims for the lower main spar strut/landing wire attachment points that need to be 1/8″ above the spar caps.

In the afternoon I went back over and glued in the blocks and plywood plates on the root end of the rear spars. There are other blocks and structure to be installed outboard, where the struts and wires attach, but after taking the time to figure out the plans and exactly what needs to be done it was getting too late to glue those bits up. The plans could benefit from an oblique view to better show how things go together, or at least two views of the area… but they’re old and drawn by hand, and there’s only one view. One has to hope there’s a reason that parts of it are built the way it’s shown. The blocks in the kit are oversized and will need to be trimmed, and I want to make sure I have plenty of time to make sure everything is in the right place.

Spar progress as of 10/4/23

All four main spars substantially built; exceptions are noted below. Two upper rear spars have been started, with plywood web glued to the upper and lower caps – not really caps, but for lack of a better term…

Remaining work: Main spars need to be trimmed to length and dihedral clearance cut made on the lower spars. All holes need to be drilled, bushings fabricated and glued in place. I’ll need to fabricate and glue in shims for the landing wire/N-strut attach brackets on the lower main spars.

Last rib done, first spar started

I just pulled the last two false ribs in the jigs. It’s been a long haul — six and a half years since I built the first rib, but now they’re done AND I’ve got the materials and the place needed to continue the build.

Last night I was over at Stu’s place. One of the main spars has been partially assembled; the spar caps have been glued to the web. I got all of the rest of the parts for the aft face of the spar fitted and ready to glue up. I decided to designate this one the upper right wing. I’ll head over tonight and glue it.

I briefly thought about tearing down the rib jigs now that all of the ribs are finished. I decided not to do that quite yet. For one thing, there’s a chance I may need or want to make more of them for one reason or another. I don’t need two jigs, though. I’ll probably leave the first one I made as is, and pull the blocks and plastic from the second copy. It’s not a high priority, since it will only yield a 4′ x 1′ chunk of MDF.

Workshop assessment and kit inventory

I met with Stu over the weekend to figure out where and how we’d set up the spar assemblies. I was concerned about the lack of any long workbenches in his shop. He’s primarily set up for building cabinets, and most of his work tables are smaller, low to the ground, and on casters. As it turns out, one of the tables has folding extensions that make it 9 or 10 feet long. The top is very thick, heavy, rigid, and very flat — he uses it to mount rails and a sled for a router to flatten large slabs of wood. He put threaded inserts on the edges of the table where a set of heavy welded steel rails can be attached. With those installed, there will be a built-in straight edge for blocking and clamping the spar caps. It’s not something I would have thought of; the “normal” practice is to lay out a chalk line and nail wood blocks to locate the spar caps during assembly. I think, however, that this setup will be more than adequate for spar construction. I may need to build a matched-height extension for the wing assembly, but that’s a decision for another day.

The wing kit contains no hardware at all. Fortunately it looks like all of the hardware required is made from readily available material and requires simple manufacturing. It’s all flat aluminum stock, some 4130 tubing for bushings, aluminum tubing for aileron torque tubes, and so on. No brake, lathe, welder, etc. required yet. Some of the material I may already have on hand, in fact. The rest can be ordered or even found locally.

While I was there, I grabbed a few pieces of rib capstrip so I could finish off the last of the false ribs. I made two on Sunday, and set up two more this morning.

A kickstart, I hope

Yesterday (9/16/23) we drove to St. Charles, MO. Normally I wouldn’t do such a thing, but a guy had advertised a Celebrity wing kit and plans on Barnstormers. Apparently the original owner of the kit never had a chance to start building before age took its toll, so I was able to pick up all of the wing parts for less than it would have cost me to buy just the spruce for the spar caps. I’ve really been kind of stalled up until now because I just couldn’t get past the cost of buying the wood from ACS, then paying truck freight go get some oversized but very lightweight pieces of wood shipped here. The total cost of our trip was less than the shipping cost for just the longer spar pieces, and I’ve got all of the pre-cut plywood parts as well. Rib nose pieces, trailing edge stock, aileron ends, spar reinforcements, all of it. I’ve also got a second complete set of plans and documents that I can put up for sale, since they have never been used and I don’t need two.

The other thing that has kept me at a standstill has been the lack of a suitable place to work. My garage has, unfortunately, been occupied for the past few years with a “project” car that I probably never should have bought. My own fault, but is it better to have one project stalled, or two? I had plans at one time to put a sheet of MDF on top of the island in our basement to build the tail surfaces, but that is now part of a very busy sewing room. Zero complaints about that, of course! It just means I can’t work in there.

Anyway, a couple of weeks ago I was talking about the airplane with my friend Stu. He’s been building cabinets for the past couple of decades and has a large woodworking shop next to his house. Not only is it well equipped, but it’s also climate controlled and well lit. Quite frankly, it would be the envy of most people who would want to build stuff – certainly myself included.

Stu offered to let me use his shop and help with the build. I doubt he’ll ever want to fly in the finished airplane, but he thinks the idea of building an entire airplane out of wood is pretty cool. I can understand that; I think so too. When we got back from the road trip yesterday we unloaded the crate at Stu’s shop. It was late, so all we did was pop the top off and have a quick look, and grab the Fisher assembly video DVDs that were in there.

I’m pretty pumped, to be honest. This means I’ve now got everything I need to complete all four wings and the horizontal stabilizer & elevator, and a place to do it. I’m hoping to get the last few of the false ribs knocked out this week and lay out the pieces to assemble the main and rear spars.