Today I took the wing brackets over to the shop, sorted them all out, and re-marked them so I could tell one part from the other. There are seven (I think) different bracket types. The acid etch solution had removed all of the markings, along with other stuff.
I sorted out which brackets are needed for the right lower wing that’s on the bench, and checked all of the bolt sizes for proper fit. All are acceptable, if not perfect. I have AN4-24A bolts (1-15/16″ grip length) for the main spar root attachment brackets; I could have used AN4-23A (1-13/16″ grip length). It’s not a problem; a couple of AN960 washers do the trick and are a perfectly acceptable solution. On the rear spar N-strut (outer end) brackets, the AN4-16A bolts are a tad long; I could have used -15A. Two AN960 and one AN960L are fine. As a mental exercise I calculated the weight savings if I ordered the shorter bolts. The shorter bolts would weigh about half an ounce less (total per wing); the washers would bring that up to just a smidge over half an ounce — .53 ounce, or about 15 grams per wing. I can live with that.
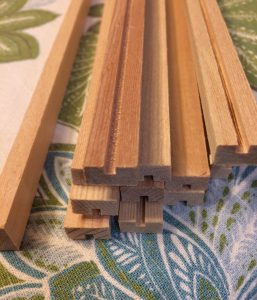
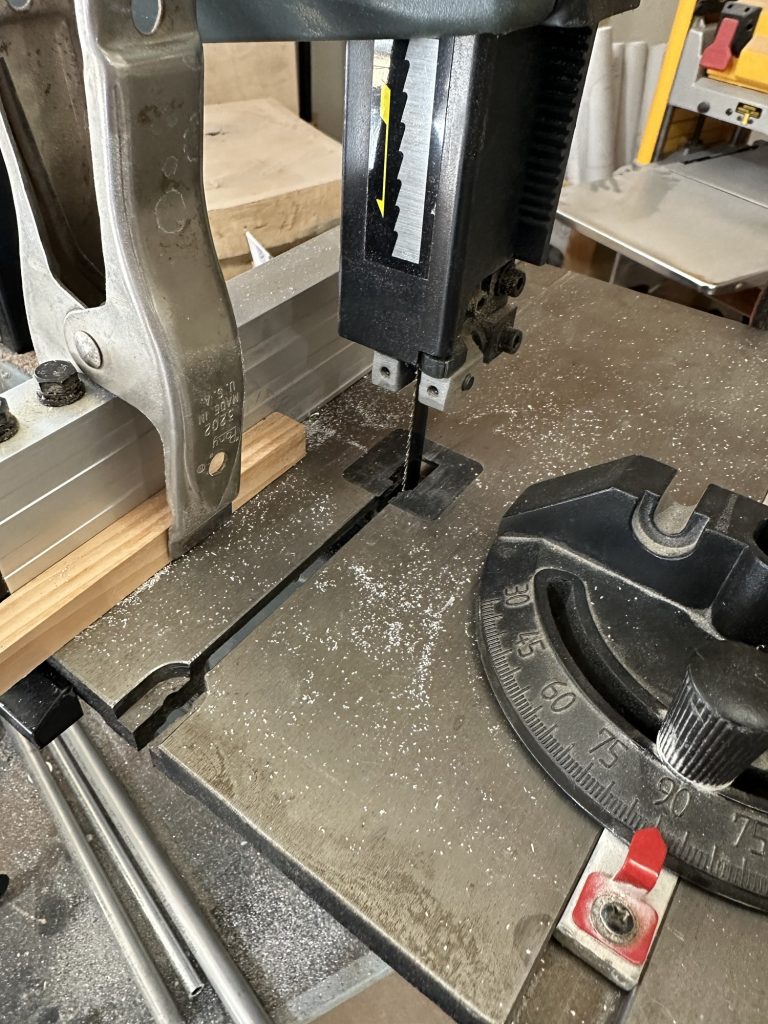
But I digress. I got all the remaining bushings cut. Once I wrapped my head around that fact that the bushings do not need to be cosmetically and dimensionally perfect, but just need to be “flush or slightly below” the face of the wood per the plans, things went a little quicker. I pulled the 24 tooth per inch metal blade from my bandsaw and replaced it with a 10 TPI wood blade, which is fine for thin wall AL tubing like this. I set up the miter gauge and fence for the length I wanted. The tubing cut-off end was snagging the blade teeth; Stu suggested a spacer on the rip fence that extends just shy of the blade. That did the trick! Now the cut-offs roll out of the way. I cut one piece and tested for fit in the hole; once that was verified I was able to set the fence once and cut as many pieces of each diameter tube as I needed. Easy peasy. That will save hours of build time.
Now I need some etching primer for the brackets, and spar urethane for the wood, and I can get everything installed and call this wing done.
Oh, after I cut the bracket for the aileron connecting rod.
And get the bearing block holes drilled.
And… whatever else I’ve forgotten.