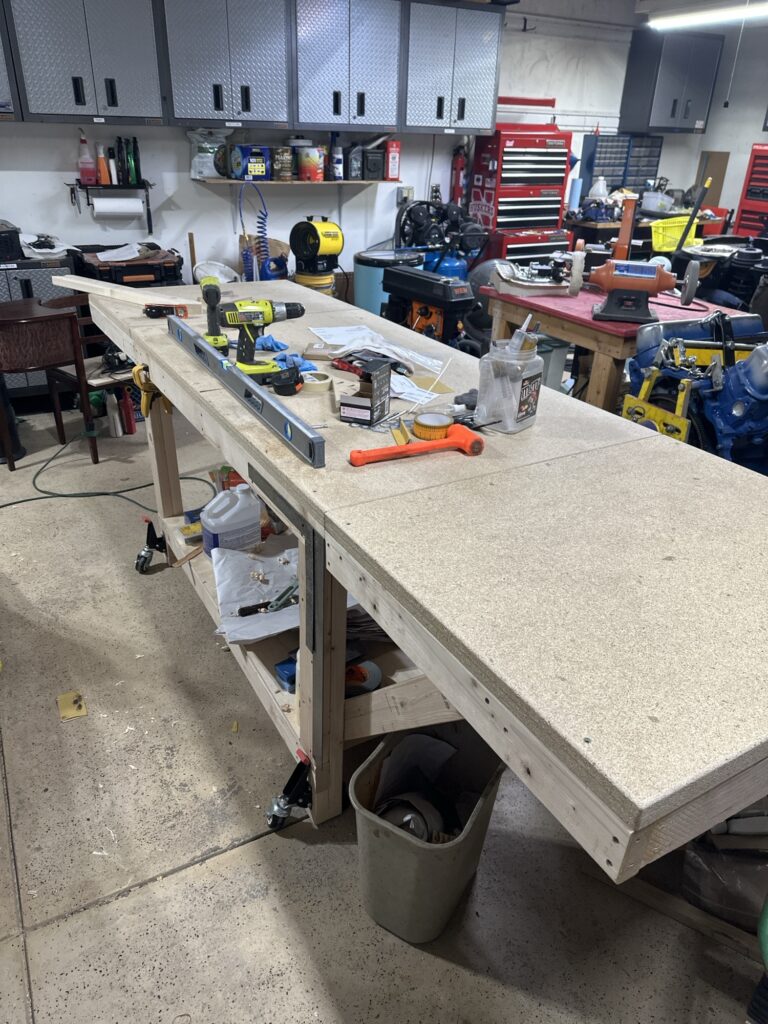
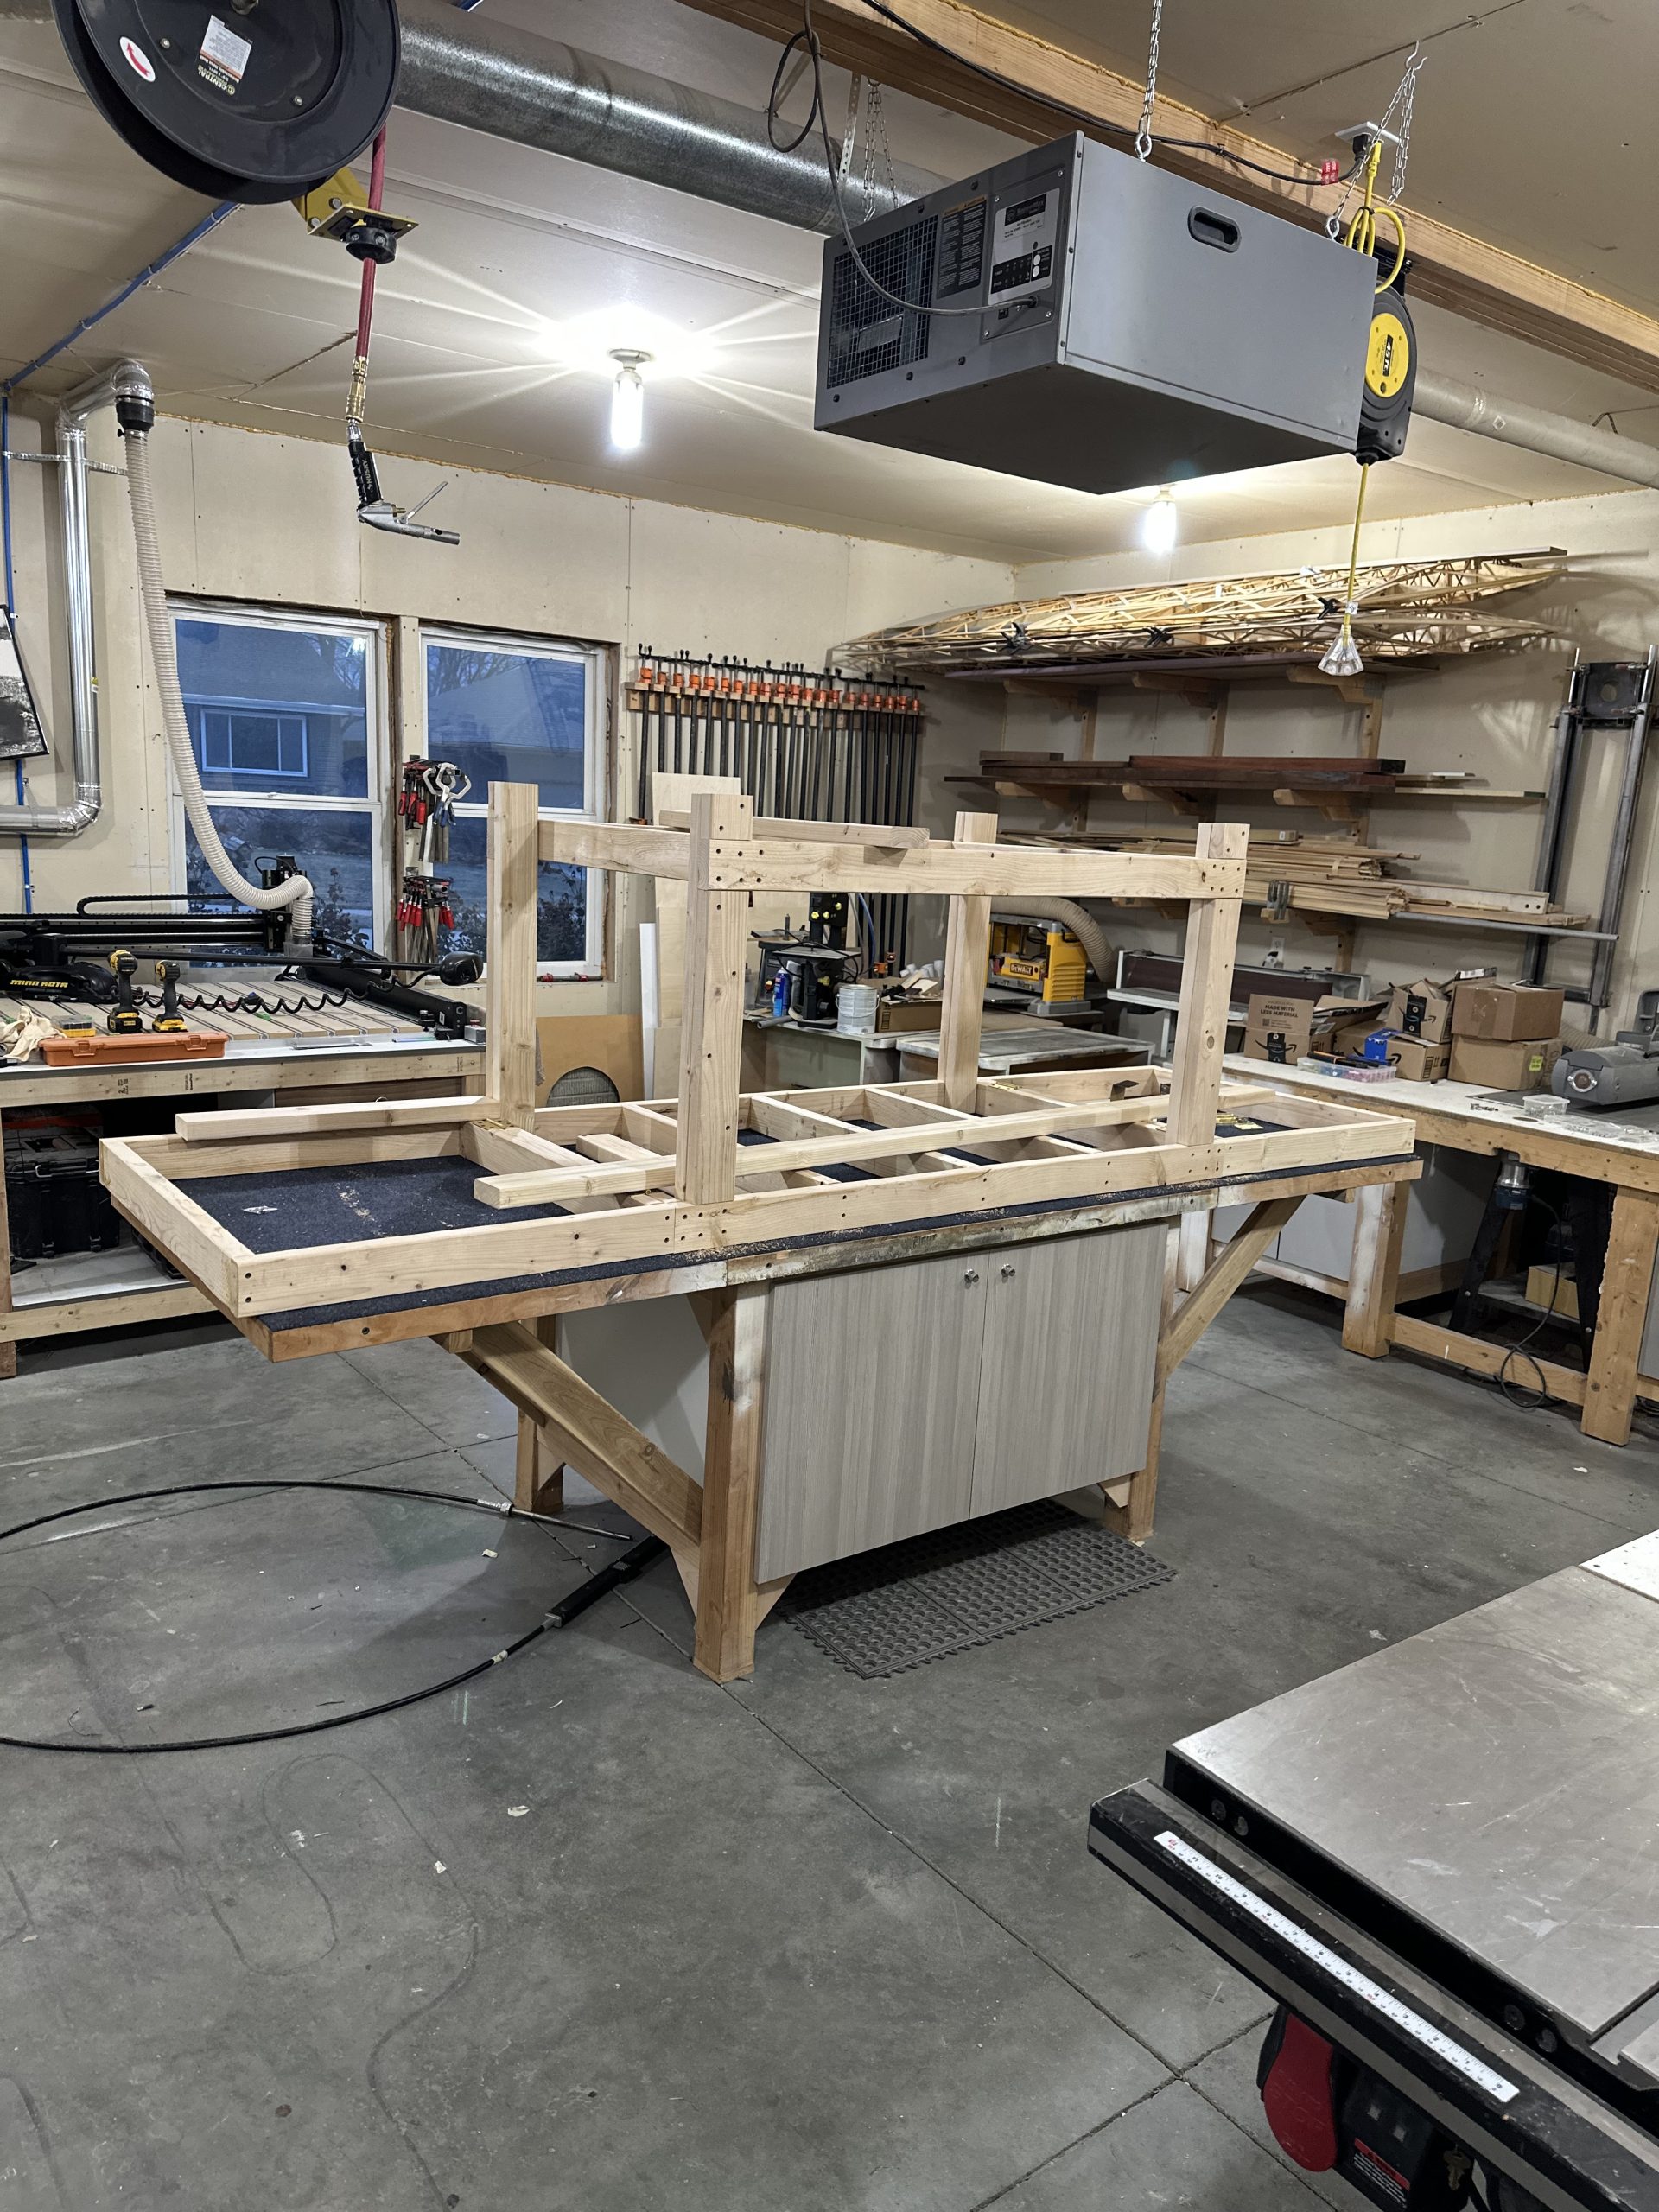
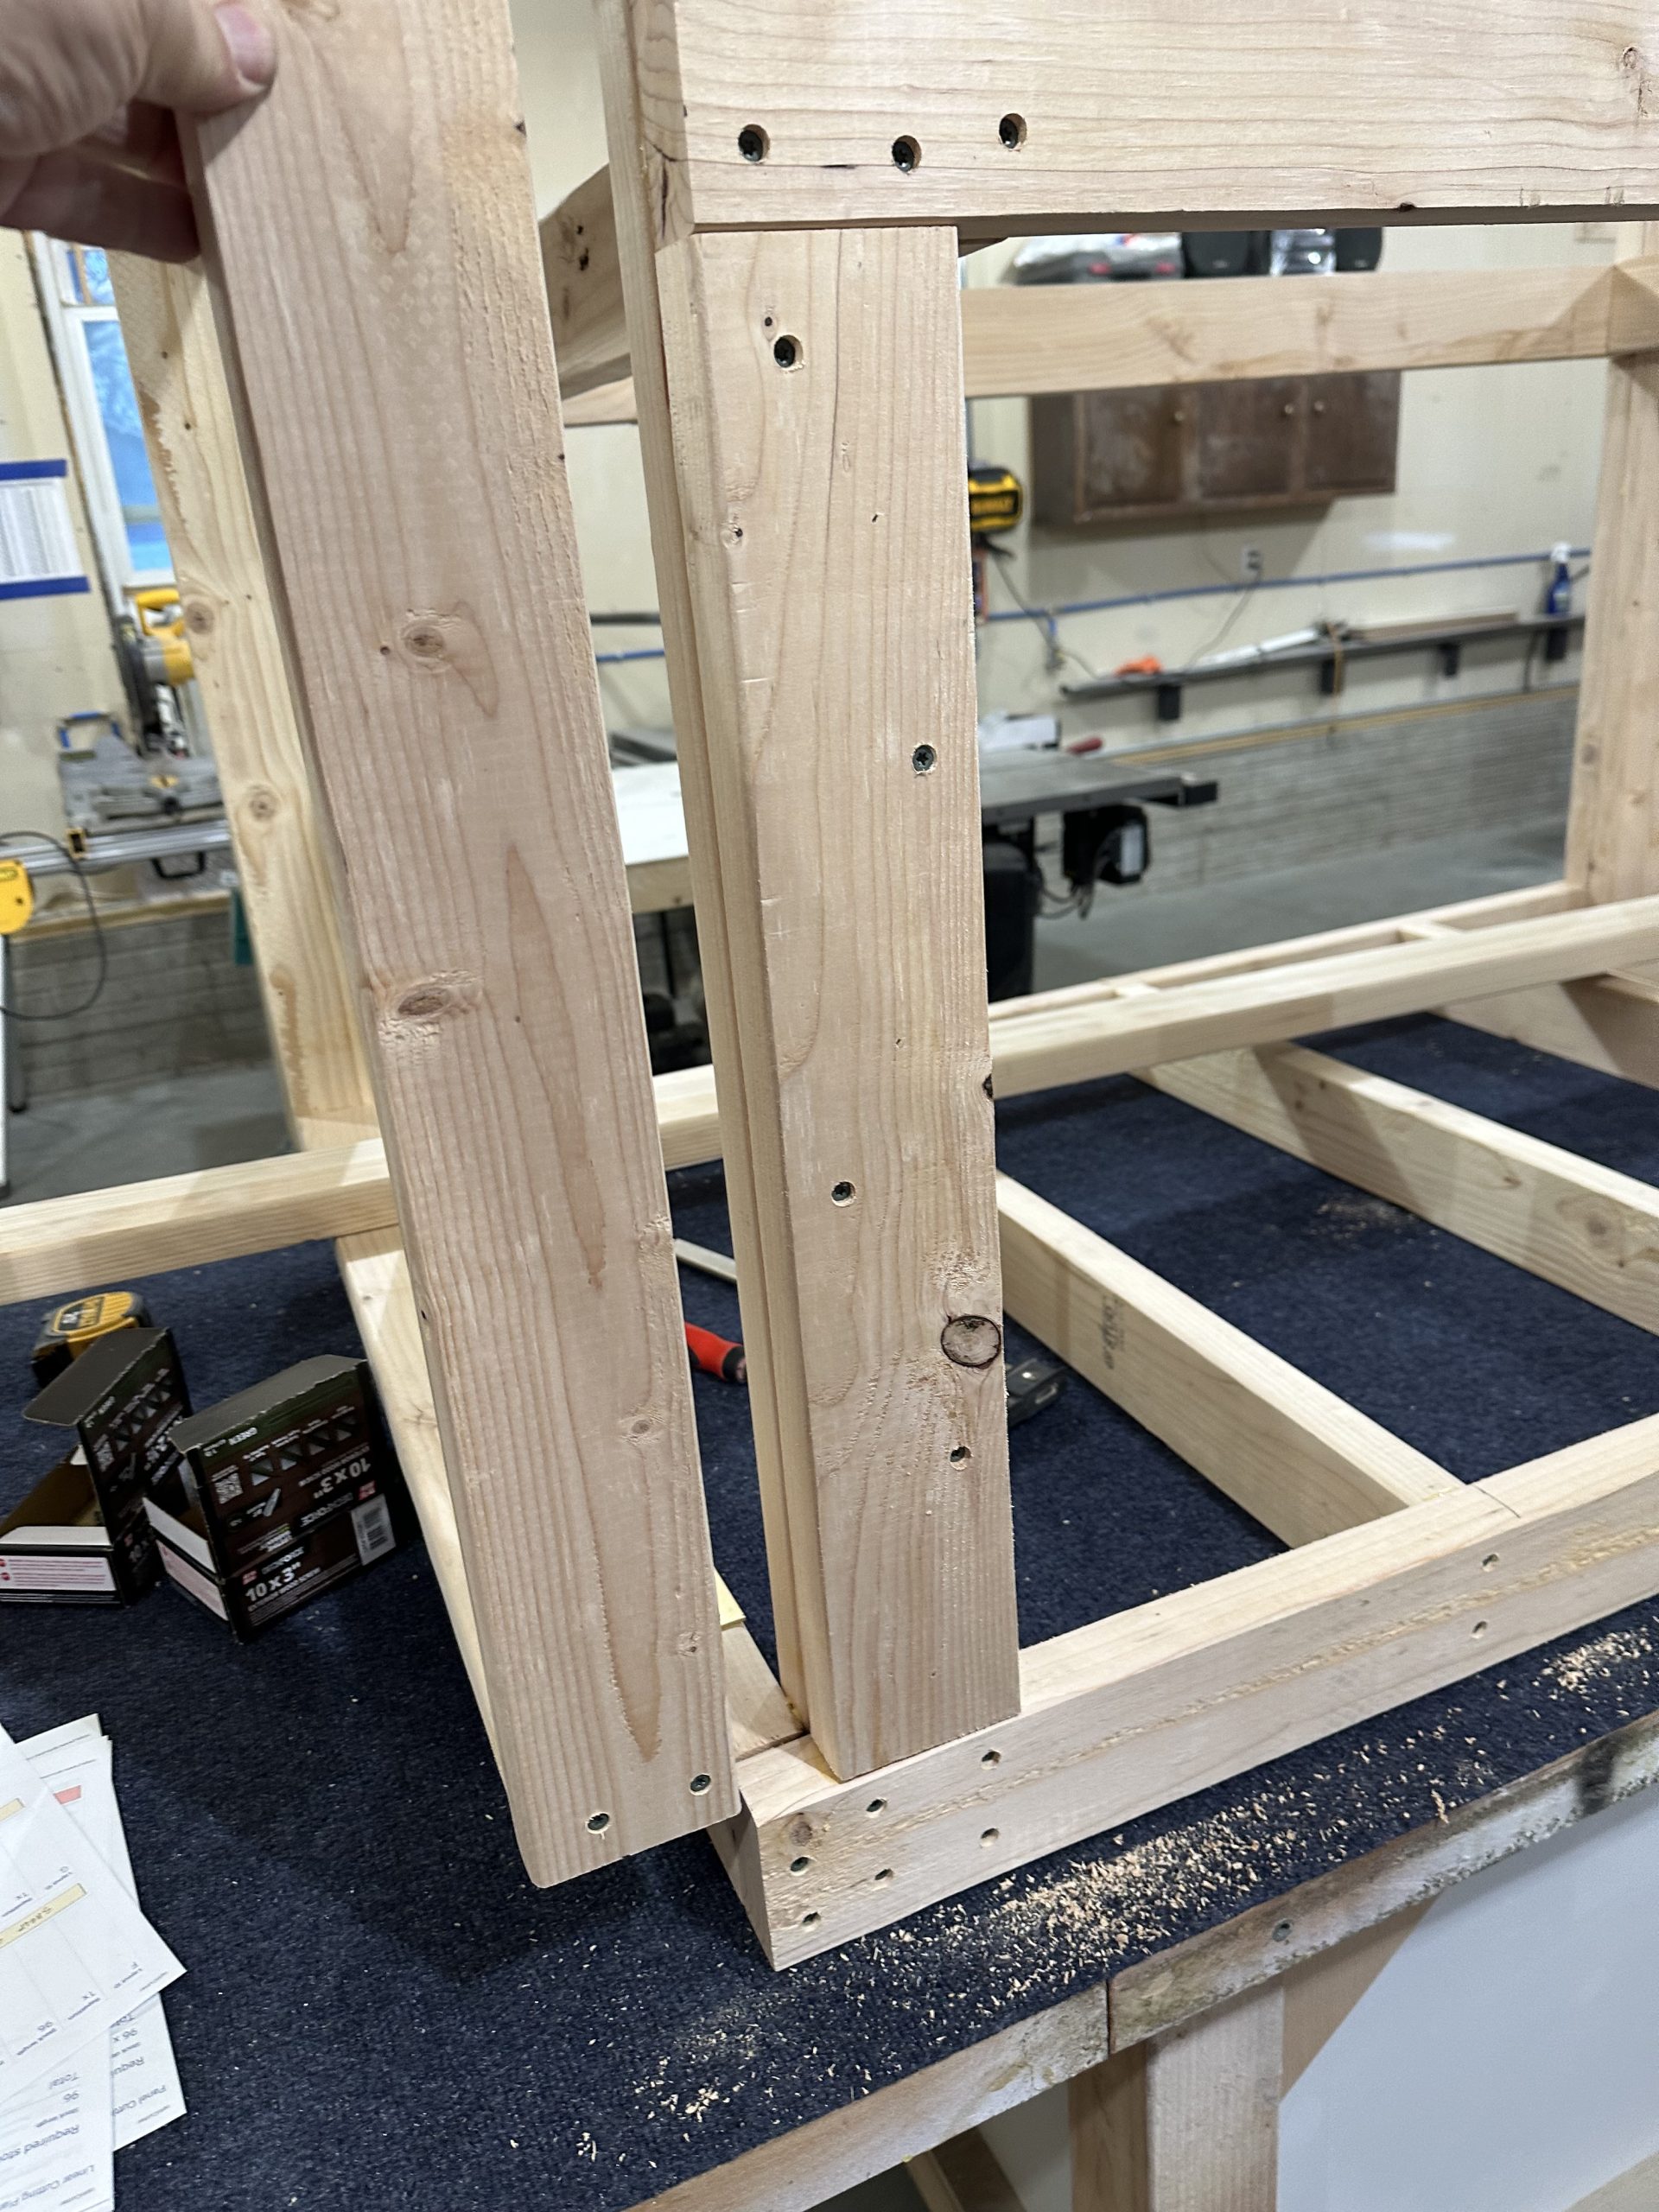
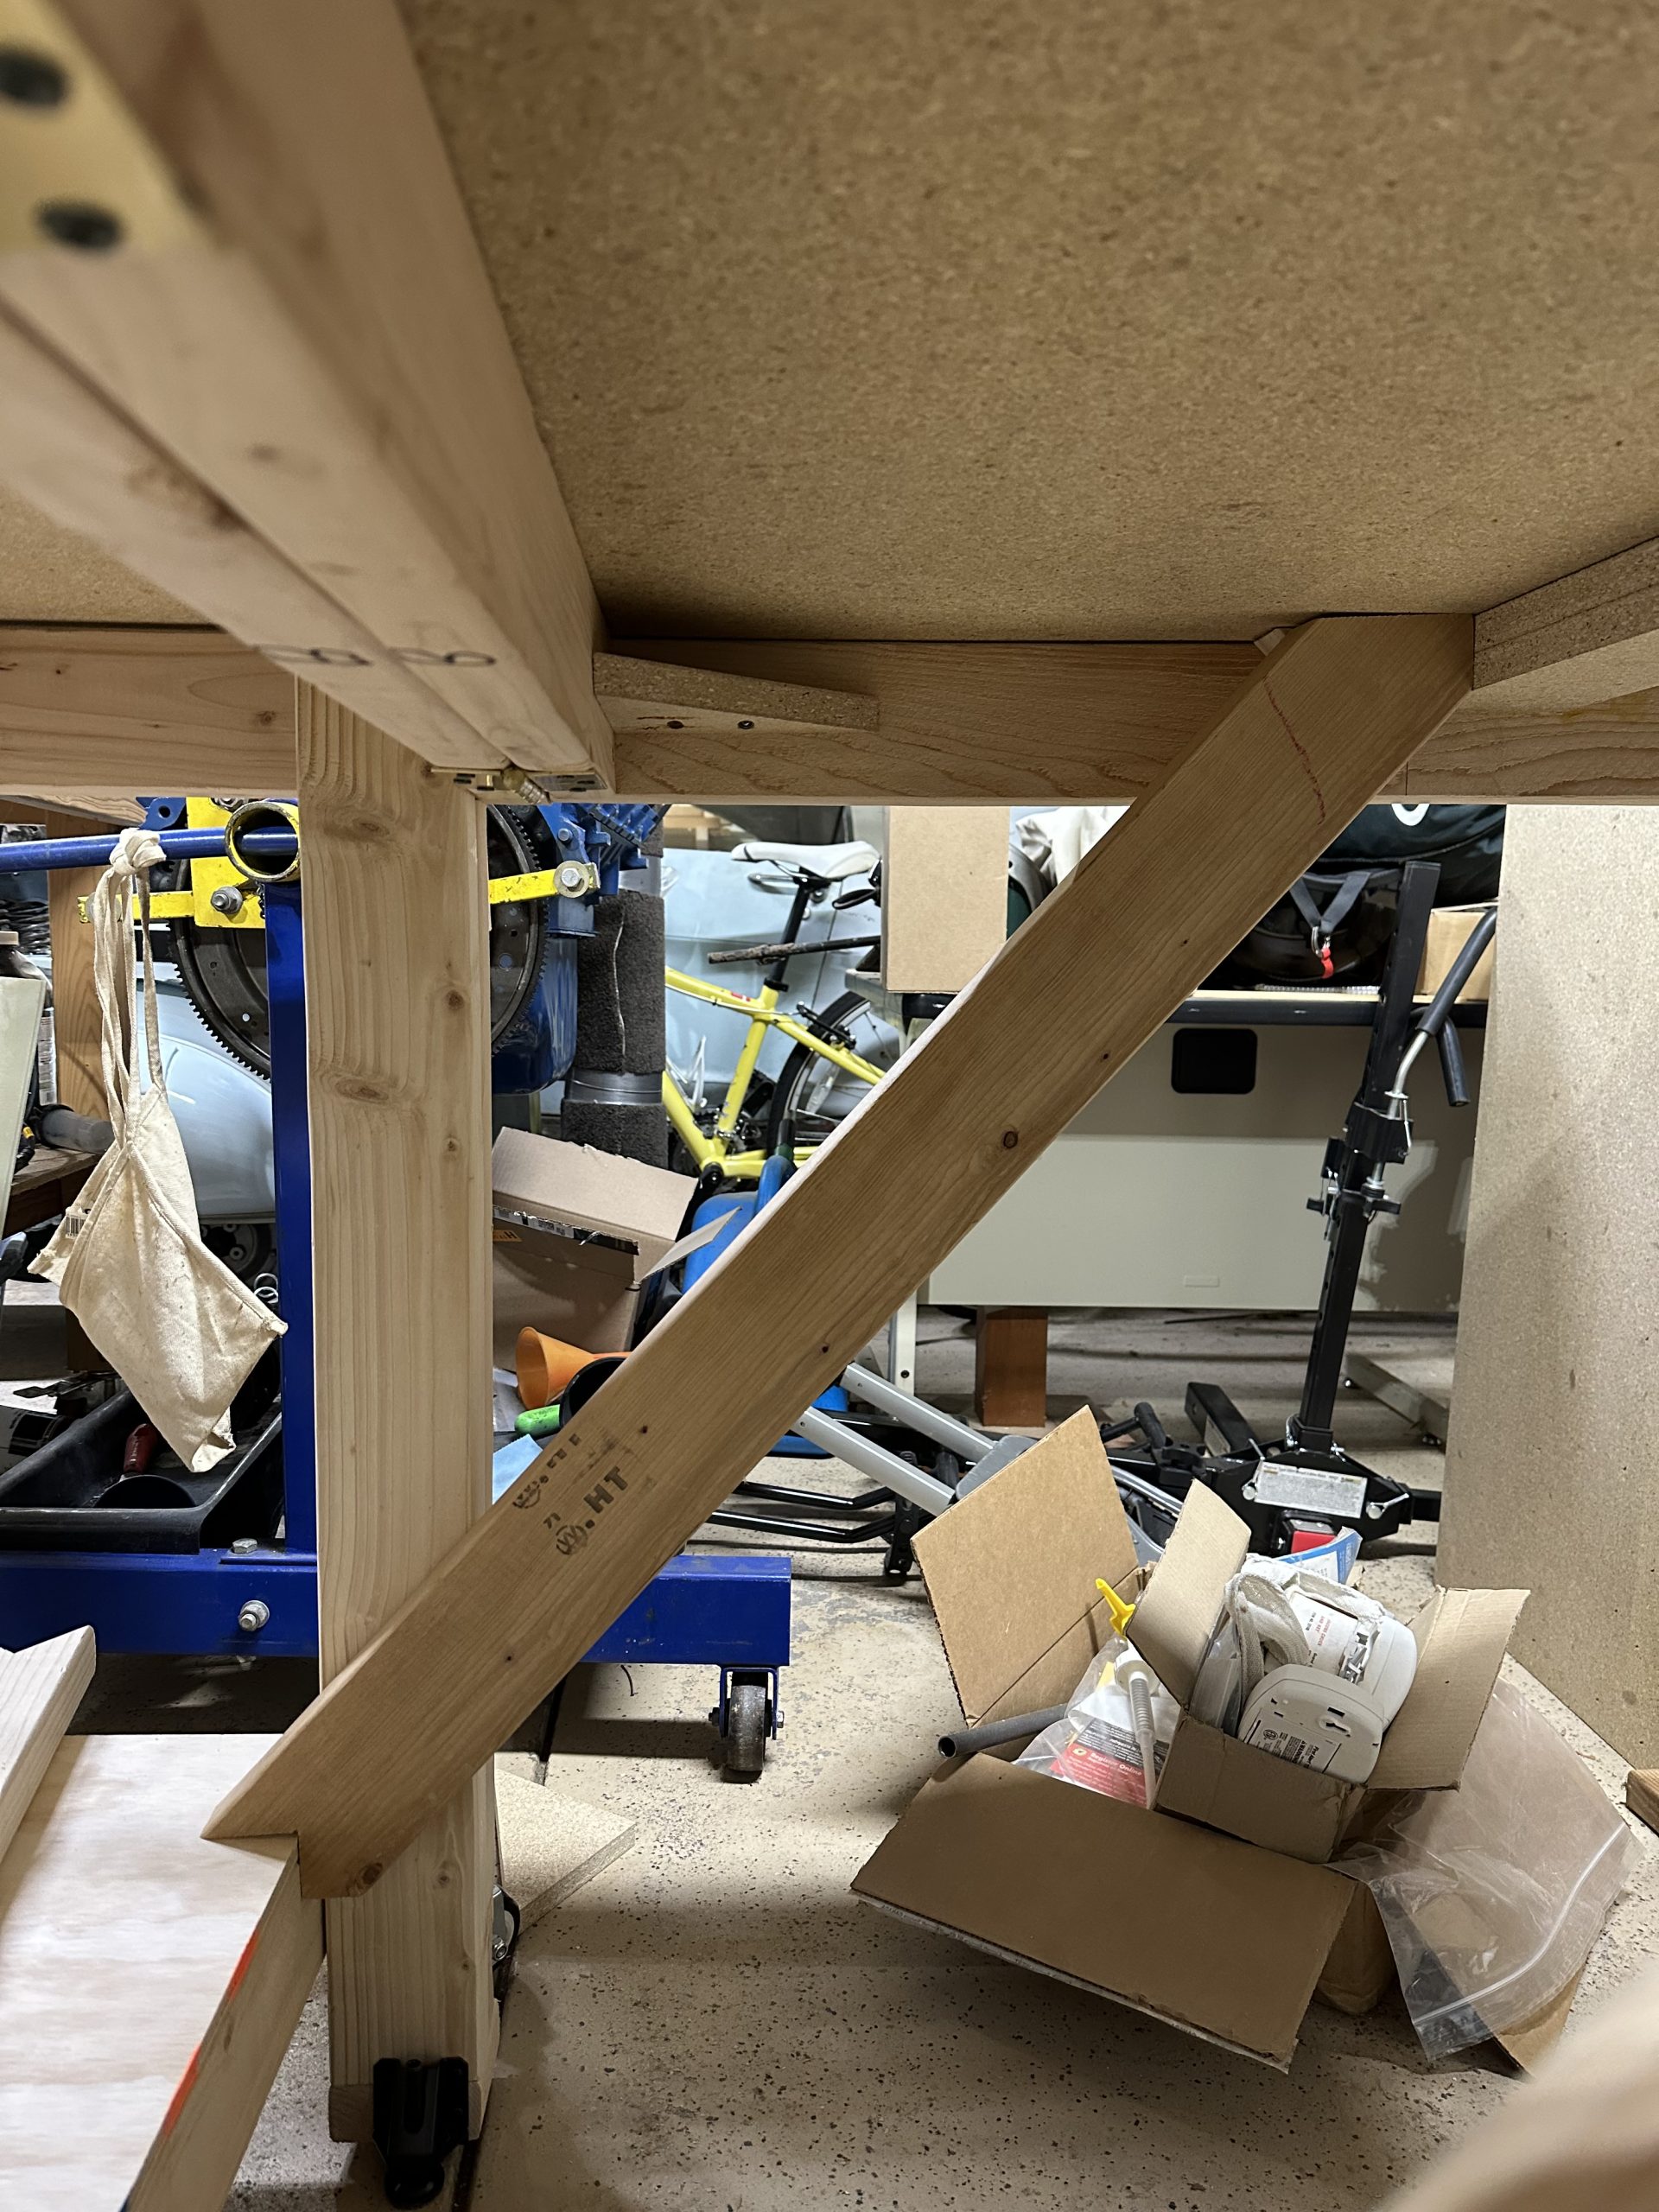
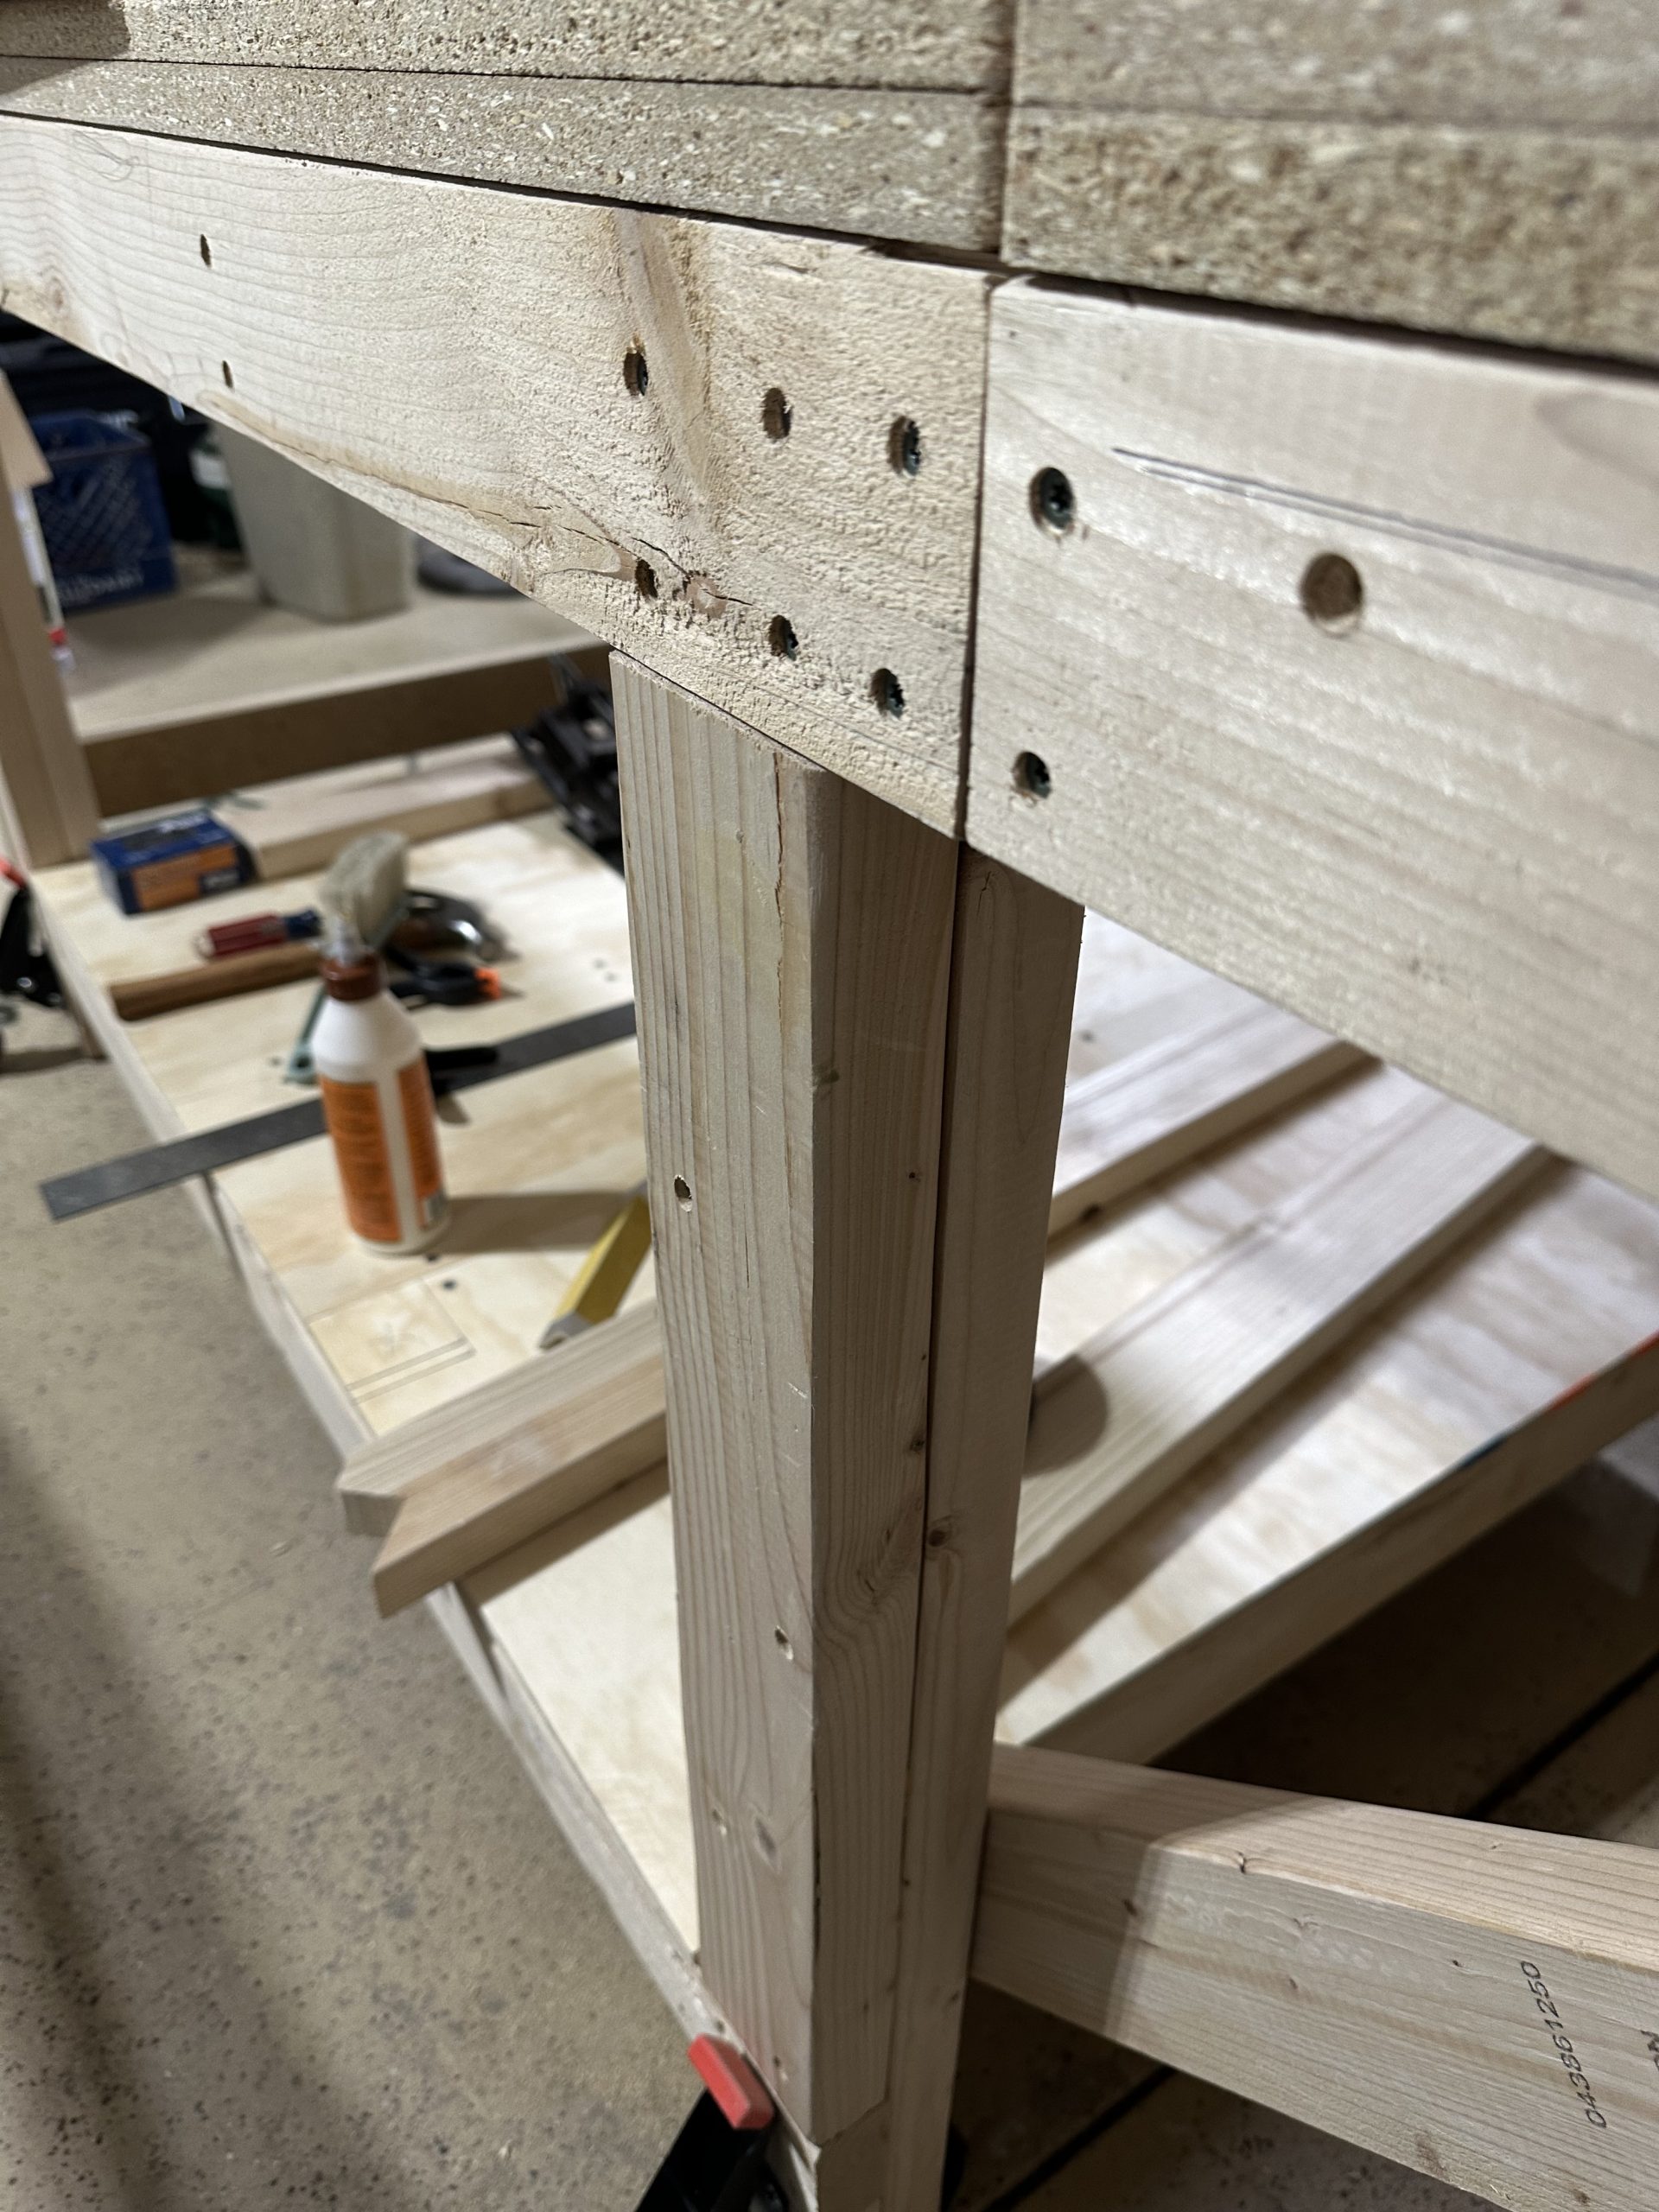
Well, it’s now been close to five months since I did any meaningful work on the actual – you know – airplane. I’ve built the new workbench, cleared out some space in my garage, and moved the new bench to said garage. I built and installed a wood storage rack. I fitted and leveled the bench extensions, which involved a little fine-tuning of the support braces. Along the way I had to remove the extensions and plane off an angle on the bench and extensions to clear the hinges that attach the extensions to the bench.
As will happen any time there is an available, clear horizontal surface, “stuff” accumulated. Tobacco jars, pipes, tools, a furniture restoration project, more tools… sigh. Then I decided to install some T-tracks for clamping and whatever else one would use T-tracks for, so I did that. Now I have a 10′ long bench with T-tracks on each end, with the extensions flattened and leveled relative to the main bench top. I have no illusions whatsoever about the bench being perfectly flat, but it’s close enough for my purposes. I’d say no more than 1/8″ variation anywhere along the 10′ by 3′ surface. I’m building a wooden biplane, not a supersonic jet or spacecraft.
All of this hasn’t been the sole cause of delays. For most of the winter it’s really been too cold out there to work with epoxy. Climate control has not been stellar. Our old small space heater died, so I bought a new, larger one – which holds the temperature at a level tolerable for humans, but not a temperature I’d trust for woodworking and epoxy. But, we’re close to being in the warmer part of the year. I’ll have a mini-split heat pump installed at some point, but that’s not a limiting factor right now.
Today I got 7-1/2′ of the bench cleared off and clean, tools put away, and various other “stuff” rearranged and cleaned up. I now have a clear path around 3 of 4 sides of the bench, with one end still a little cluttered. The drill press is repaired and back on its stand, and I got the runout down from its original .007 or so down to .003 or .004. Still not fantastic, but I think it’s mostly chuck. The spindle now shows about .001 after I removed and cleaned it with mineral spirits. I may need to tweak things just a little more.
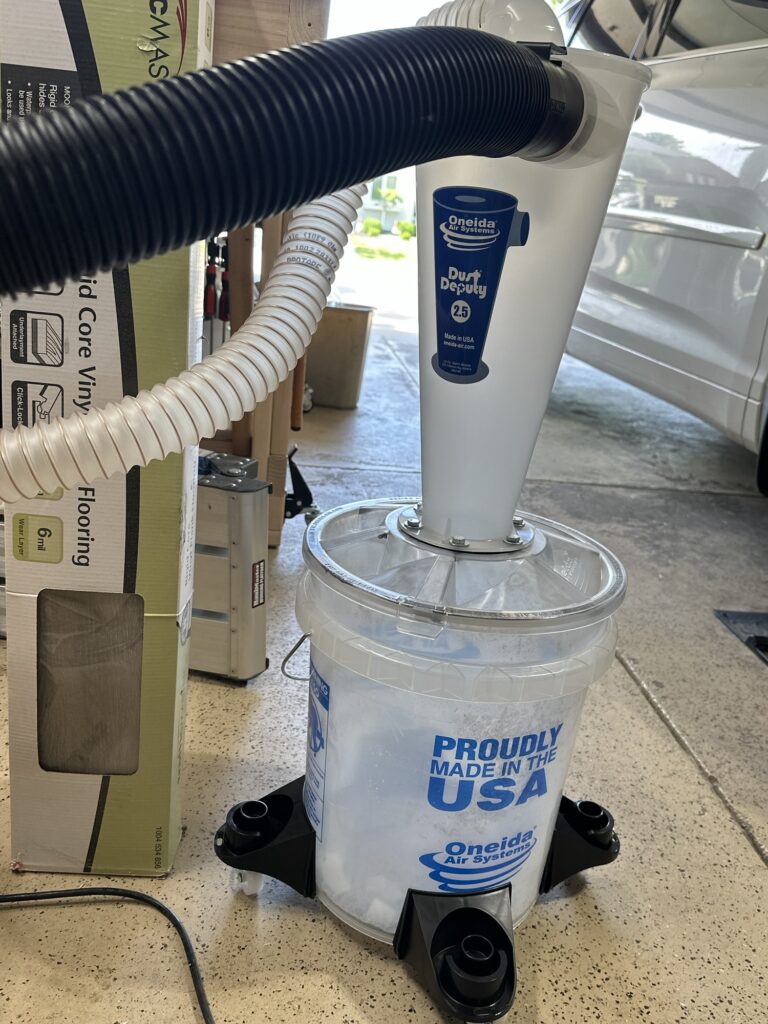
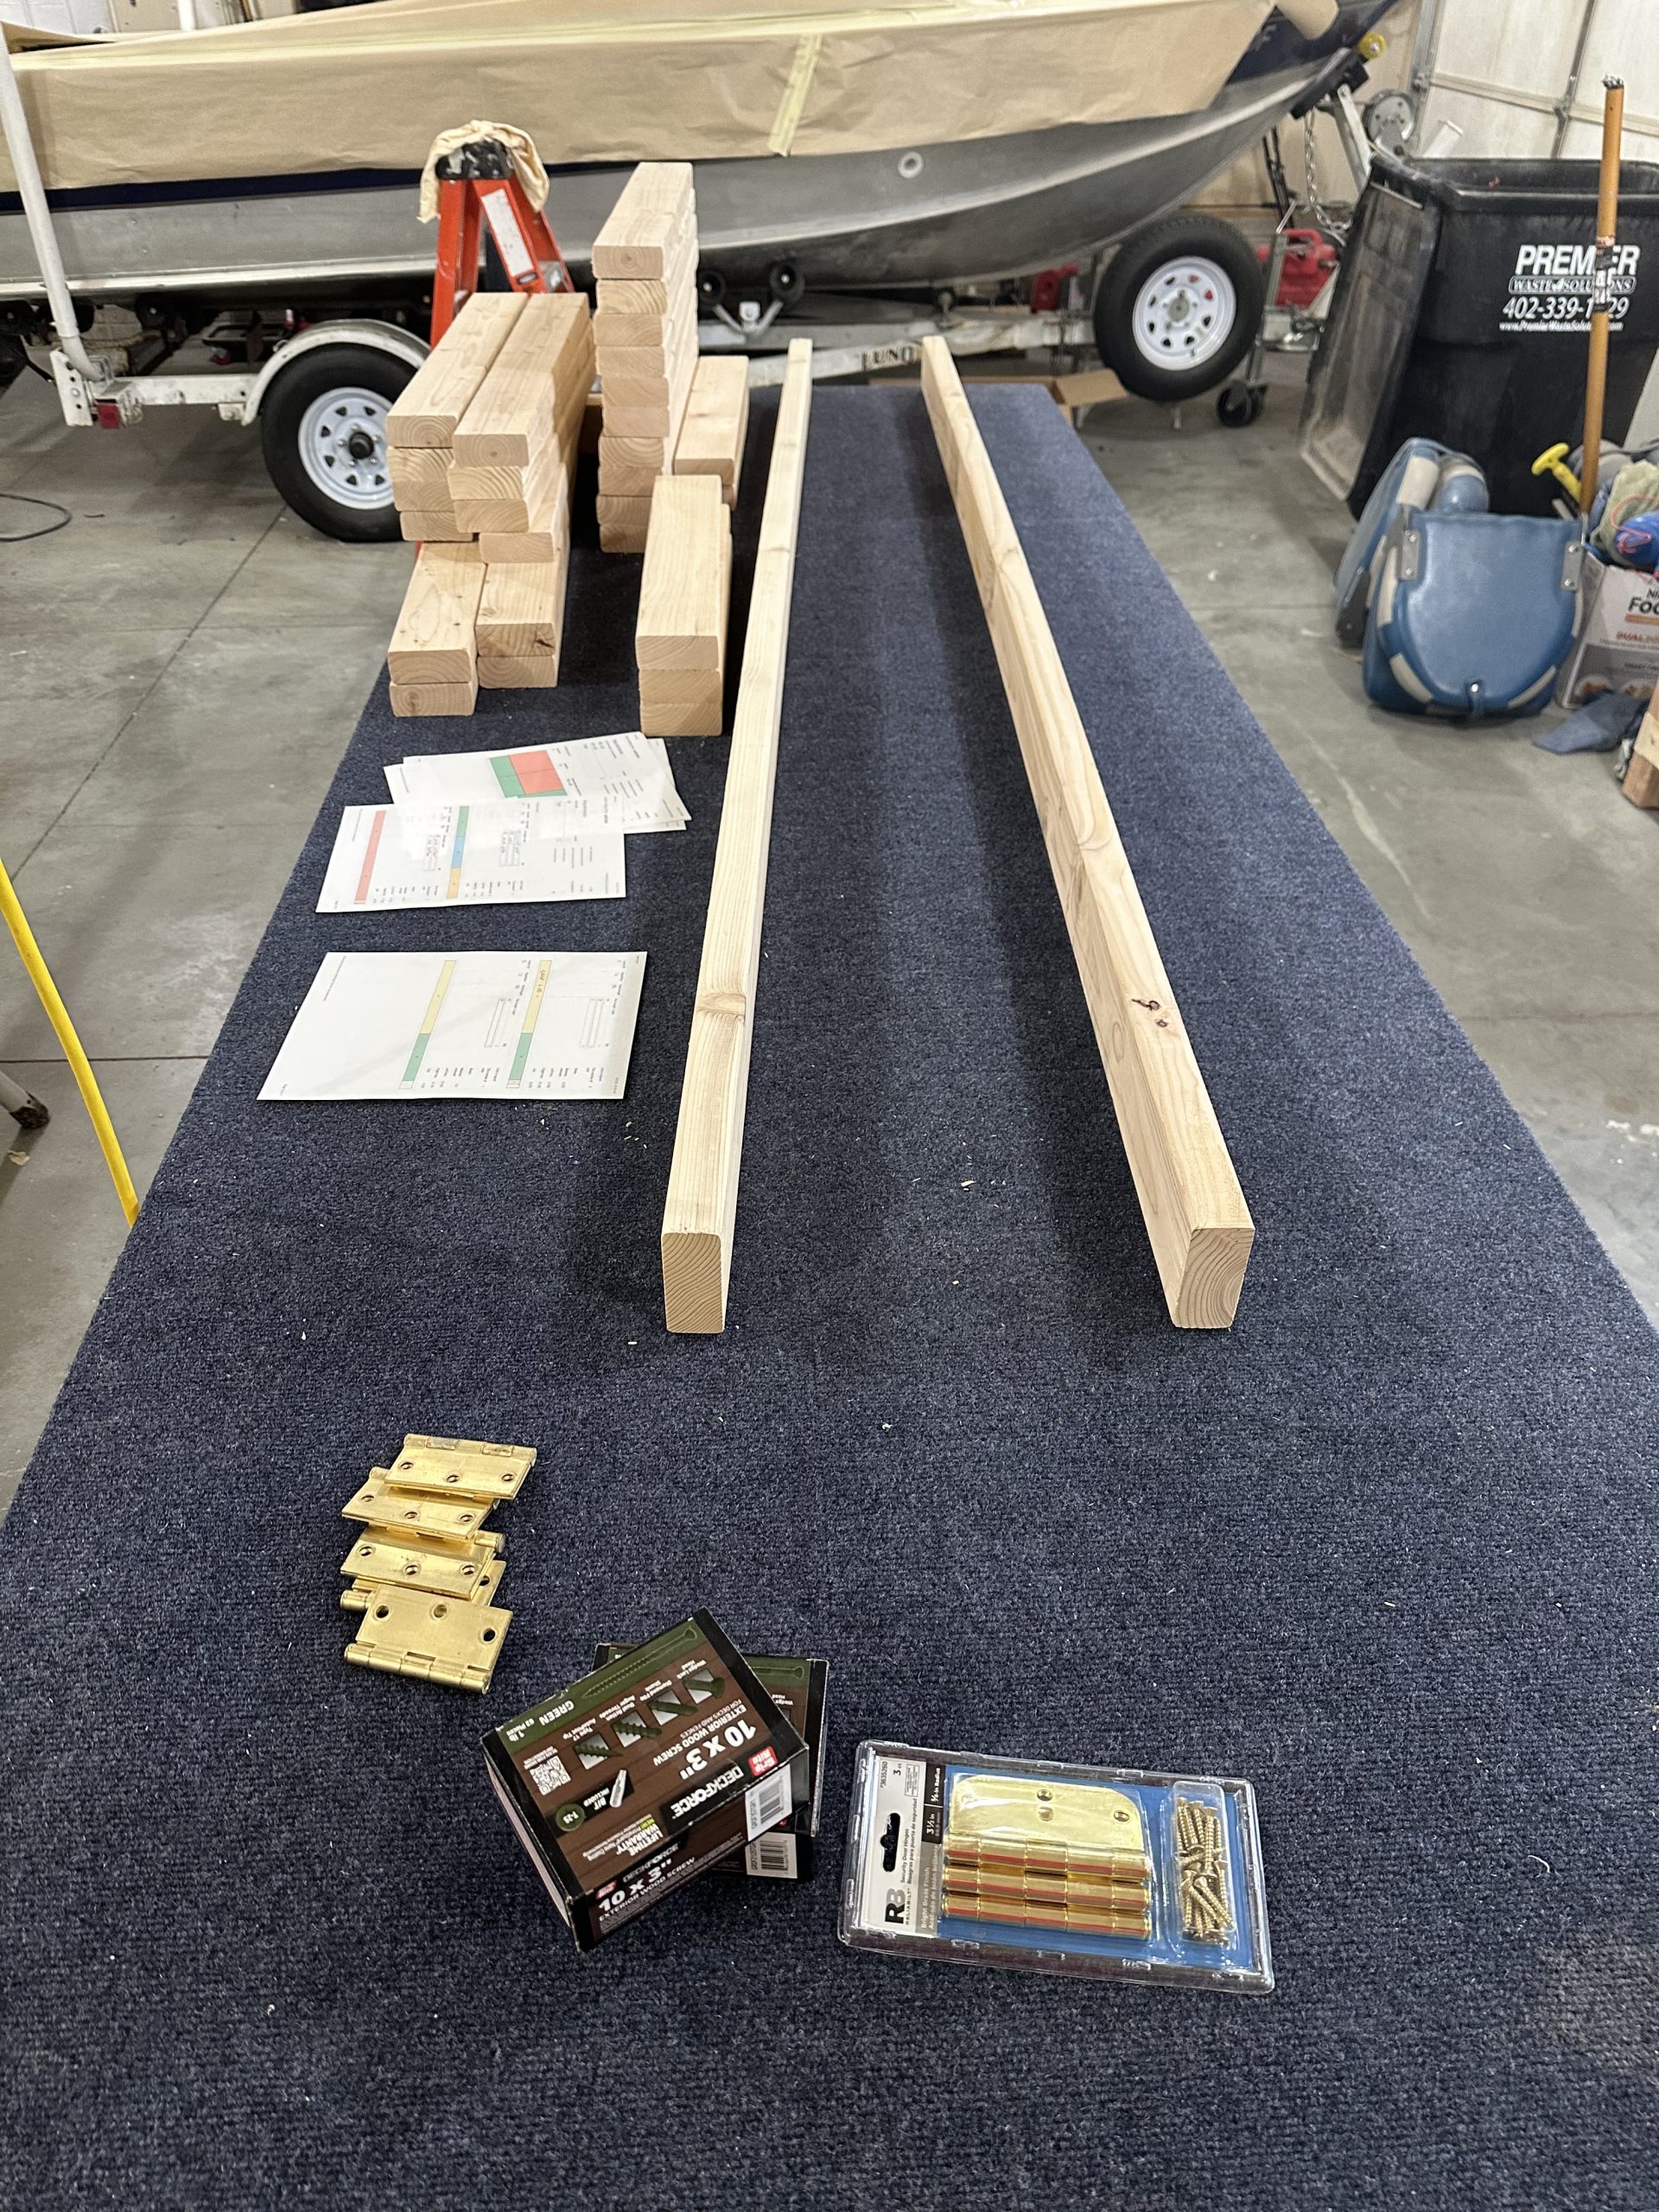
Unfortunately, as much as I’d like to clear off the remaining extension and start the next wing, I need to build some storage for the bench or things will rapidly deteriorate. I want to put a rack for clamps on the front side, and some storage drawers or at least shelves. I want the spindle sander and small shop vac in the back, at a minimum. I need to build this stuff, and for that I need either a table saw, a trip to Stu’s to use his, or some other acceptable way to cut down plywood sheets. I’m thinking seriously about a new, relatively small circular saw and some way to hold a sheet off the table so I can clamp guide rails and cut the sheets up that way. I’m going to try to get to Home Depot tomorrow for some 1/2″ ply and circular saw. I have one, but it’s probably 60 years old and I’ve been fighting it to get straight cuts – I think there’s probably something better out there. Maybe even cordless.