
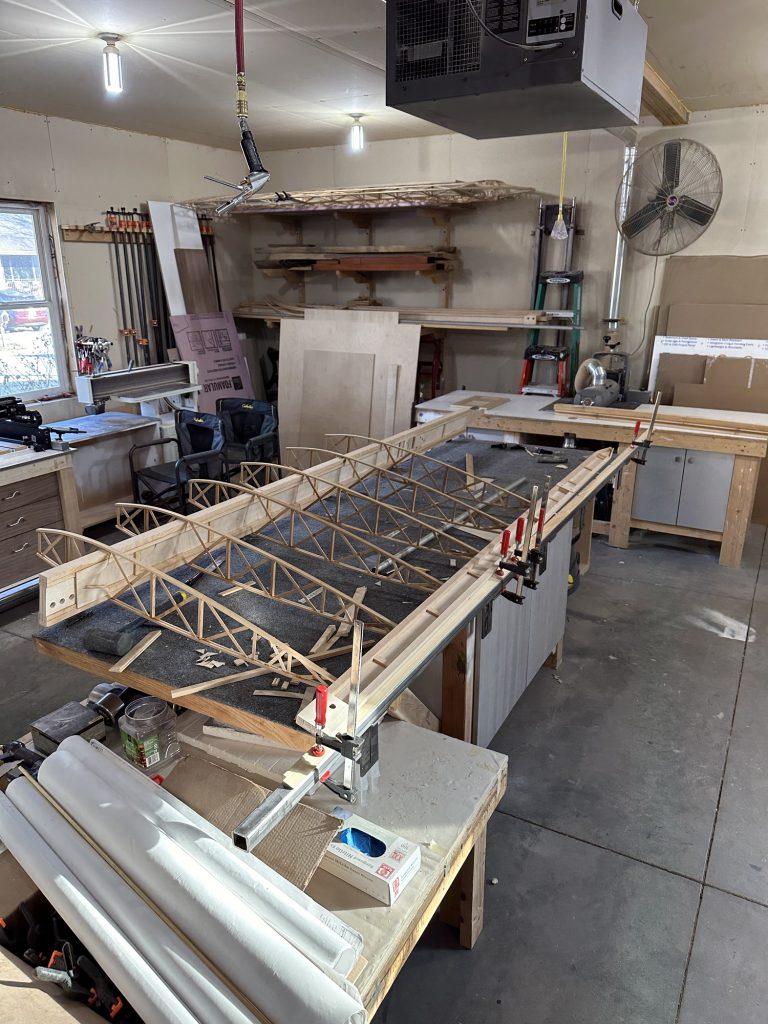
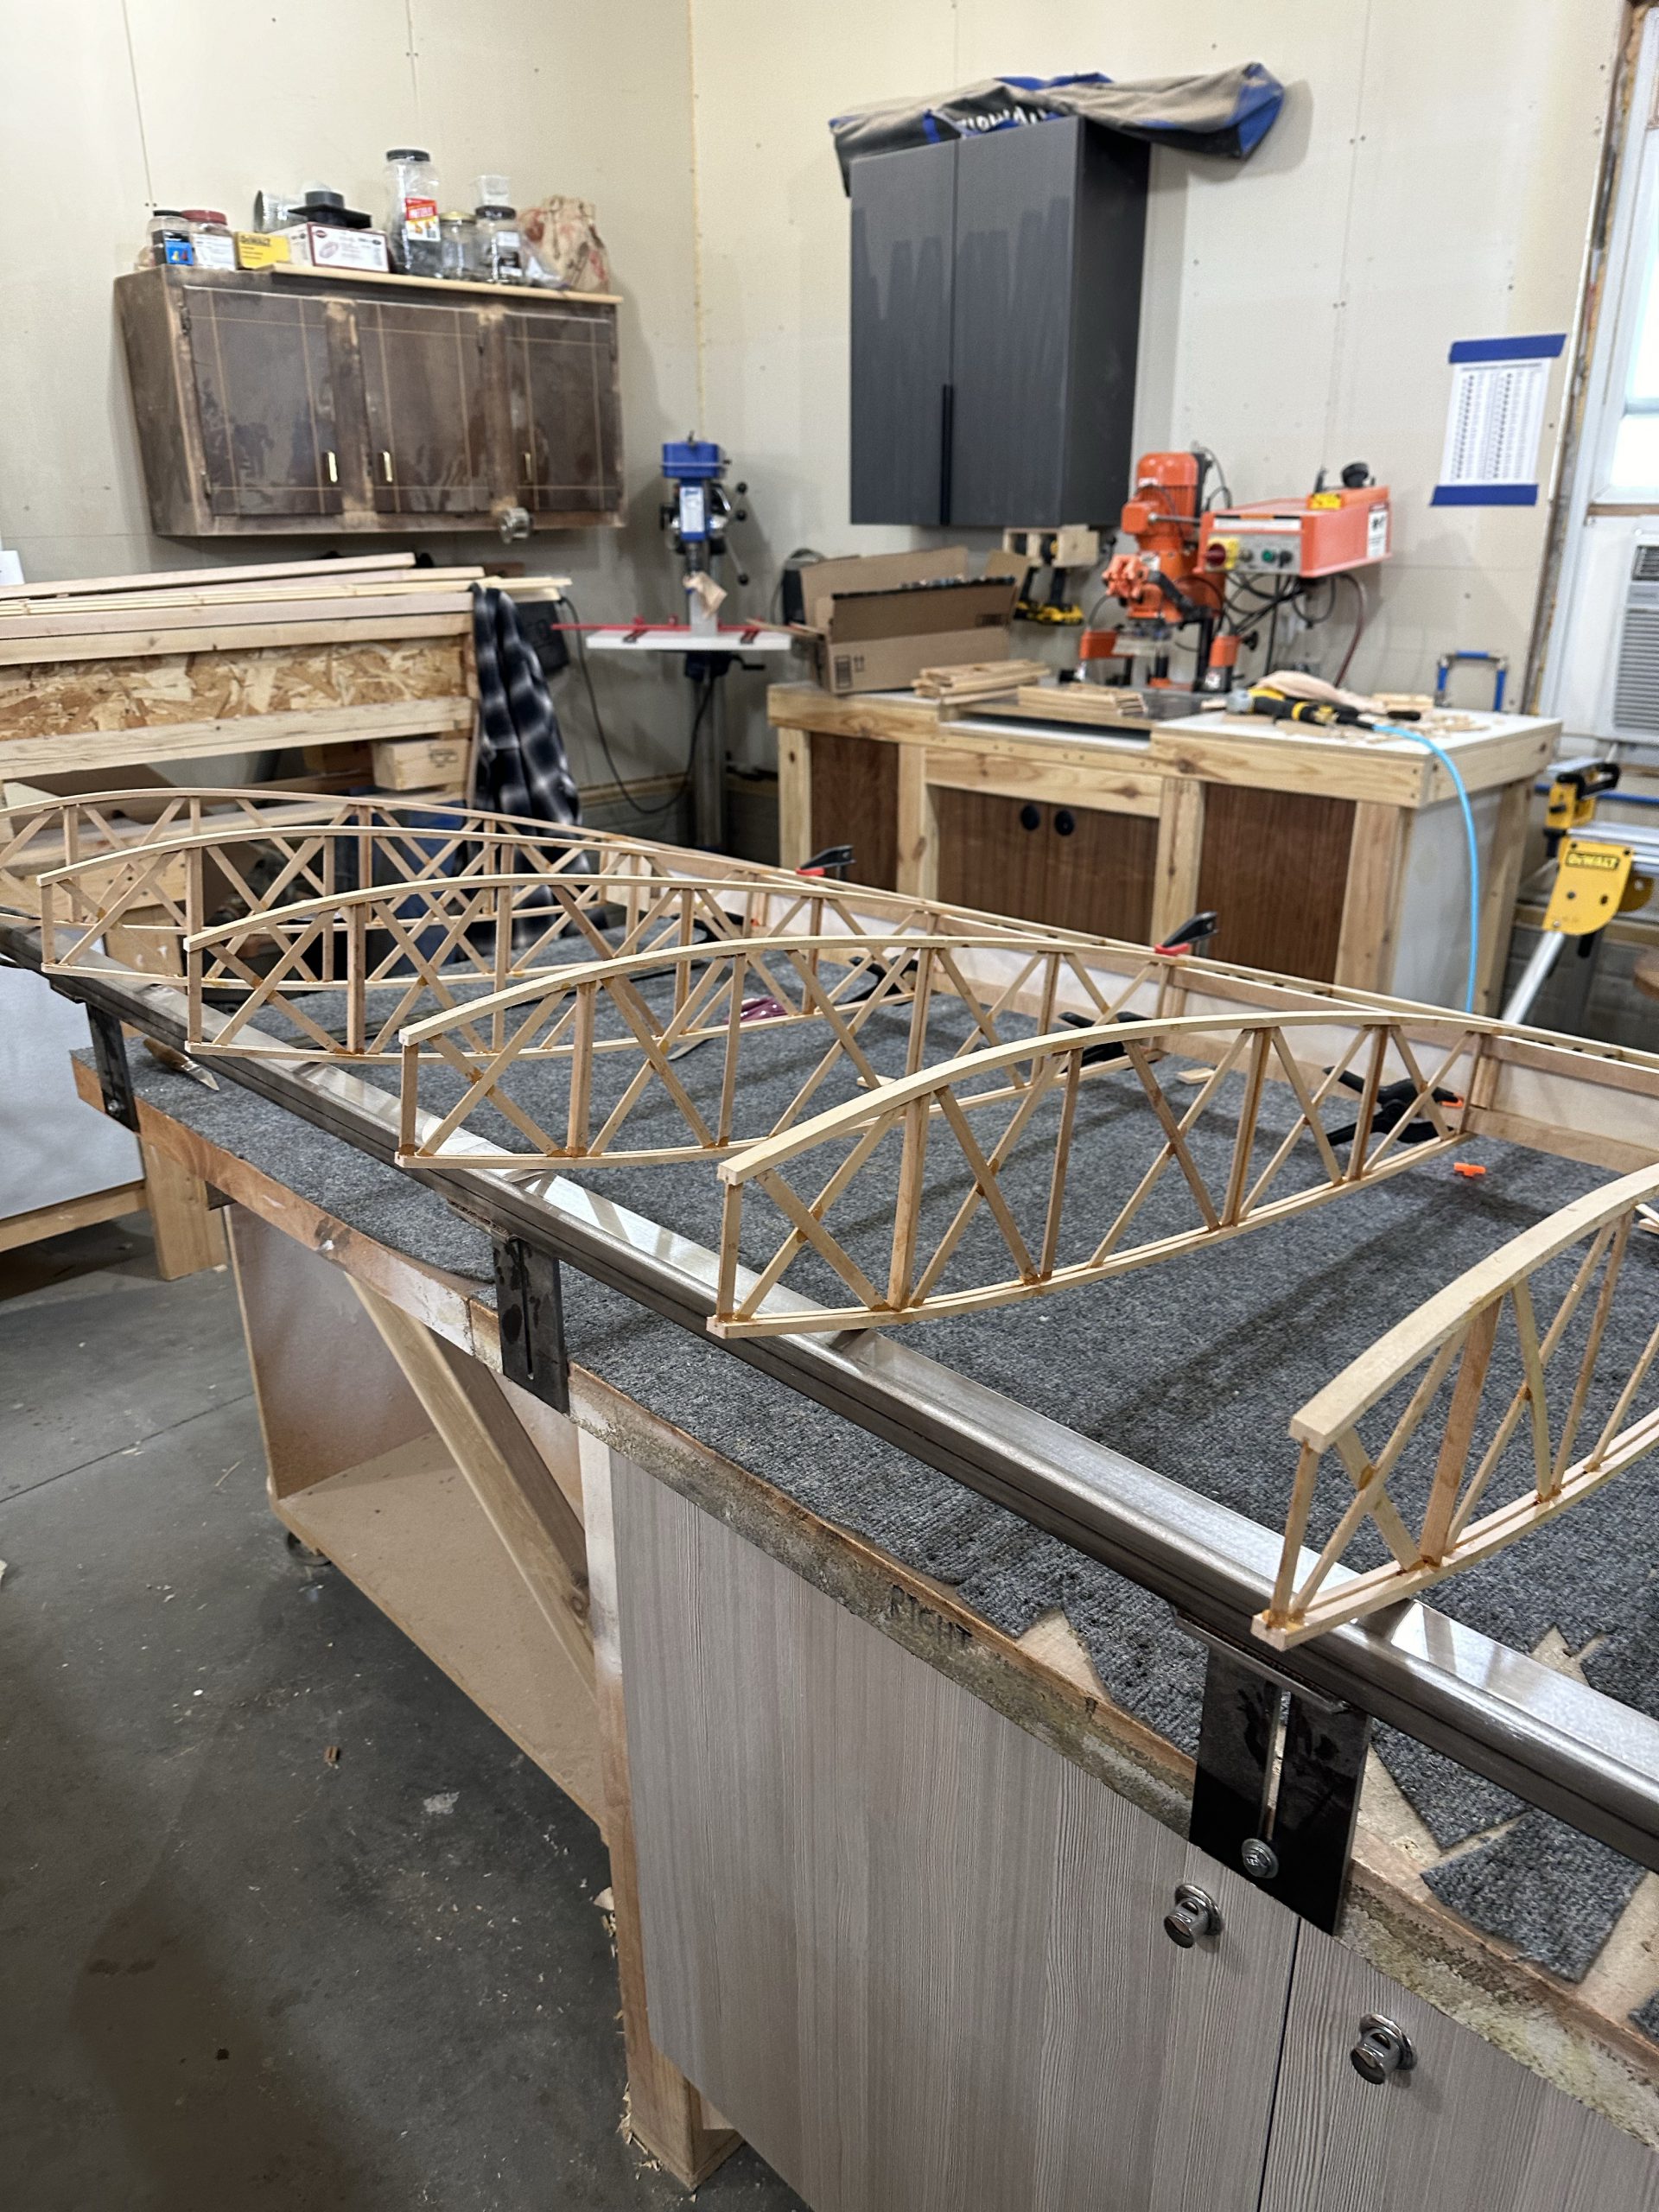
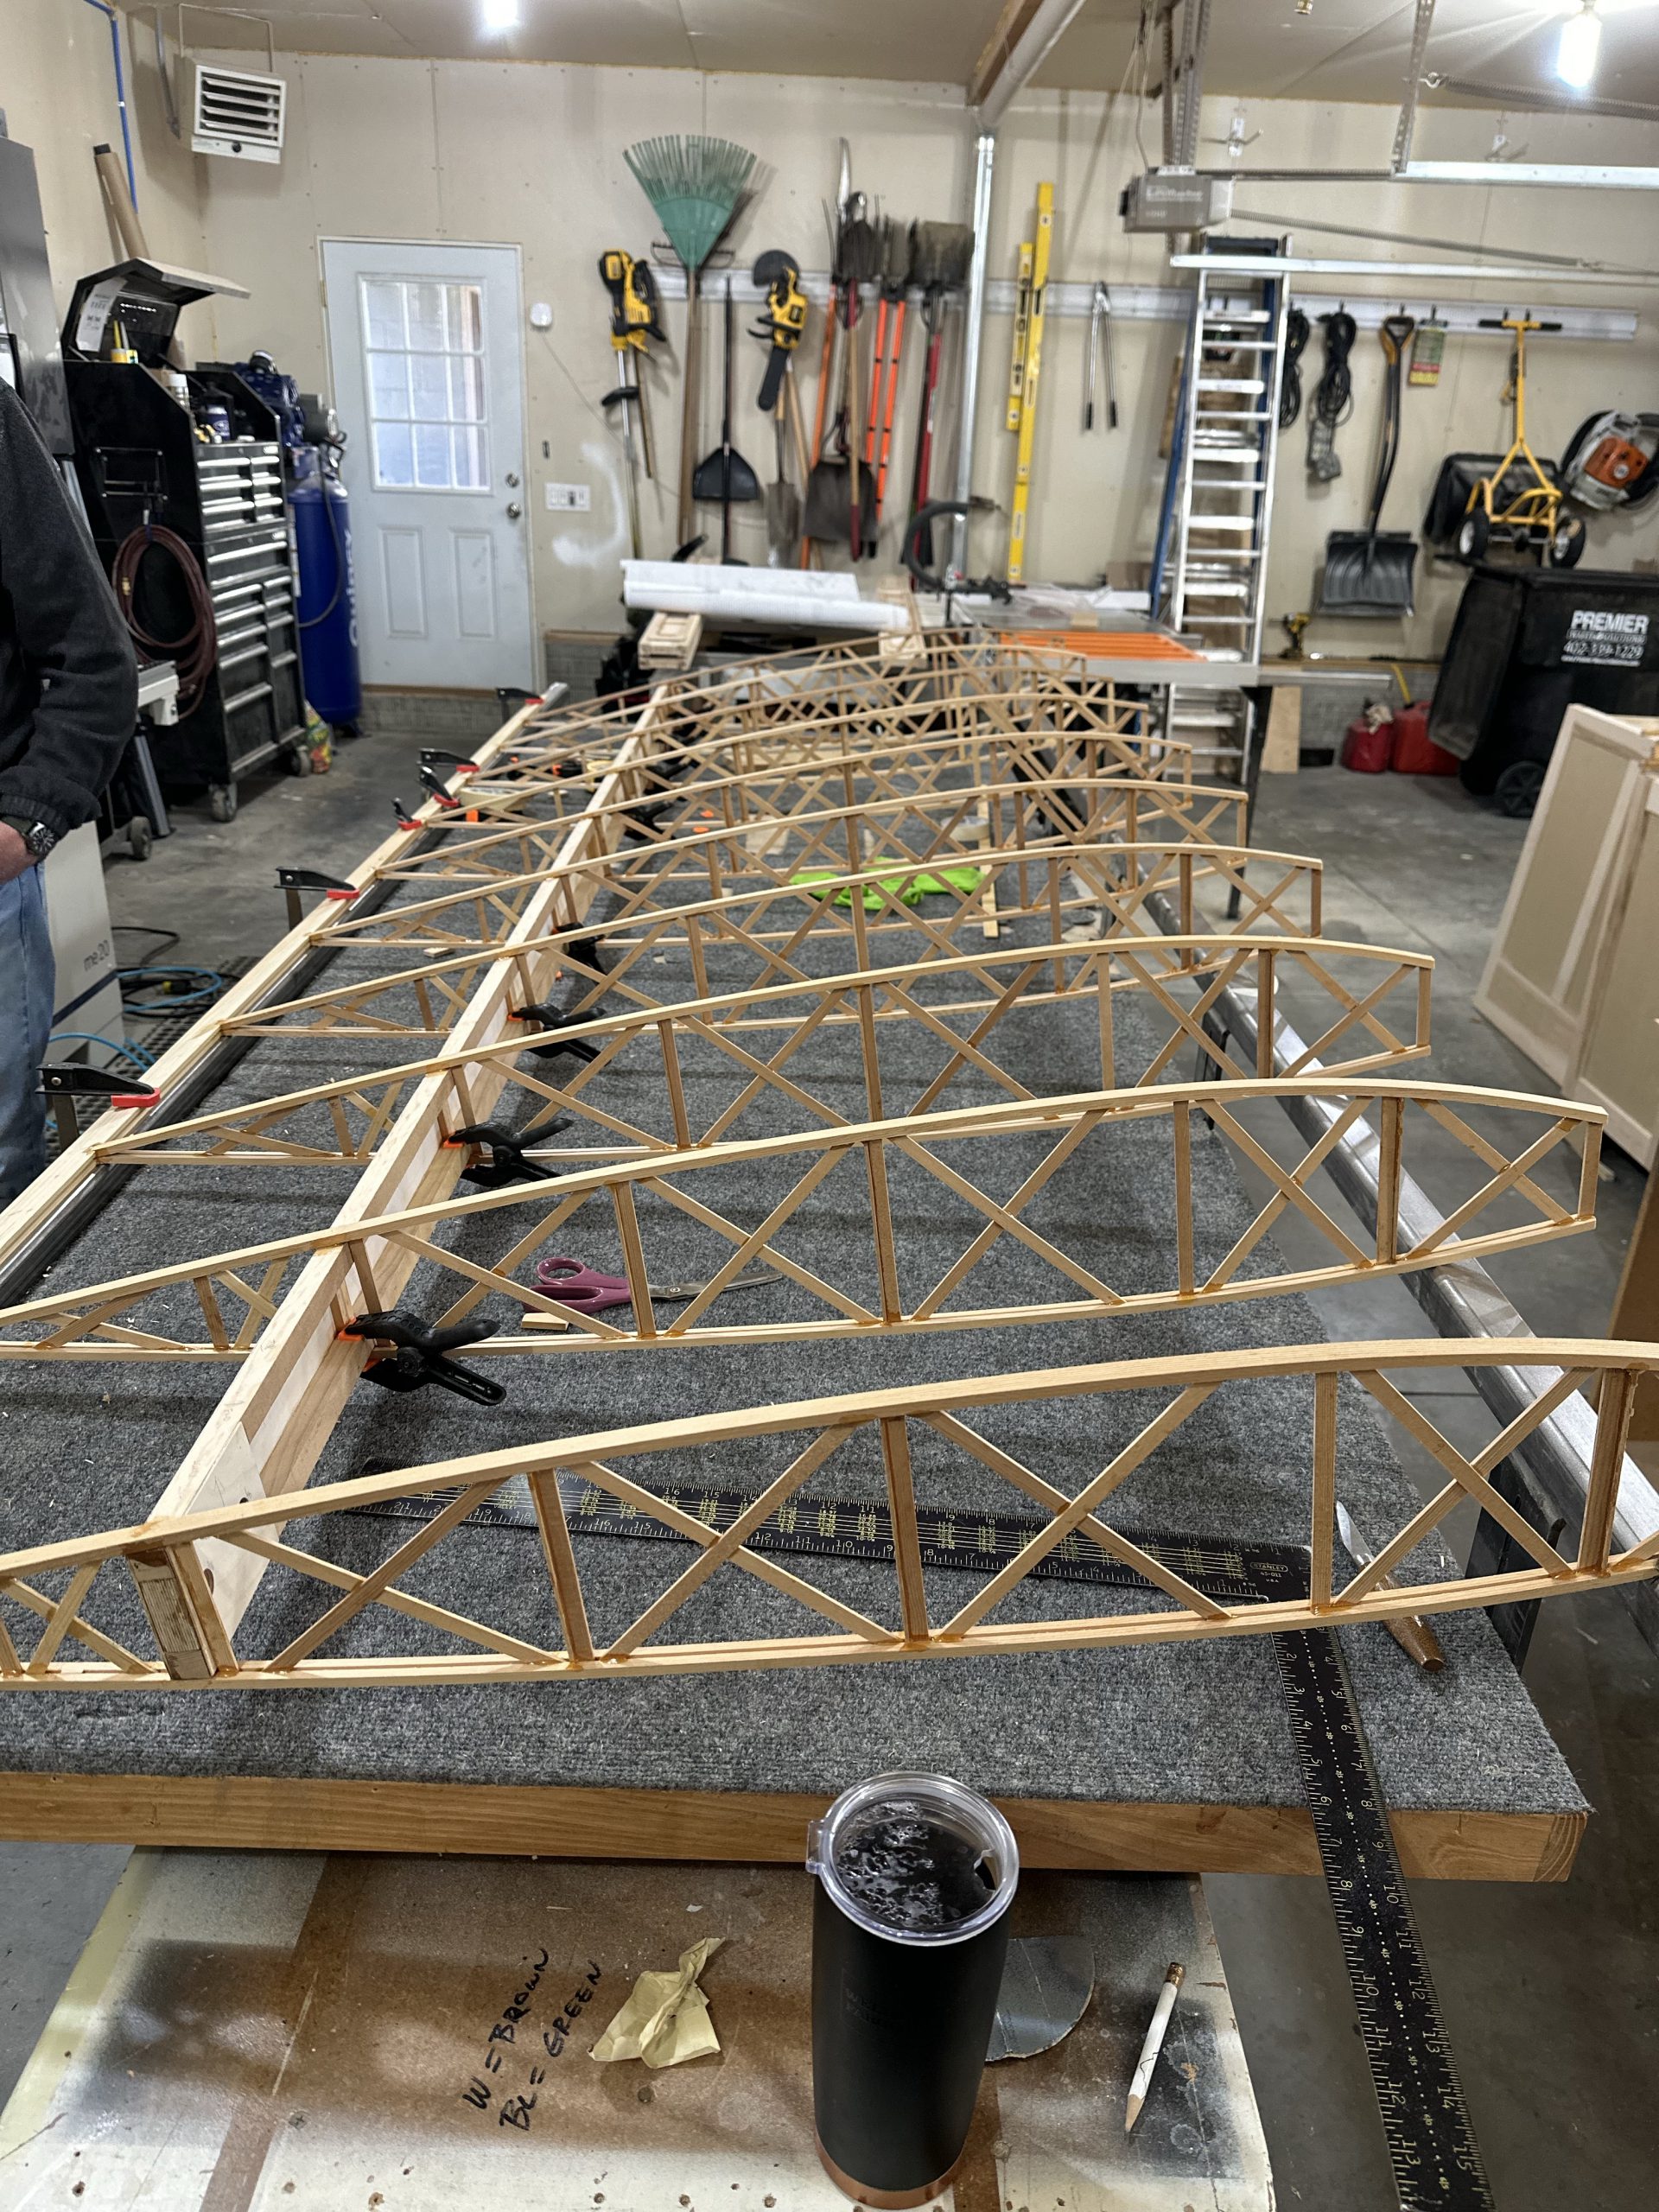
Picked up the lower right wing from Stu’s place today and got it on the bench. Finally!
New month, new wing
Yesterday I made the call to stop work on the lower left wing and start on the lower right. The remaining things to do on the first wing are all attachment hardware and pre-fabric finishing. Some of those things, like attaching the N strut and landing wire brackets, would make it more difficult to store. I think it will be better to build the other lower wing, then varnish and add the attach brackets to both at the same time.
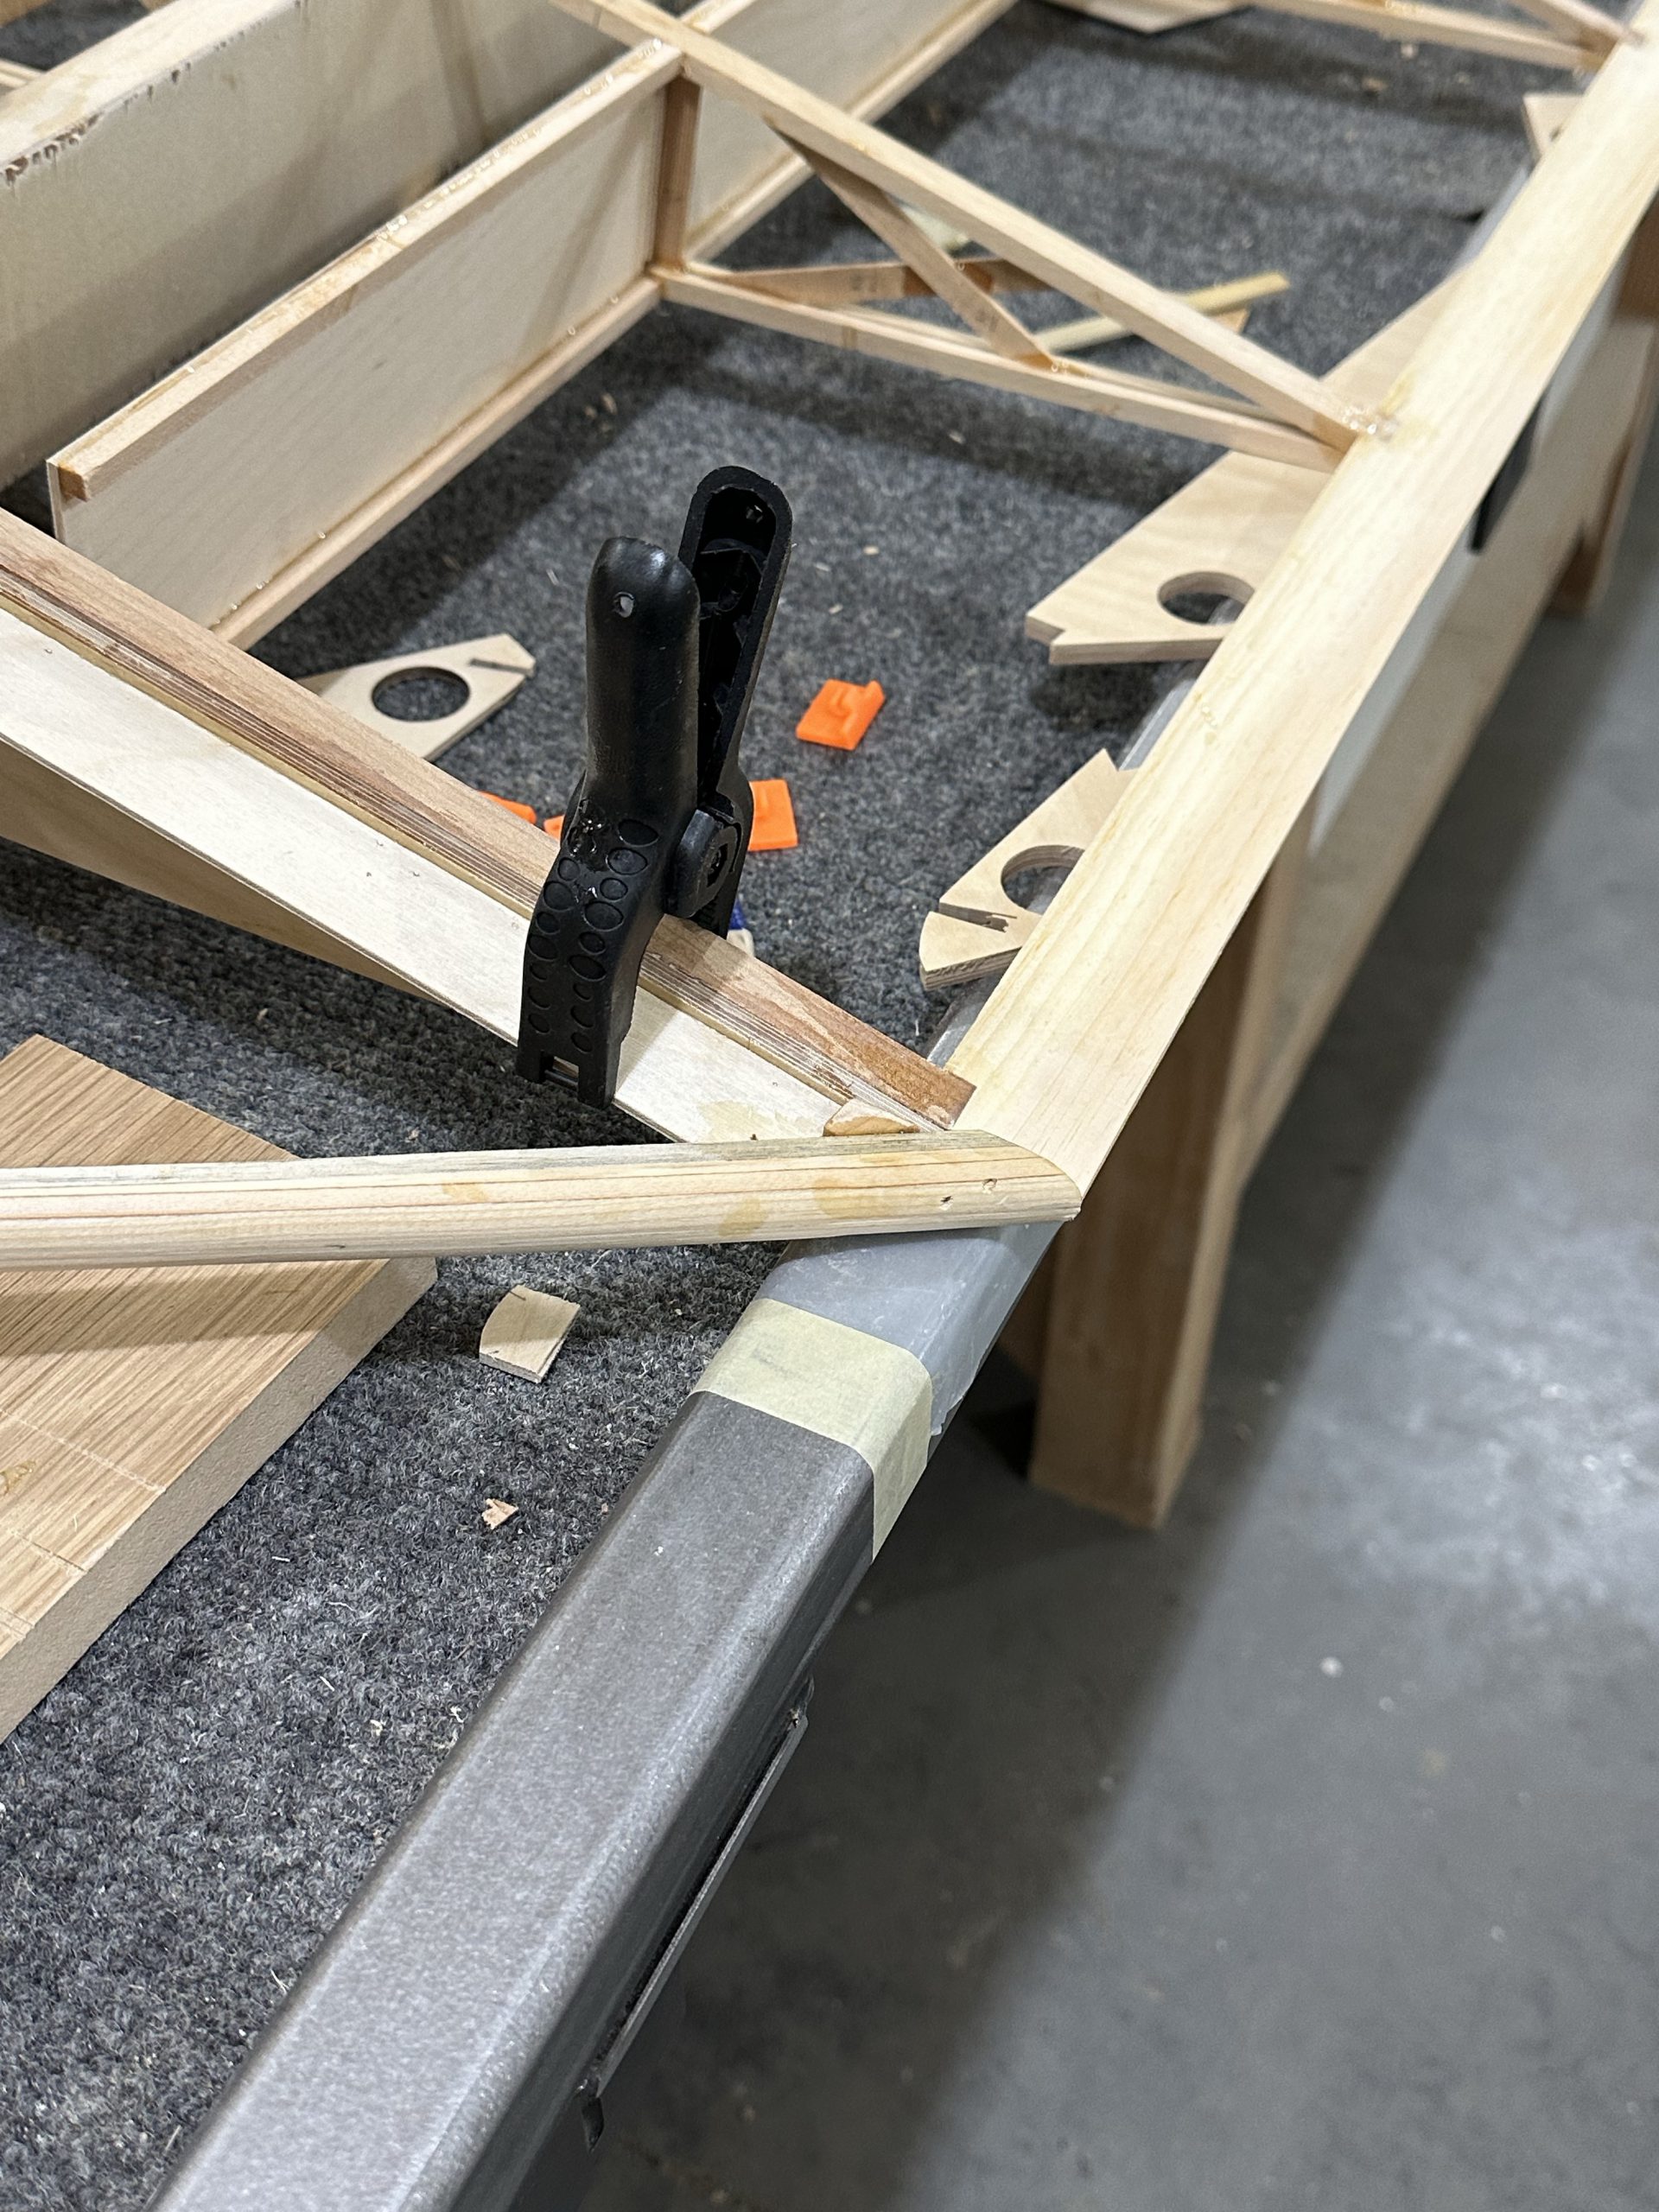
So, we put the wing on a storage rack in a corner of the shop, and I started laying out the parts for the right wing. We figured out the trailing edge pieces and got them clamped to the bench rail, then slotted in the five ribs I had over there and slid the main spar into place. I’ll need to take over another batch of ribs and get them modified as I did the other wing to clear the torque tube. I spent the better part of six months on the first wing, if you count the time spent on spars and wingtip bows. If you count just the wing assembly time, it was more like four months. A lot of that time was spent on the leading edge wrapping and aileron construction. I’m hoping I can speed that up quite a bit and have this one done quicker, even though this one will include the wing walk.
Opening 2024 with an aileron
Today I hit a pretty cool milestone – I cut the first aileron free from the first wing! Pretty jazzed about that. I trimmed up the rib cap ends as much as I needed to, and glued on the lower aileron spar and the upper stringer. Lessons learned here:
- The CW36 pieces (aileron bay end plates that hold the torque tube bearings) did indeed have the holes drilled about 1/8 or 3/16 forward of where they needed to be. Not a big deal, since those will get UHMW bearings attached to them. I did a little cutting and some sanding with a 3/4″ spindle sander drum (hand held) to get them where they needed to be.
- The CW35 pieces (aileron end plates) have the holes drilled about 3/16″ below where they needed to be. I didn’t realize at the time exactly how the whole assembly goes together, but now I do. What this means is that CW35 on each end is too high to match the profile of the ribs. The top will need to be very carefully marked and cut or sanded to match the rib caps, and the bottom will need to be filled with some spruce or pine scrap. Lesson learned; for the other three wings I’ll re-cut those holes to match the holes in the CW34 pieces. I’ll do that by gluing up the CW34/CW35 stack with the profiles aligned; once dry I’ll use the spindle sander with a 3/4″ spindle to make the hole in CW35 match those in CW34.
The next issue to deal with will be the thickness of the CW37 pieces. The plans clearly show it as 1/4″ thick, but the supplied stock is 1/2″ thick. It’s used on the top and bottom of the aileron bay. Once I have the aileron completed – CW35 bits corrected and plywood attached – I’ll need to install the aileron with the torque tube in place and figure out exactly how to finish out the aileron bay.
First wingtip bow
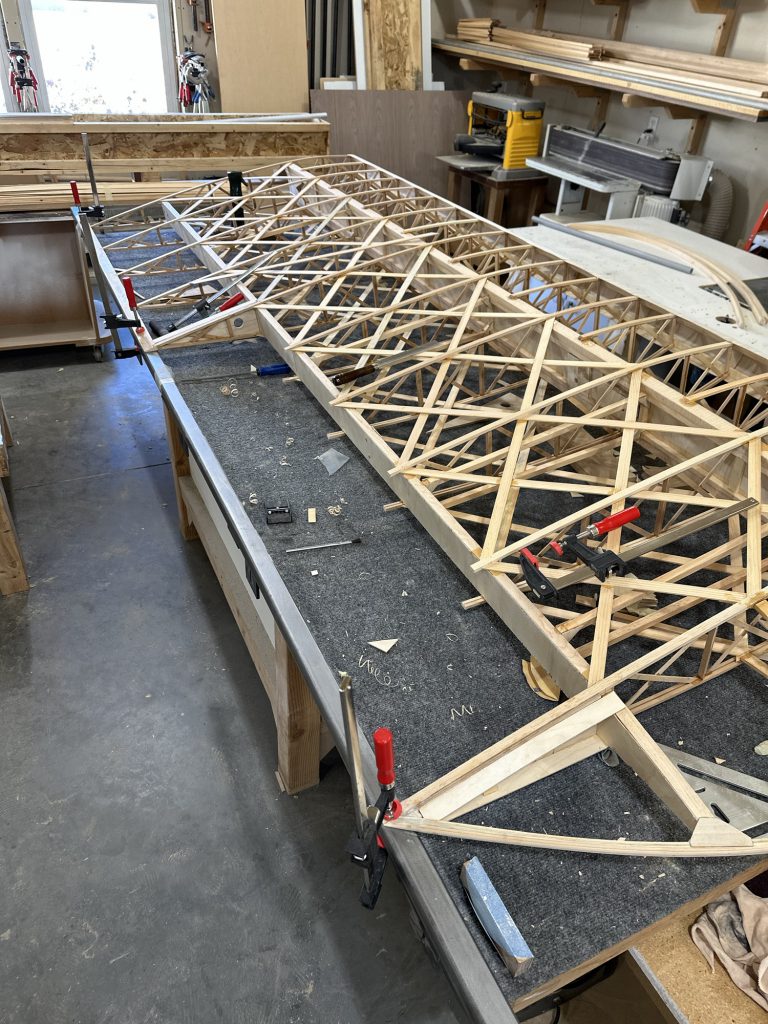
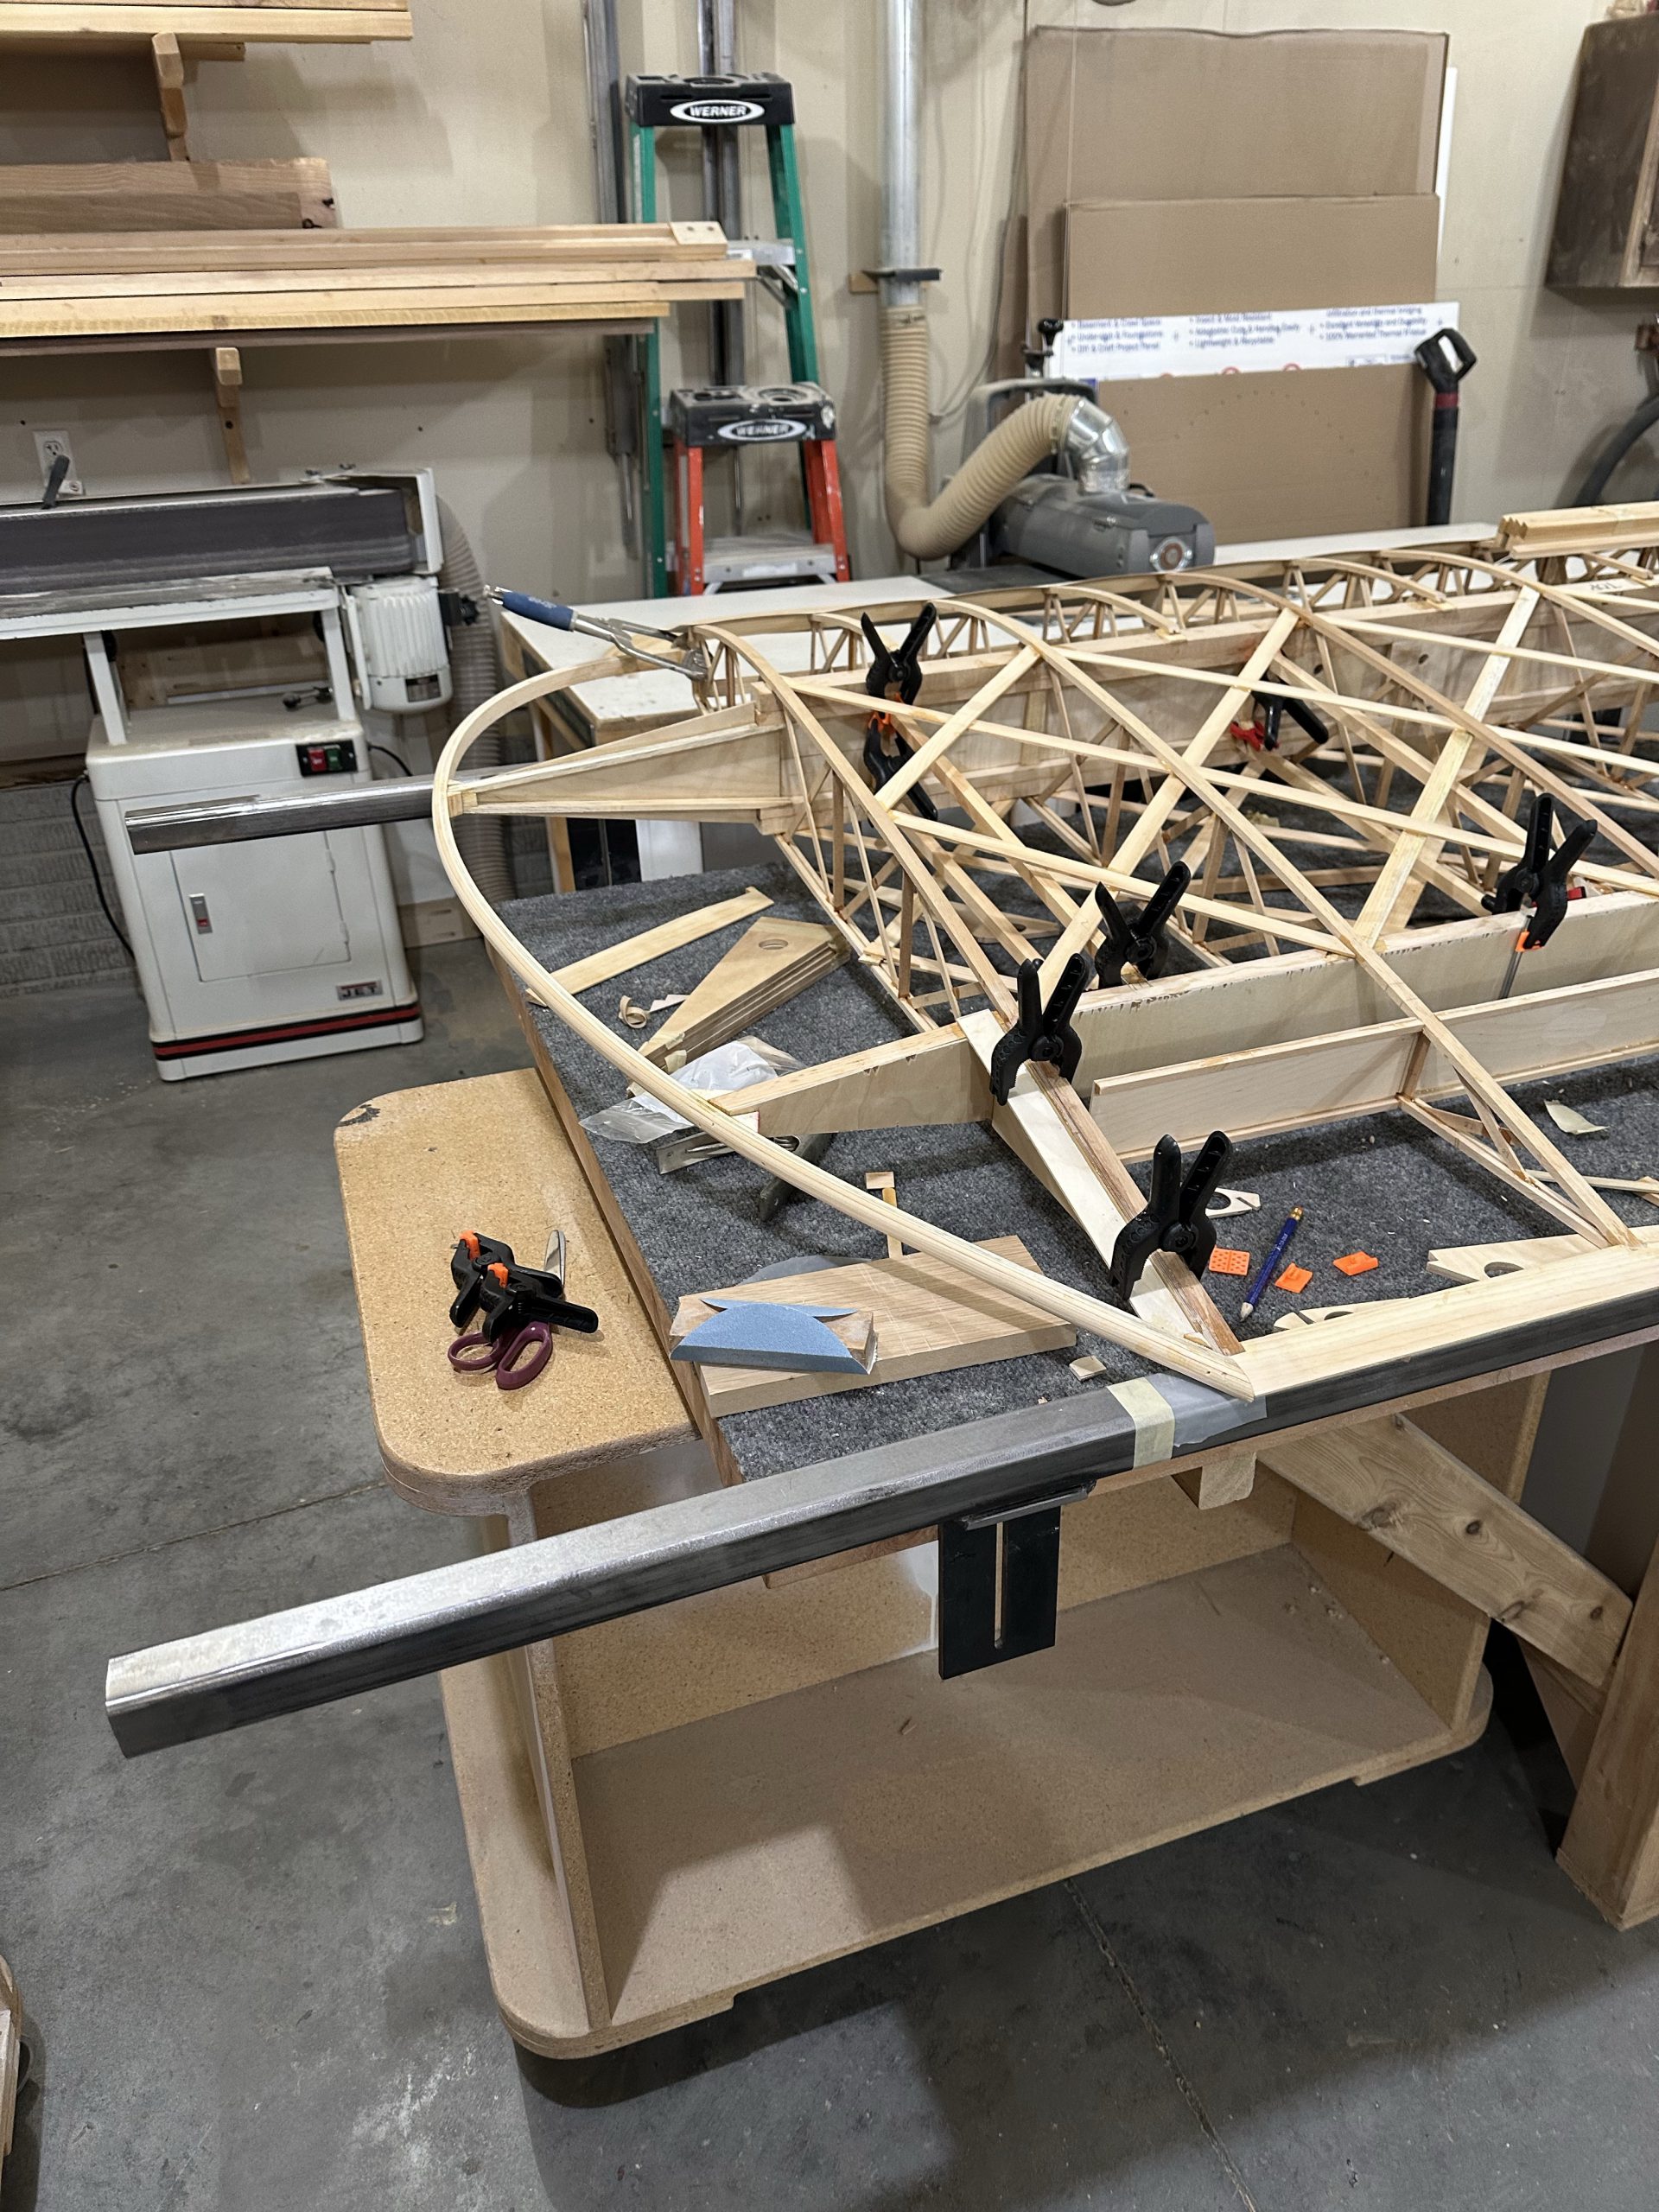
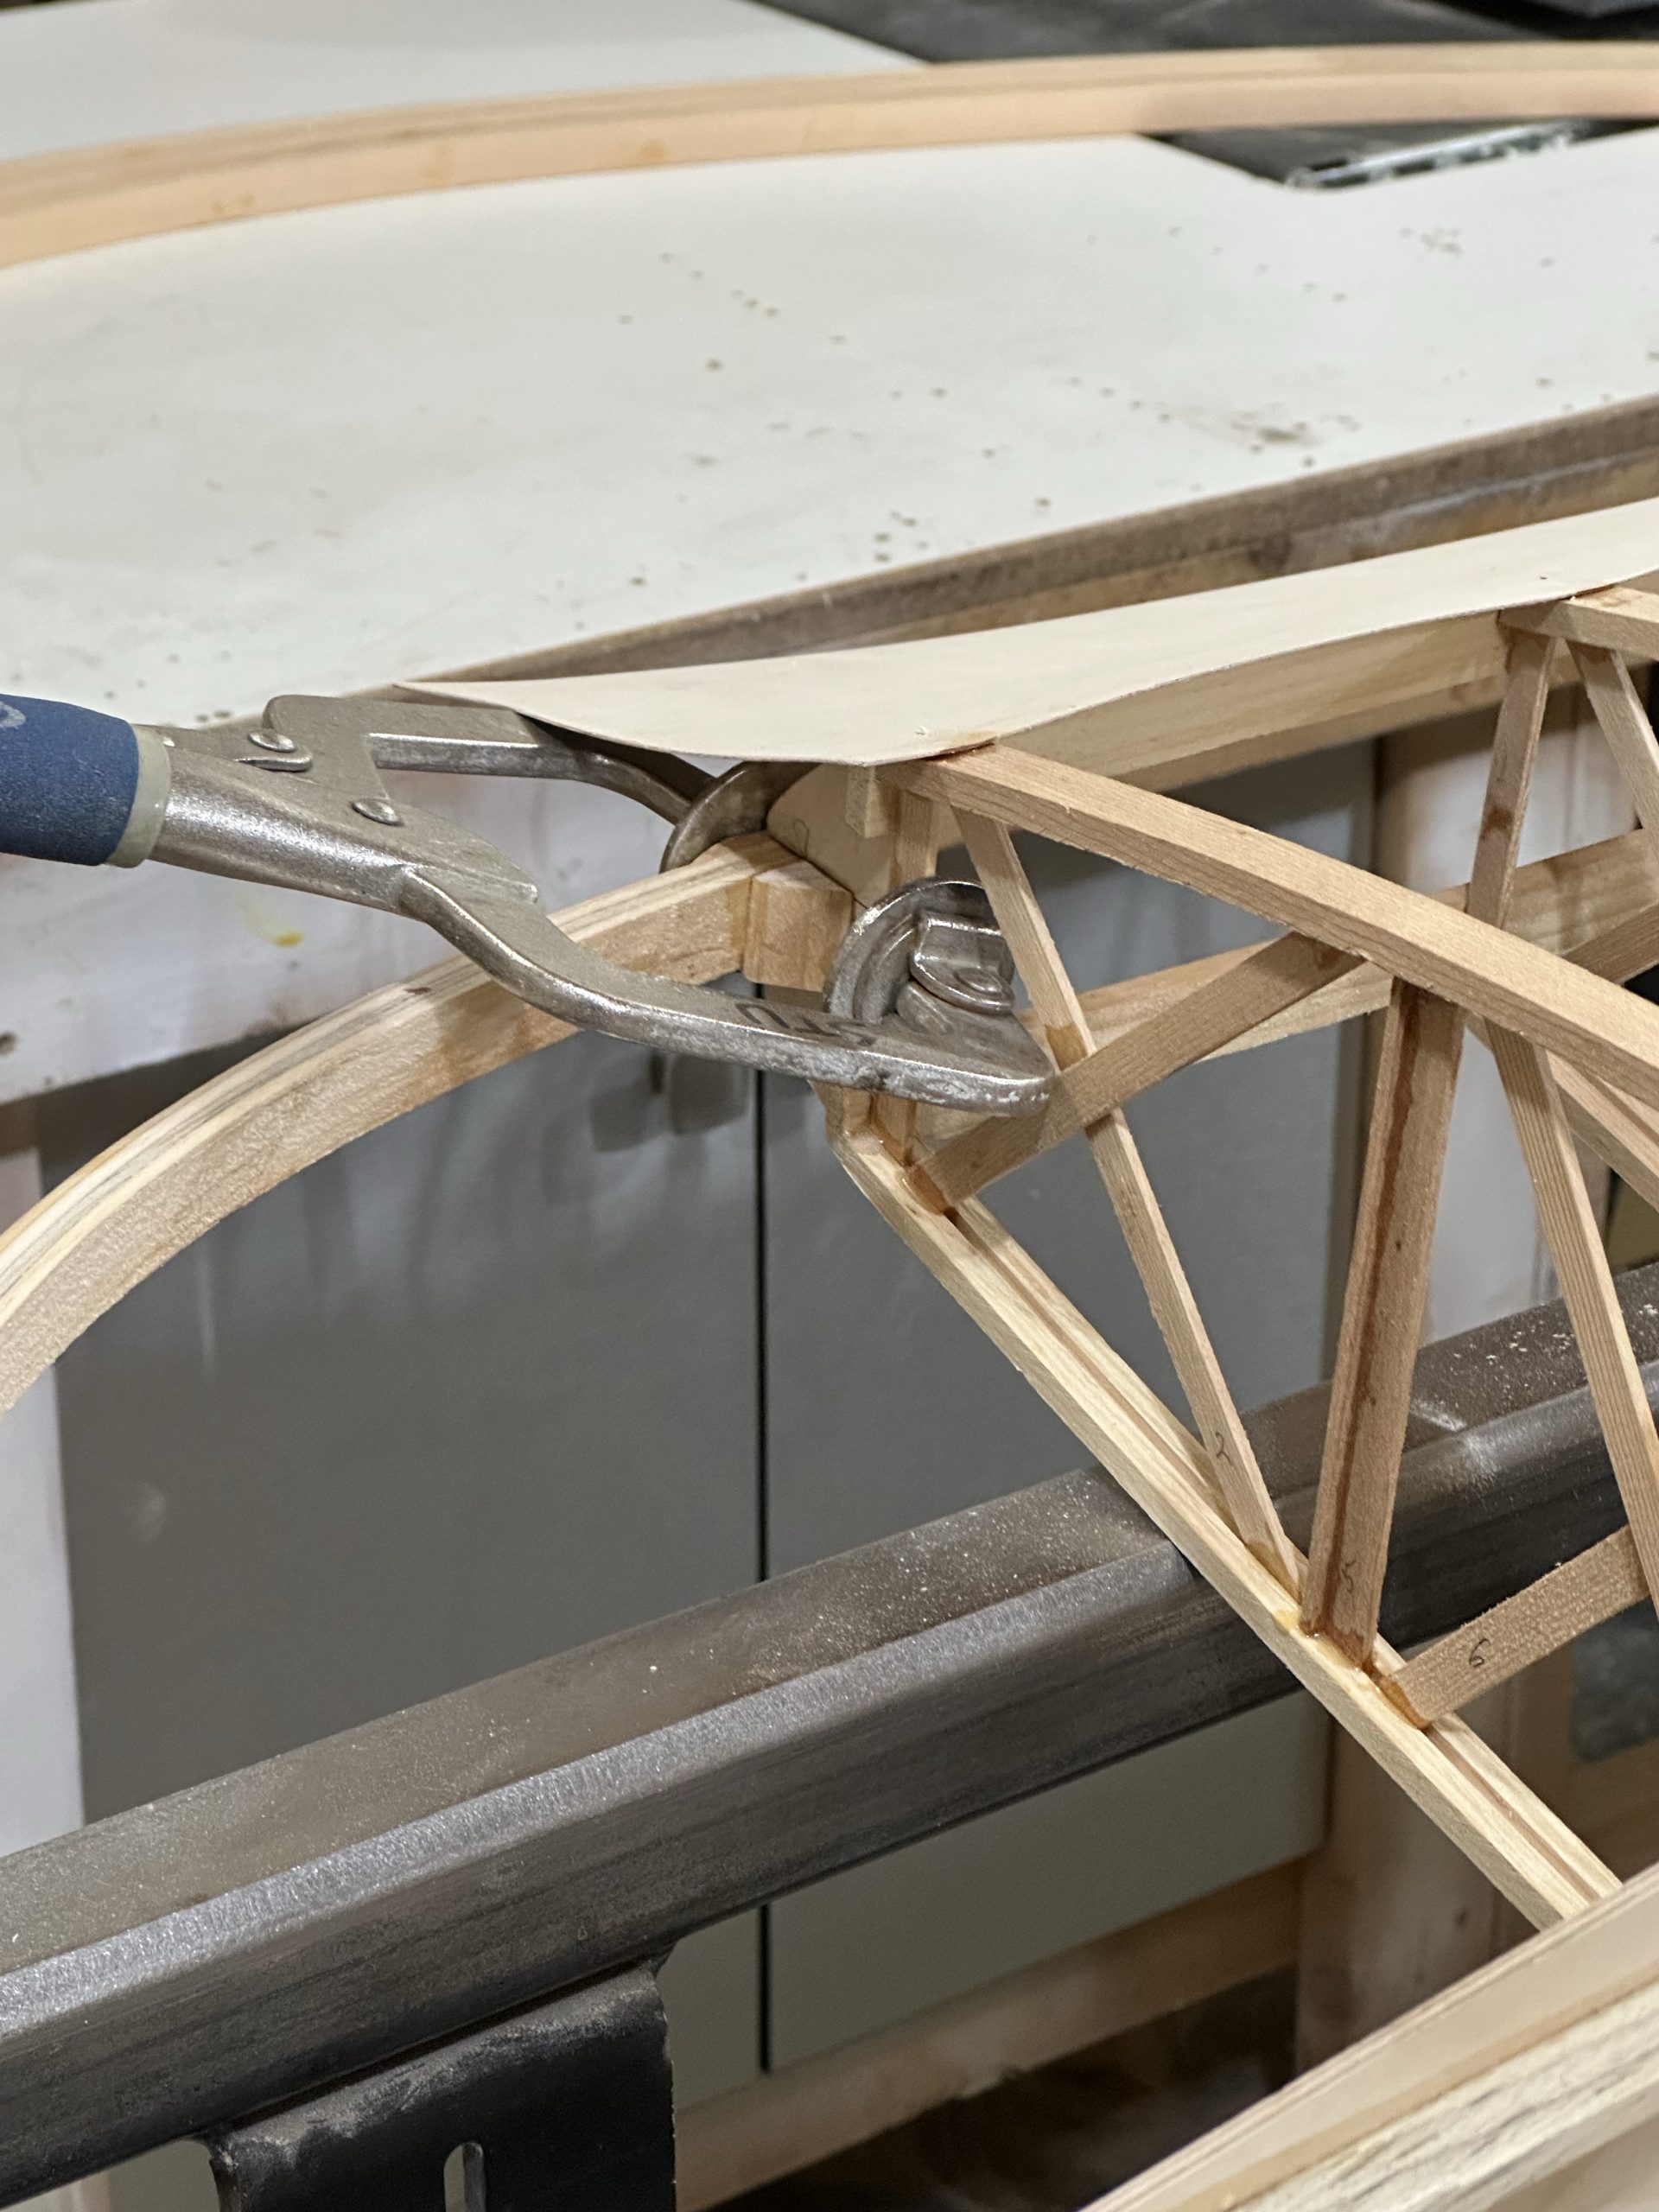
On Monday night we got the wingtip bow put in place and corner blocked. It’s looking very much like a wing now! I also received my order of plywood from Spruce, so was able to cut and glue in the gussets for the compression struts.
Of course there is still work to be done. Some additional bracing needs to be installed for the bow, and the trailing edge will need to be sanded to match the contour of the wing trailing edge. Details, details.
Yesterday I picked up three 12′ long sections of 6061-T6 aluminum tubing. Two of these will become lower wing aileron torque tubes, and the third will become the torque tubes for the upper wings. None of that stuff does not come cheap, I’m telling you. I’ve pretty much blown my materials budget for the month. But, at least now I can continue with aileron construction – once I get back over there to the shop. My darling wife is sick and has tested positive for COVID, so I’m avoiding getting close to anyone for a while just as a general precaution. Once I know I’m not contagious I’ll get back over and get that tube cut to length and resume work.
Lower left wing assembly
I chose the lower left wing to start with since it is the simplest of the four. The lower right will get the wing walk, and the upper wings get a diagonal cut on the inboard bay.
This morning I pulled the first two wingtip bows from the forms; they look pretty good. I mixed up about 40cc of glue and started gluing up all of the strips for the second pair of bows. Had to mix another 10cc, so if I ever do this again I know it takes 50cc per pair of layups. I got them clamped into the forms and slid the table as far out of the way as possible.
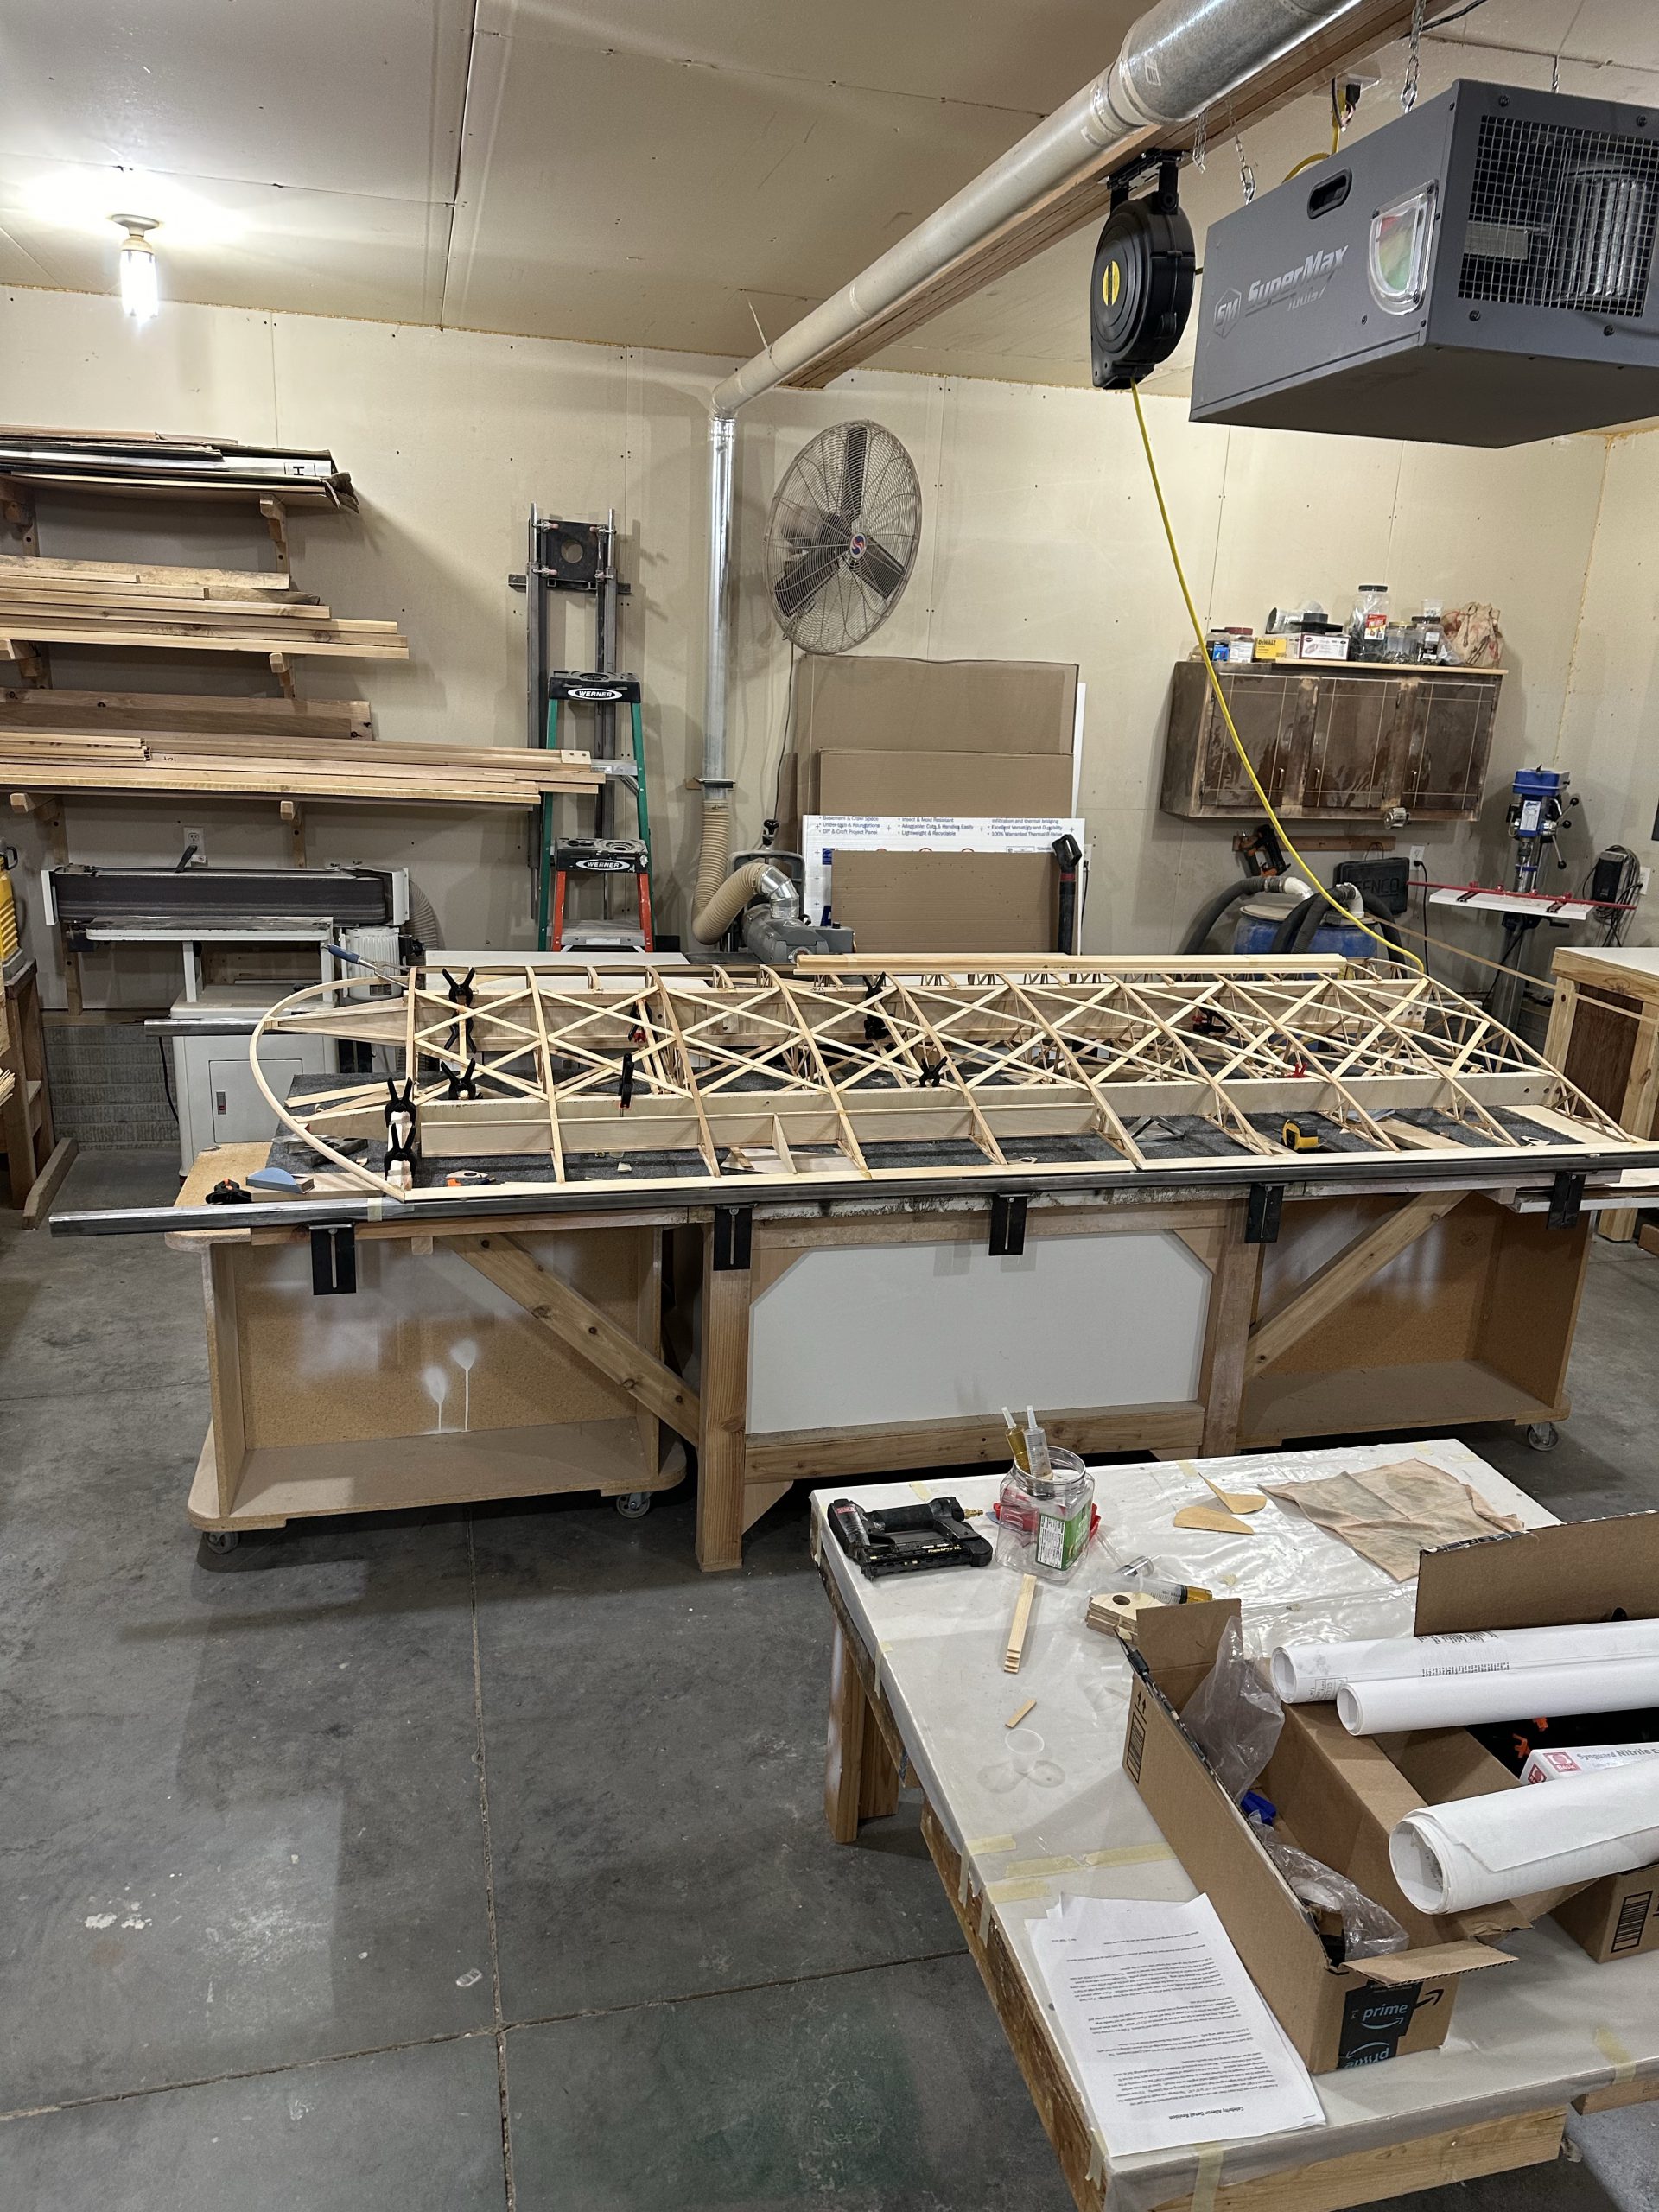
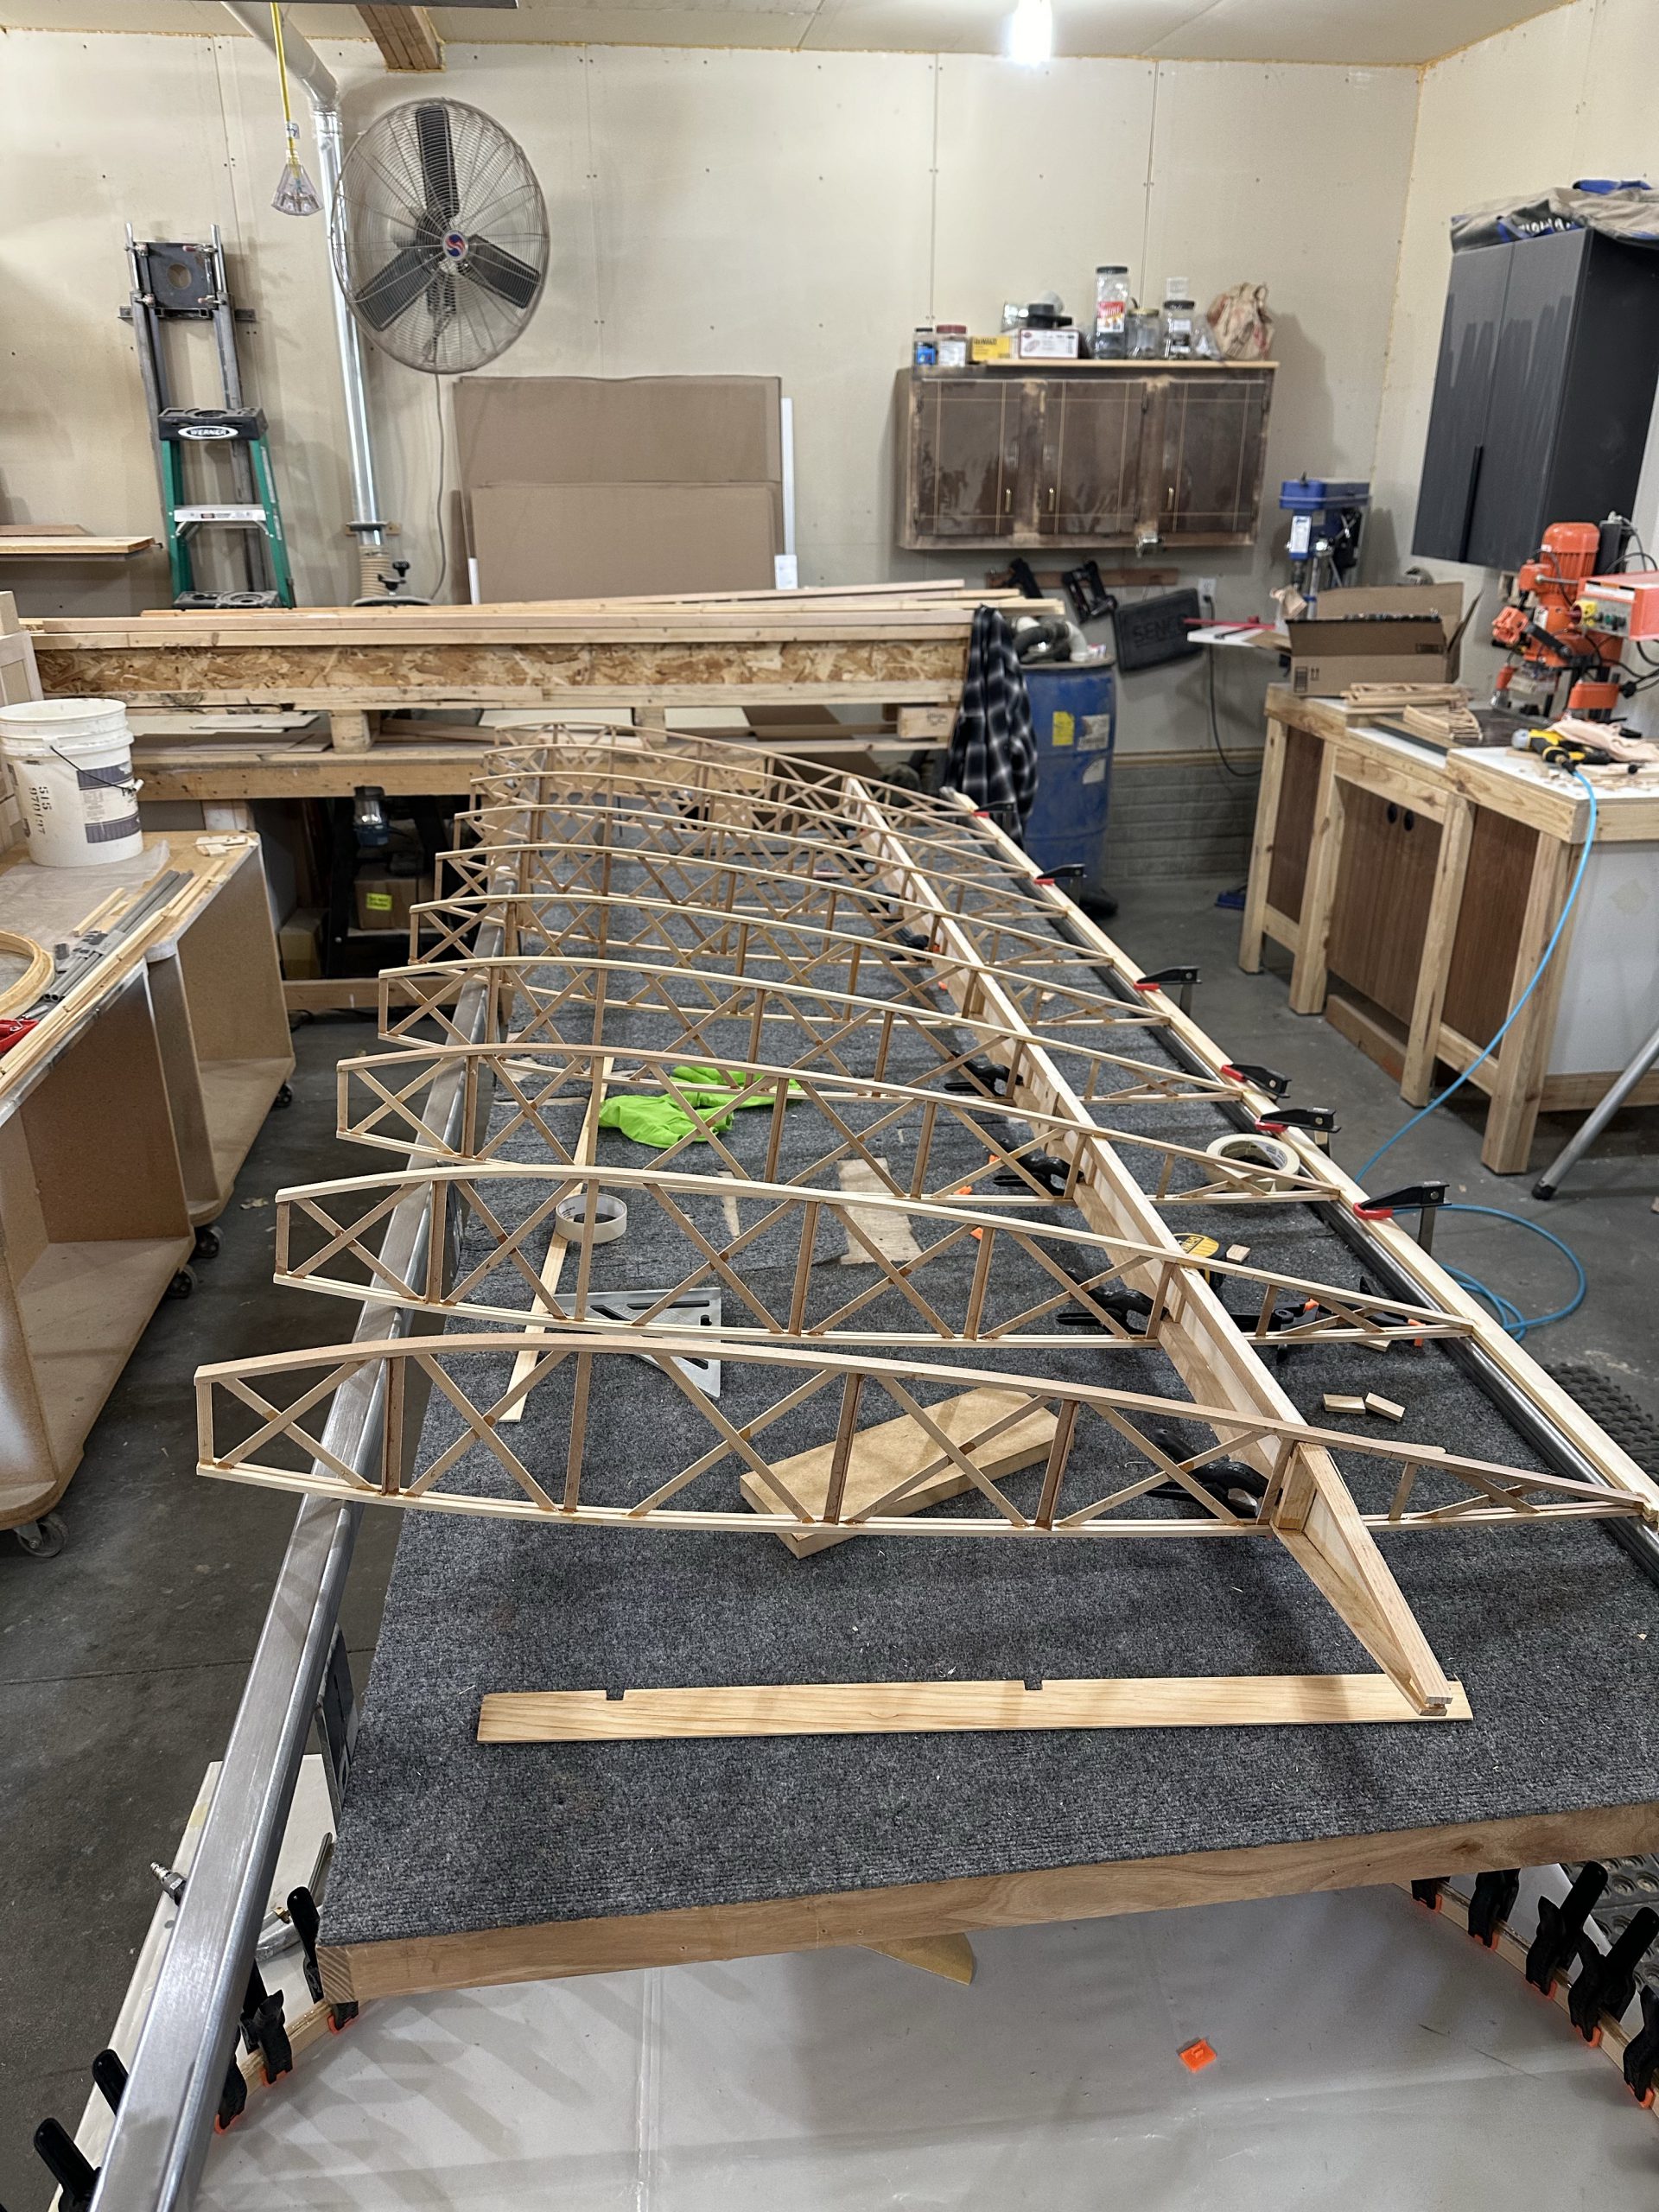
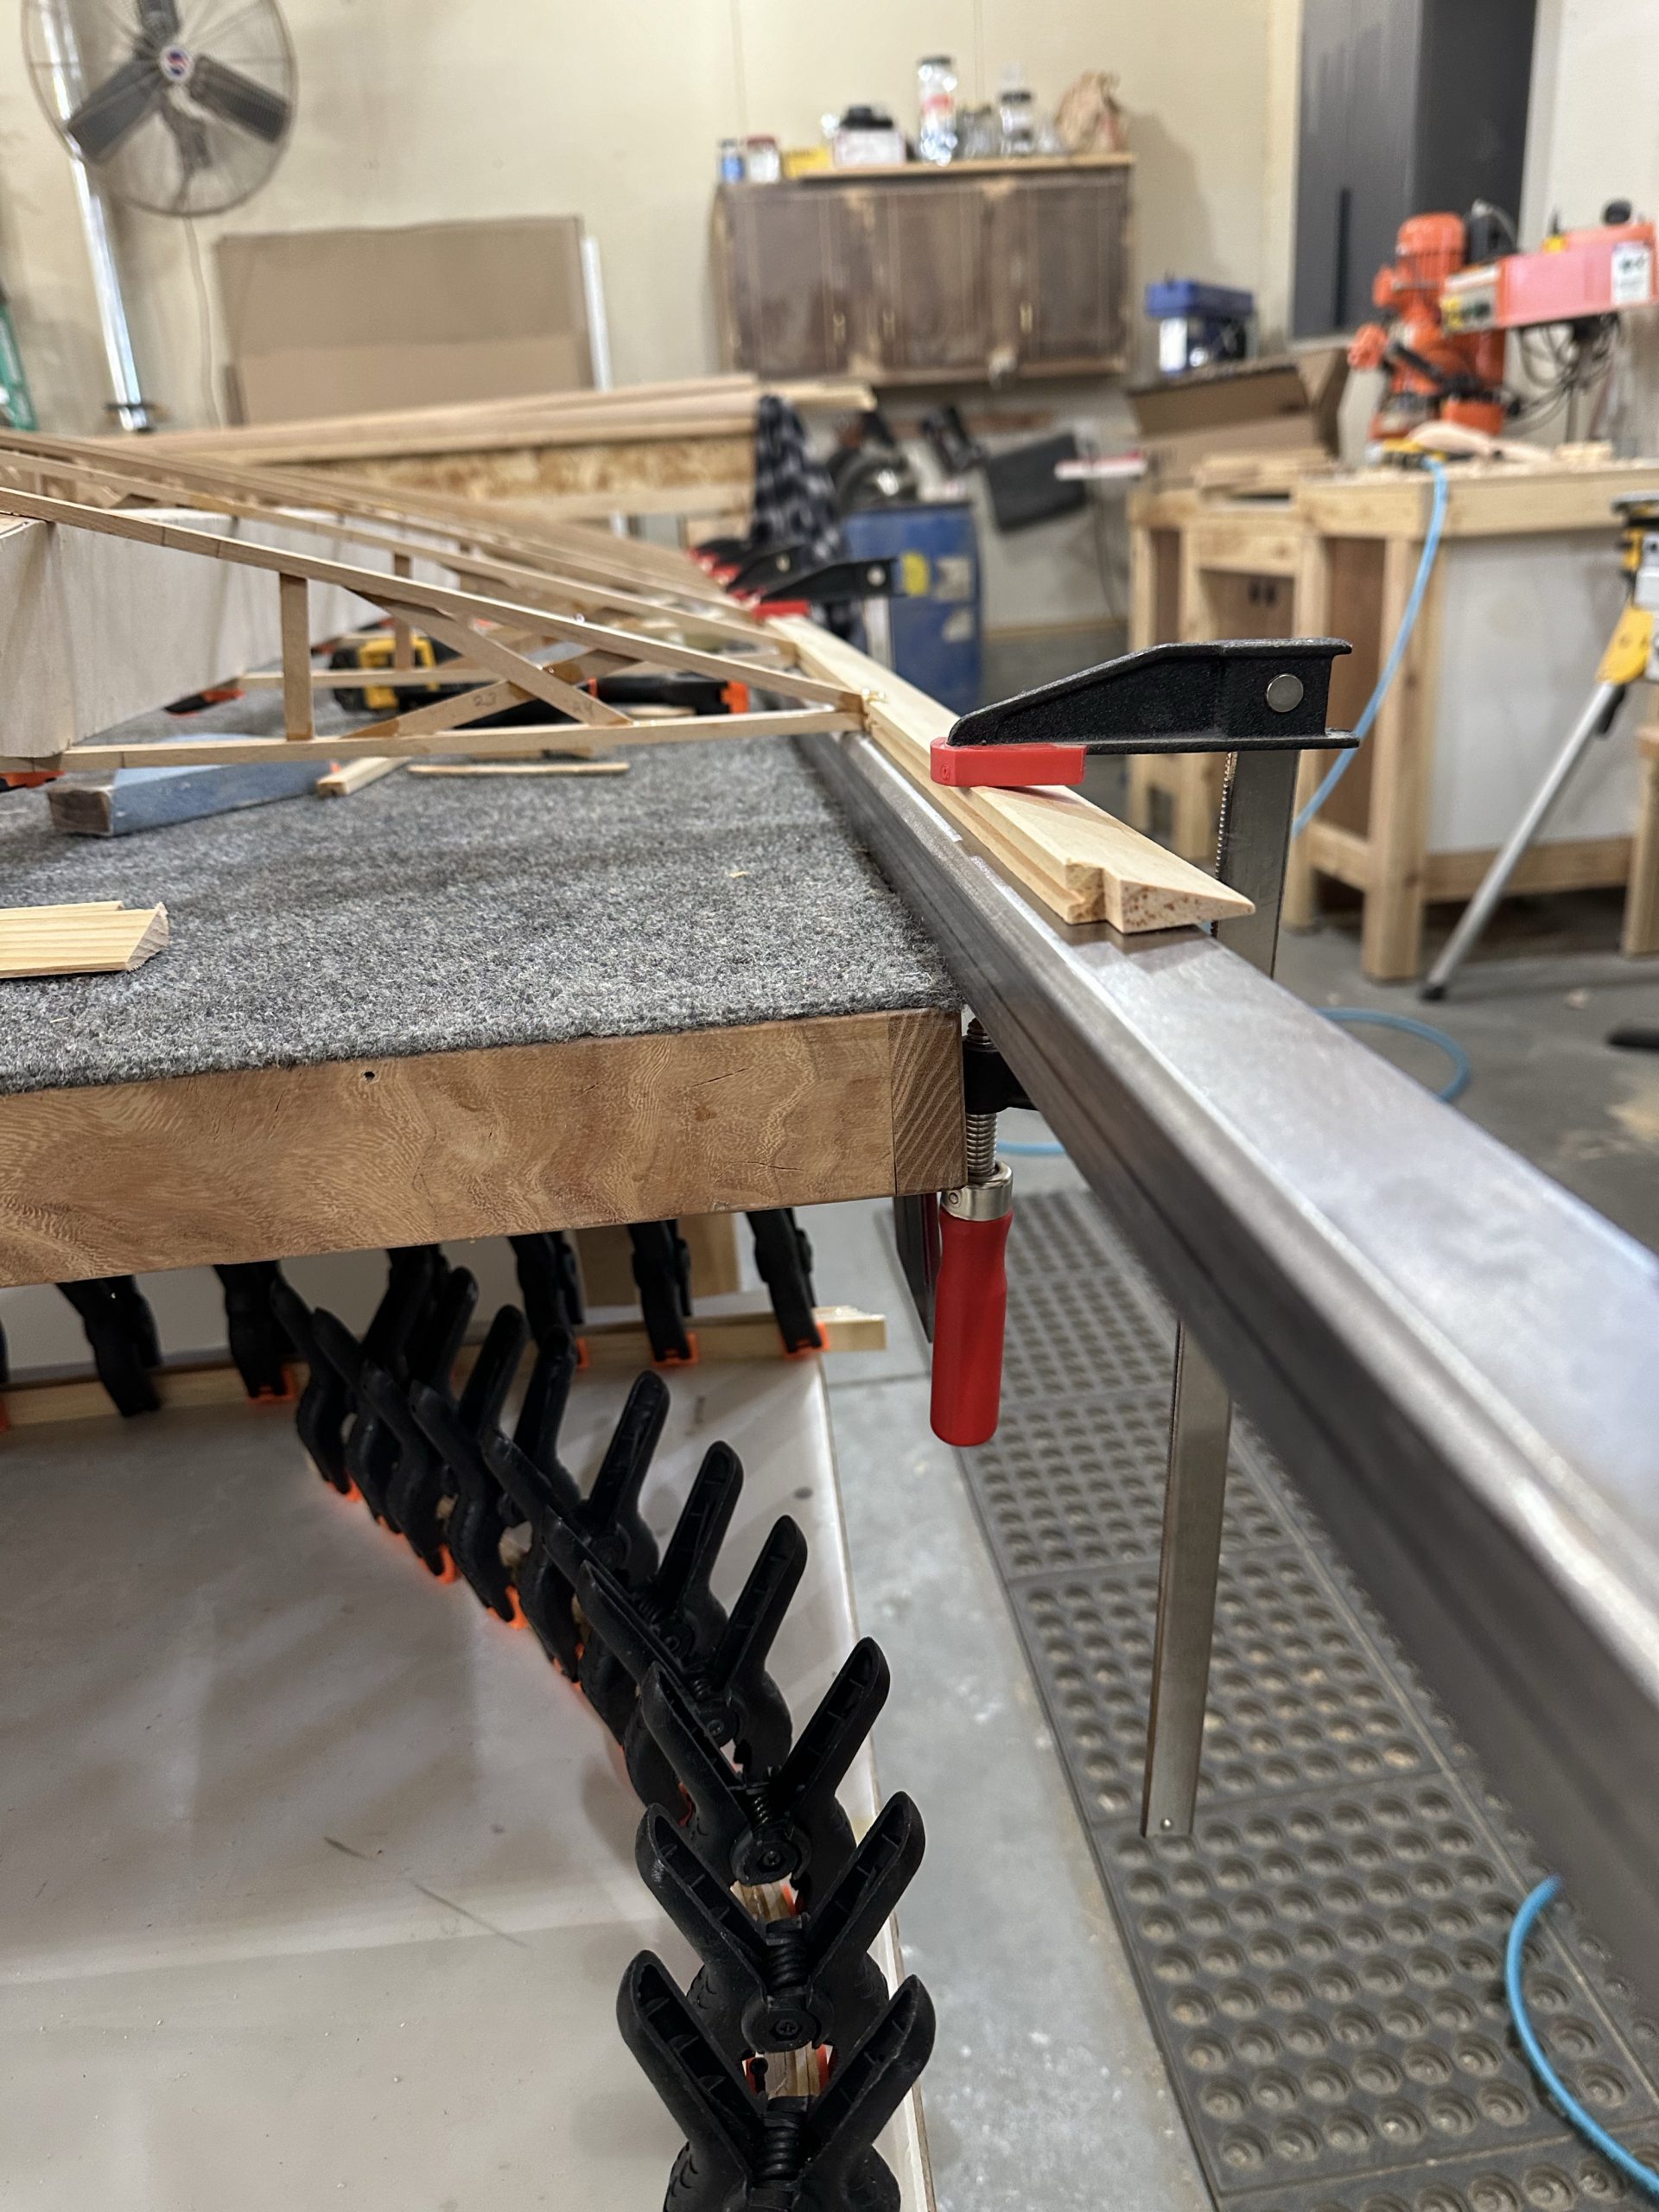
The plans say to nail or screw a block of wood to the top of the bench, square with the trailing edge to set up the wing. Since we’re not building it resting on the bench, Stu and I squared up the first rib with the TE (which is clamped to a steel rail) and marked & clamped it to the other rail. After some debate, we decided to pull the main spar out temporarily. I needed to pull the TE of the rib from the notched TE stock to glue it, and with both spars in place it was nearly impossible to do so. The rear spar is a pretty snug fit in the ribs, but the main has about 1/8″ of clearance so it’s relatively easy to slide out and back in.
Rather than a continuous piece of trailing edge material long enough to do a complete wing, this kit had four 8′ long pieces and four pieces roughly 4-1/2′ long, I cut the longer piece just inboard of the first aileron rib, and started one of the shorter pieces at that point. We got them aligned and clamped well enough that you can’t tell where the joint is if you sight down the trailing edge.
Stu cut a rectangular block about 6″ tall by 11-1/2″ wide, since that’s the distance in between each pair of ribs. With the first rib glued in and squared to the TE, it was then just a matter of using that gauge block to seat each rib exactly where it needed to be on the rear spar. Each rib was glued to the TE and rear spar, and a couple of 1″ micro pins shot through the rib cap to hold it in place while the glue cures. Working that way we got the entire set of ribs in place. We’ll let the glue cure and slide the main spar back in place tomorrow, glue the ribs to it, and attach the false ribs
I did some other work today, including trimming the false ribs so they’re ready to install.
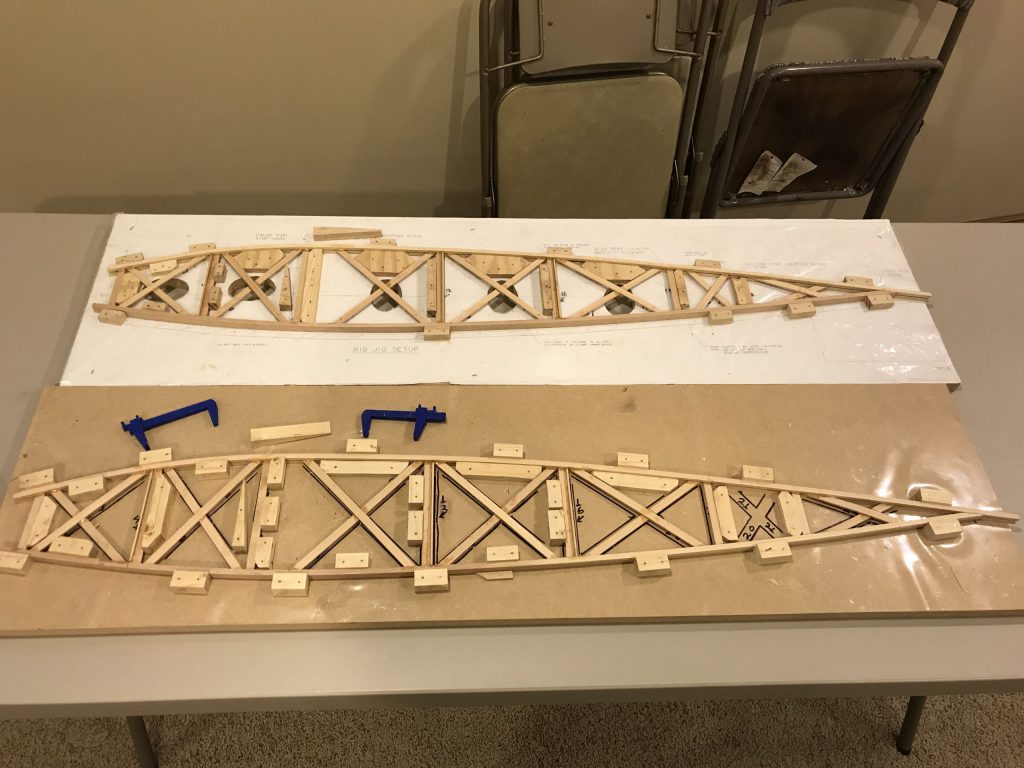
Last rib done, first spar started
I just pulled the last two false ribs in the jigs. It’s been a long haul — six and a half years since I built the first rib, but now they’re done AND I’ve got the materials and the place needed to continue the build.
Last night I was over at Stu’s place. One of the main spars has been partially assembled; the spar caps have been glued to the web. I got all of the rest of the parts for the aft face of the spar fitted and ready to glue up. I decided to designate this one the upper right wing. I’ll head over tonight and glue it.
I briefly thought about tearing down the rib jigs now that all of the ribs are finished. I decided not to do that quite yet. For one thing, there’s a chance I may need or want to make more of them for one reason or another. I don’t need two jigs, though. I’ll probably leave the first one I made as is, and pull the blocks and plastic from the second copy. It’s not a high priority, since it will only yield a 4′ x 1′ chunk of MDF.
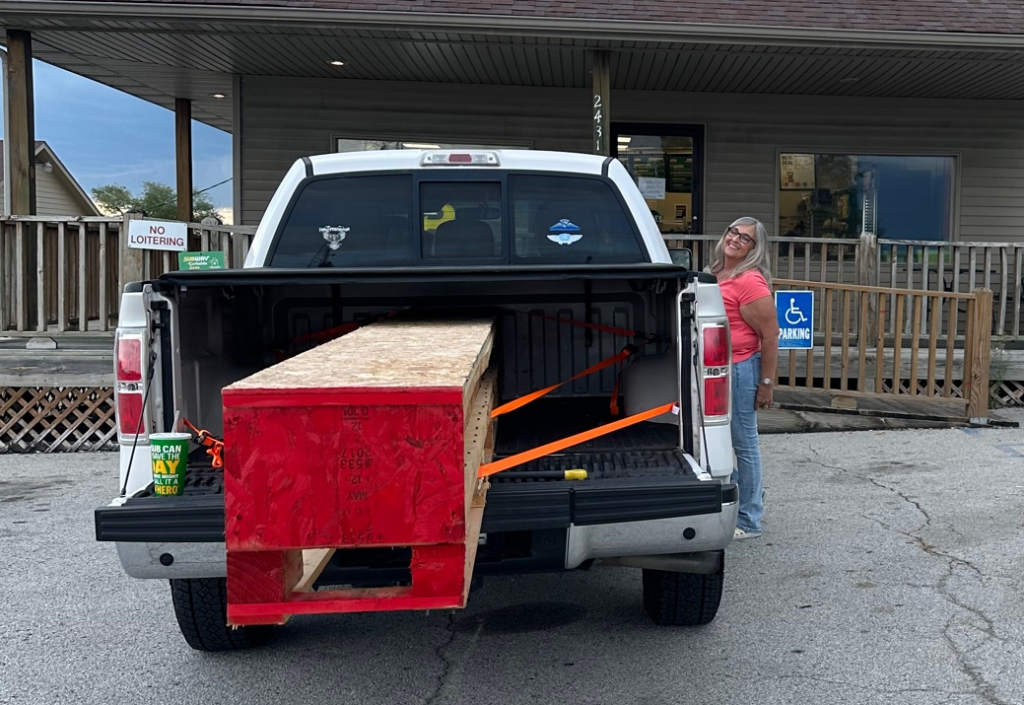
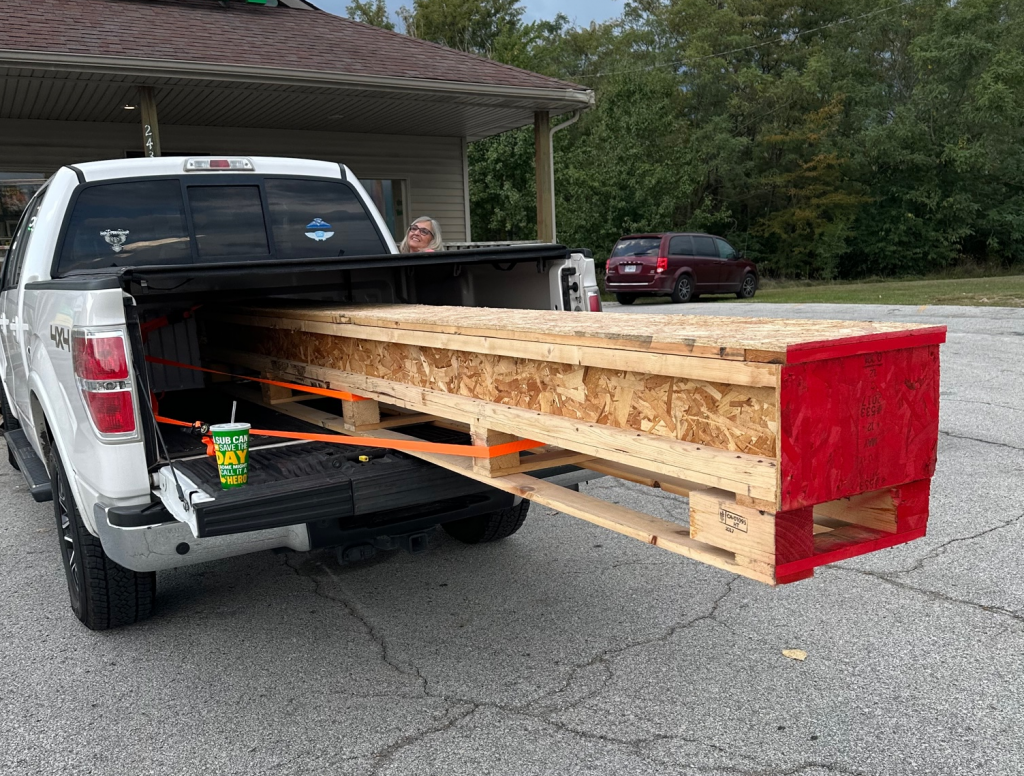
A kickstart, I hope
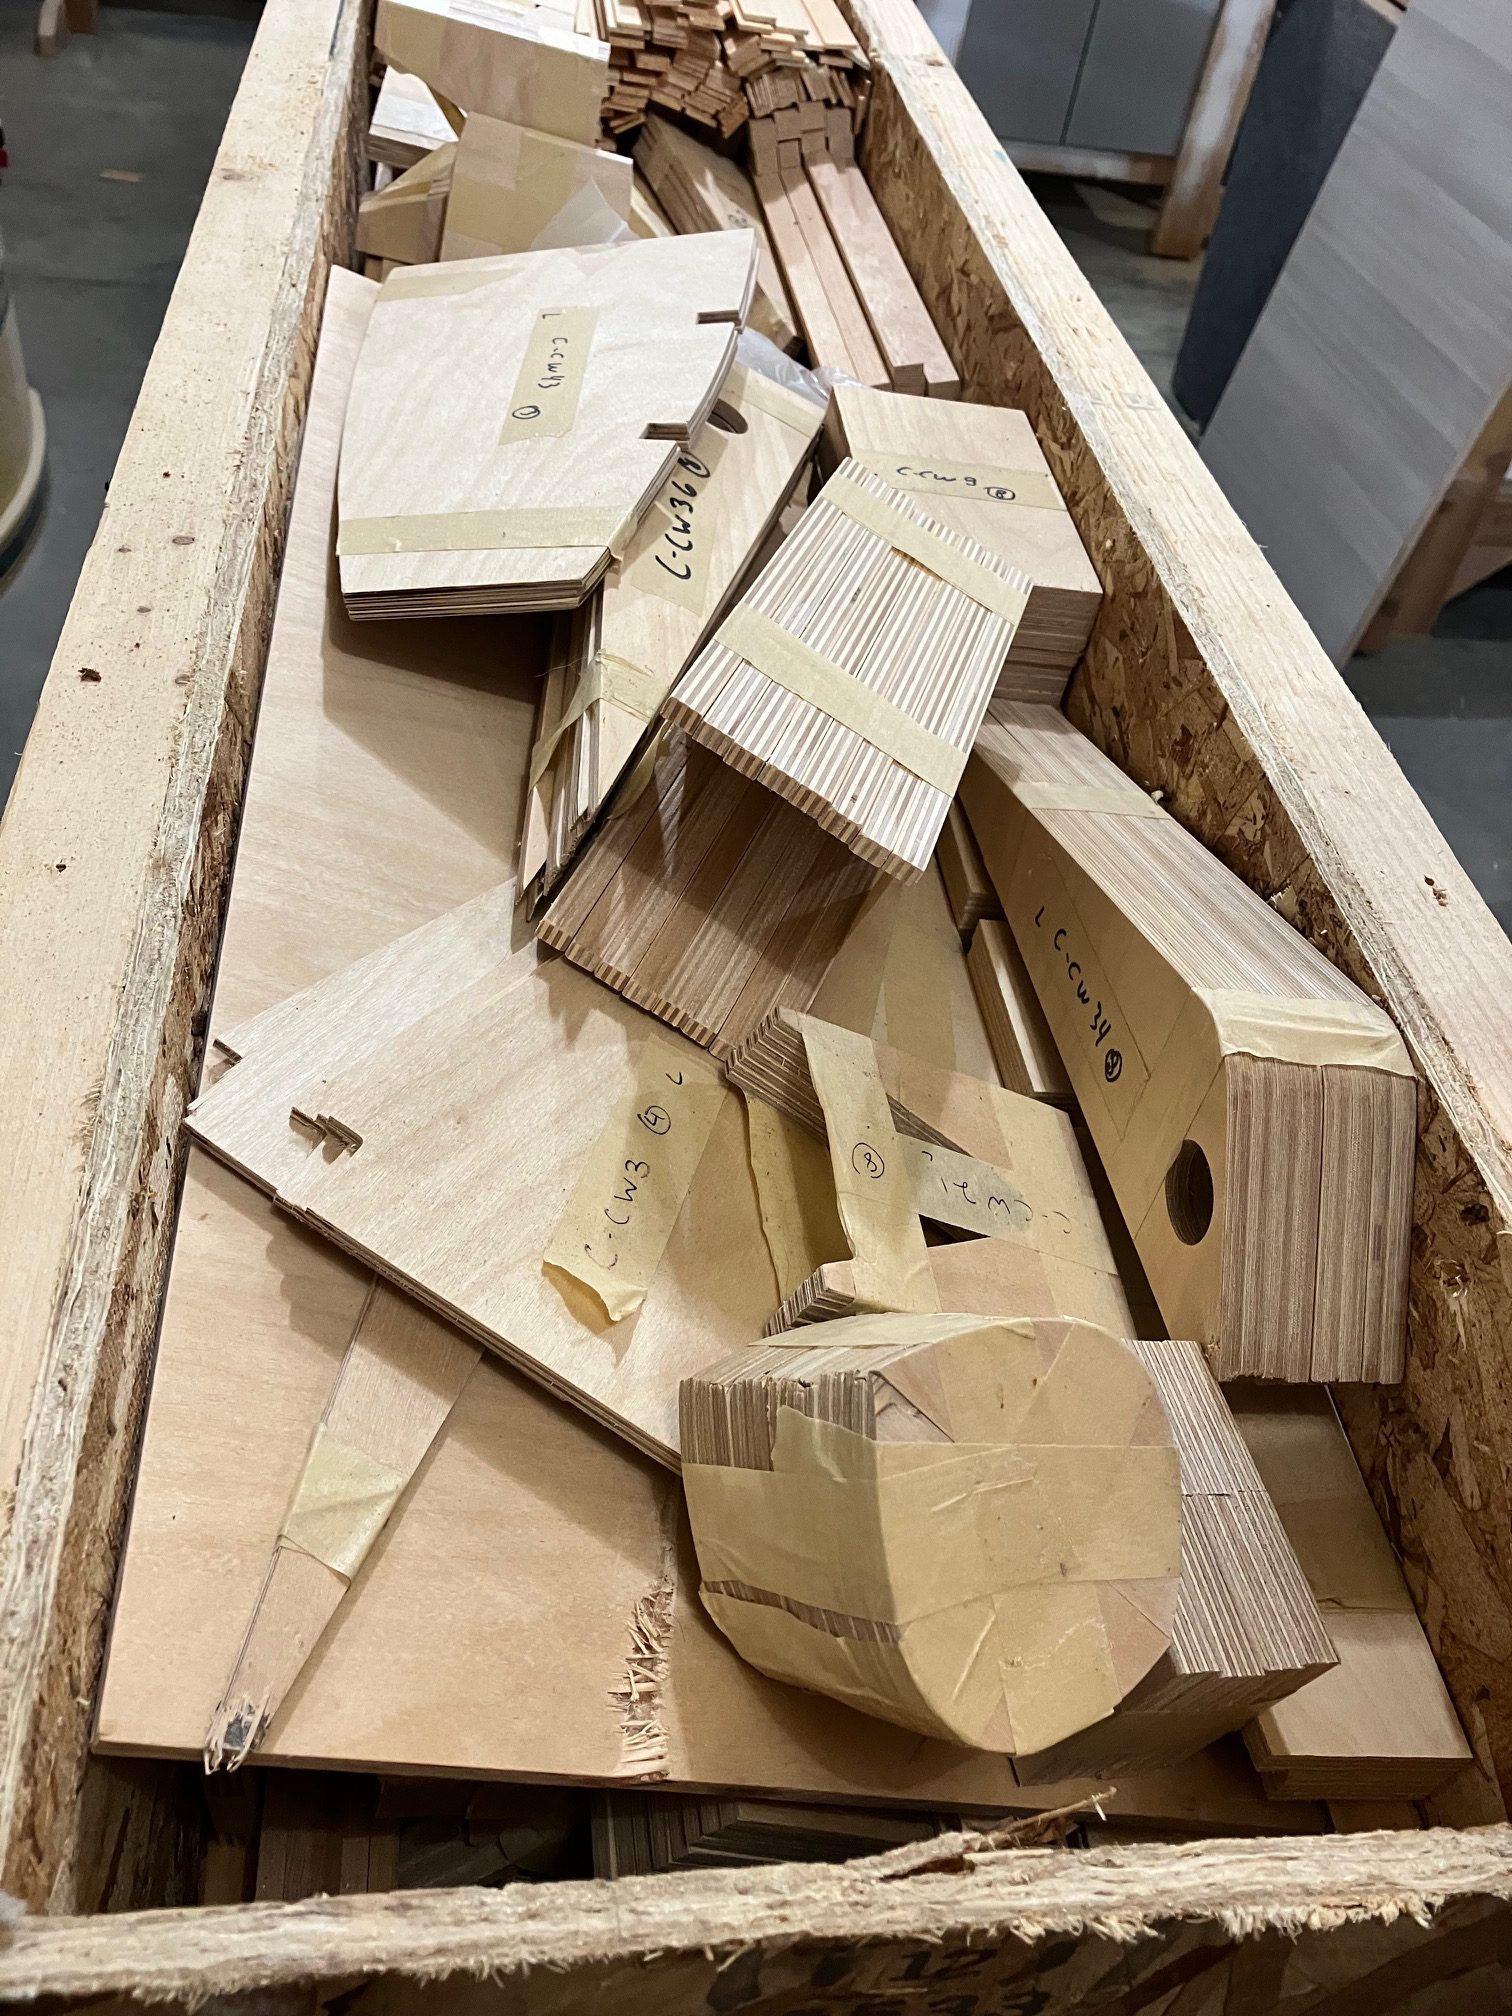
Yesterday (9/16/23) we drove to St. Charles, MO. Normally I wouldn’t do such a thing, but a guy had advertised a Celebrity wing kit and plans on Barnstormers. Apparently the original owner of the kit never had a chance to start building before age took its toll, so I was able to pick up all of the wing parts for less than it would have cost me to buy just the spruce for the spar caps. I’ve really been kind of stalled up until now because I just couldn’t get past the cost of buying the wood from ACS, then paying truck freight go get some oversized but very lightweight pieces of wood shipped here. The total cost of our trip was less than the shipping cost for just the longer spar pieces, and I’ve got all of the pre-cut plywood parts as well. Rib nose pieces, trailing edge stock, aileron ends, spar reinforcements, all of it. I’ve also got a second complete set of plans and documents that I can put up for sale, since they have never been used and I don’t need two.
The other thing that has kept me at a standstill has been the lack of a suitable place to work. My garage has, unfortunately, been occupied for the past few years with a “project” car that I probably never should have bought. My own fault, but is it better to have one project stalled, or two? I had plans at one time to put a sheet of MDF on top of the island in our basement to build the tail surfaces, but that is now part of a very busy sewing room. Zero complaints about that, of course! It just means I can’t work in there.
Anyway, a couple of weeks ago I was talking about the airplane with my friend Stu. He’s been building cabinets for the past couple of decades and has a large woodworking shop next to his house. Not only is it well equipped, but it’s also climate controlled and well lit. Quite frankly, it would be the envy of most people who would want to build stuff – certainly myself included.
Stu offered to let me use his shop and help with the build. I doubt he’ll ever want to fly in the finished airplane, but he thinks the idea of building an entire airplane out of wood is pretty cool. I can understand that; I think so too. When we got back from the road trip yesterday we unloaded the crate at Stu’s shop. It was late, so all we did was pop the top off and have a quick look, and grab the Fisher assembly video DVDs that were in there.
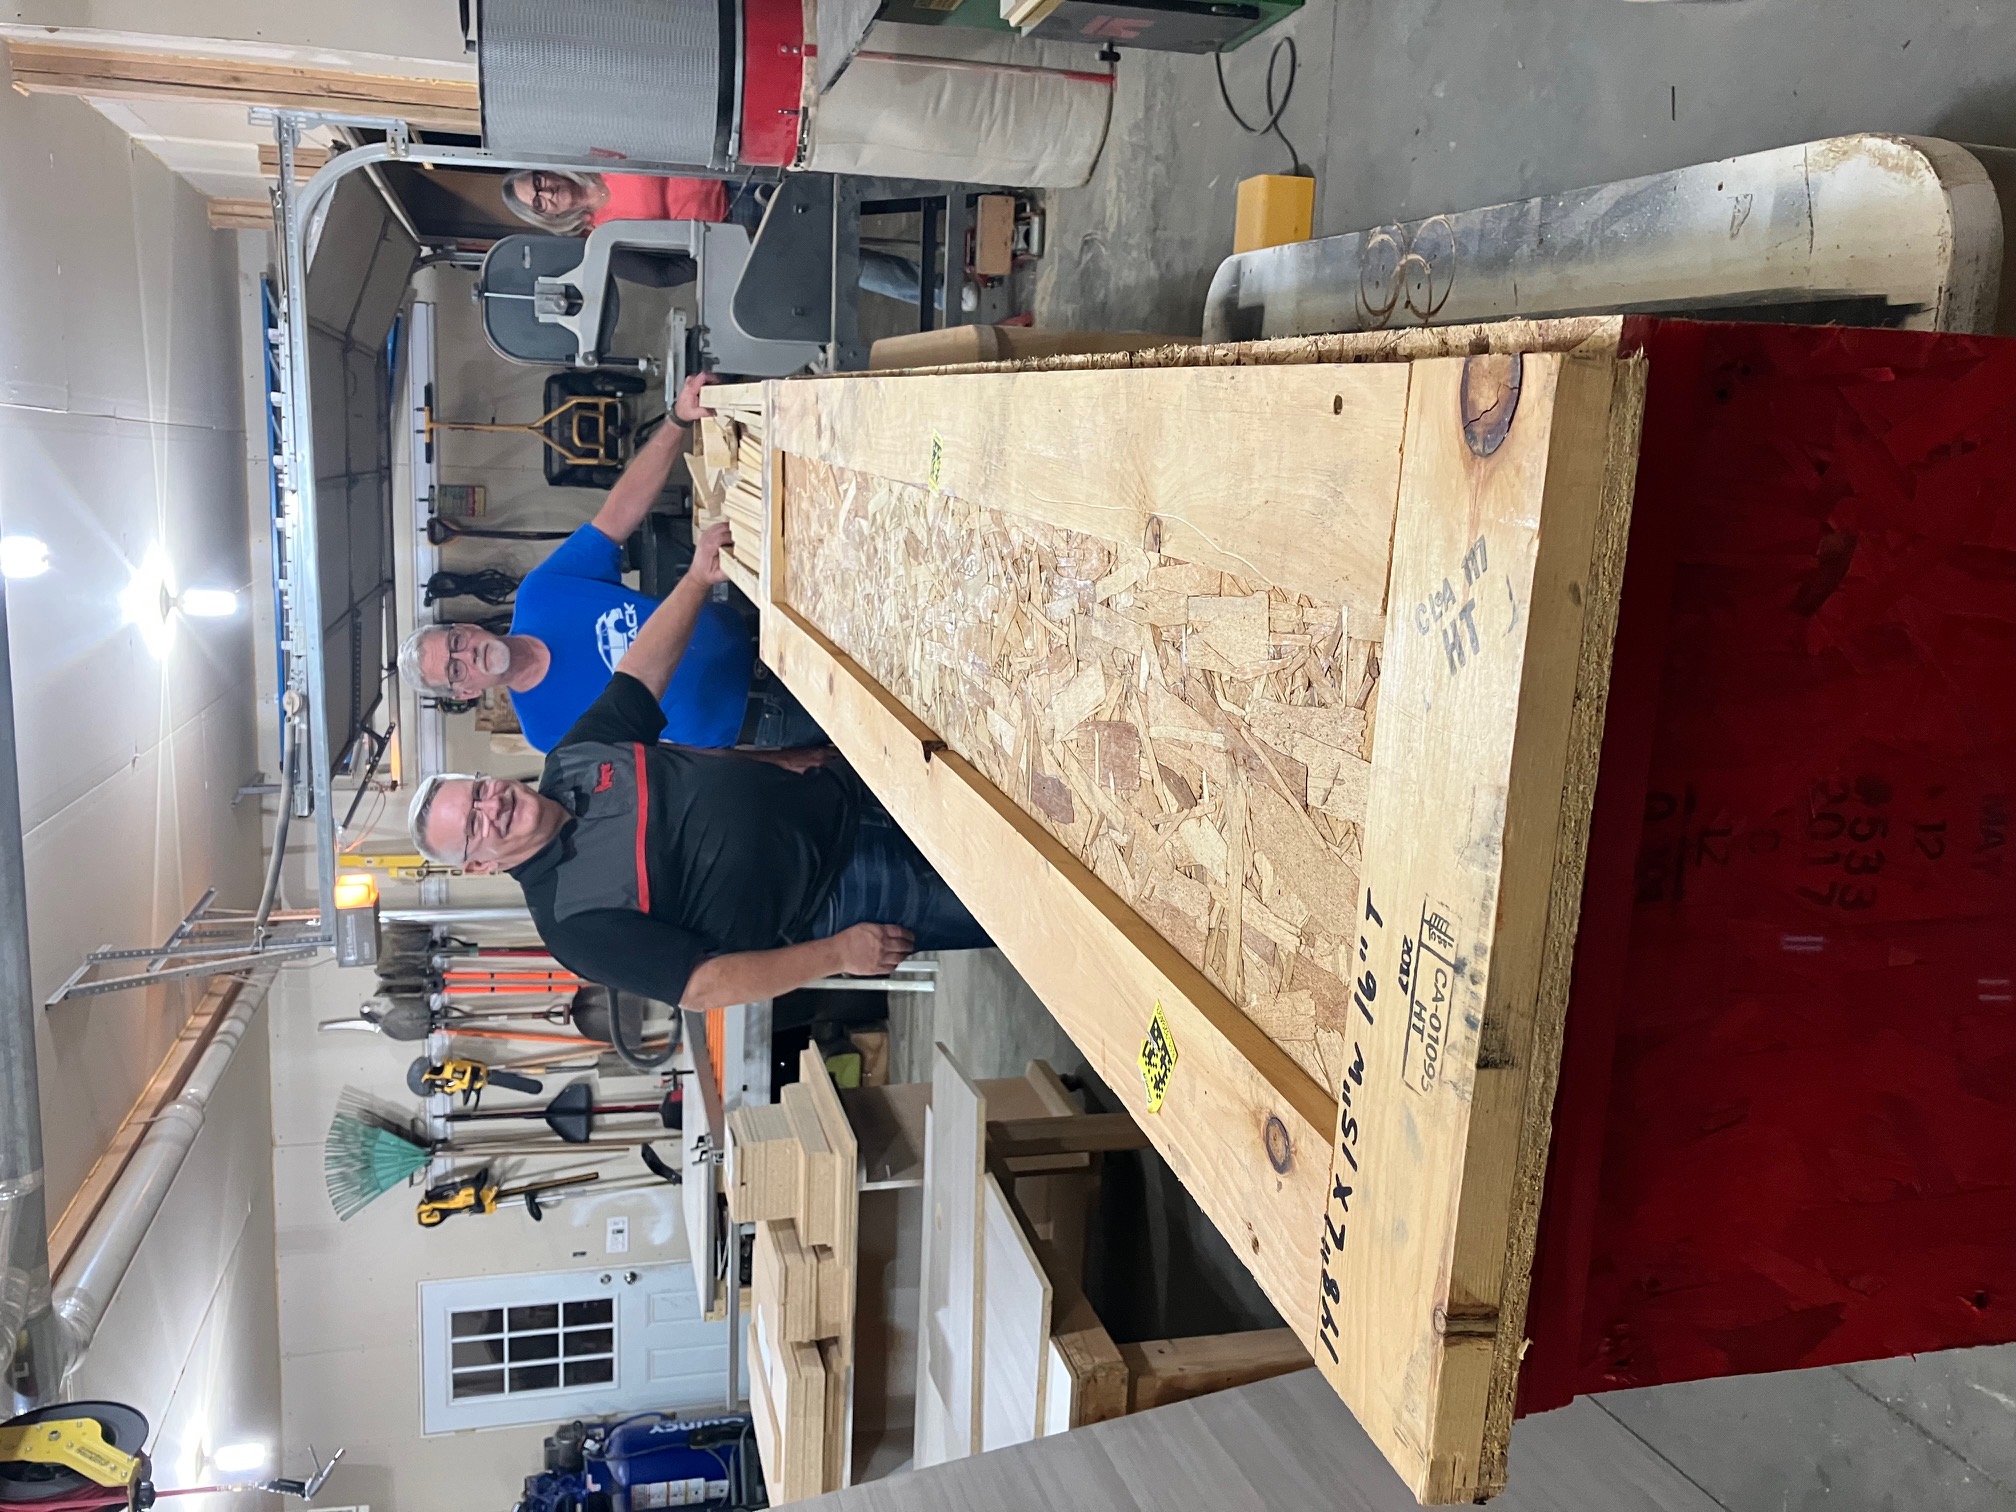
I’m pretty pumped, to be honest. This means I’ve now got everything I need to complete all four wings and the horizontal stabilizer & elevator, and a place to do it. I’m hoping to get the last few of the false ribs knocked out this week and lay out the pieces to assemble the main and rear spars.
Minor milestone – the last full rib
Sitting in the rib jigs right now are the last aileron rib (#16 of 16), and the sixth false rib. After the glue cures on these, I’ll modify the second jig to fit as many false ribs as possible. I think I can fit three on it for sure, possibly four – but that’s doubtful. I’d like to start cranking out four false ribs at a time.
So I guess it’s time to go start shopping for the best plank or two of white pine I can find to get started on the laminations for the tail surfaces. Pretty sure Menard’s will be my source for those; the stuff I find at the other big box stores is more suited for a dog house or the pulp mill than anything else.
First aileron rib
Yesterday I glued up the last full rib (#26) and the first aileron rib. I’m going to call this a milestone. 🙂 I now have 15 more aileron ribs to go, then 34 false ribs. I suppose I should pull out the plans sheet for the spars and see exactly what I need to order for them. I have the BOM, but it doesn’t really tell me what I need to know without looking at the plans too.
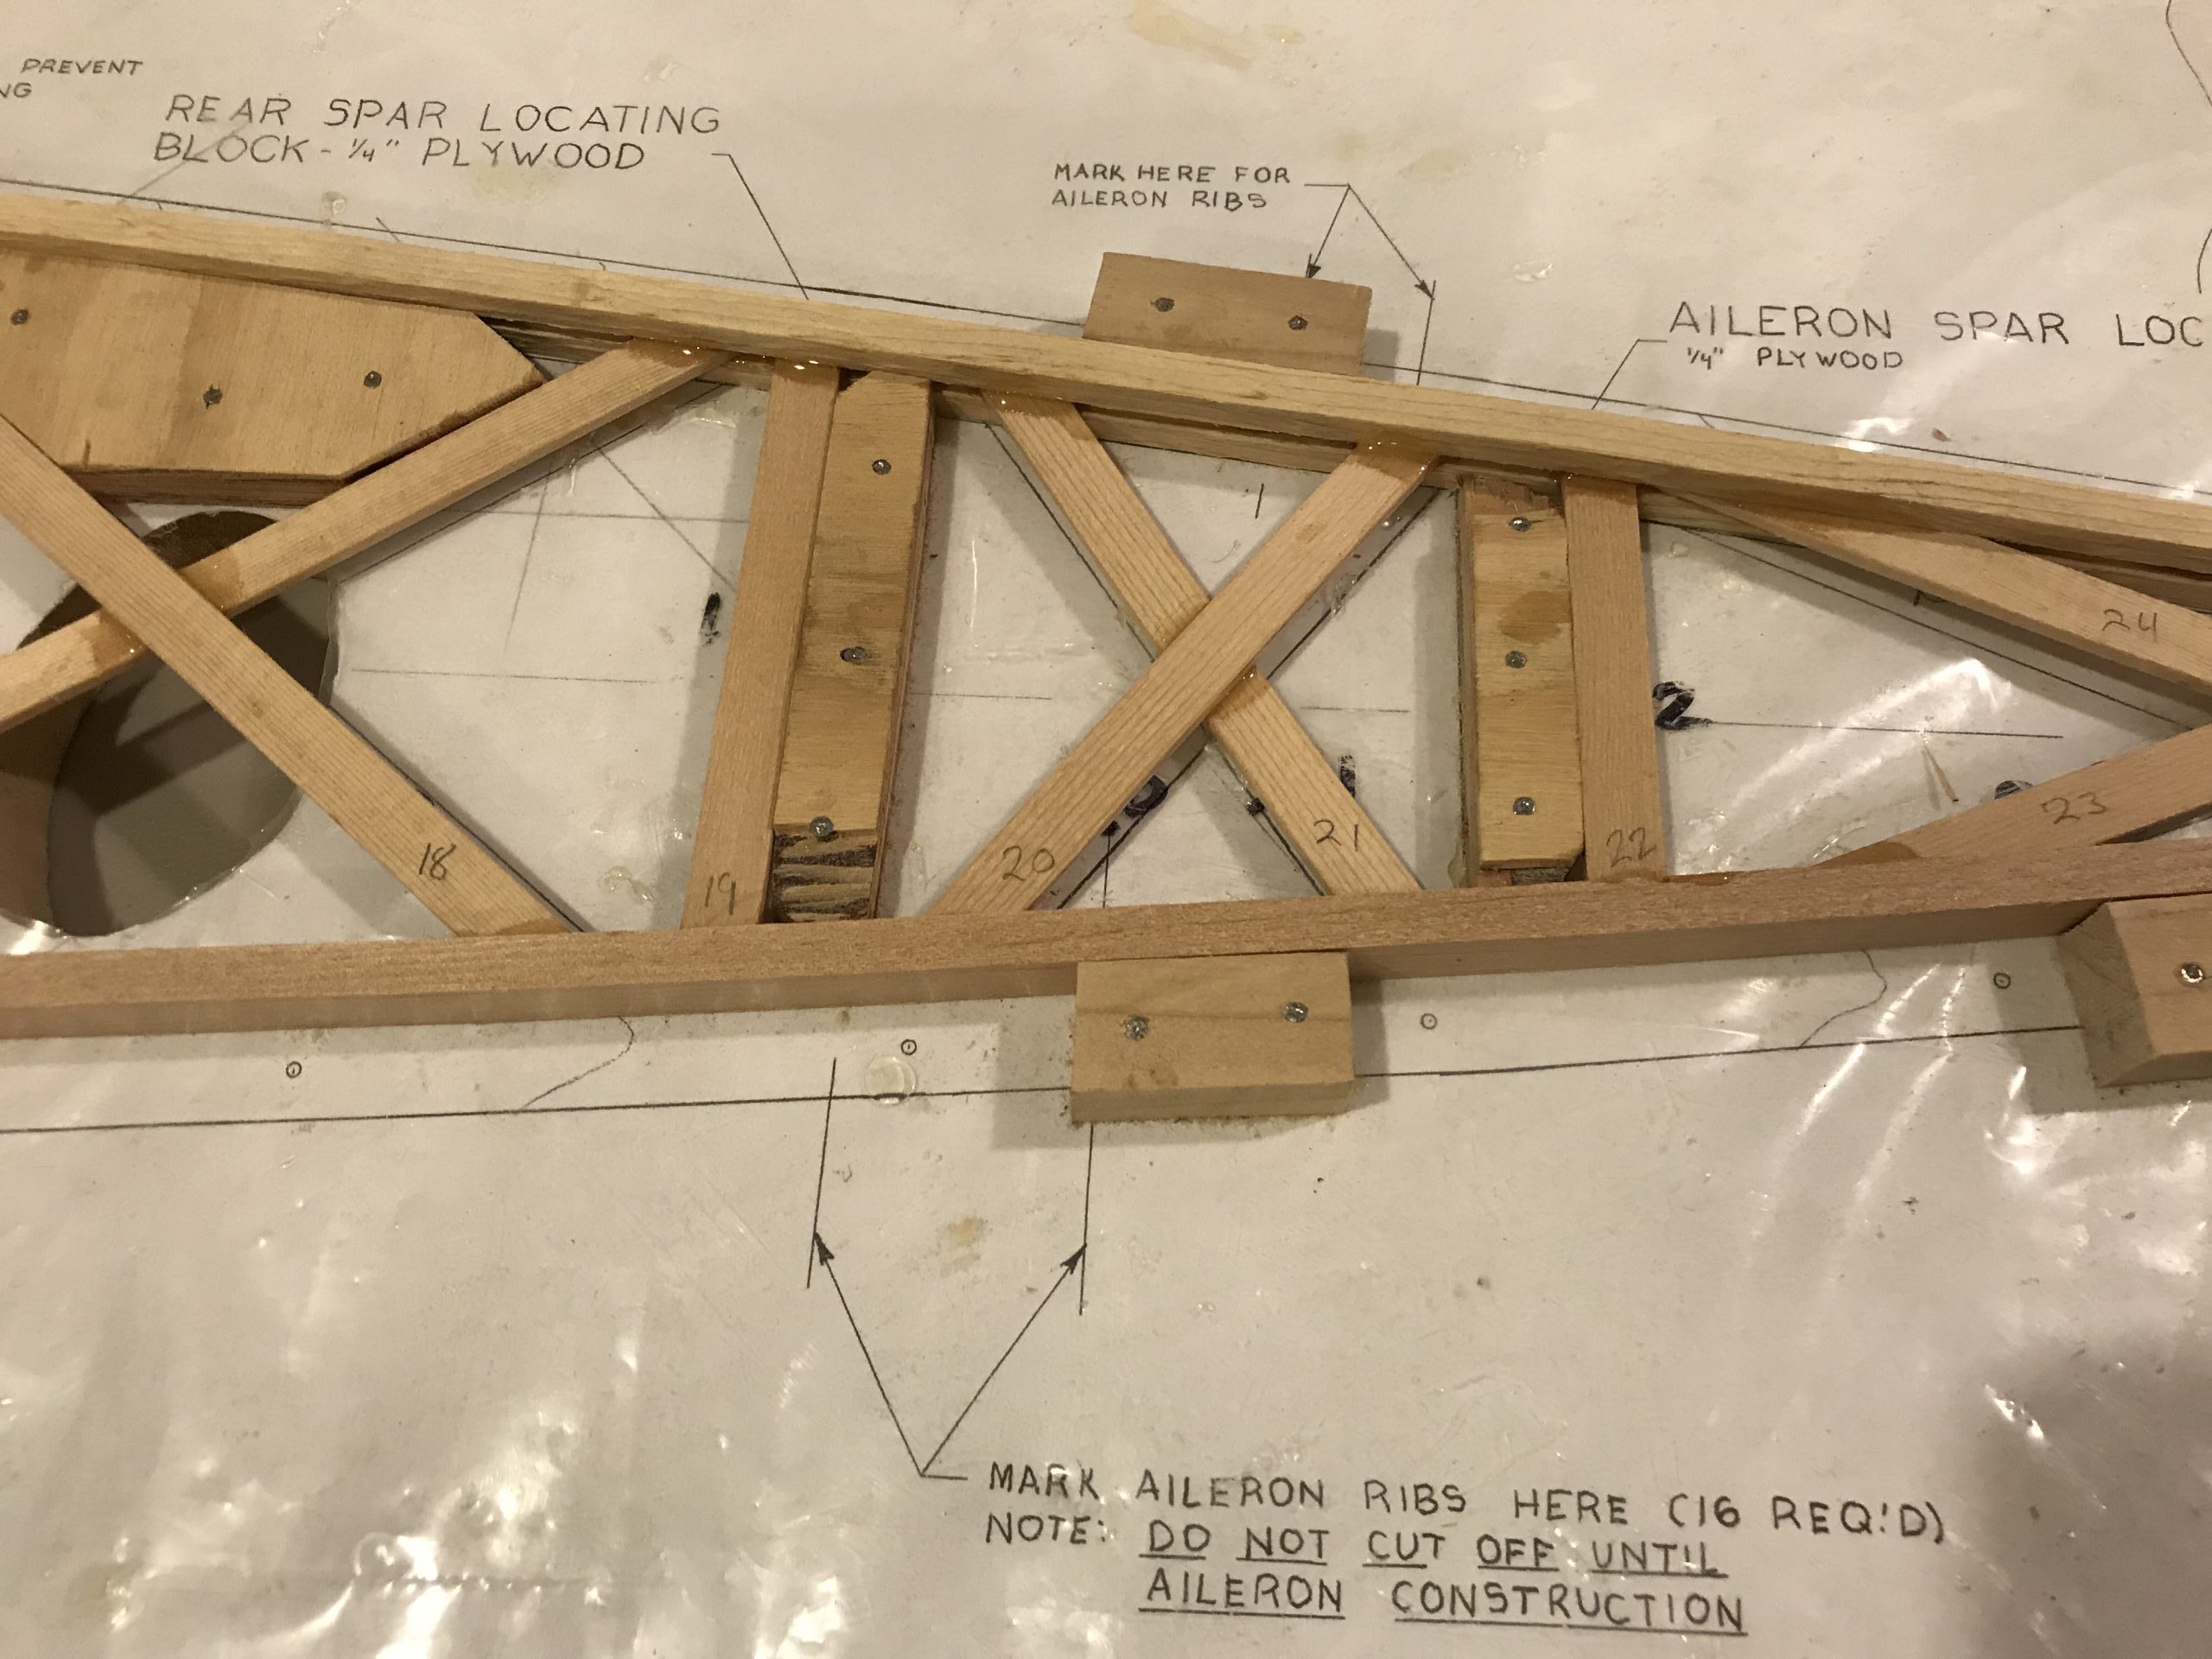
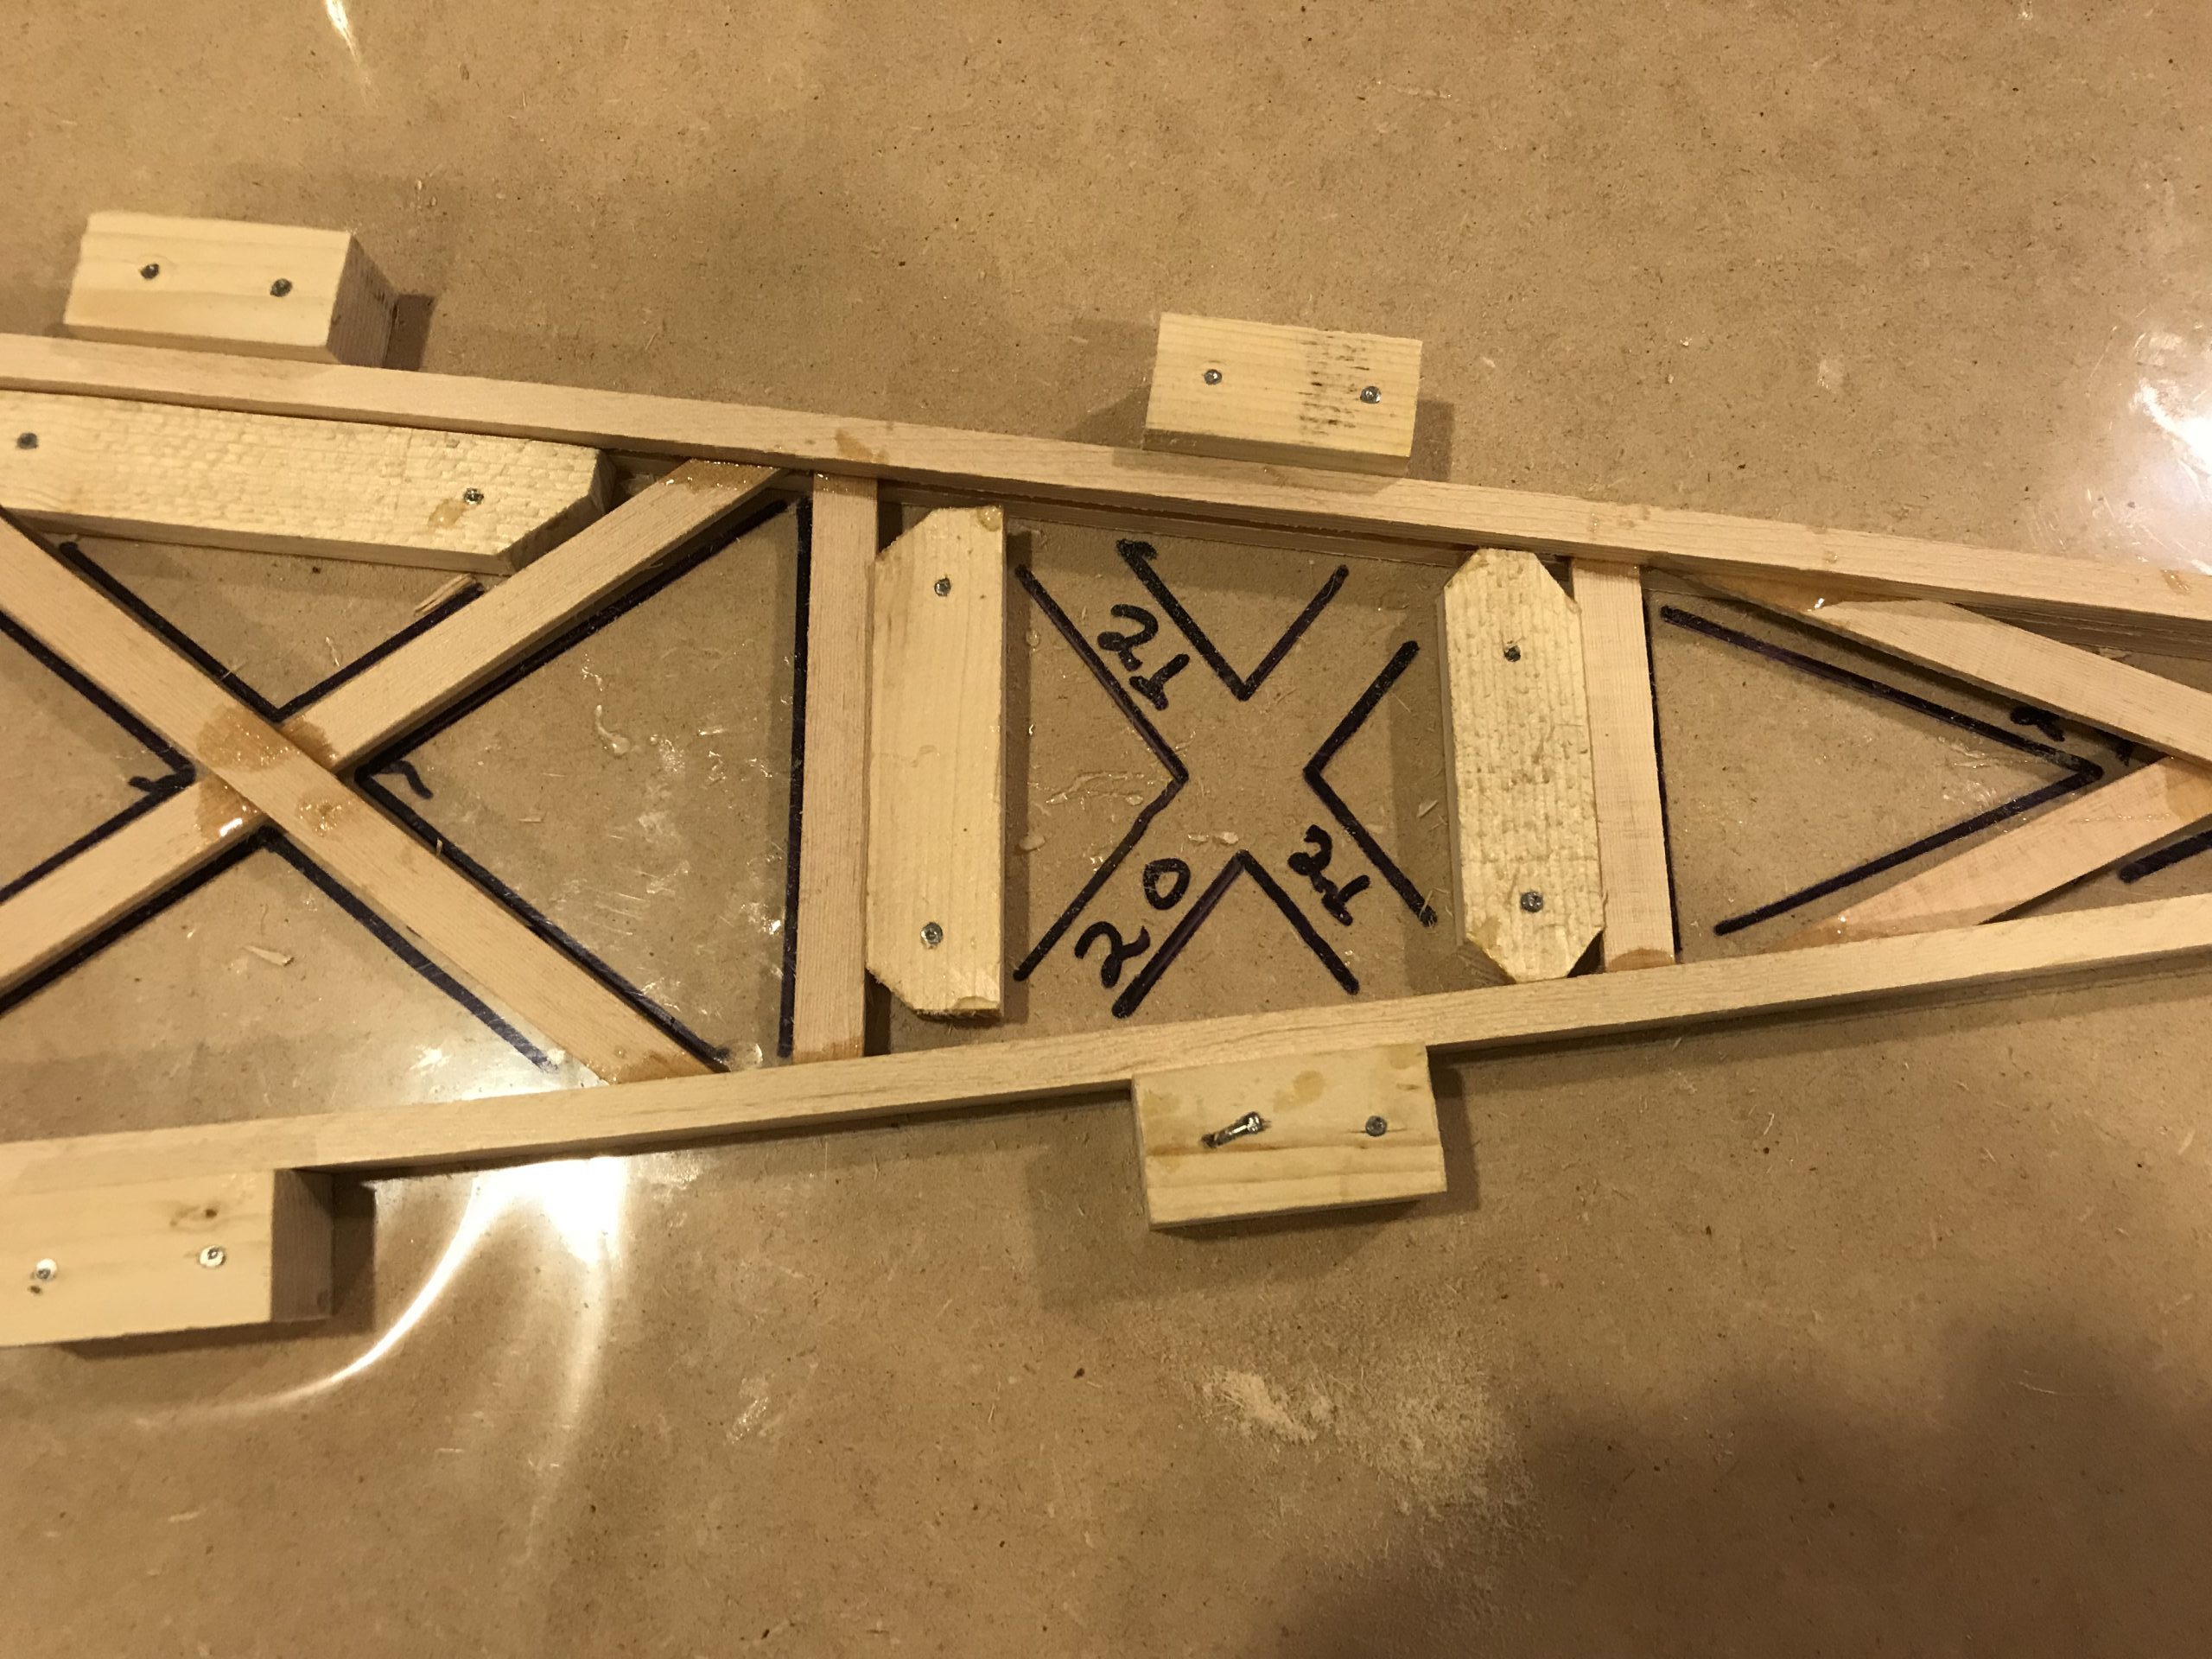
I had to look at the plans a few times. It looked like the plan sheet was calling out just one geodetic brace to omit for the aileron ribs, but the locations to mark for eventual cutting didn’t make sense. I finally realized that the text read, “Omit this X-brace for aileron ribs”… as in, BOTH braces, not just the one. Great! That’s two less pieces to cut and glue.
Rib #1 out of the jig
This morning I pulled the first rib out of the jig to check it out. I was a little apprehensive about it, to be honest. I had tried to use a little digital scale to weigh out the epoxy, and that didn’t work well. The scale didn’t see tiny increases in weight as “activity” and would power itself off every few seconds. I ended up “eyeballing” the mix by volume, and hoped I got it right. With a little less than 15cc of glue I was hoping it was right, and last night it was still feeling a little “tacky”. Well, this morning that epoxy is perfect, nice and hard, glossy surface and zero tack. My test piece with a couple of scraps of geodetic brace glued with no clamping broke apart in pieces, with no failure at the glue joint. The wood failed and the glue didn’t. Success all around.
The only deficiency I can see is, there’s maybe a little more glue than needed. Glue had run down under several of the joint areas and I have some cleanup to do on the “bottom” side of the rib, the side that was against the jig surface. I’ll need to figure out how to get the right amount of glue in there when I pre-glue the groove. Other than that, it looks really good and I’m thrilled with it. It looks like about 10cc is what is needed to glue up a complete rib. That means when I get the second jig built, I can mix up 20cc and glue two ribs at a time. The more glue gets mixed at one time, the easier it is to get the mix ratio perfect so that will be good.
And, I’ll have to put this rib somewhere in the middle of a wing where it can’t be seen by the Oshkosh judges. That way it won’t screw up my chance at that gold Lindy. 🙂