
I chose the lower left wing to start with since it is the simplest of the four. The lower right will get the wing walk, and the upper wings get a diagonal cut on the inboard bay.
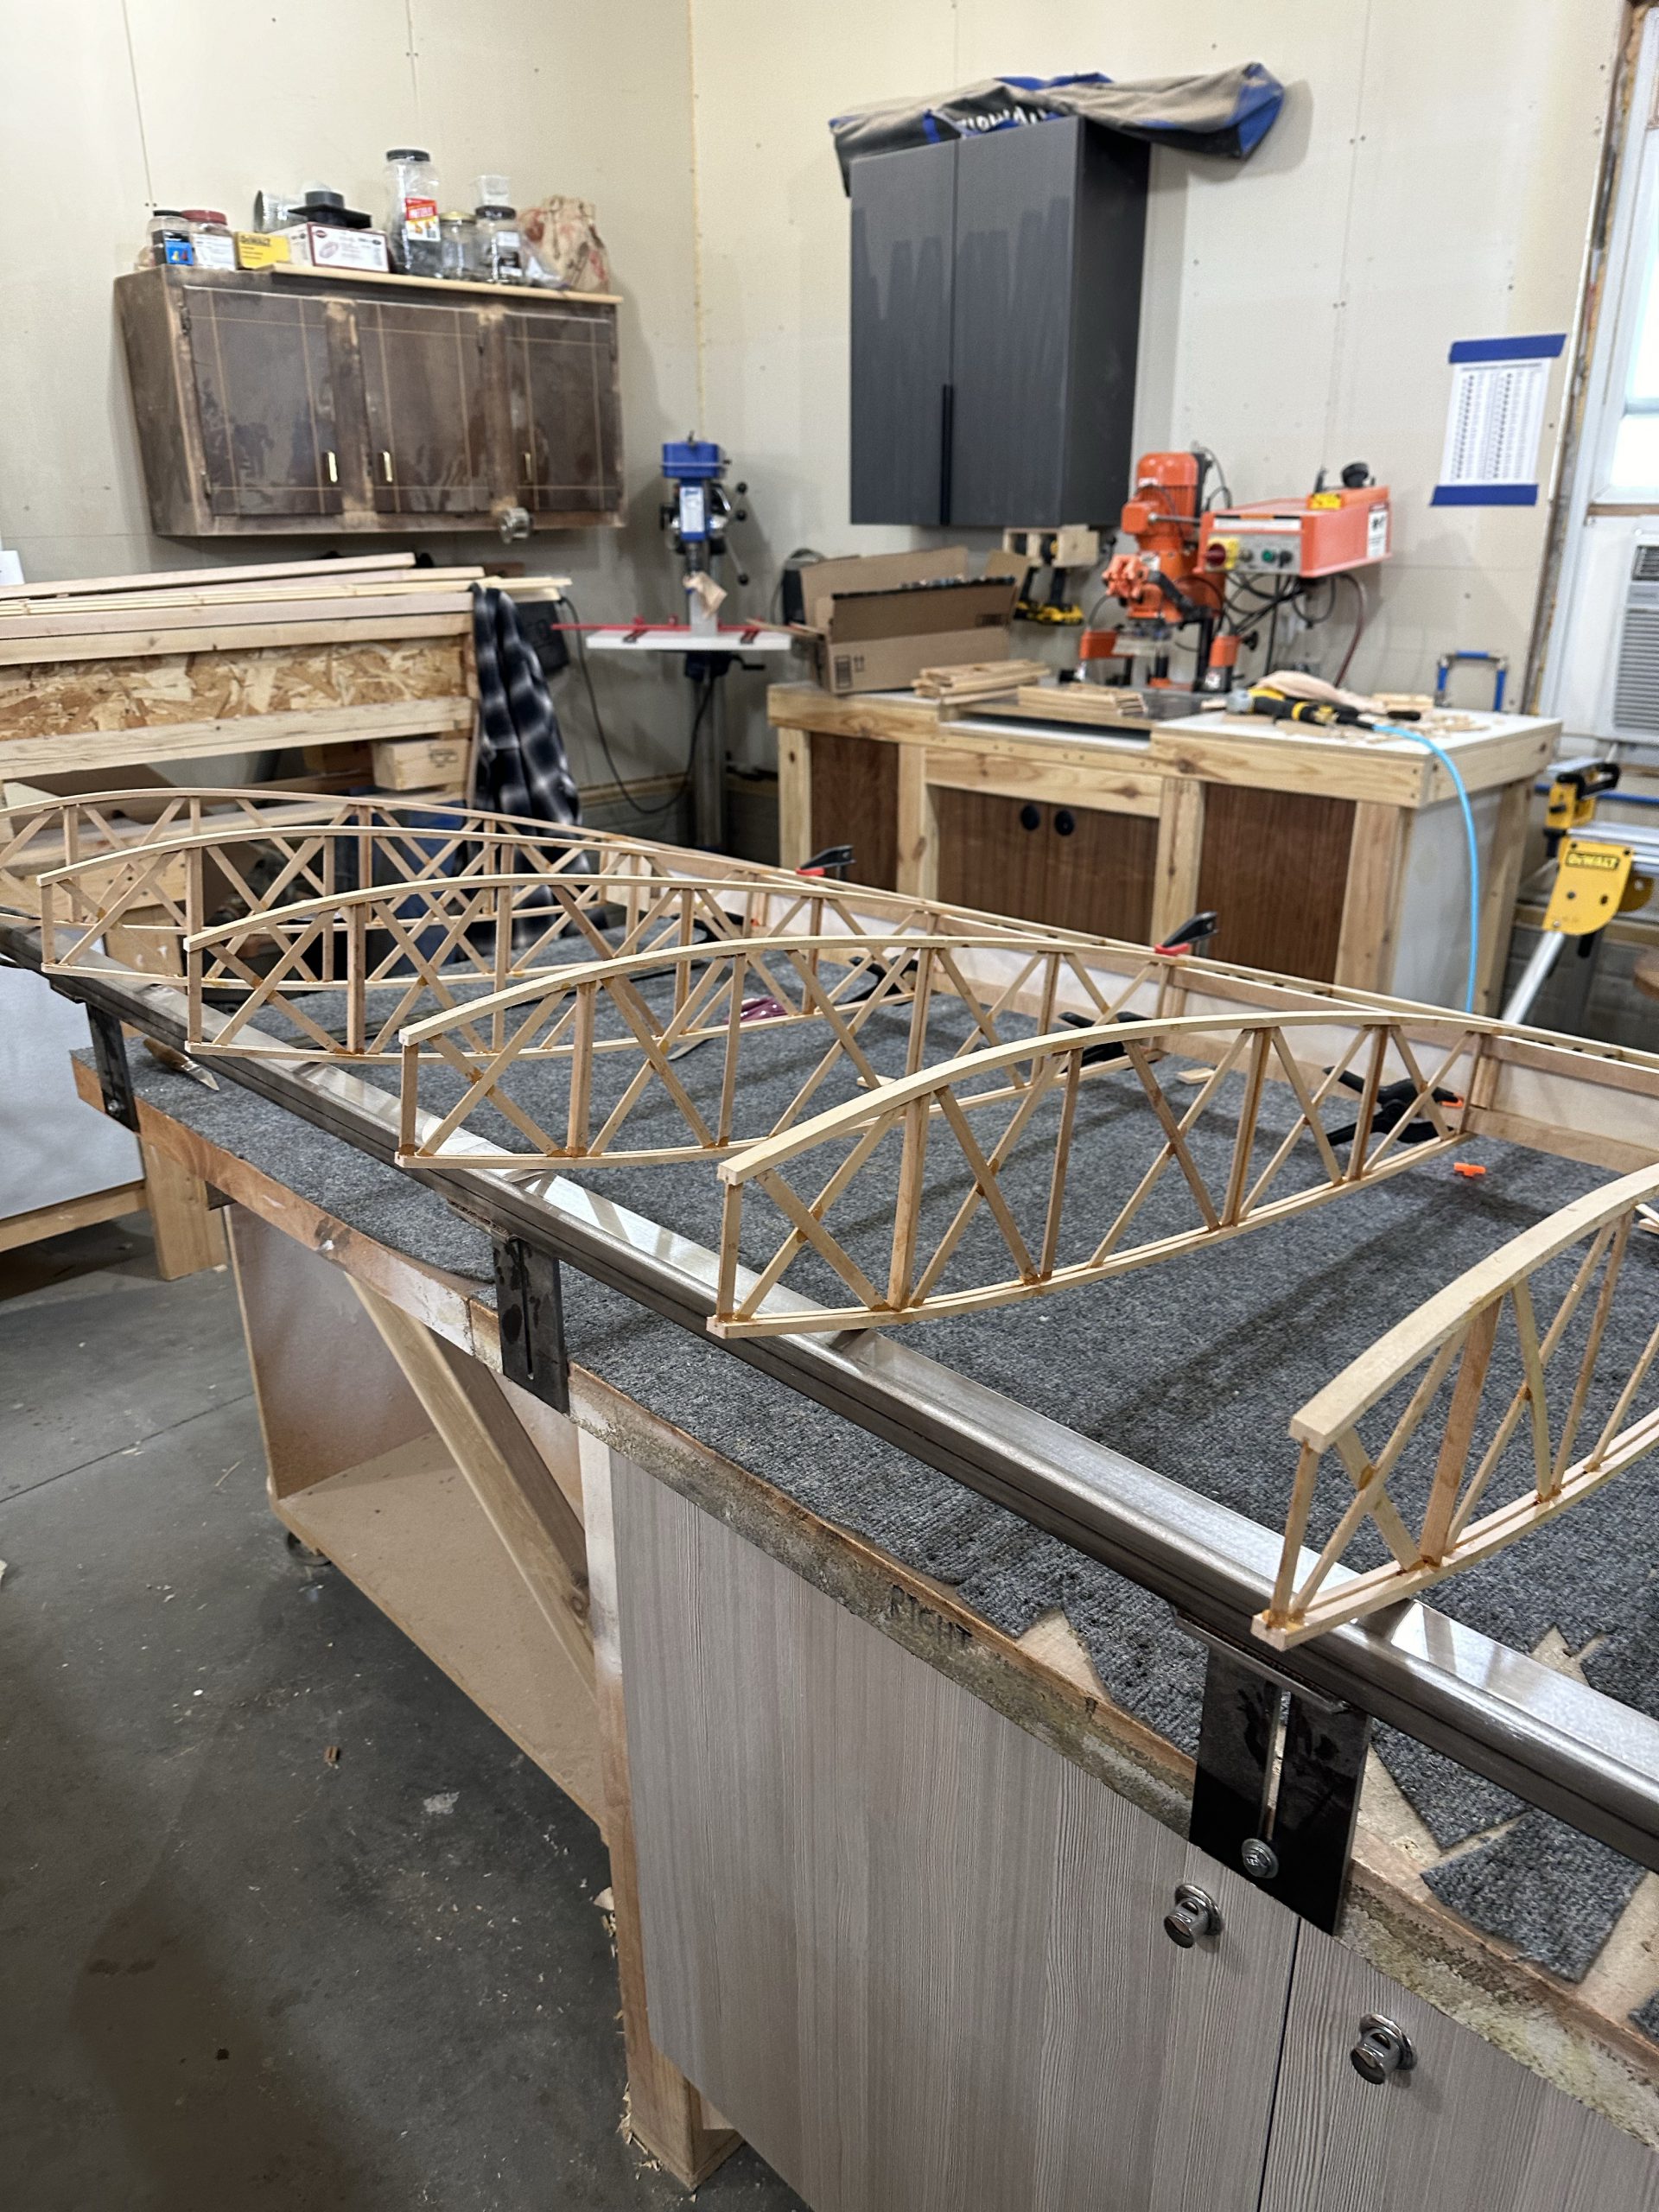
This morning I pulled the first two wingtip bows from the forms; they look pretty good. I mixed up about 40cc of glue and started gluing up all of the strips for the second pair of bows. Had to mix another 10cc, so if I ever do this again I know it takes 50cc per pair of layups. I got them clamped into the forms and slid the table as far out of the way as possible.
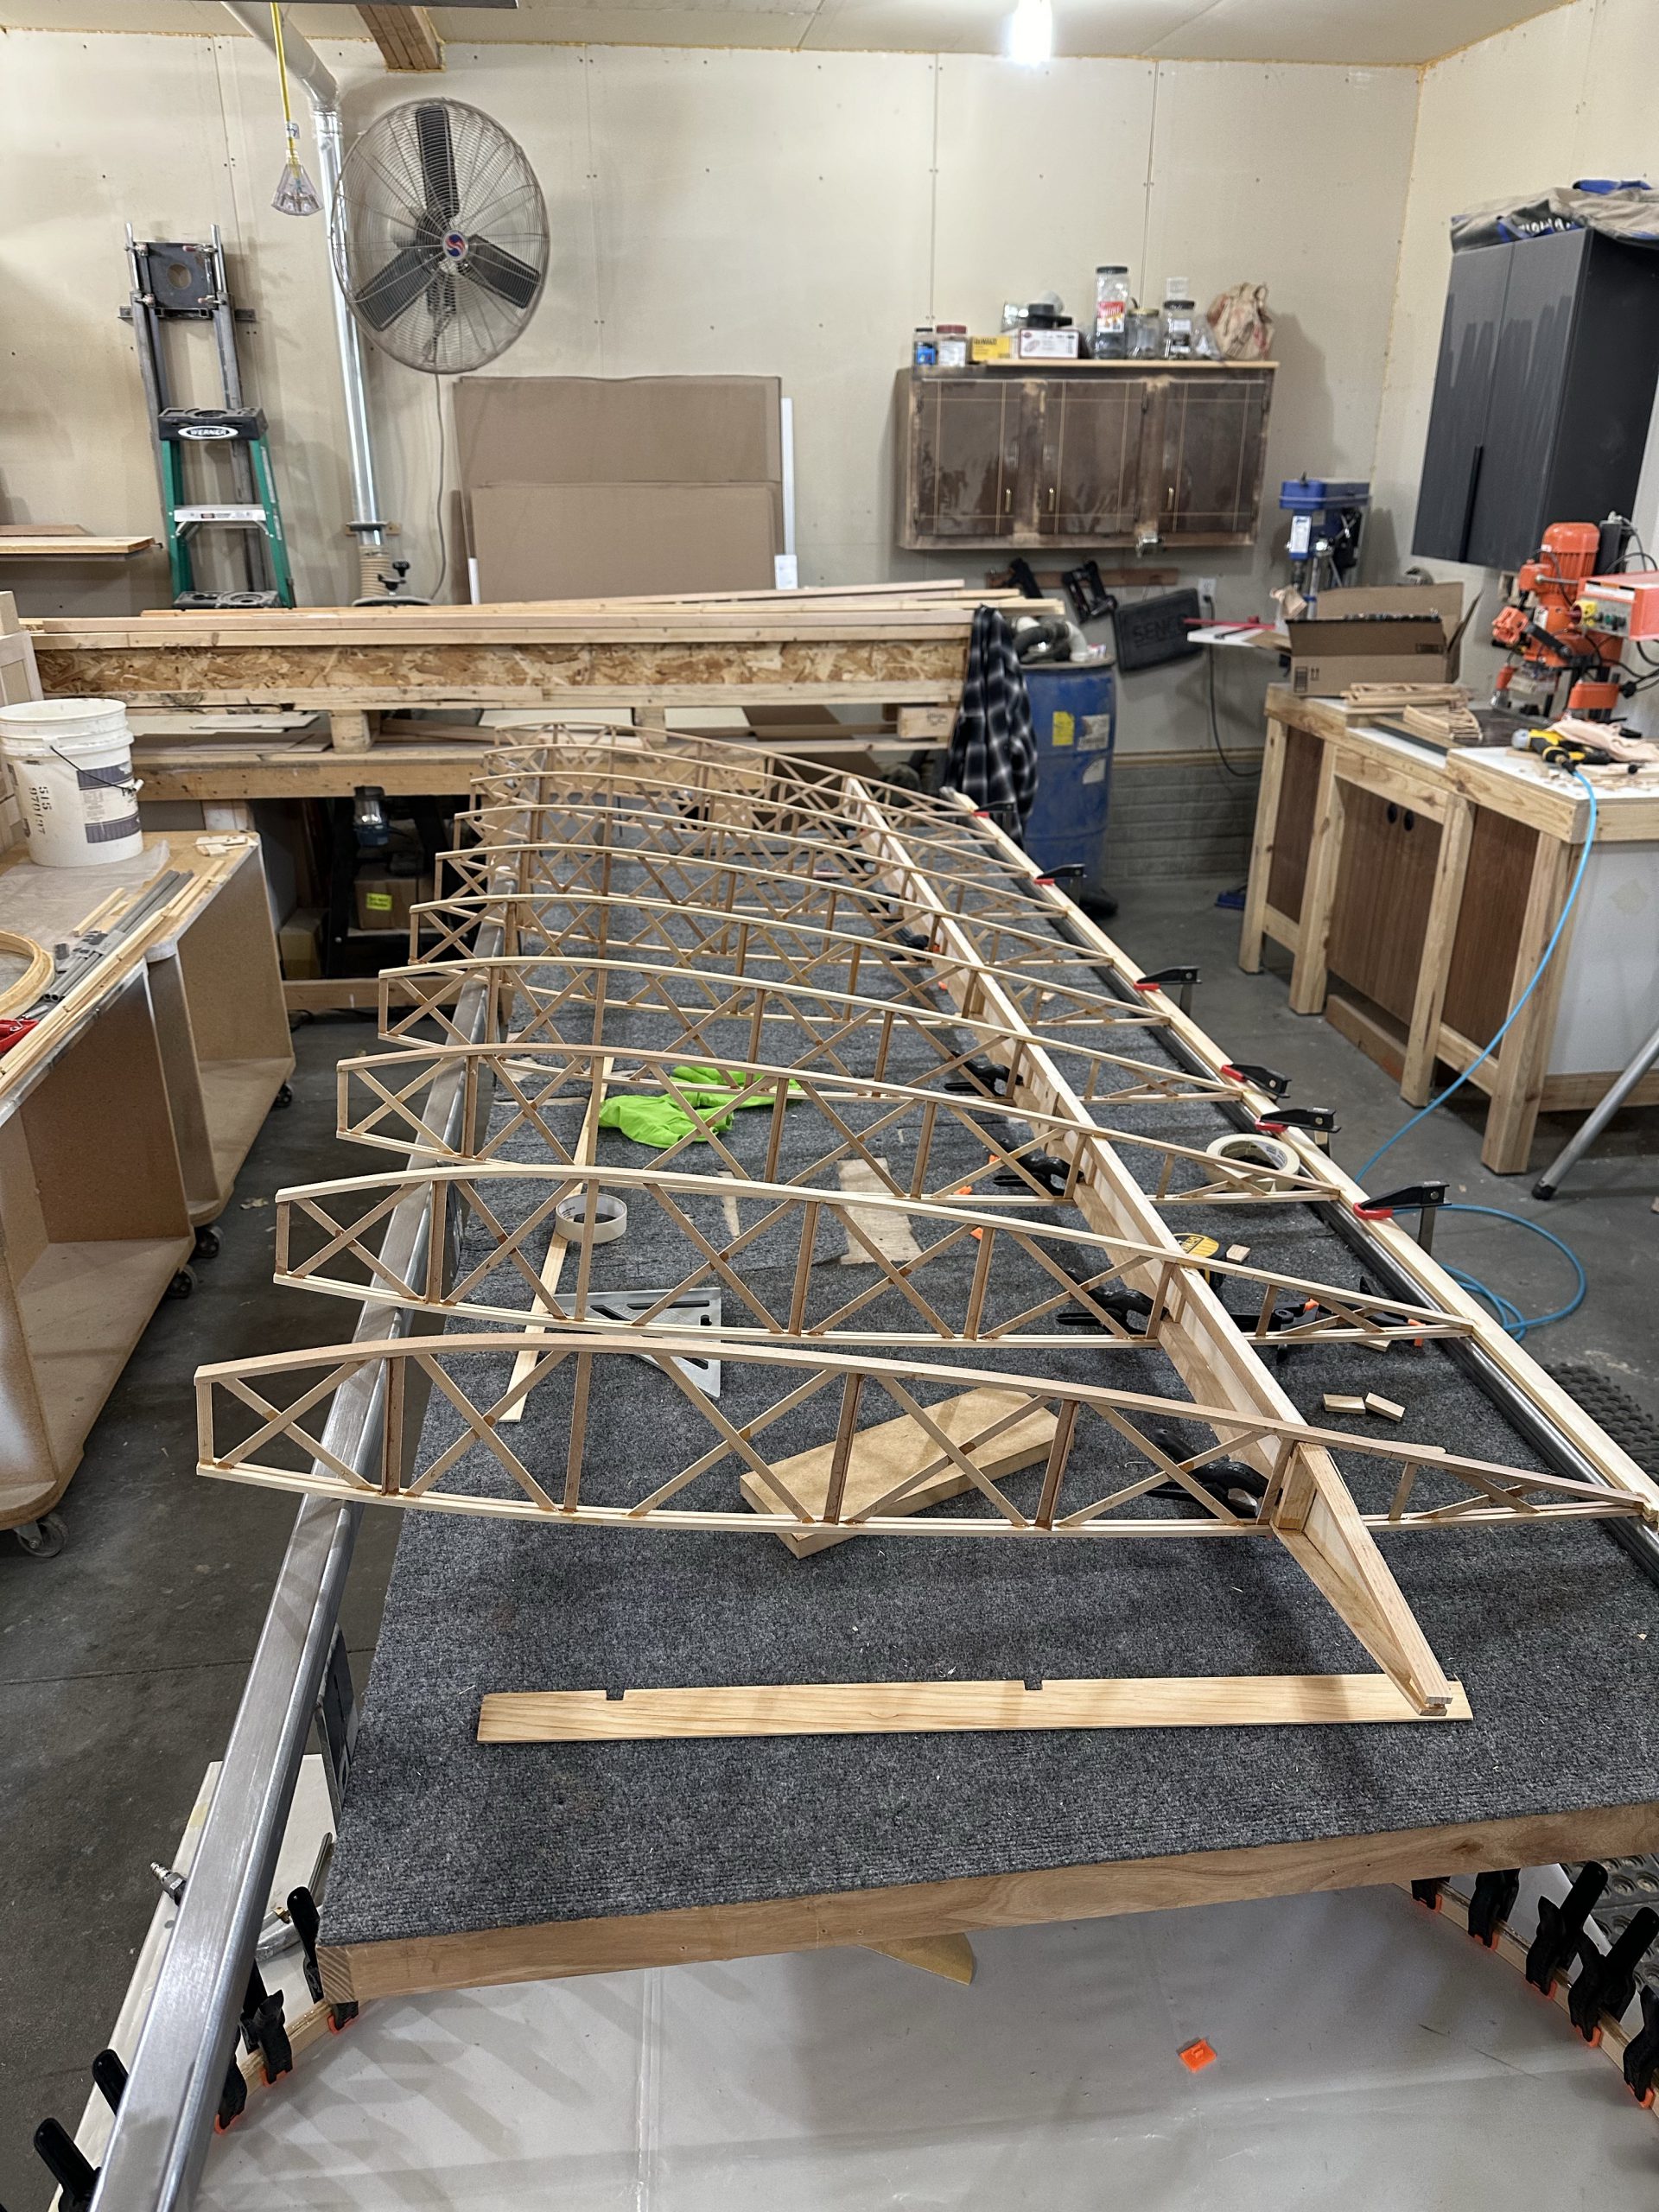
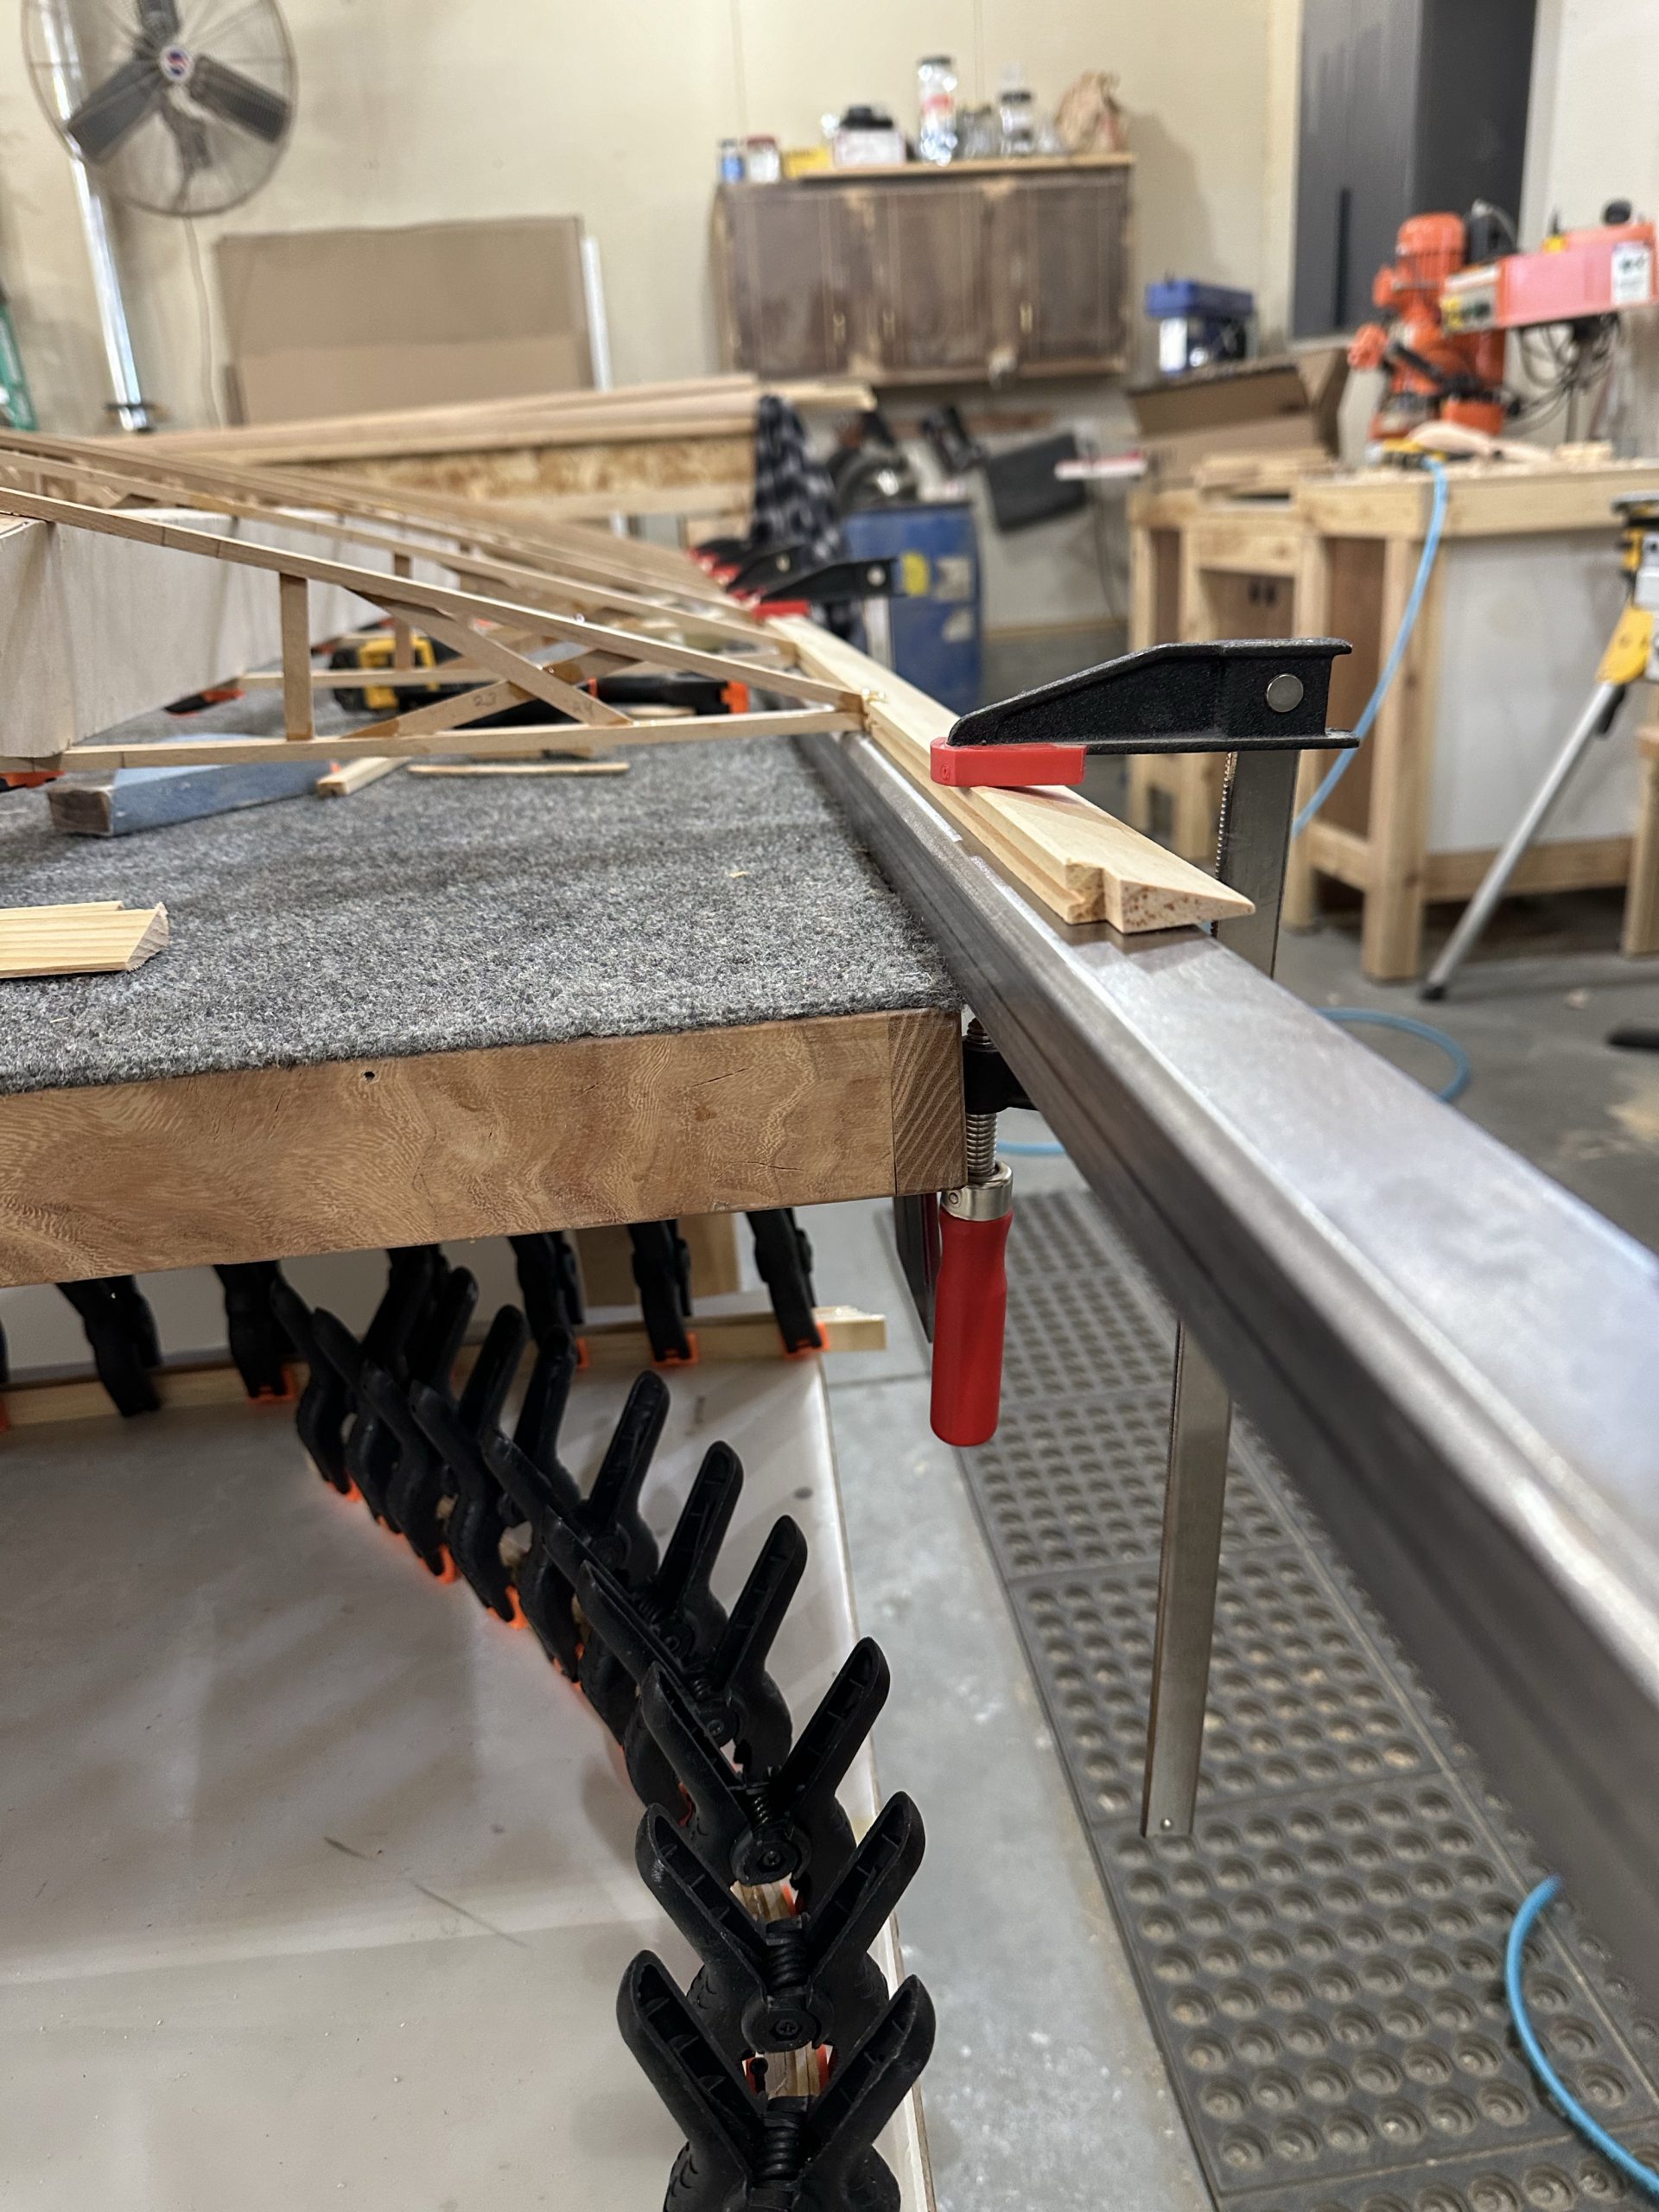
The plans say to nail or screw a block of wood to the top of the bench, square with the trailing edge to set up the wing. Since we’re not building it resting on the bench, Stu and I squared up the first rib with the TE (which is clamped to a steel rail) and marked & clamped it to the other rail. After some debate, we decided to pull the main spar out temporarily. I needed to pull the TE of the rib from the notched TE stock to glue it, and with both spars in place it was nearly impossible to do so. The rear spar is a pretty snug fit in the ribs, btu the main has about 1/8″ of clearance so it’s relatively easy to slide out and back in.
Rather than a continuous piece of trailing edge material long enough to do a complete wing, this kit had four 8′ long pieces and four pieces roughly 4-1/2′ long, I cut the longer piece just inboard of the first aileron rib, and started one of the shorter pieces at that point. We got them aligned and clamped well enough that you can’t tell where the joint is if you sight down the trailing edge.
Stu cut a rectangular block about 6″ tall by 11-1/2″ wide, since that’s the distance in between each pair of ribs. With the first rib glued in and squared to the TE, it was then just a matter of using that gauge block to seat each rib exactly where it needed to be on the rear spar. Each rib was glued to the TE and rear spar, and a couple of 1″ micro pins shot through the rib cap to hold it in place while the glue cures. Working that way we got the entire set of ribs in place. We’ll let the glue cure and slide the main spar back in place tomorrow, glue the ribs to it, and attach the false ribs
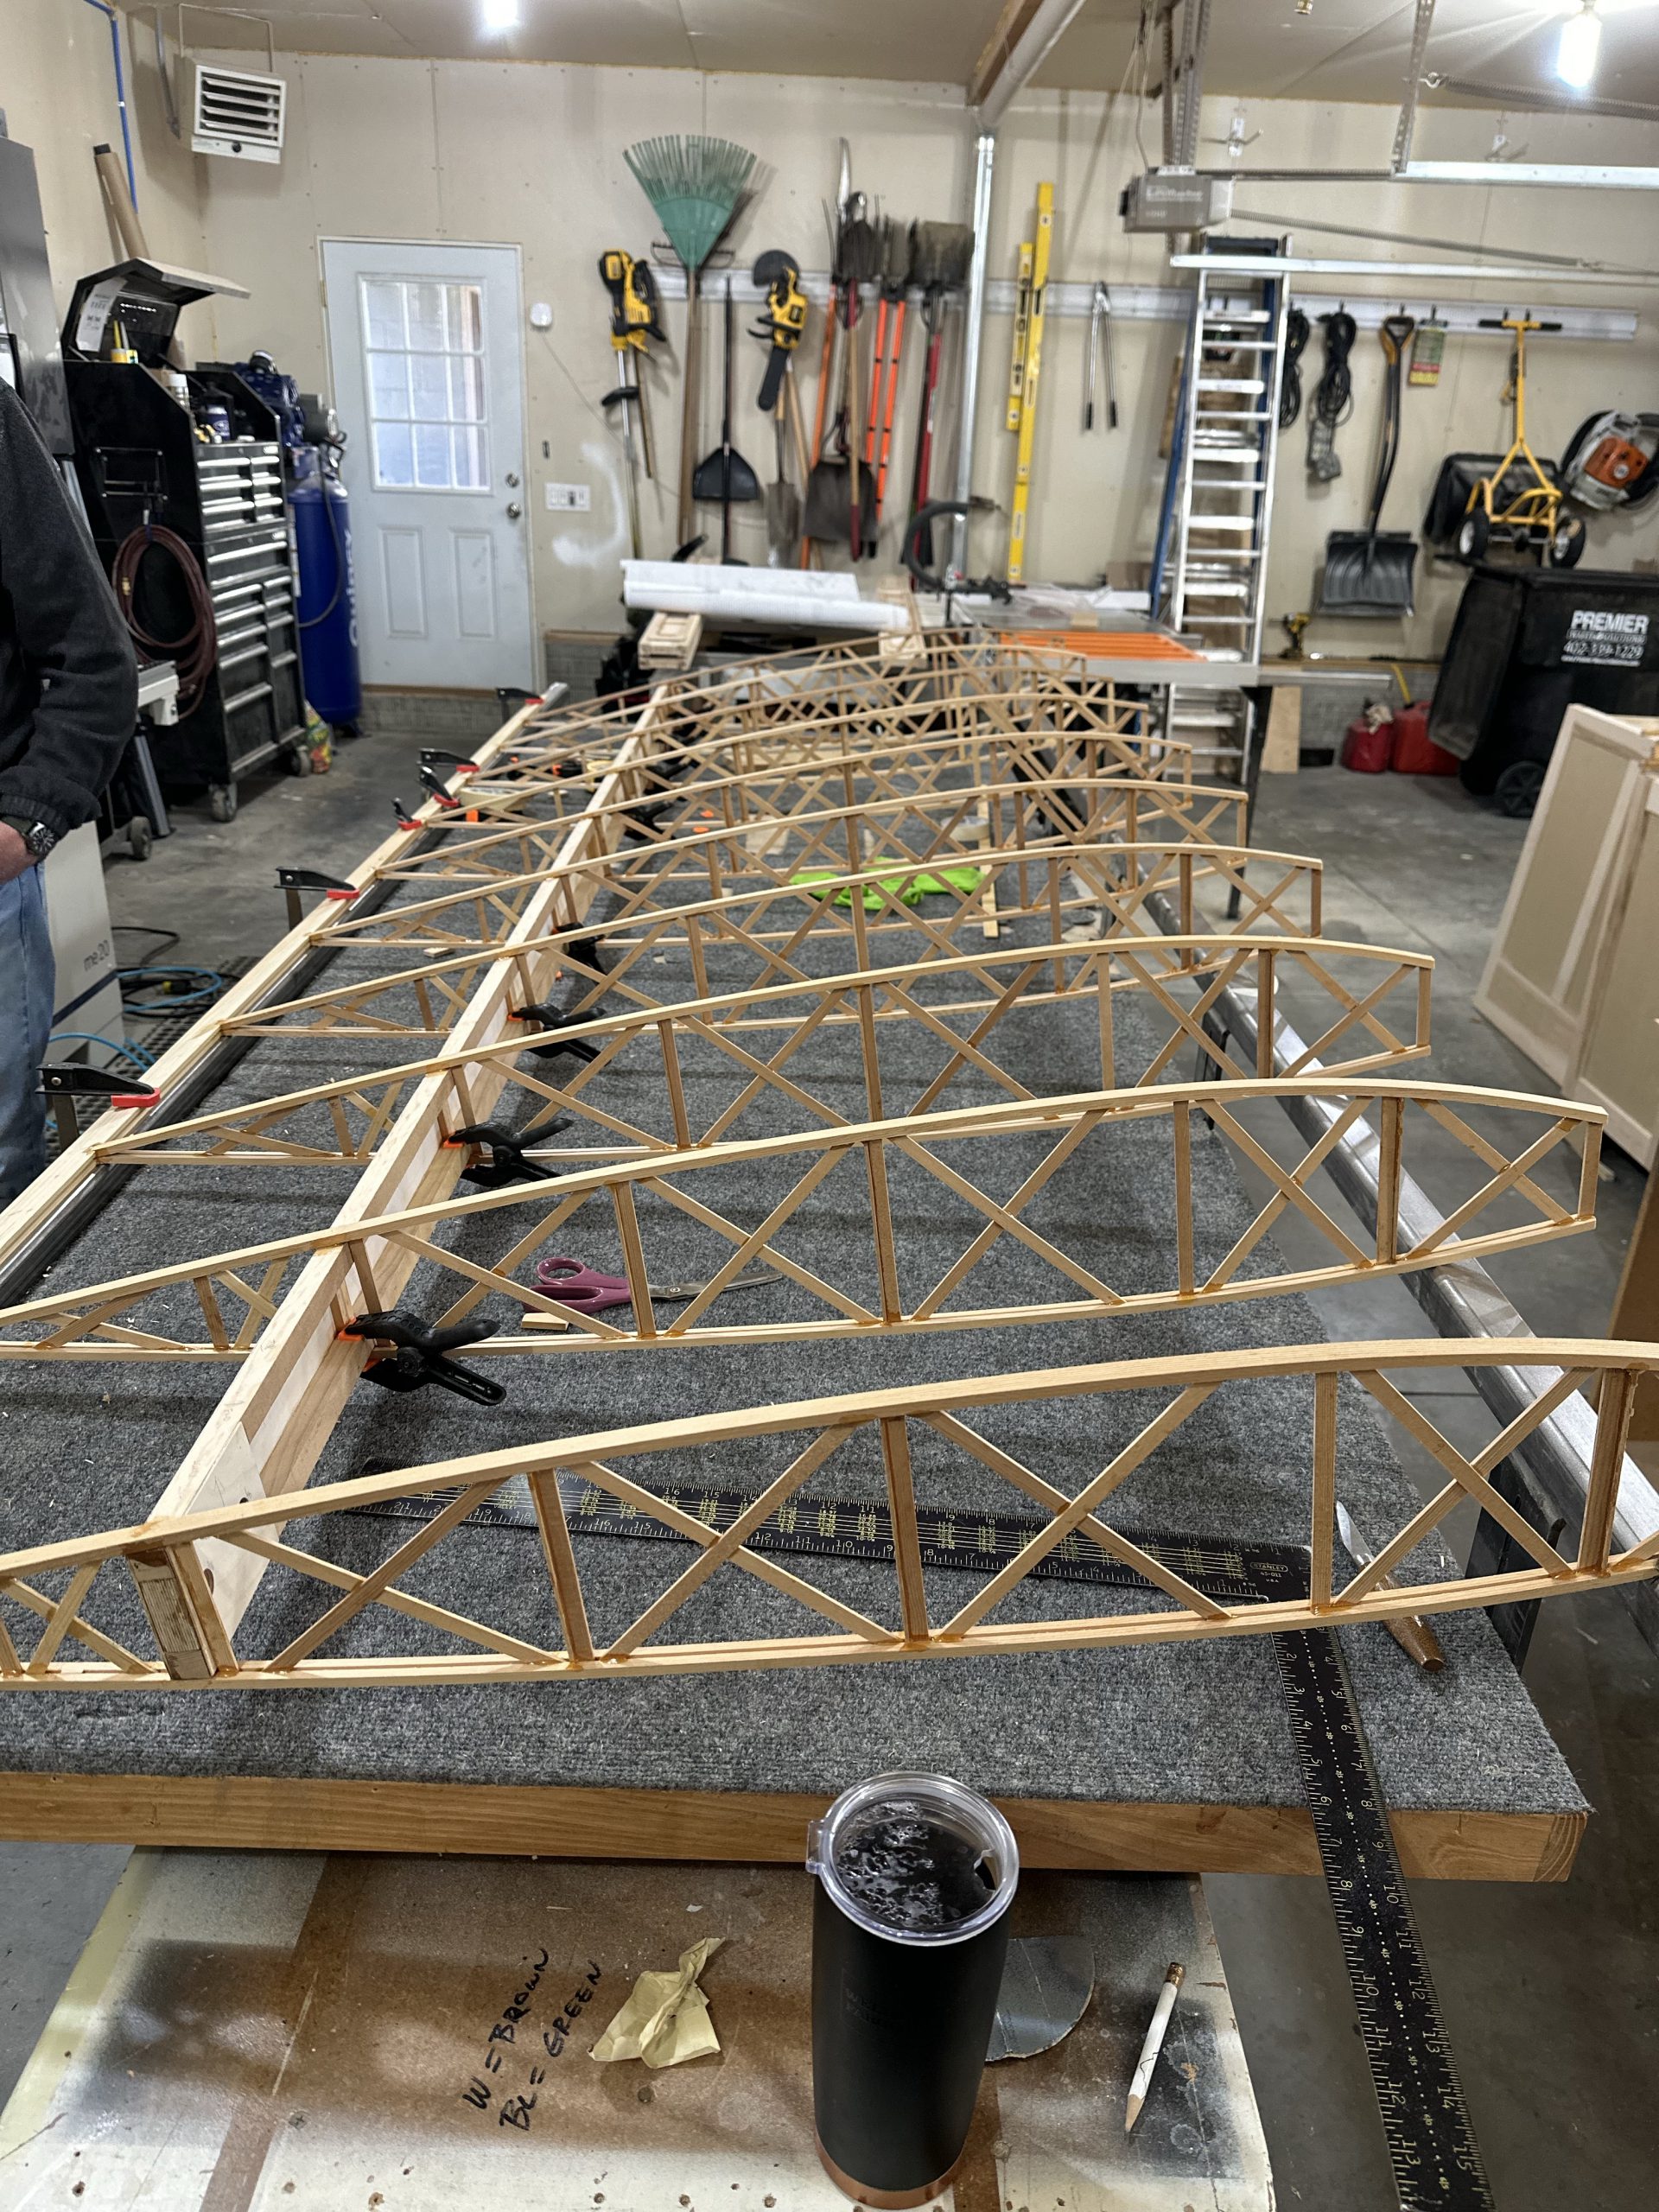
I did some other work today, including trimming the false ribs so they’re ready to install.