
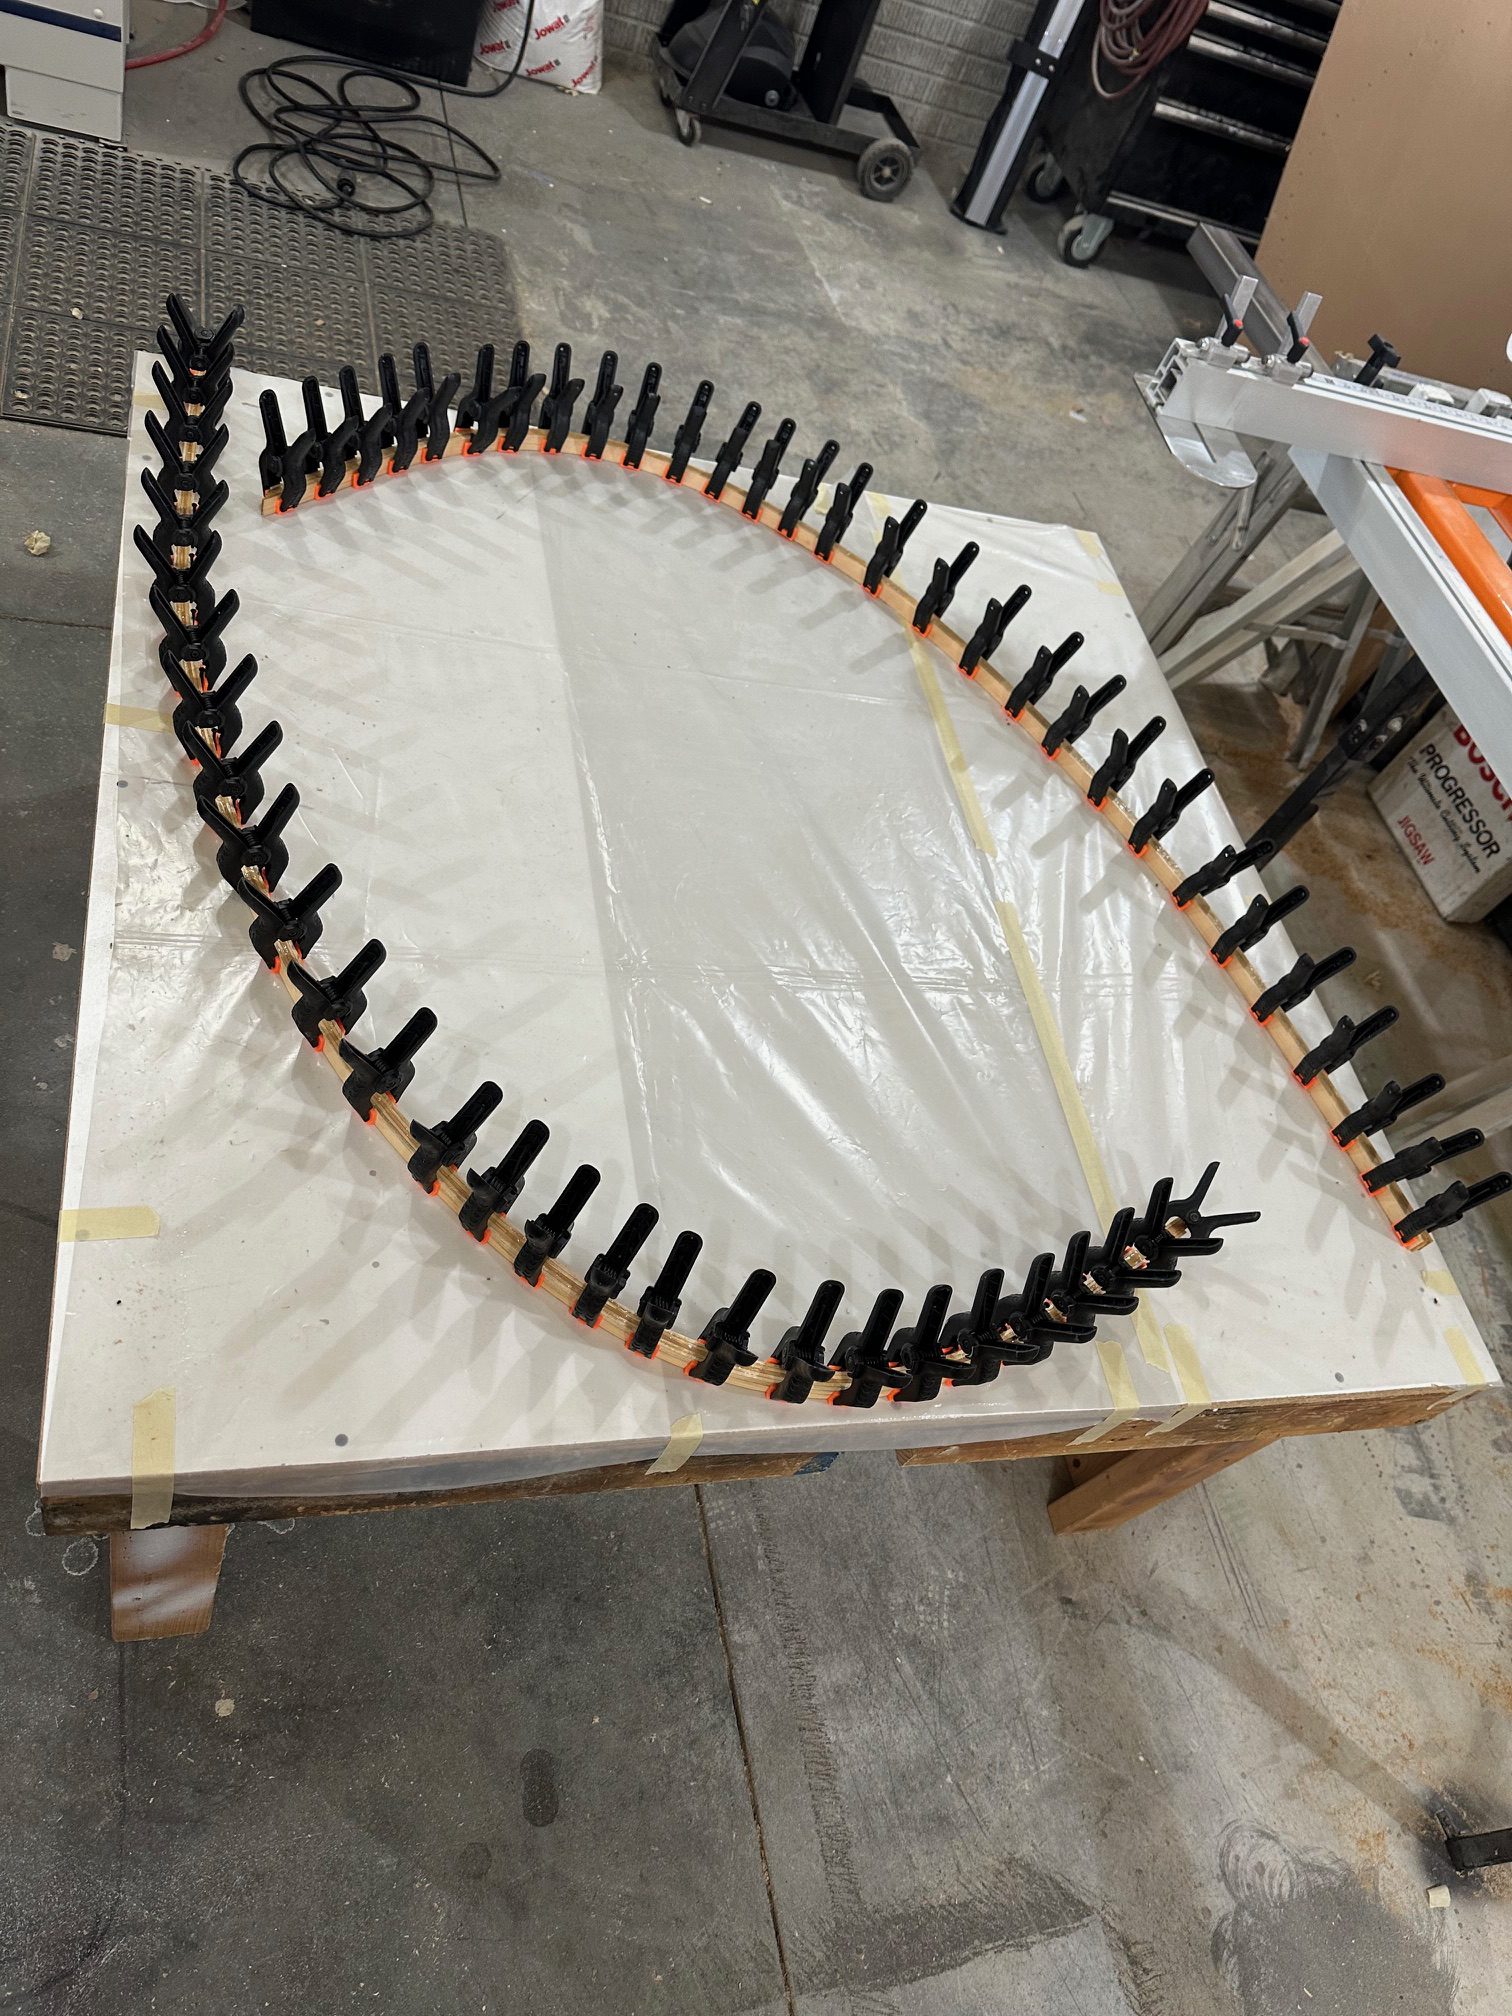
It’s really nice working in Stu’s shop with lots of room and plenty of work surfaces. One of those work surfaces is a 48″ square low table, with a 3/4″ melamine laminate top. It’s just the size needed for laying out thew wingtip bows. I started out by laying a large piece of cardboard out and taping the plans page over it. Then I used a sharp punch to poke through each of the nail locations on the plans to mark on the cardboard where they should be. Since I wanted to get two bows done at a time, I then rotated the plans page and marked a second set of nail locations.
Rather than hammer nails into the tabletop, we taped some poly sheet and then the cardboard down onto the surface and drilled 1/16 pilot holes. Stu has a bunch of trim head screws, so we sunk those using a block of wood as a depth gauge so that the heads are just above the 3/4″ mark – since we’re laying down 3/4″ lamination strips. With all the screws in place we pulled off the cardboard, leaving the poly sheet and screws.
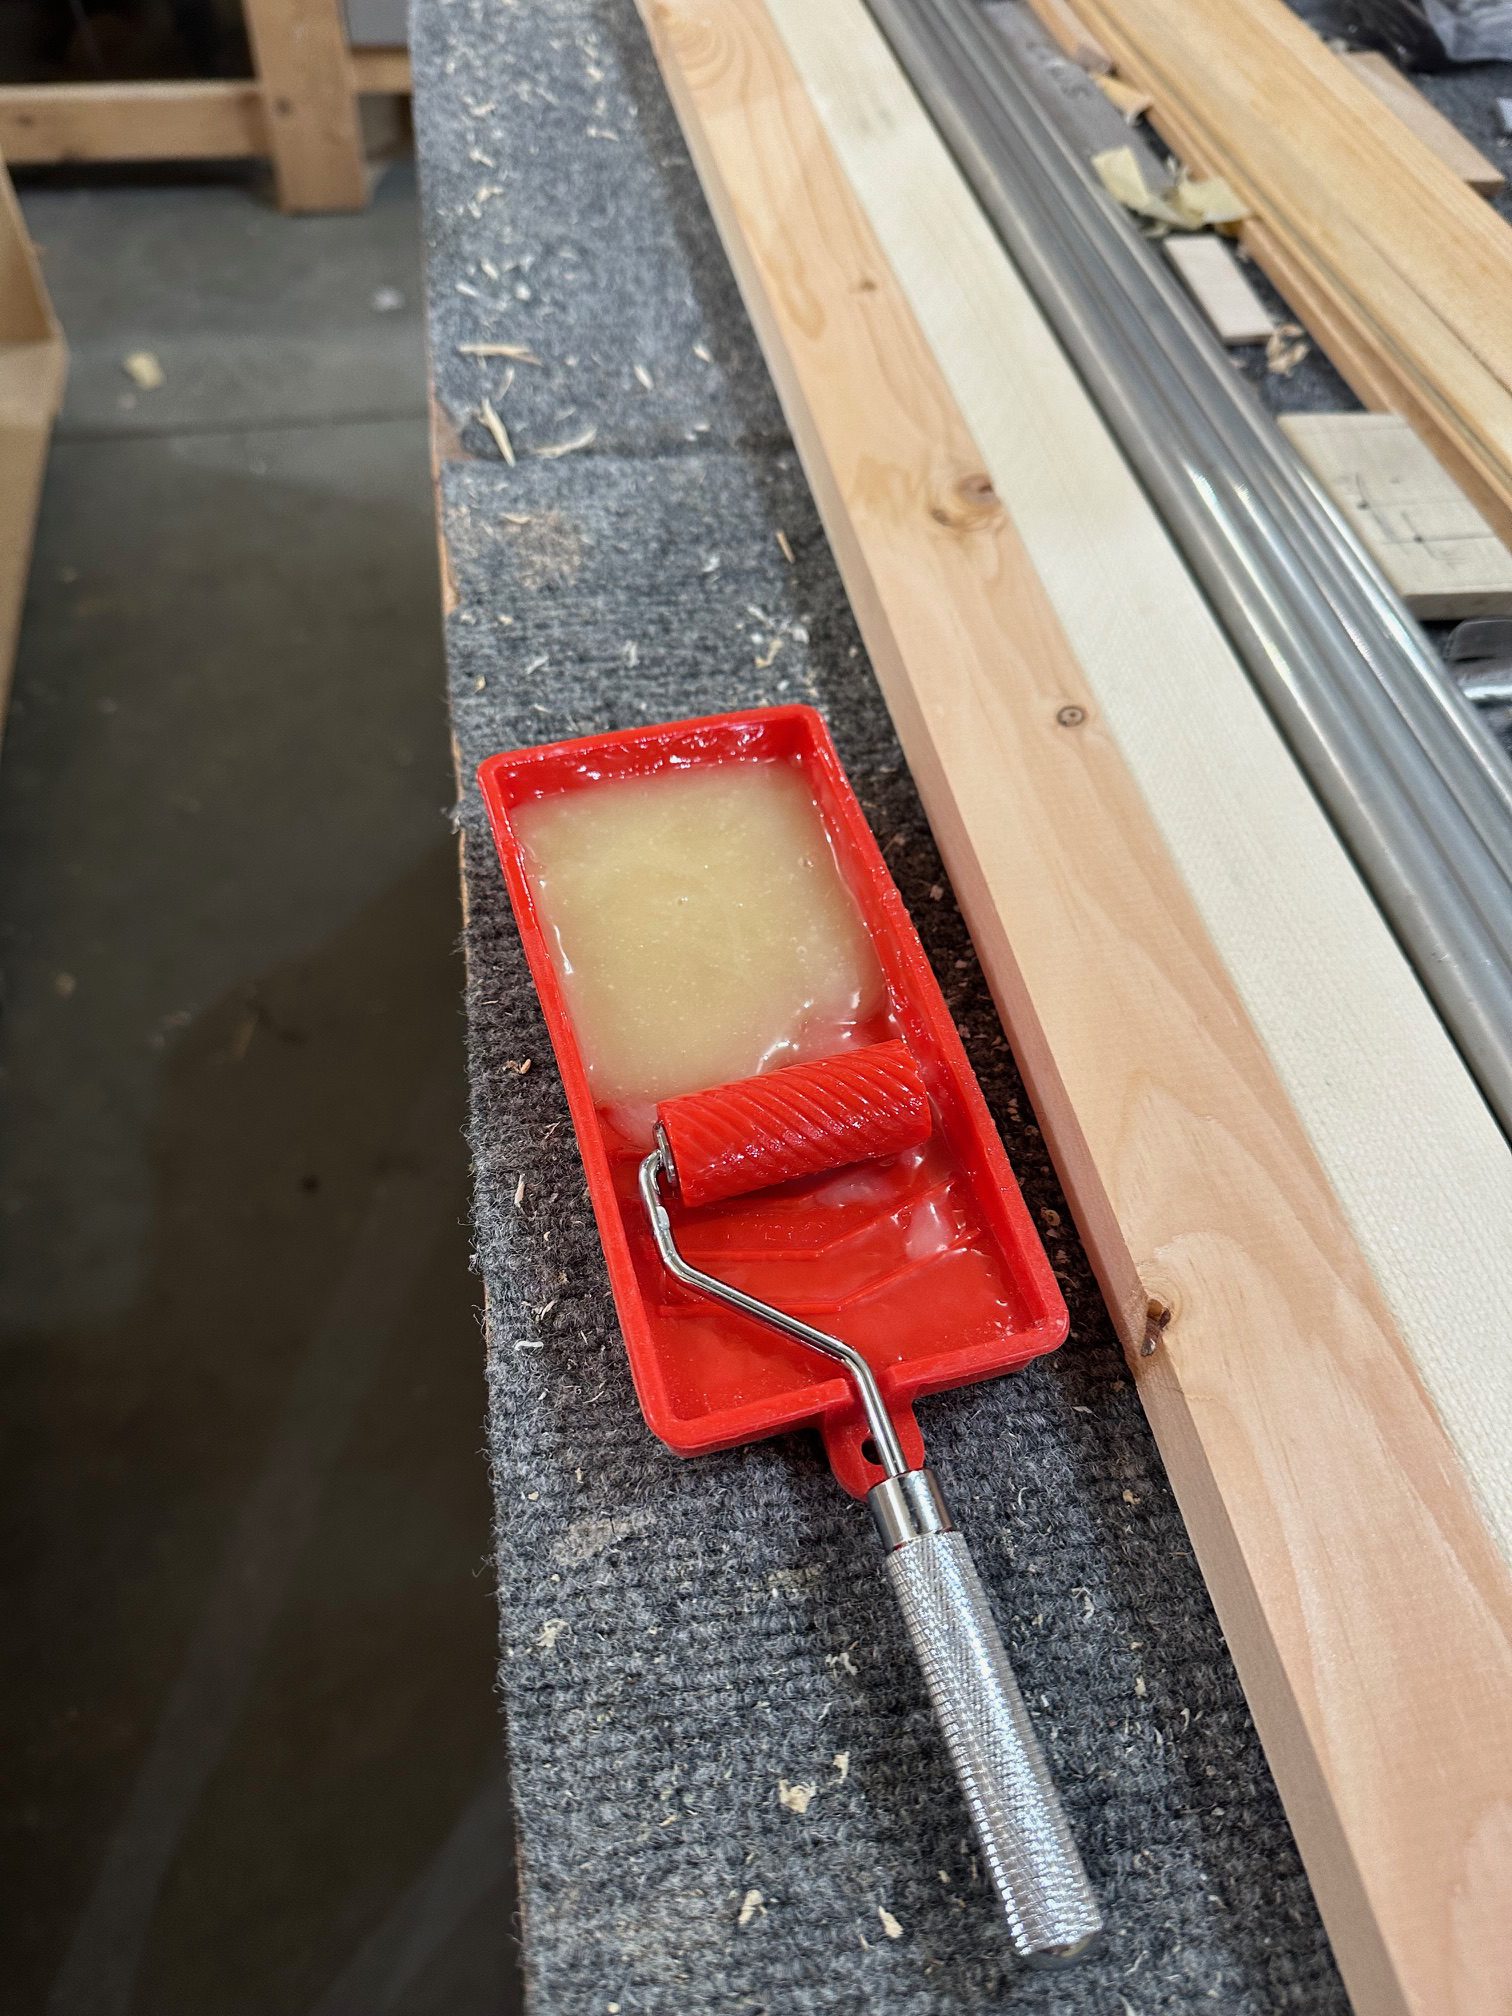
Knowing that I’d need to spread a lot of epoxy in a short amount of time, I bought a small silicone glue roller and tray. The tray is about 6″ long by 3″ wide, and the roller is a bit under 2″ wide and is grooved to hold more glue. Since it’s all silicone rubber, the cured epoxy just pops right off after use.
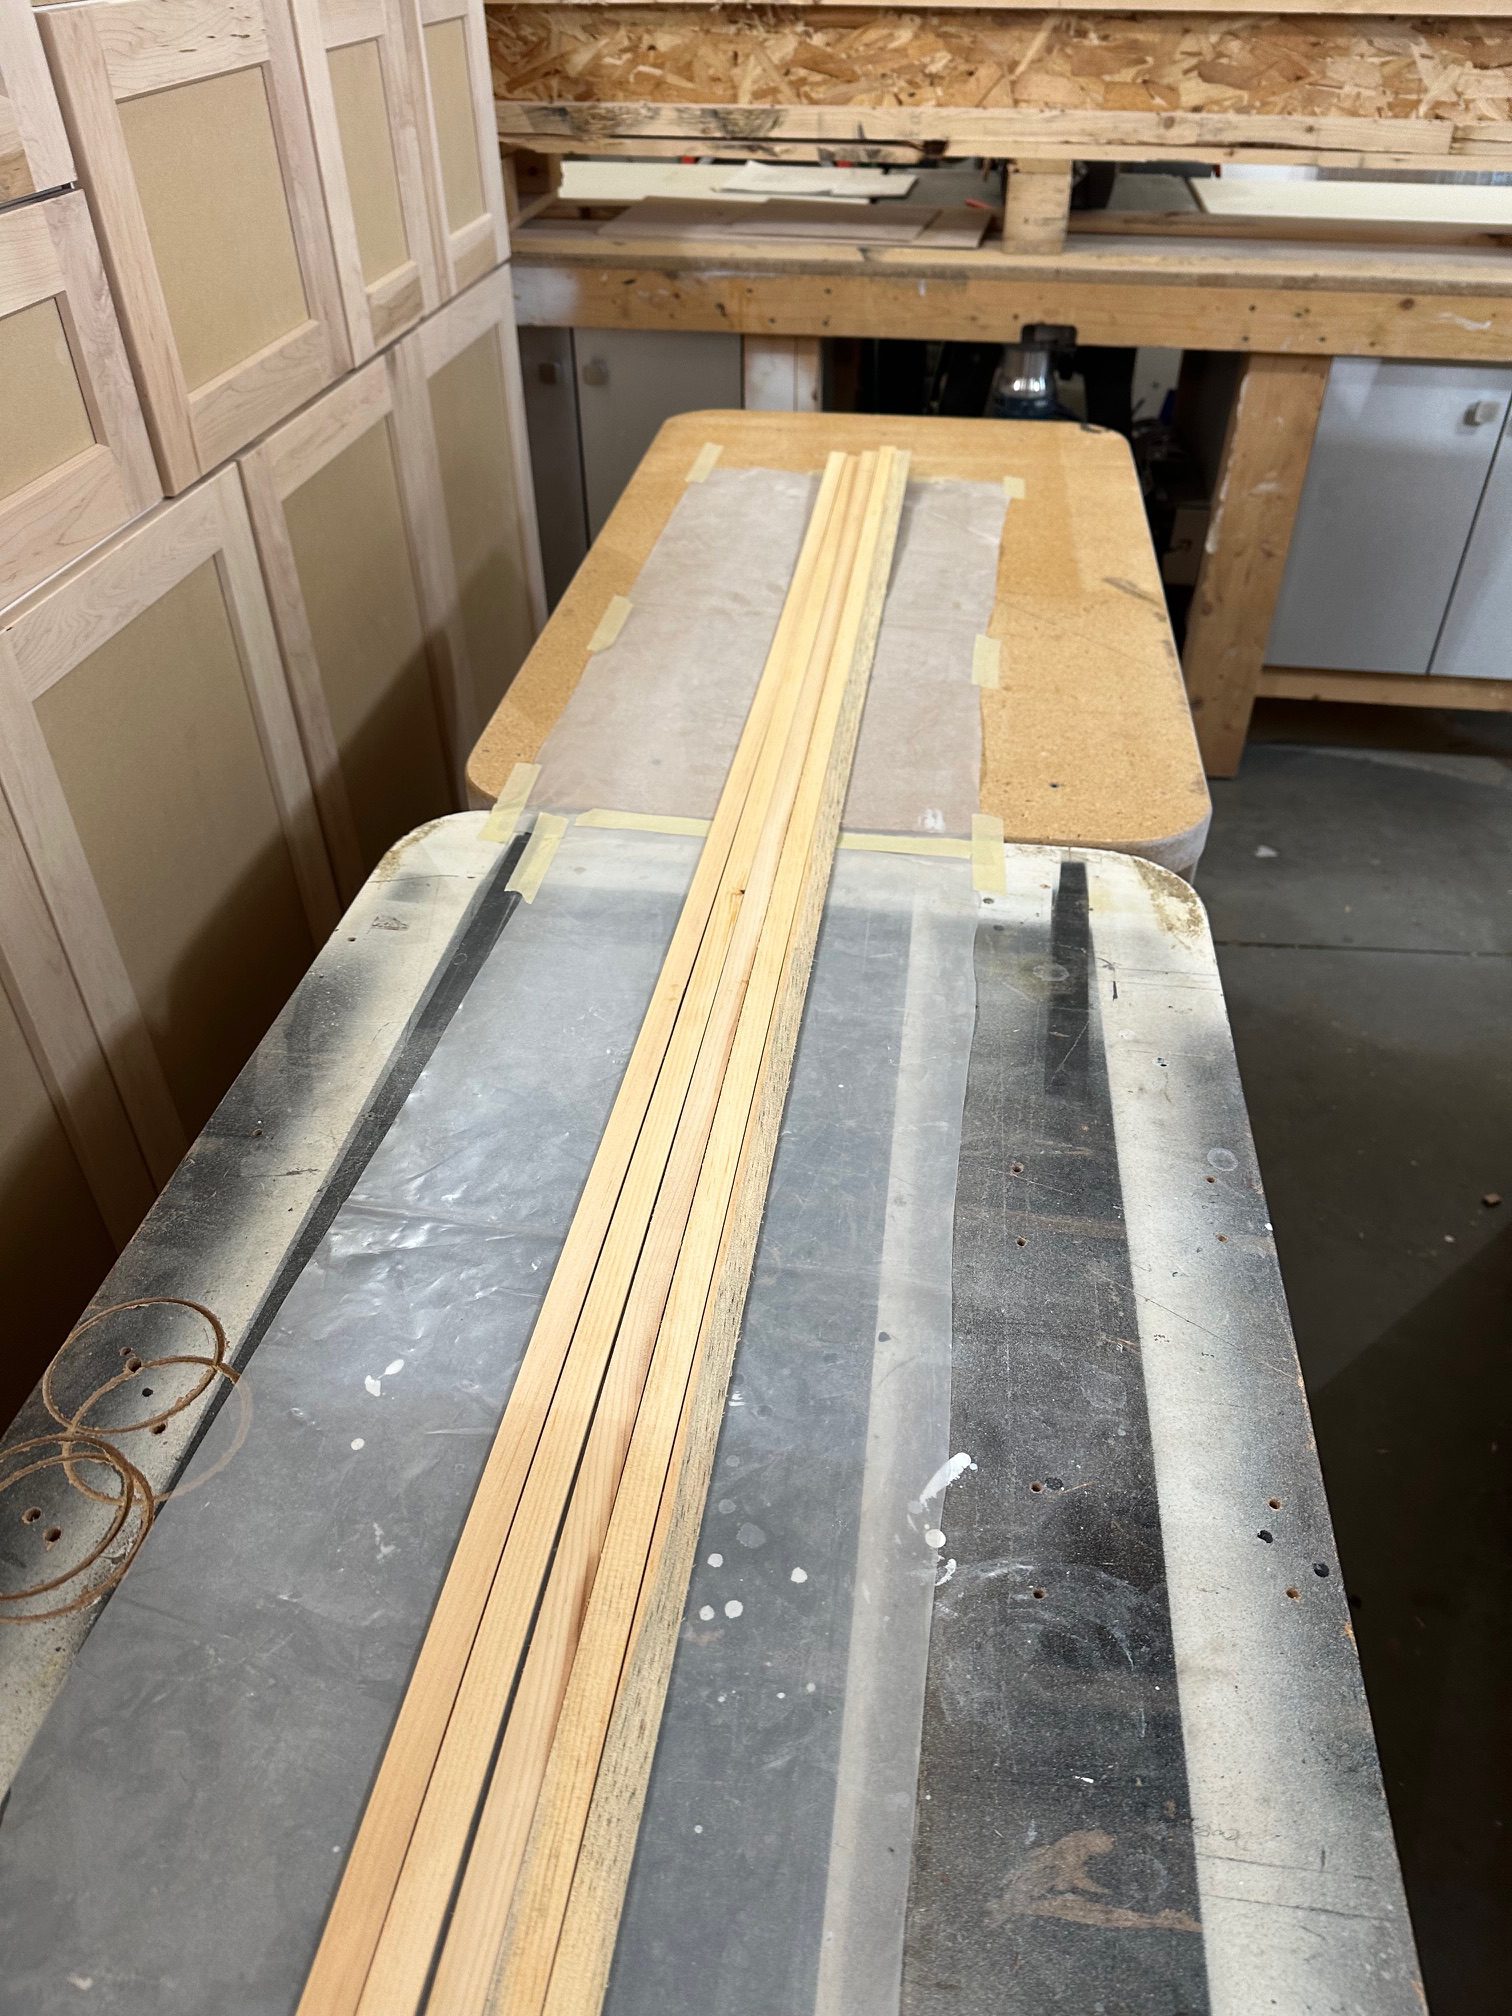
After getting all the screws in place, I wanted to see whether I would need to soak the wood laminating strips to get around the form. I had no trouble whatsoever getting the strips bent around the forms without any soaking, so that was good news. With that bit done, we trimmed 20 of the laminating strips (4 wingtip bows, 5 layers each) down to the right length to clamp down to the forms with a few extra inches on each end. With that done I went home for the night.
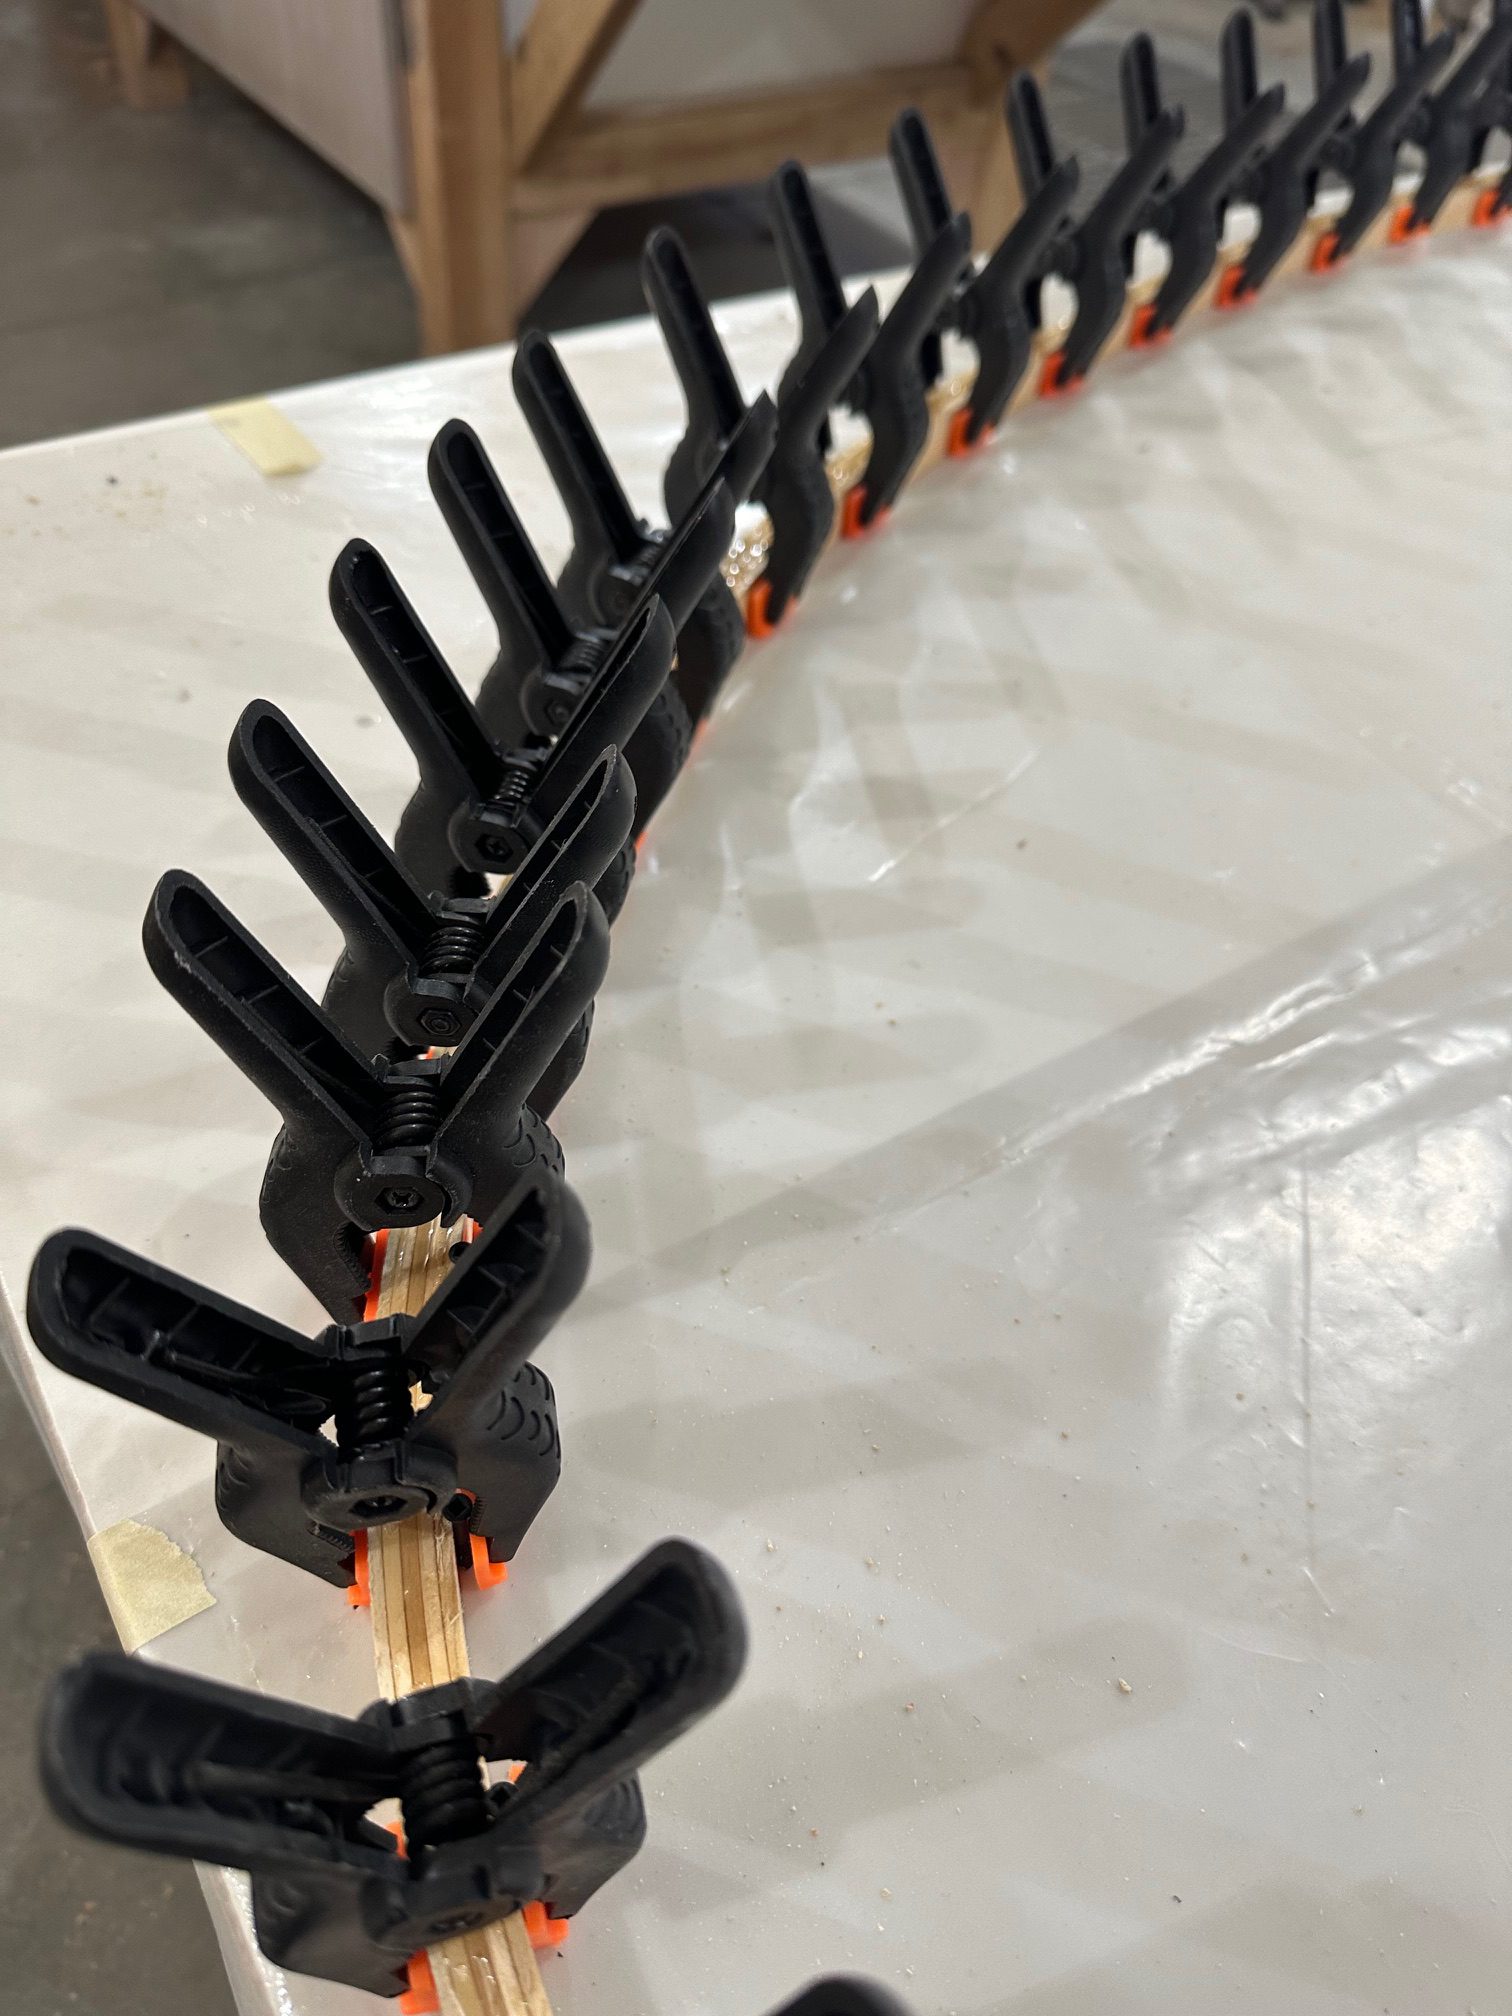
Friday morning I was back at it. Mixed up some epoxy in the silicone tray and used the roller to evenly coat 4 of the 5 laminating strips with glue. It worked wonderfully well, I’m glad I bought it. I then just stacked the strips and clamped them to the first form, then repeated the process with the second set of strips. The entire process was so much less complicated than I anticipated — I’m not the least bit worried about repeating it for the other two bows, or for the tail. Of course we’ll see how those bows come off the forms tomorrow…
With the bows curing, Stu and I drilled the holes for the bolts and bushings that will attach all of the fittings to the wing spars. Stu’s got a set of Forstner bits, which cut nice clean holes. I’ve got to get a set of those… been meaning to anyway, but that really drove the point home, so to speak. One big advantage is that with the drill press running, you can clearly see the point on the bit to precisely put it right on the mark. Then we cut the 3 degree angle on the lower wing main spar root ends. No pressure at all, just taking a chop saw to a nearly irreplaceable bit of very expensive spruce and aircraft plywood…
Now it’s time to start actually assembling the wings. We started by attaching a steel rail to the side of the bench to support the leading edge of the ribs. The idea is, rather than supporting the trailing edge material with an angled block to let the ribs sit on the bench tom, we’ll clamp the TE flat to one bar, then use the other to support the leading edge at the proper height to match the angle of the TE. If you’re building one of these, I wouldn’t recommend trying to do it this way without a similar setup. Stu’s got a pair of 12′ long square steel tube rails that bolt to the edges of the bench and can move up or down from slightly above the level of the bench top to about 5-6 inches high. It’s pretty unique. The method outlined in the plans is a solid alternative, though personally if I had to do it without this setup I’d bevel the edge of a long block and use pocket screws to attach it to the bench.
We got the first half dozen ribs in place but were unable to go further, since I had taken all of the aileron ribs back home — I just grabbed the stack of ribs that needed modification, and it didn’t occur to me that the aileron ribs could stay.

So that was today — a lot of progress. By the end of the day tomorrow we should have something that starts to look like an airplane wing, and two more laminated wingtip bows.