Closing out 2023

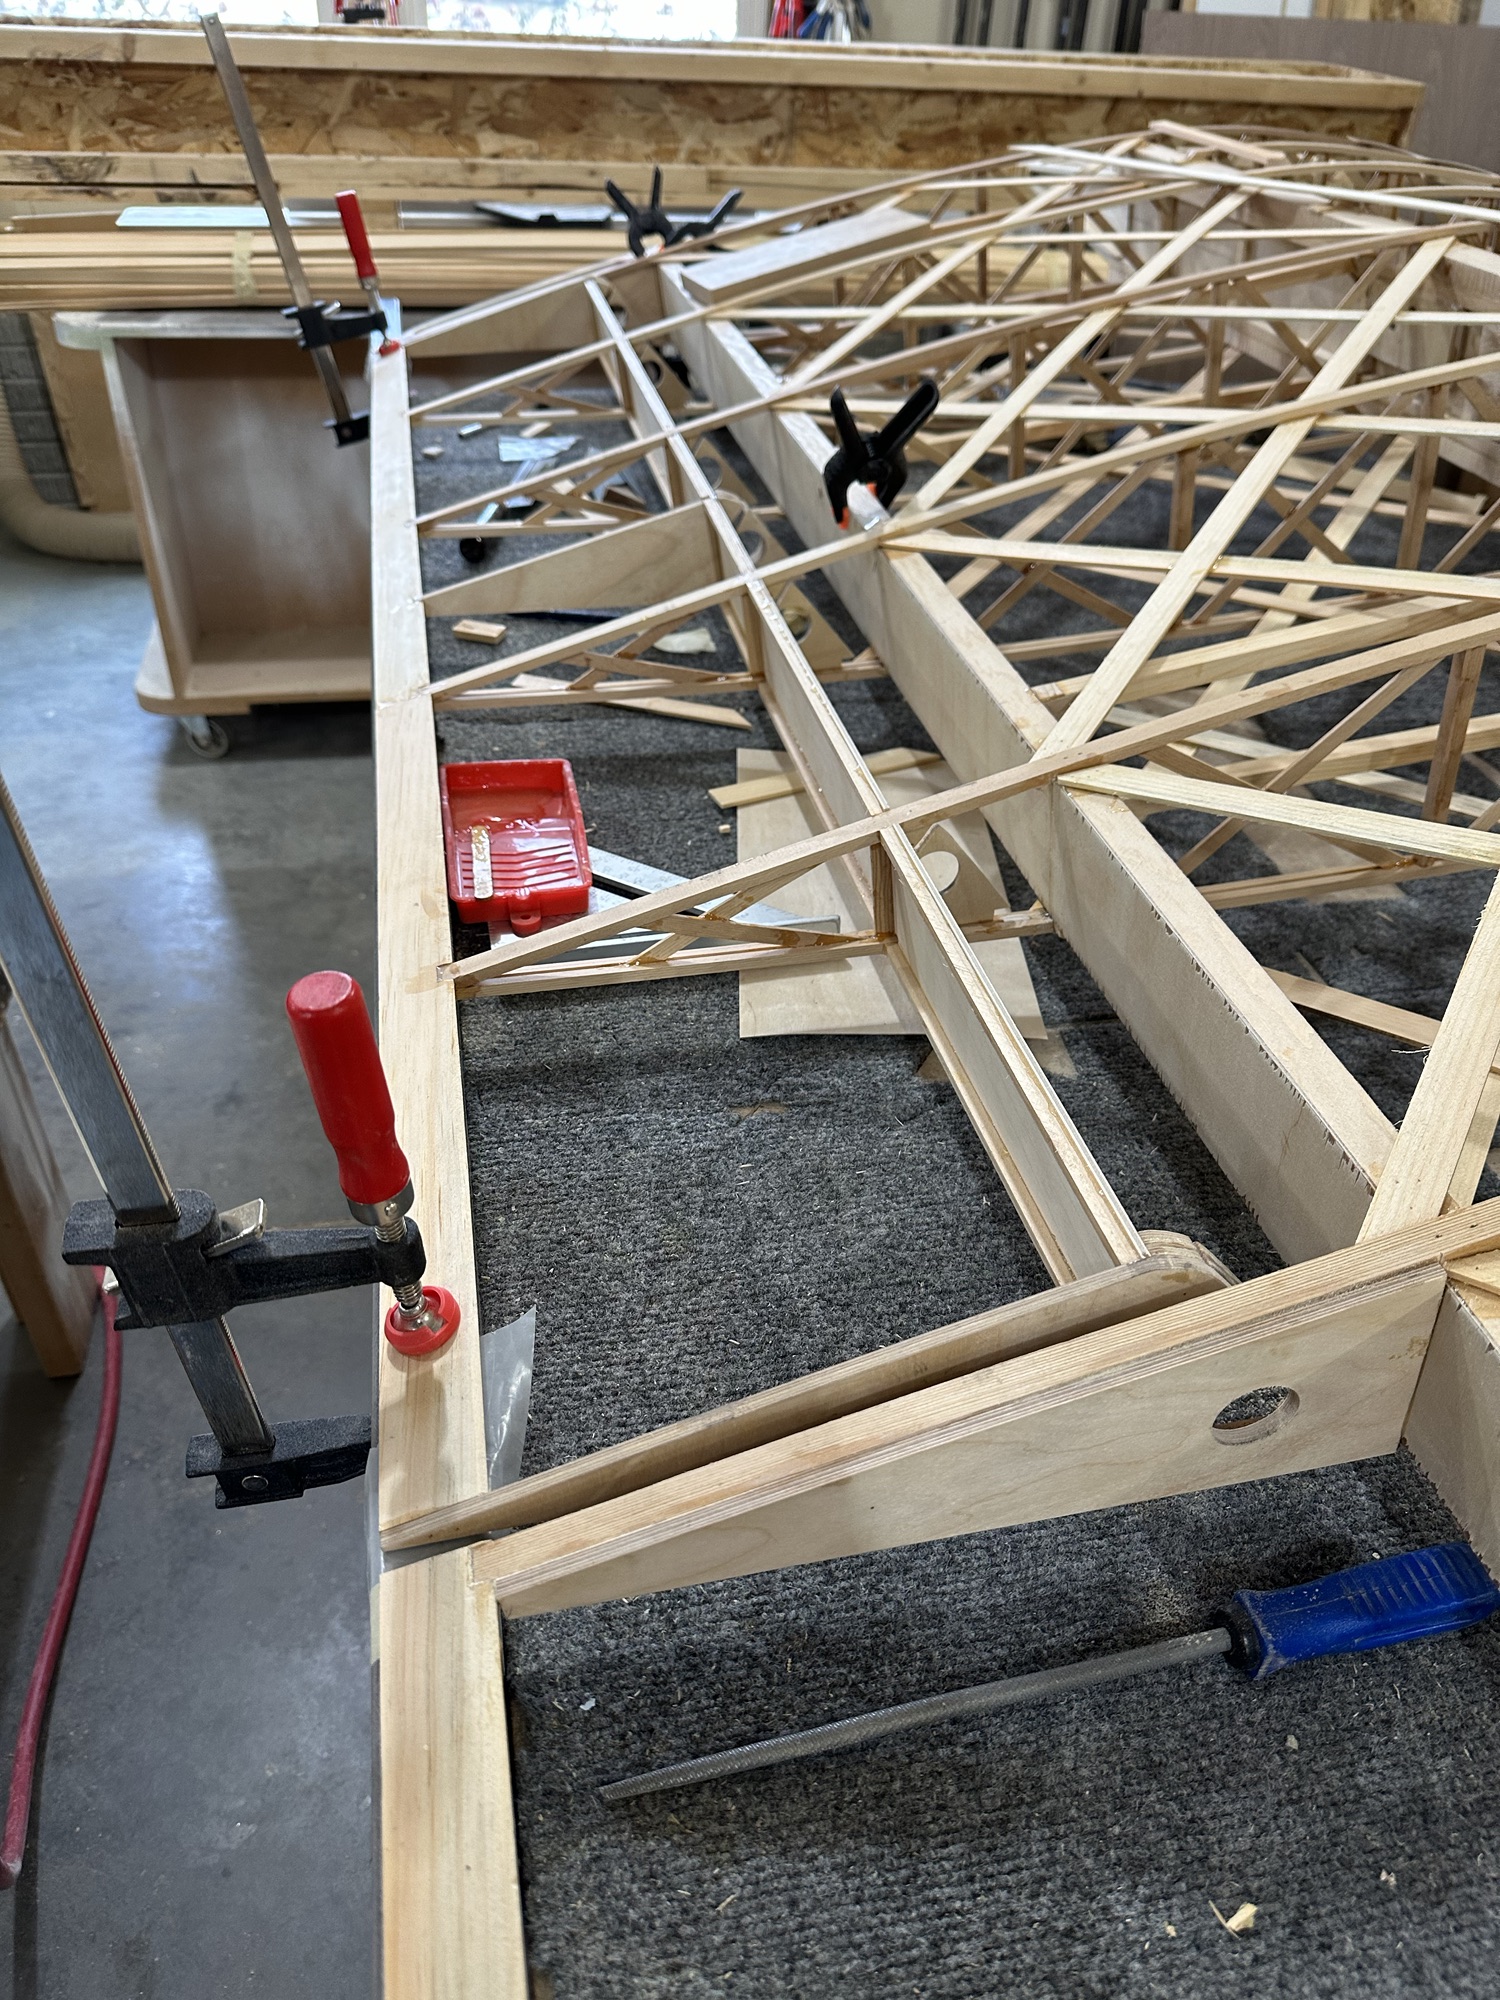
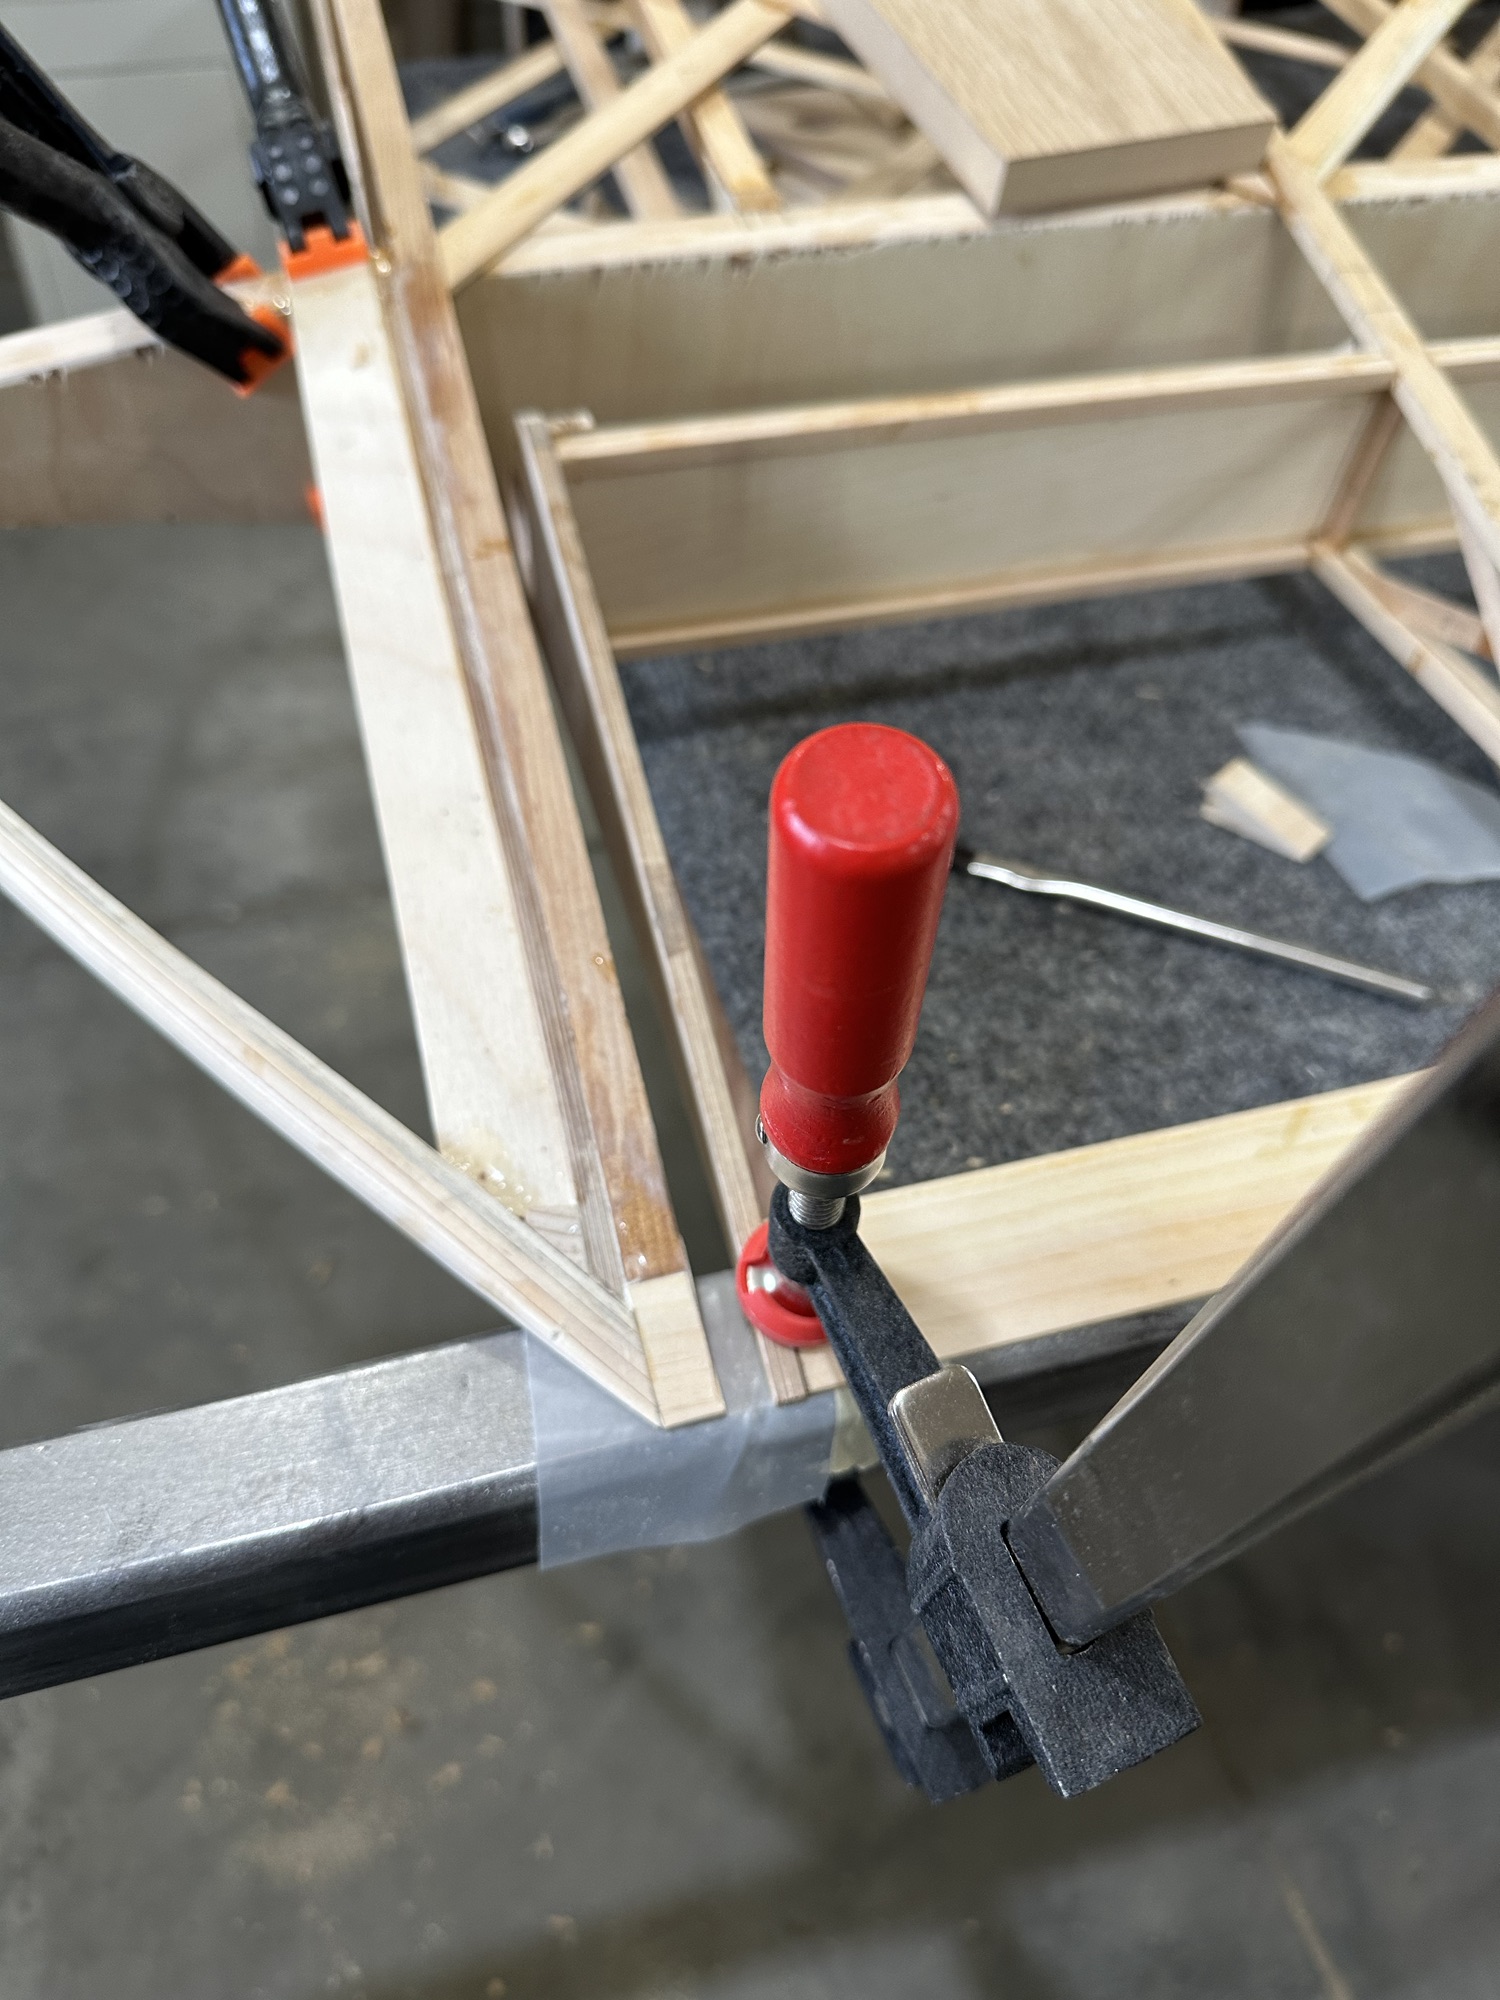
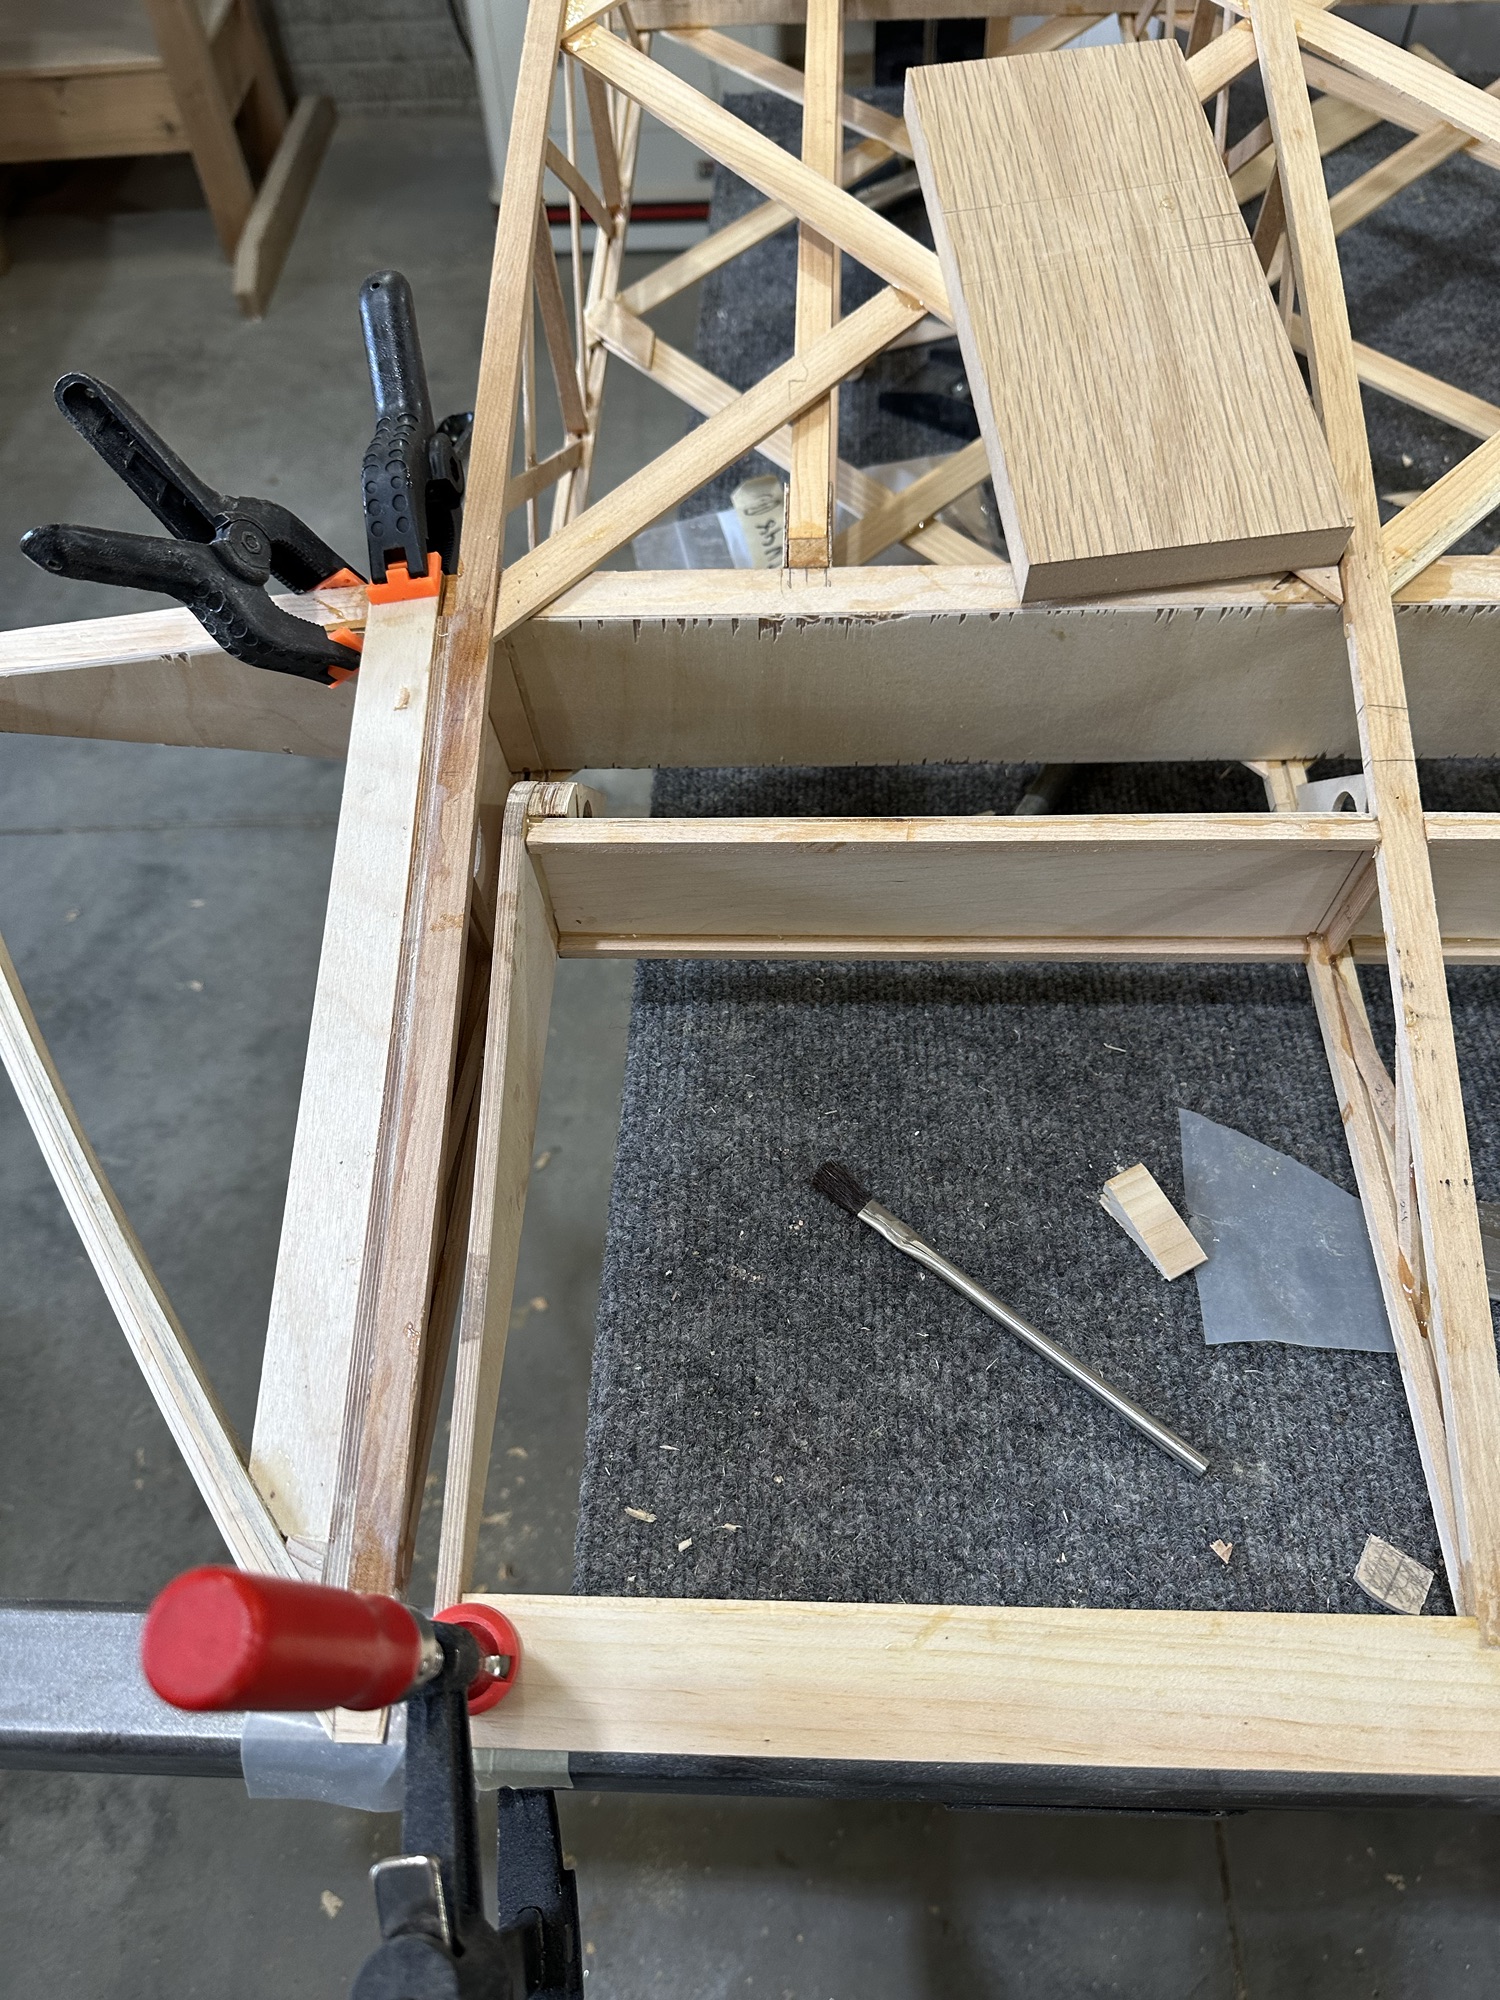
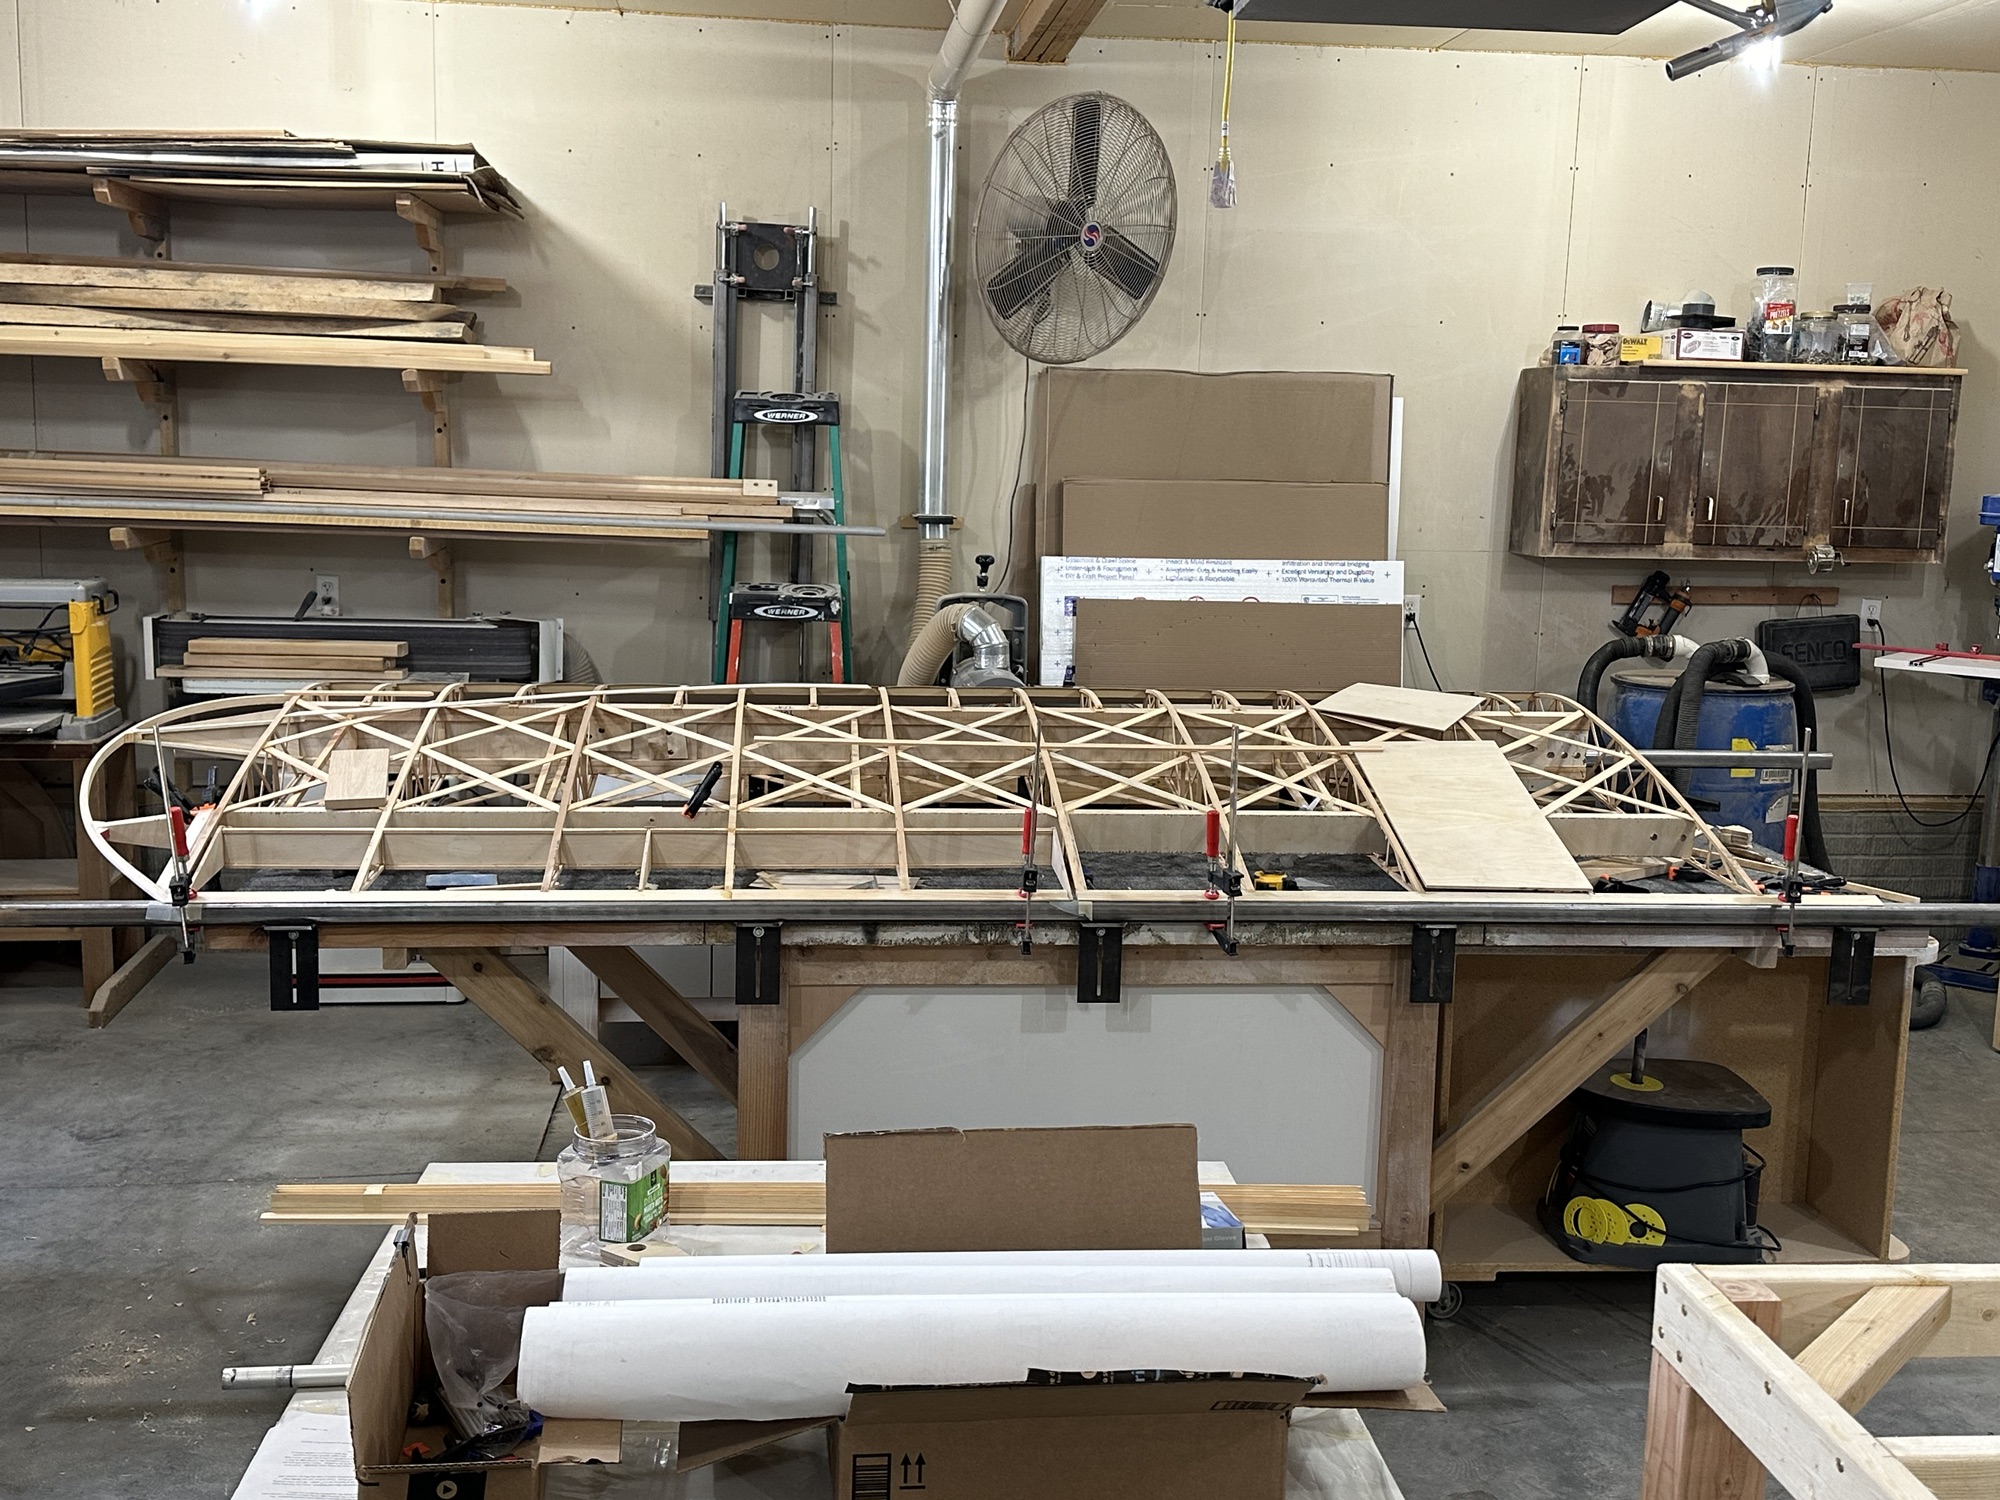
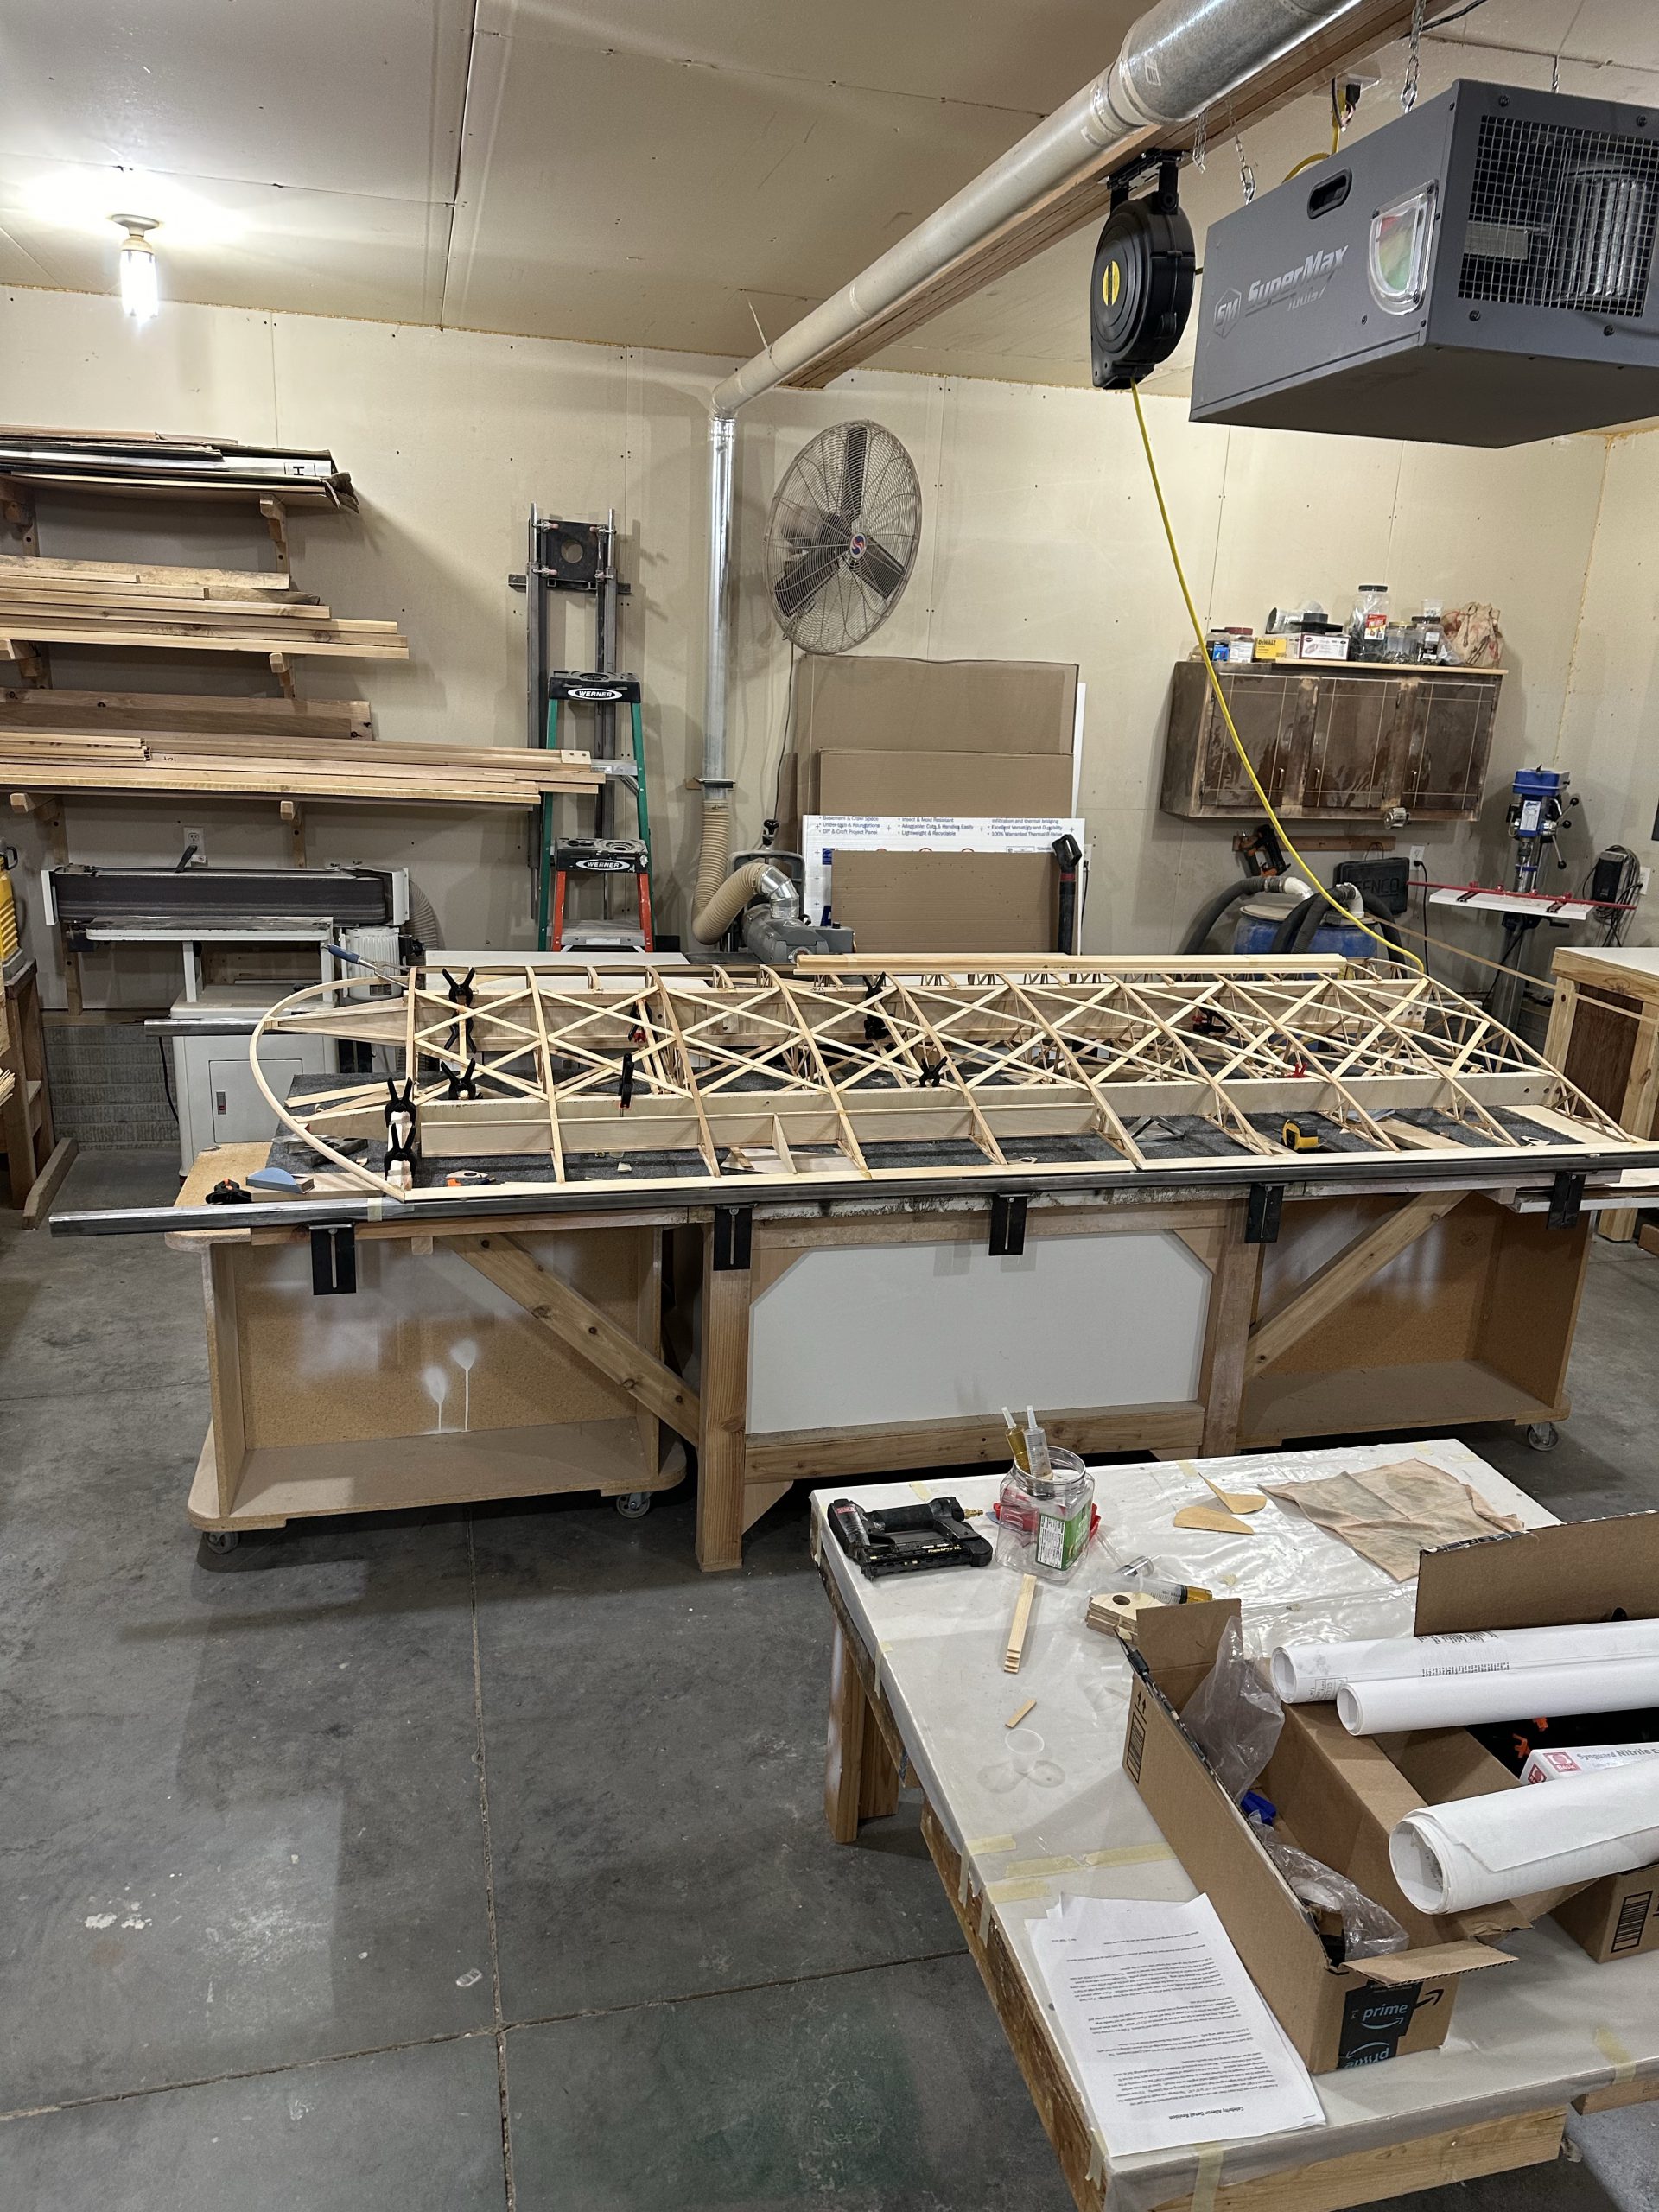
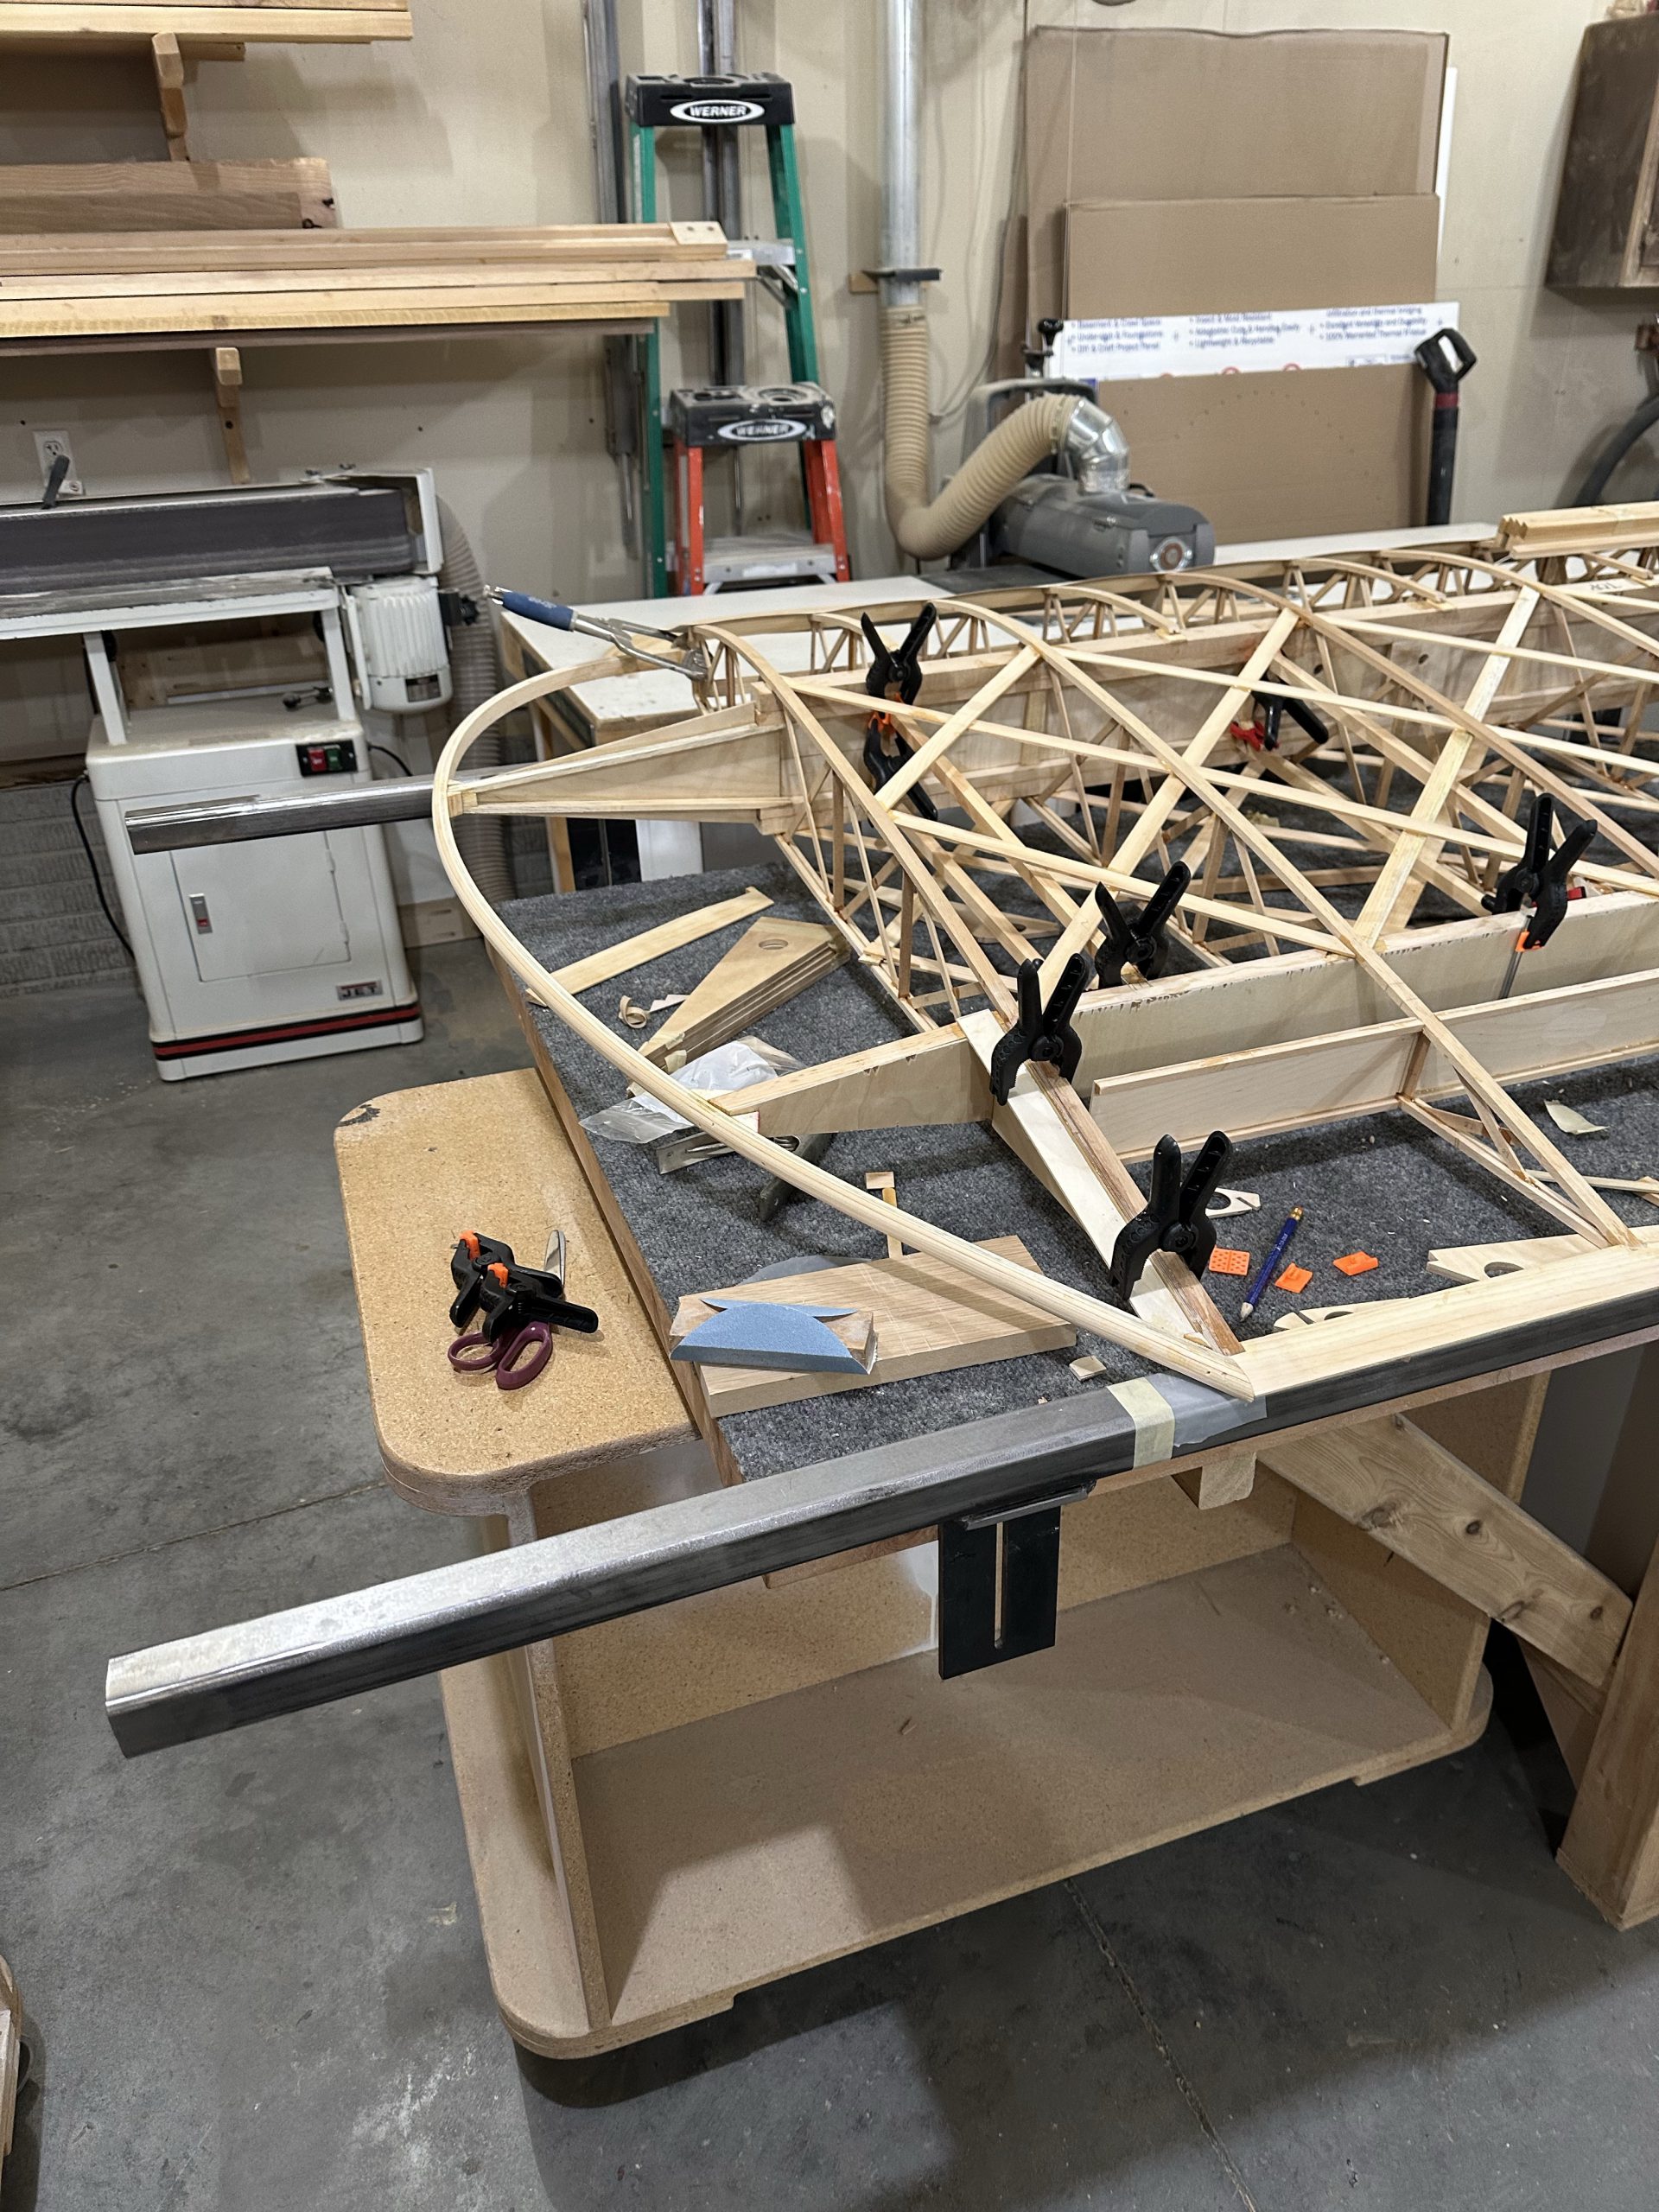
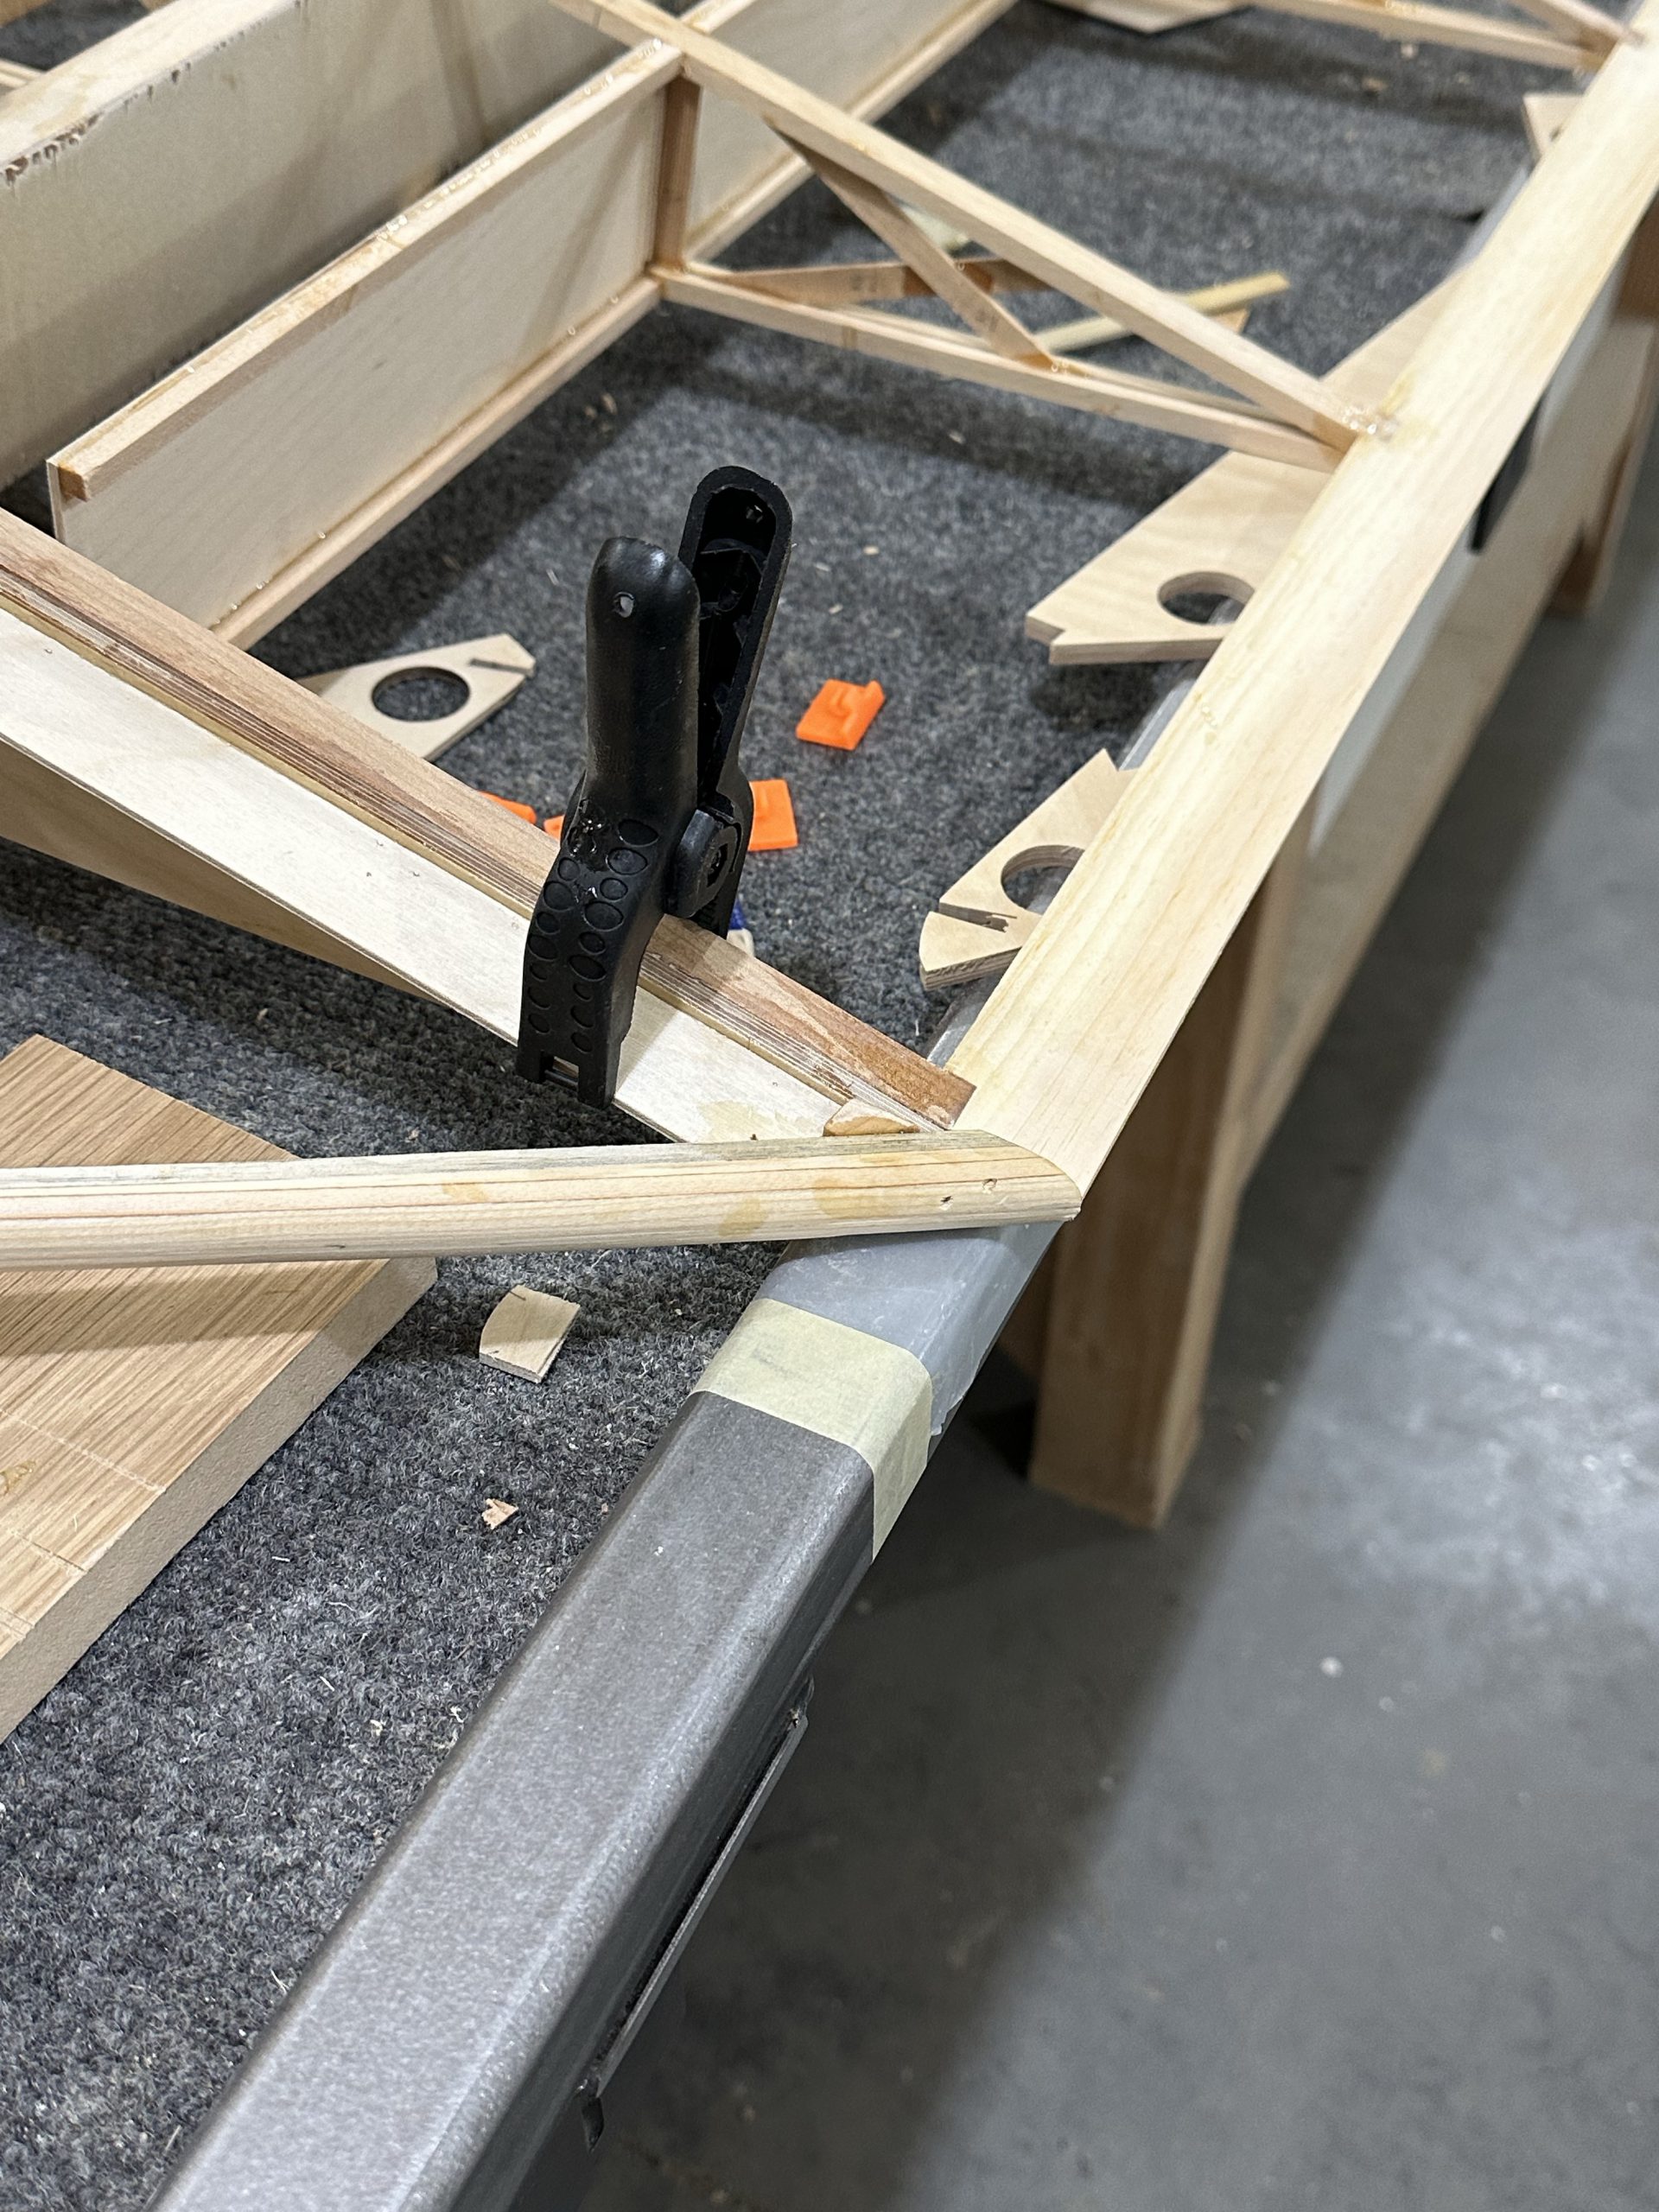
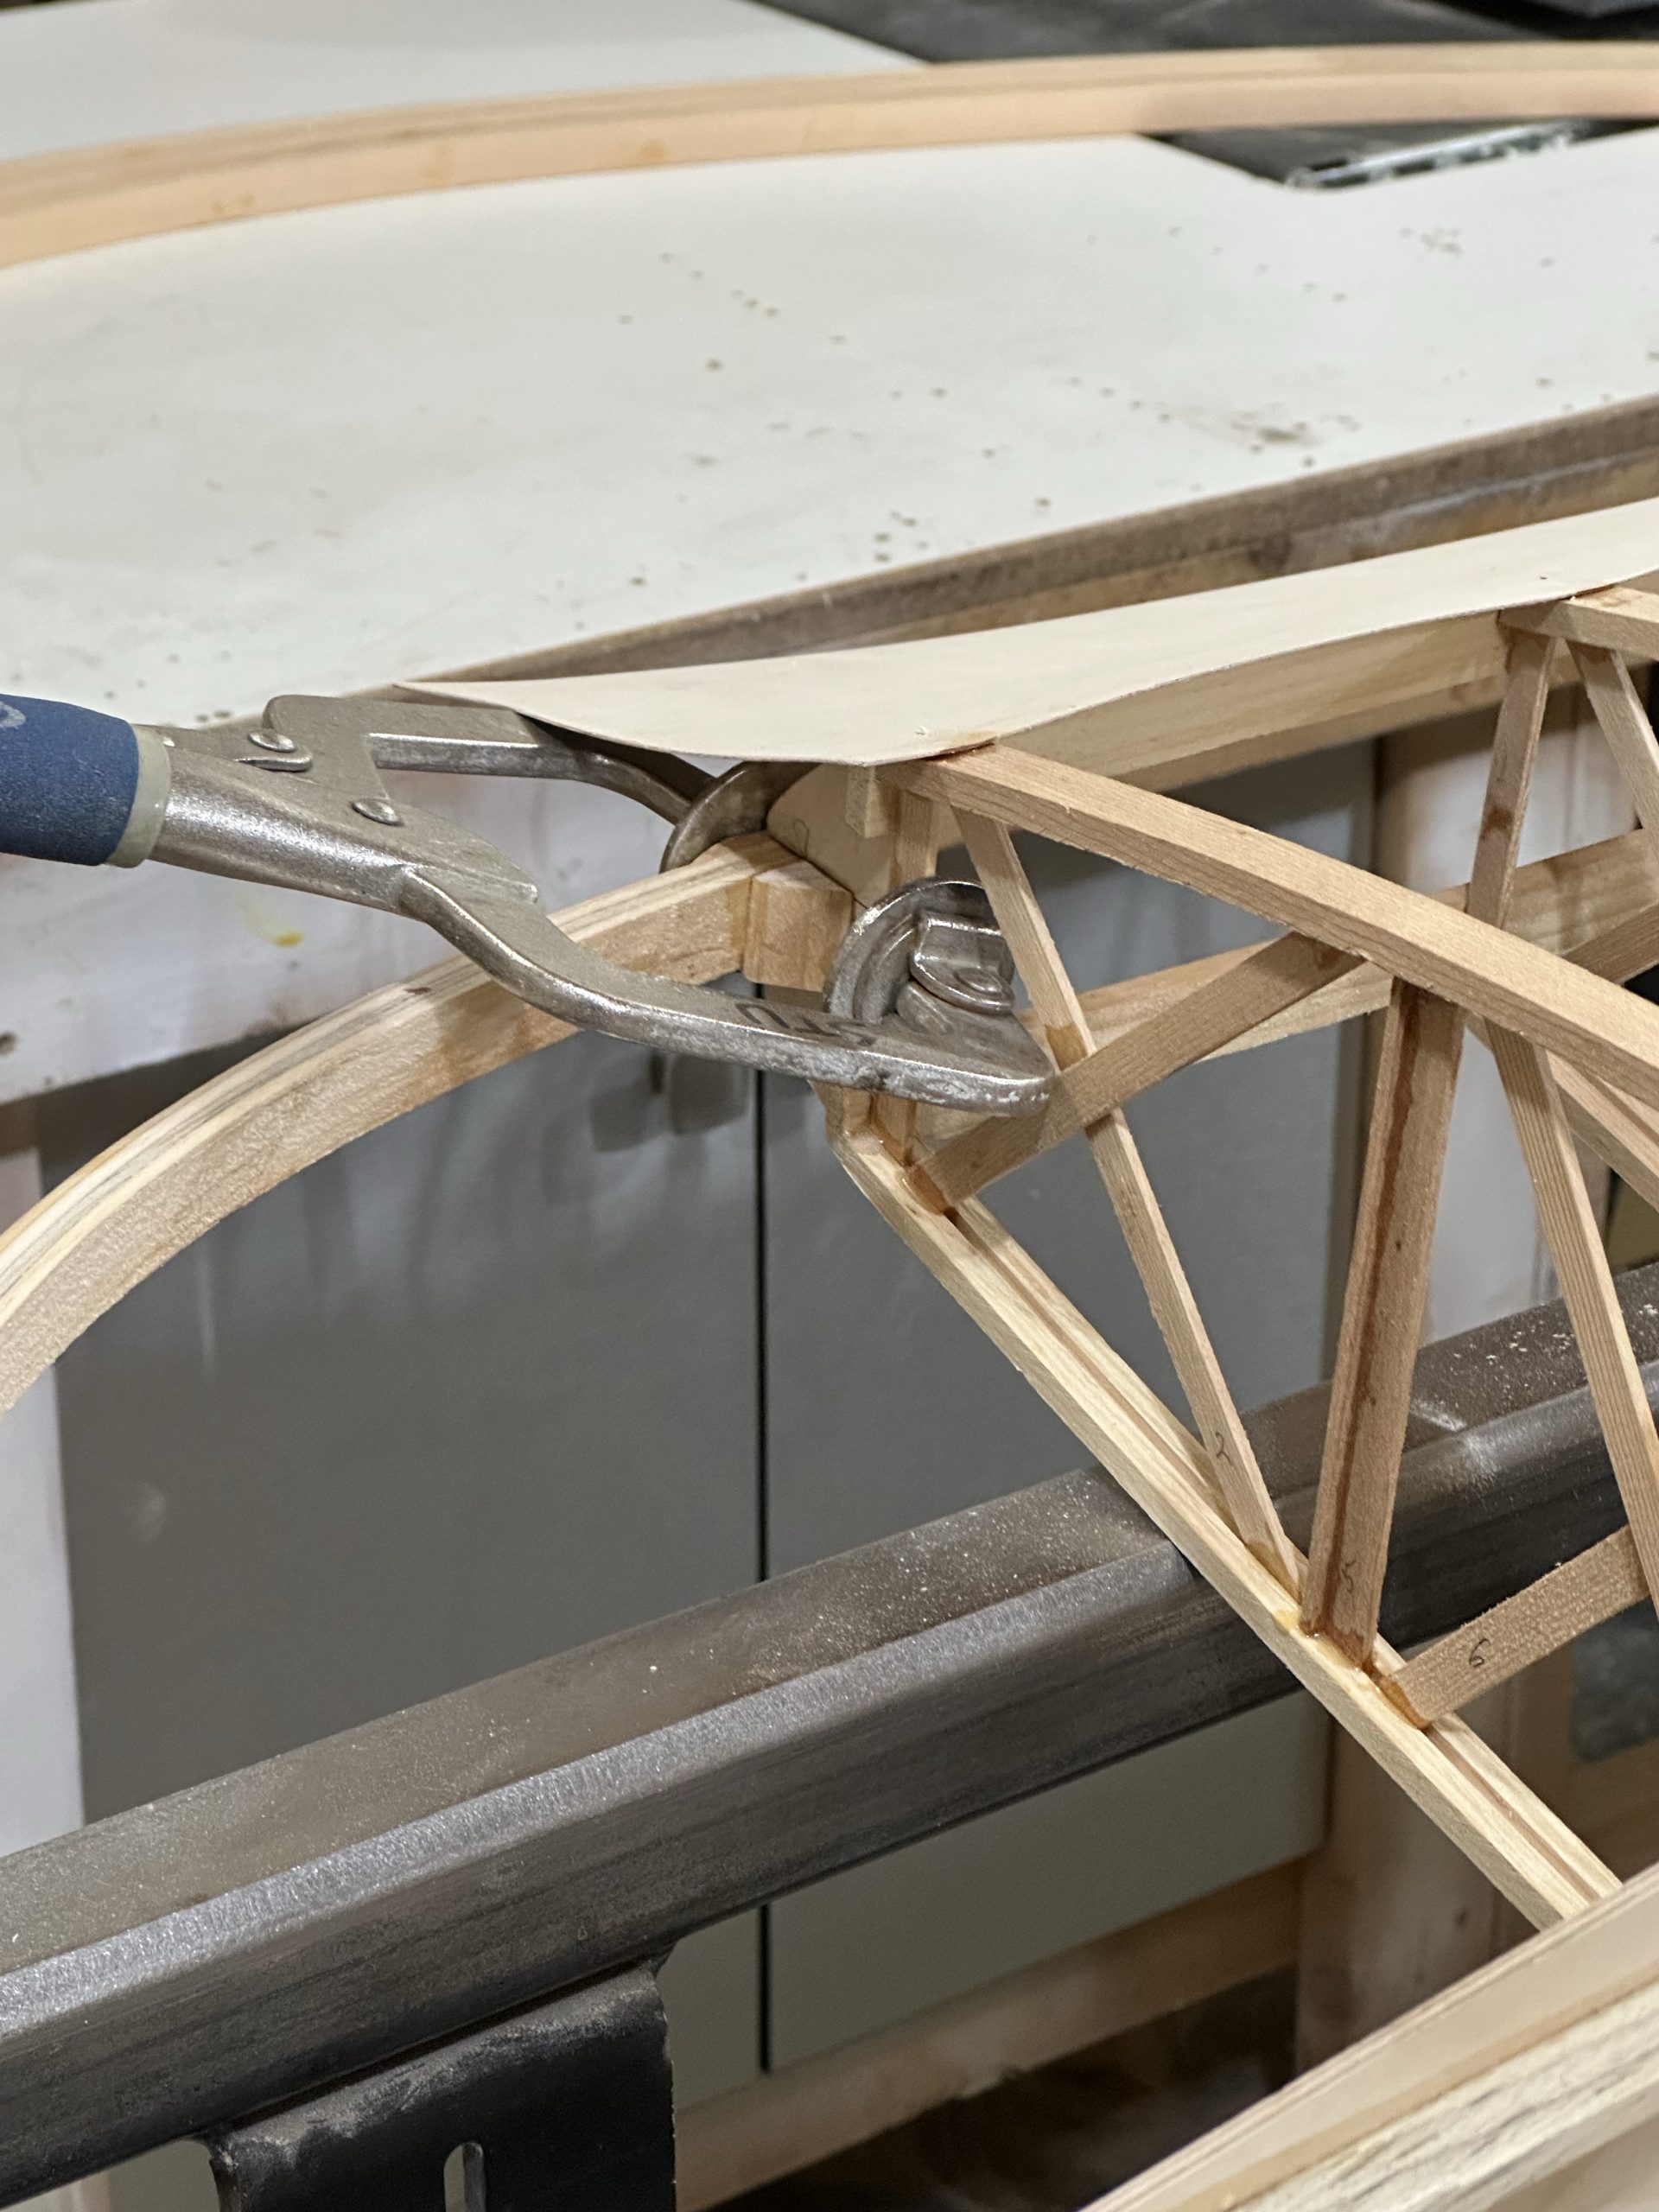
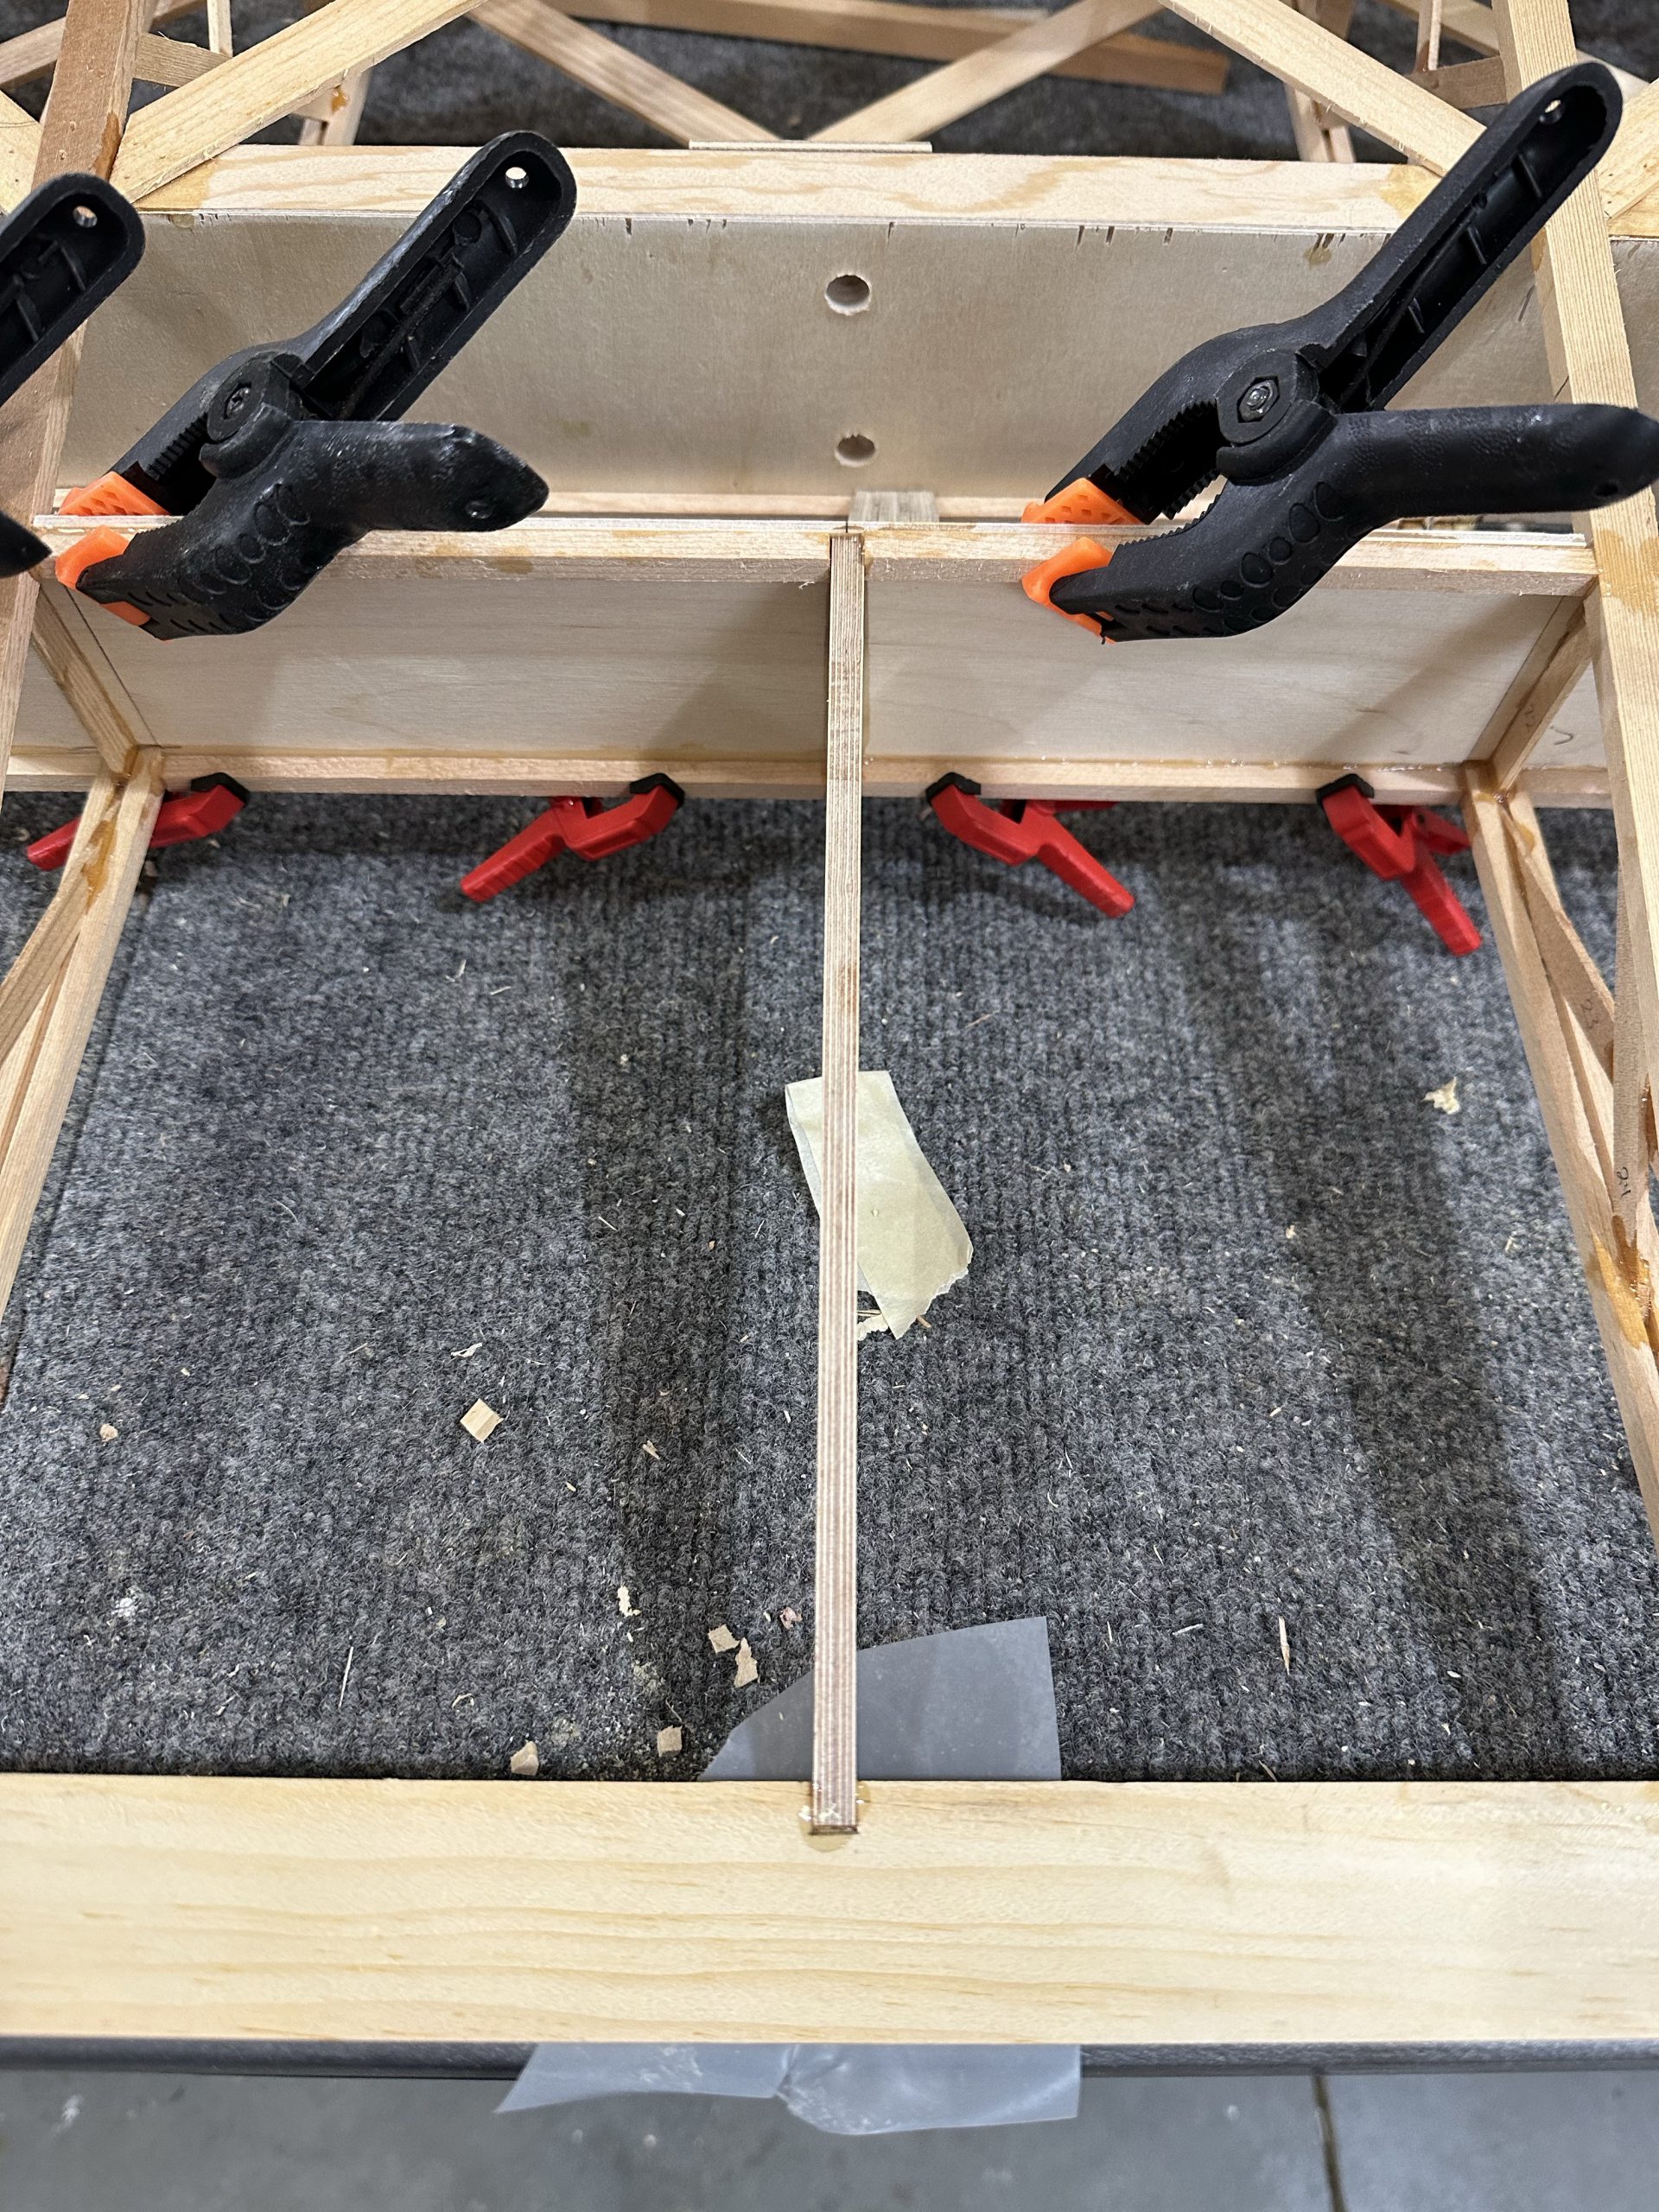
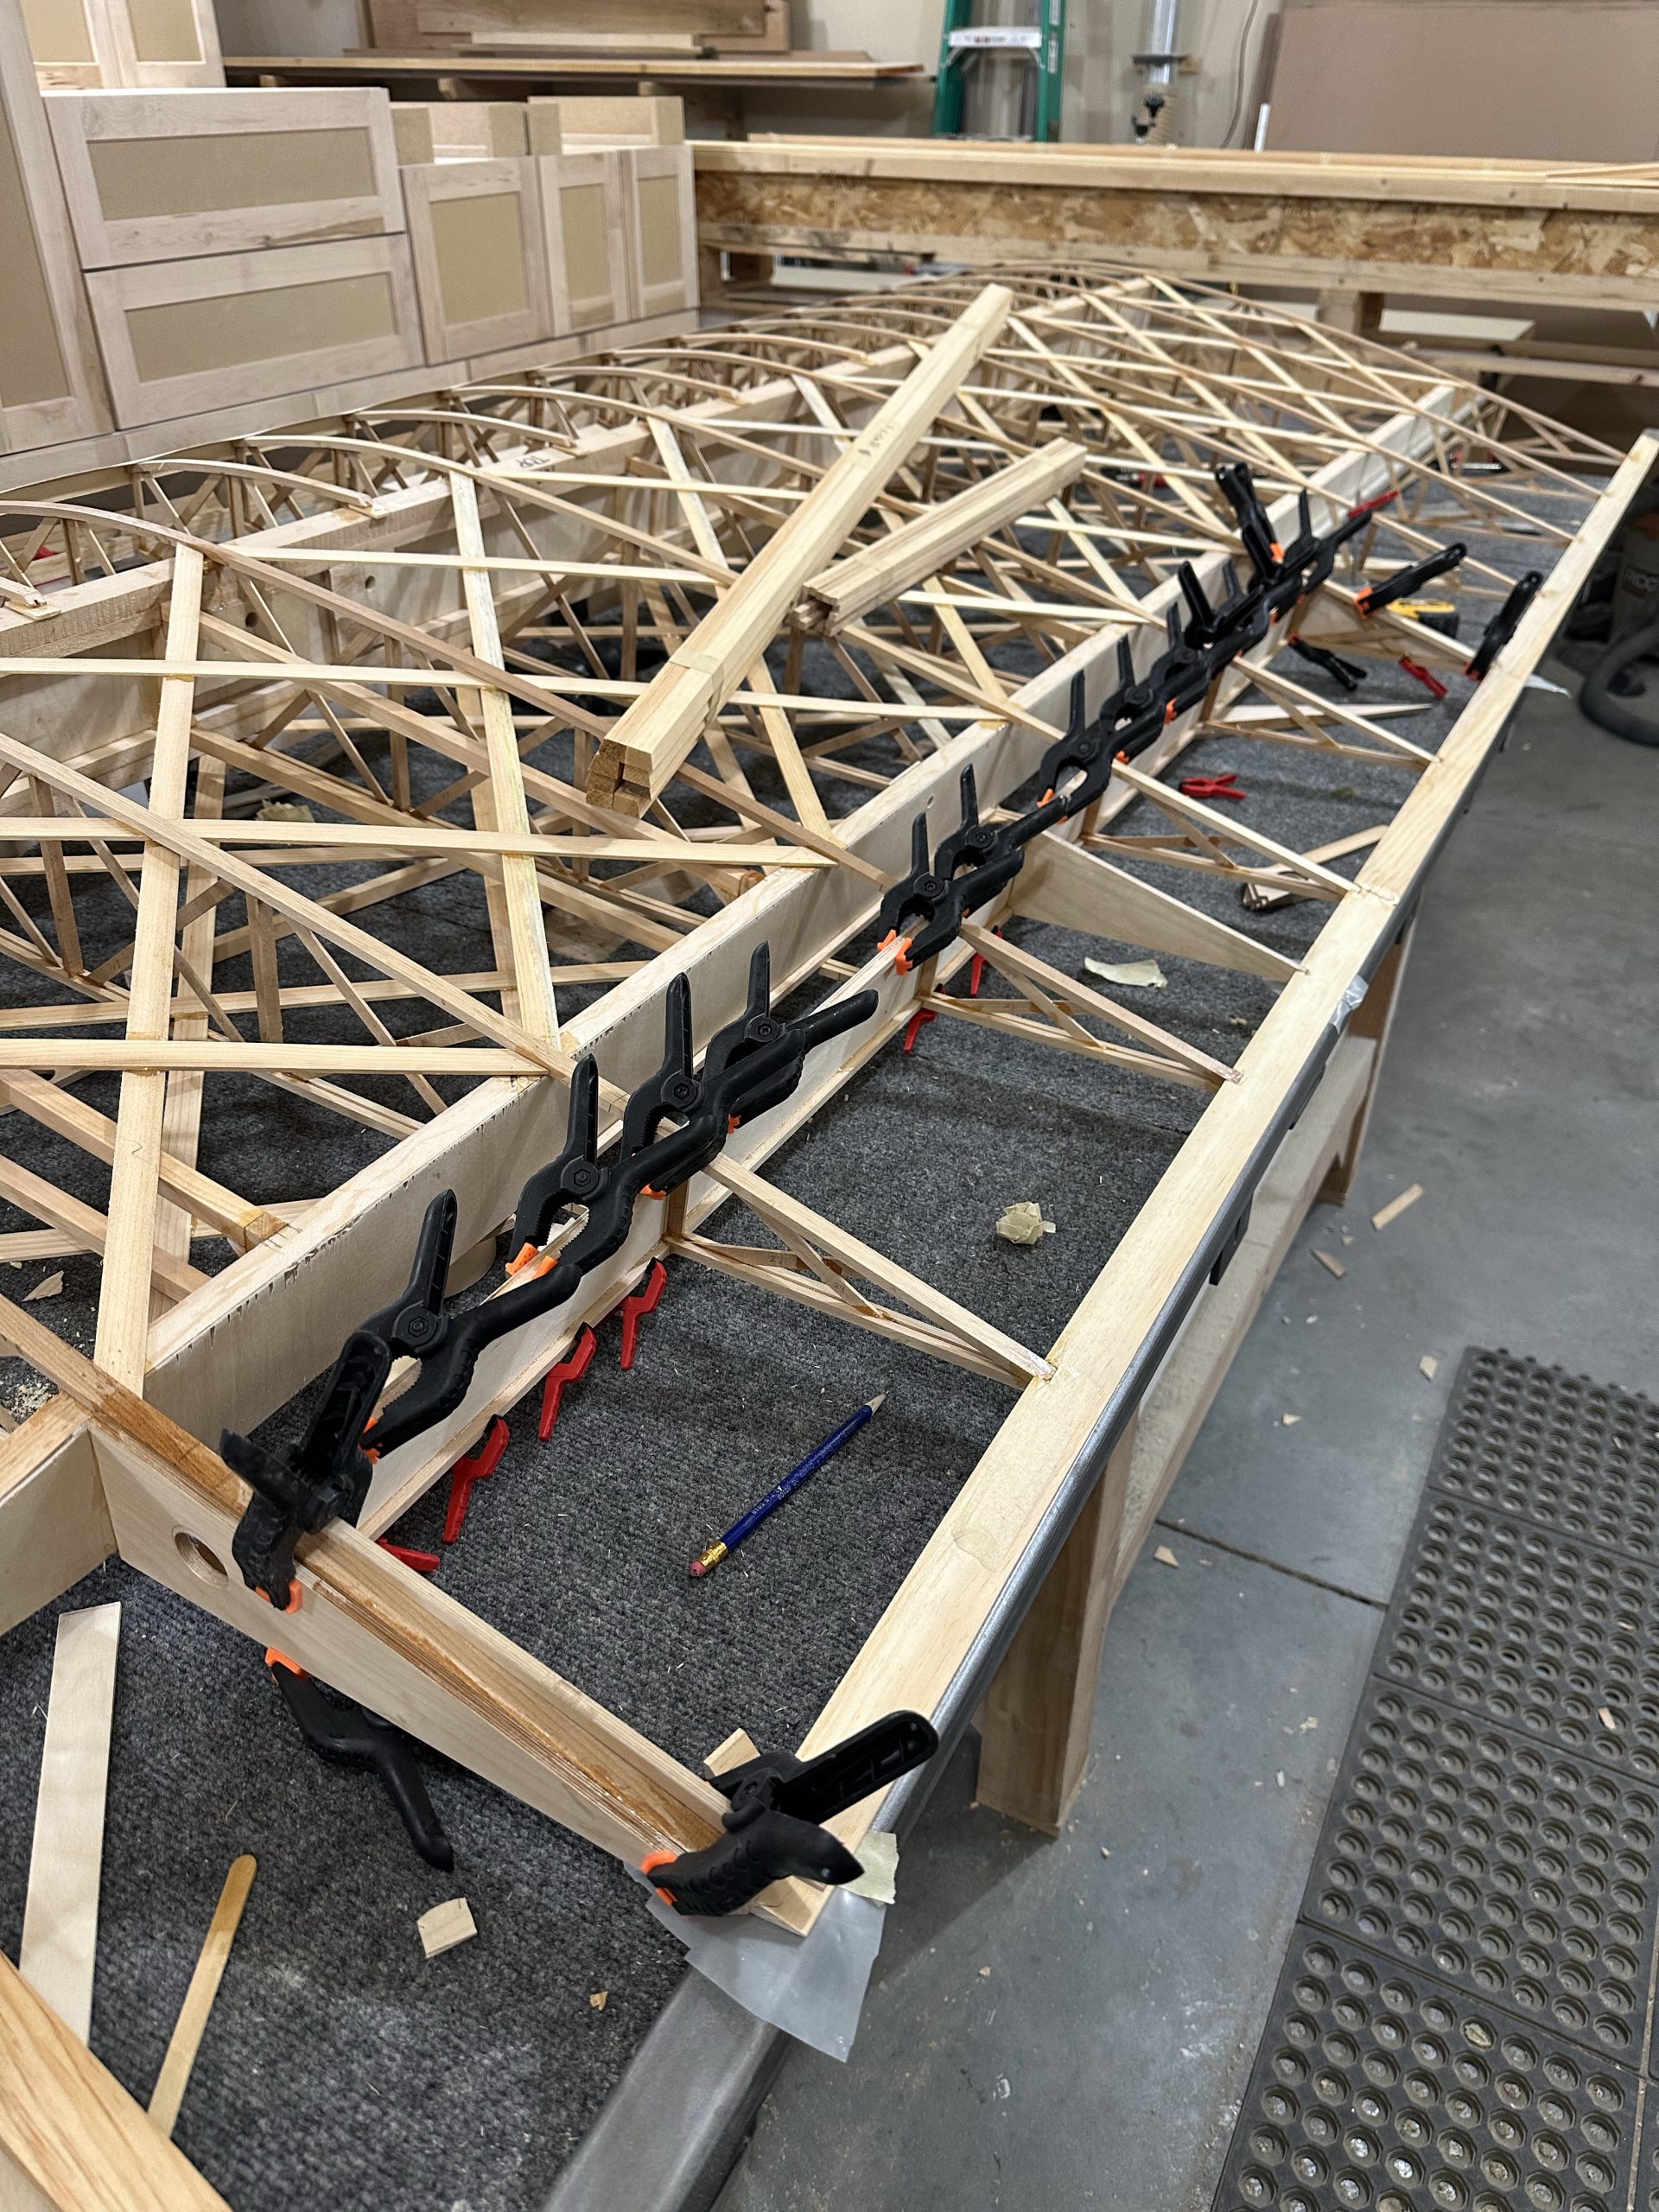
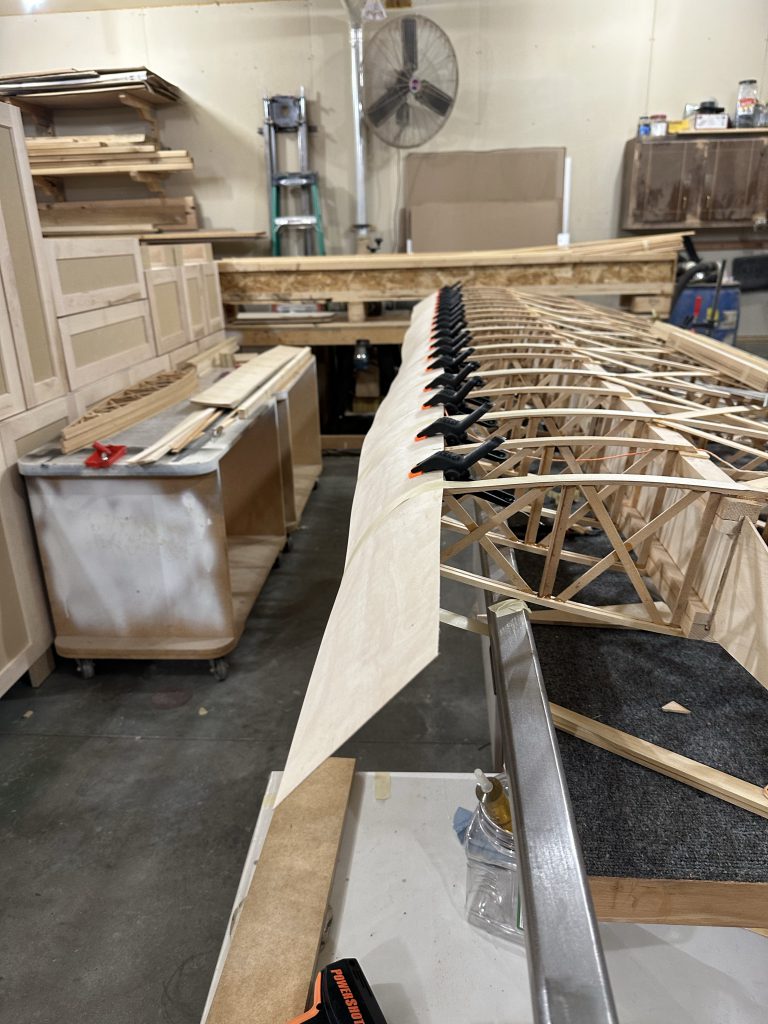
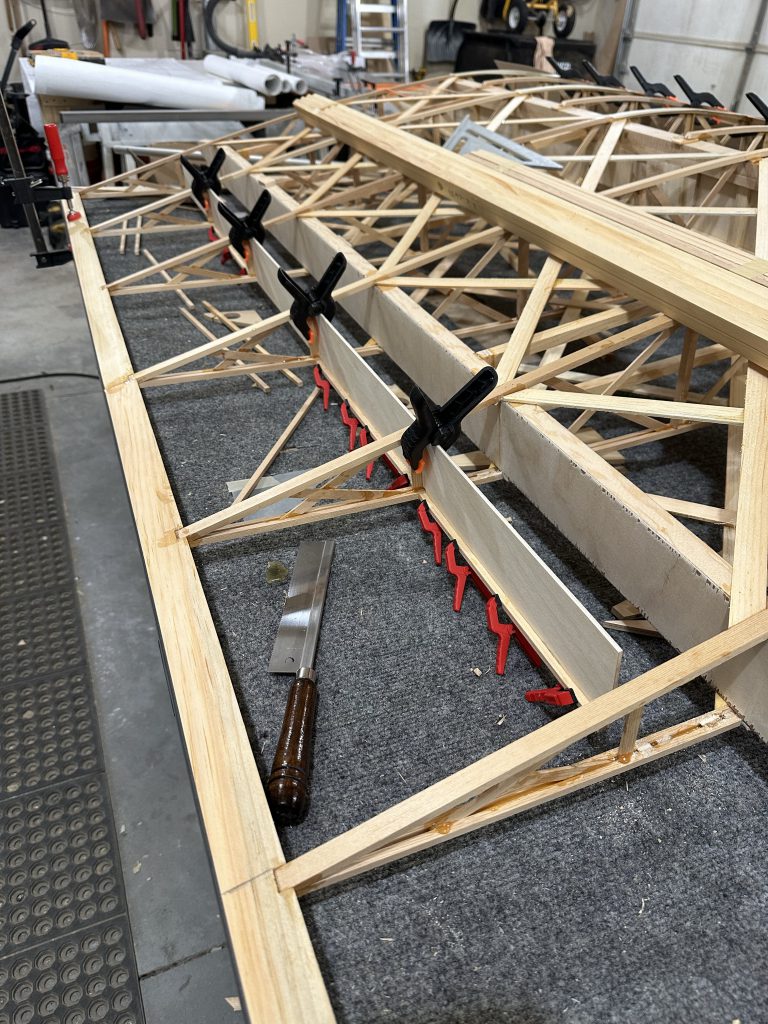
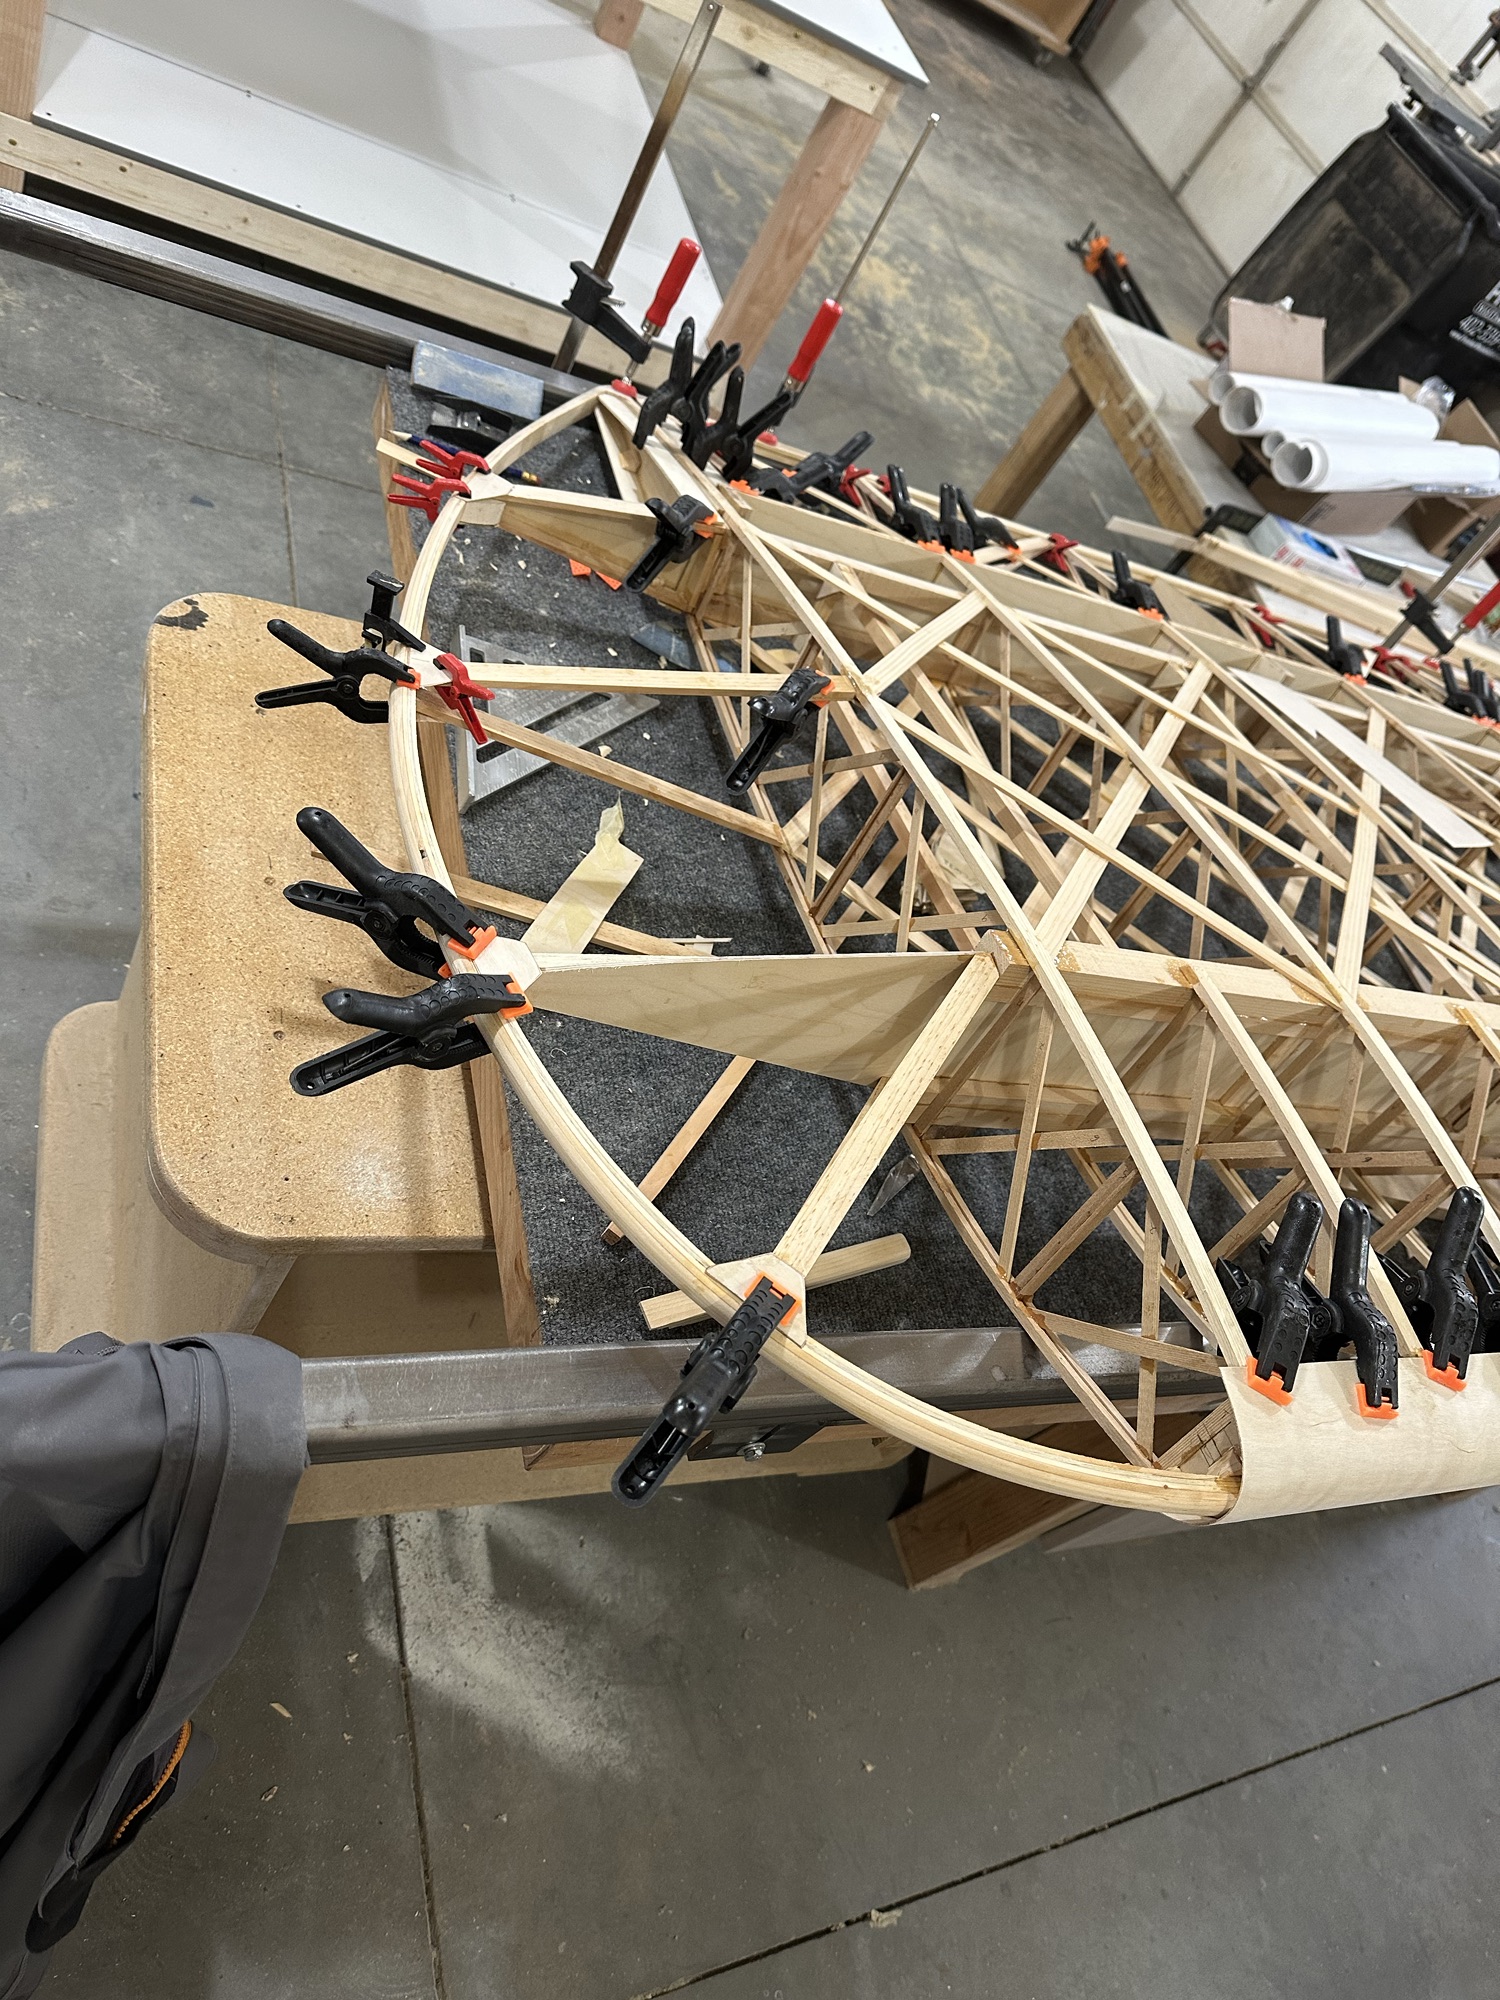
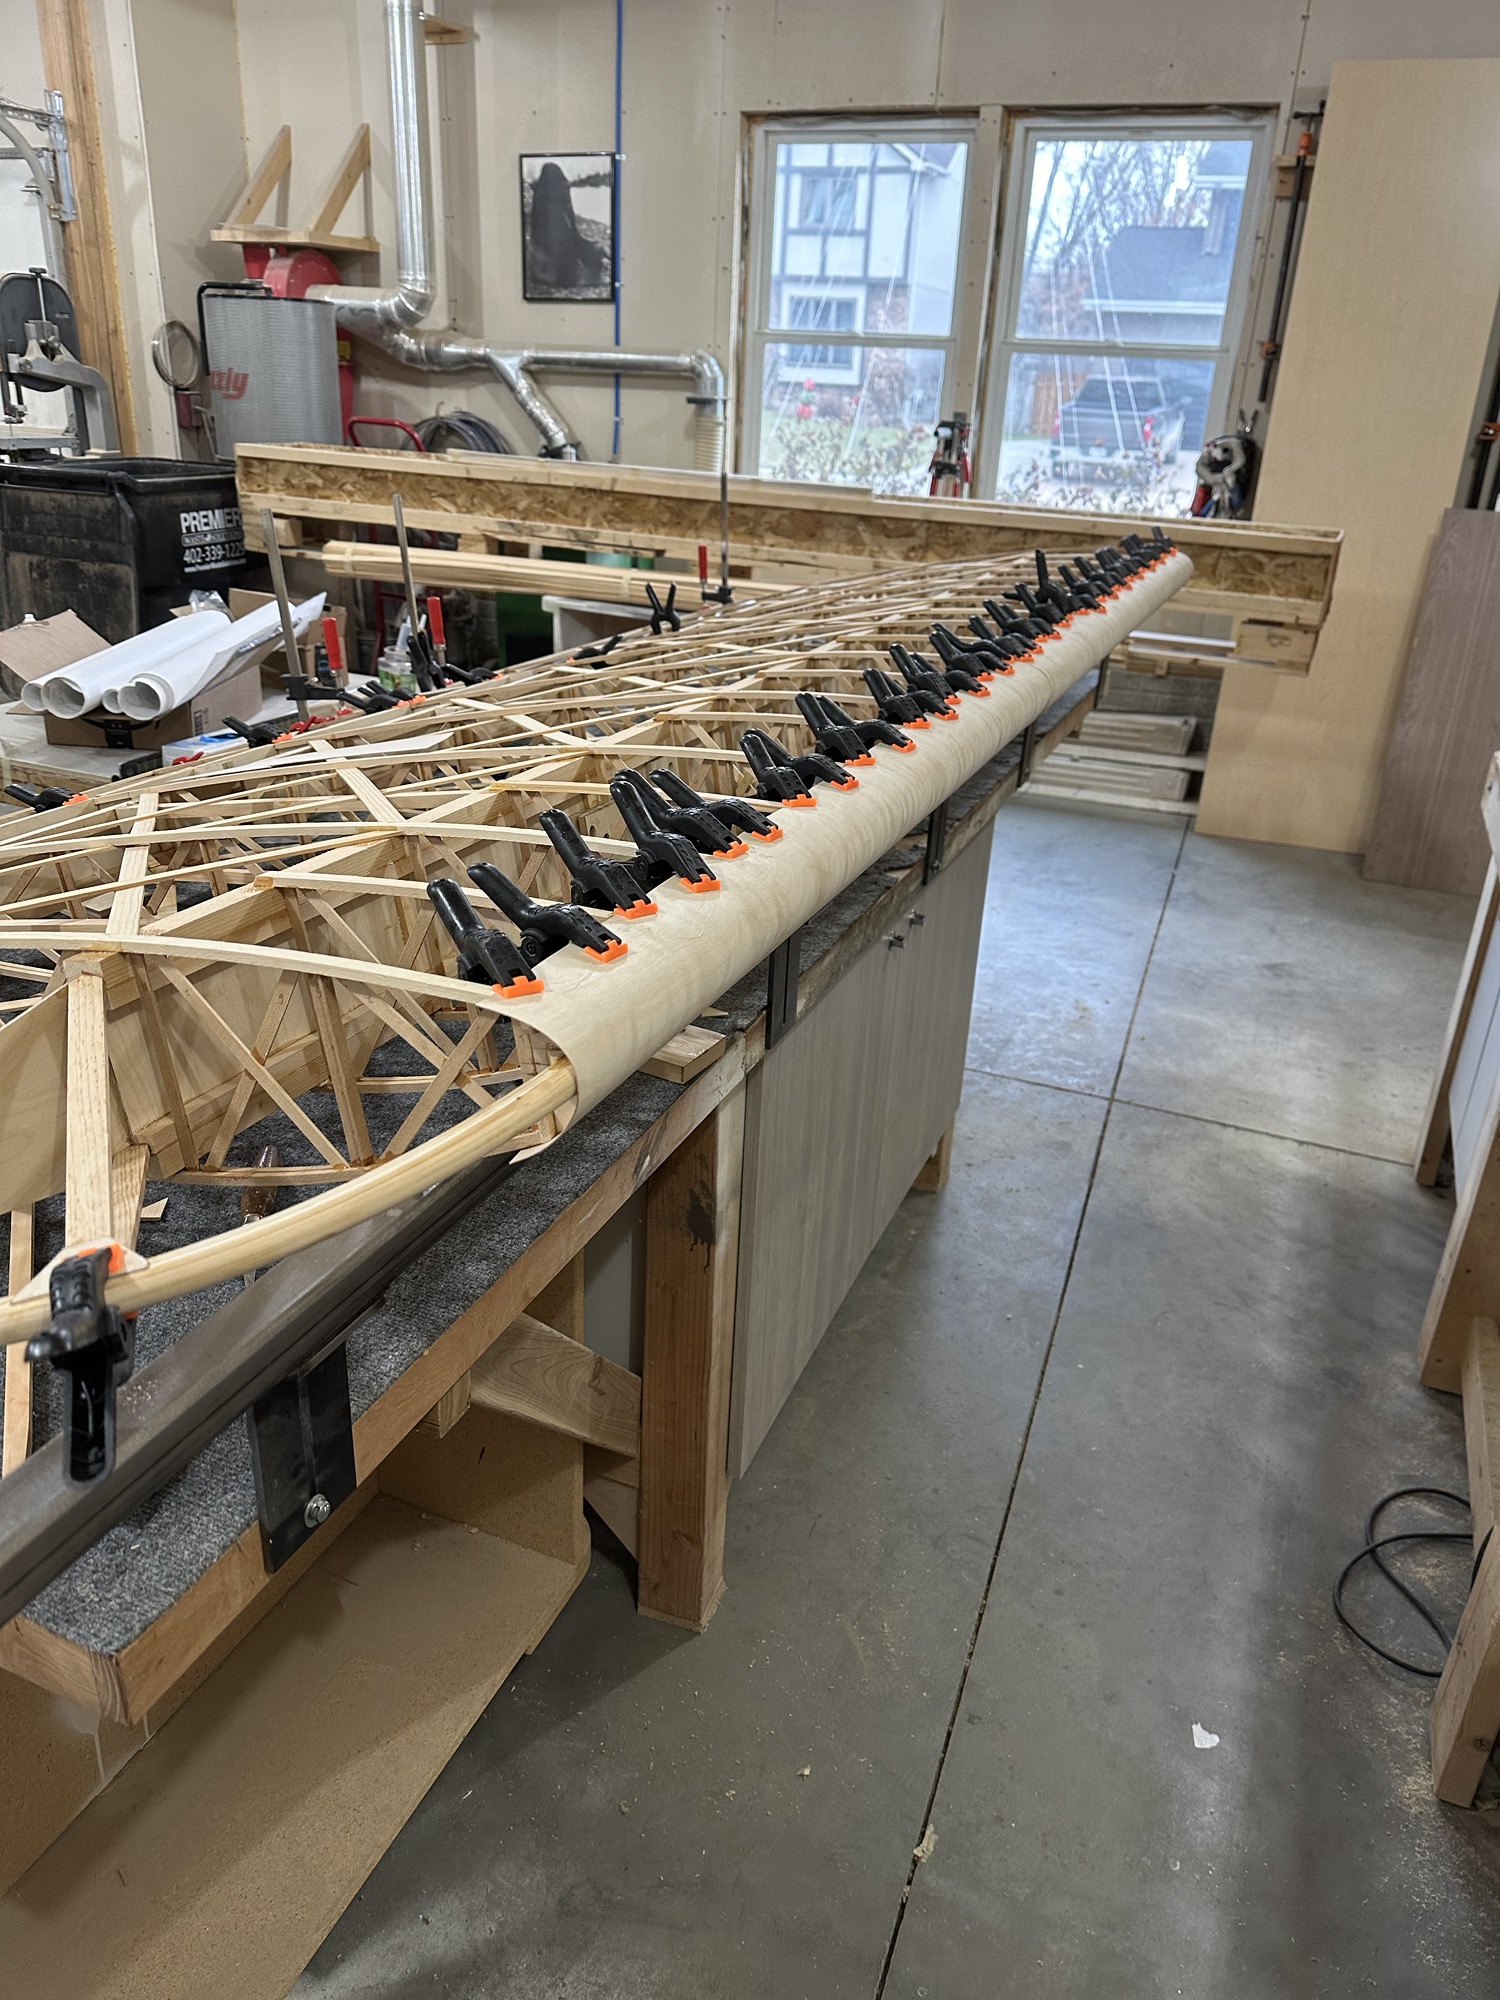
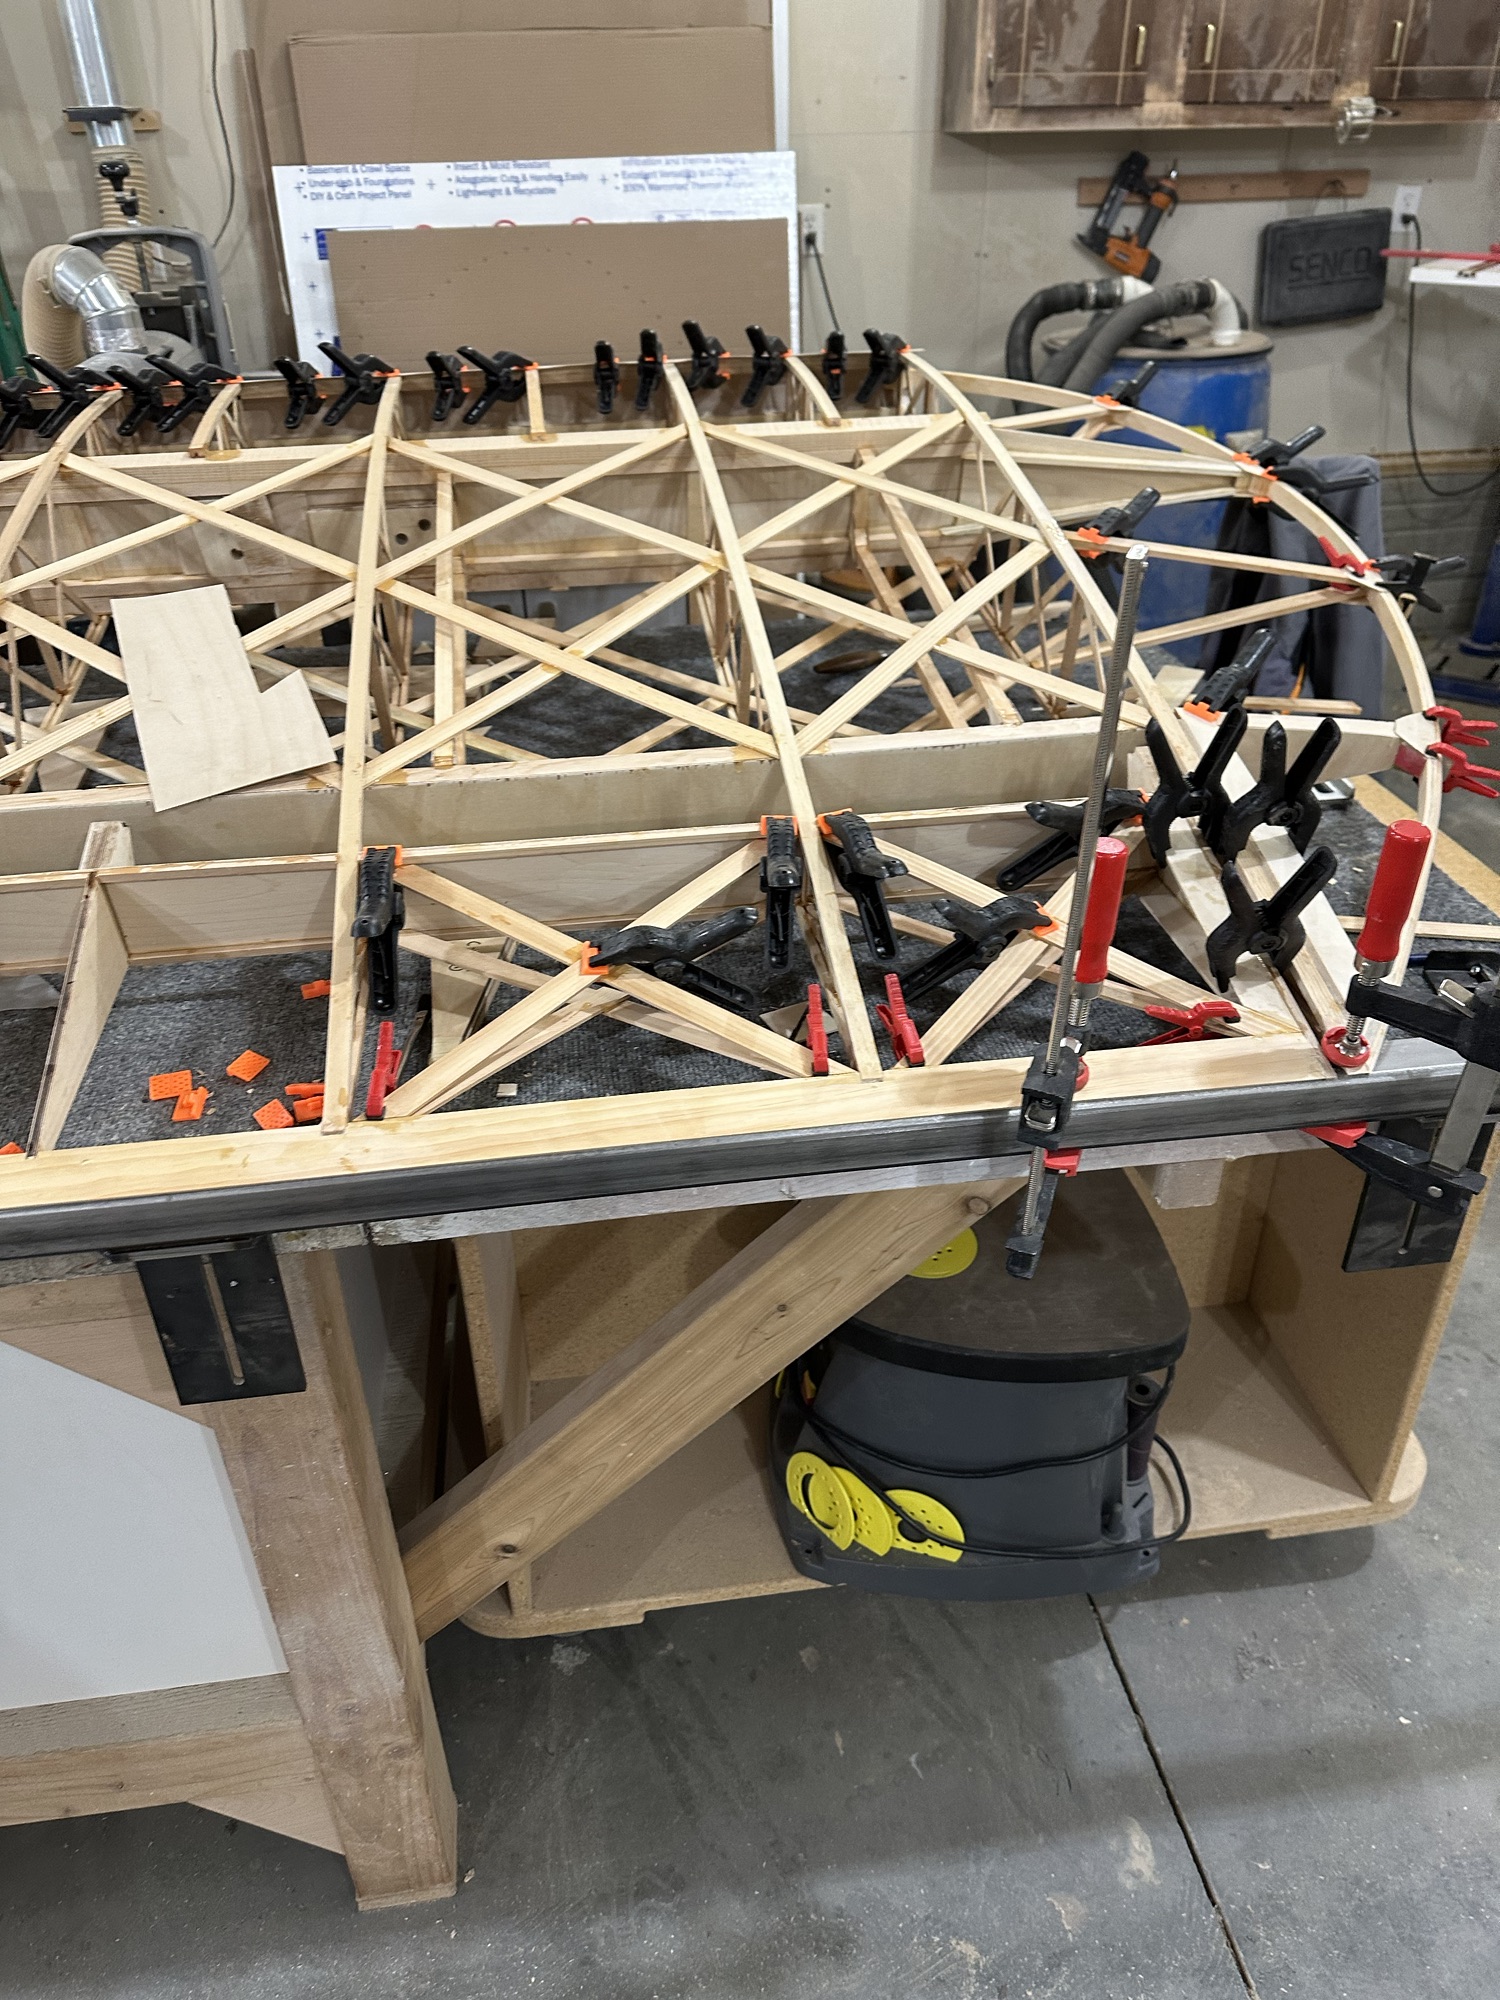
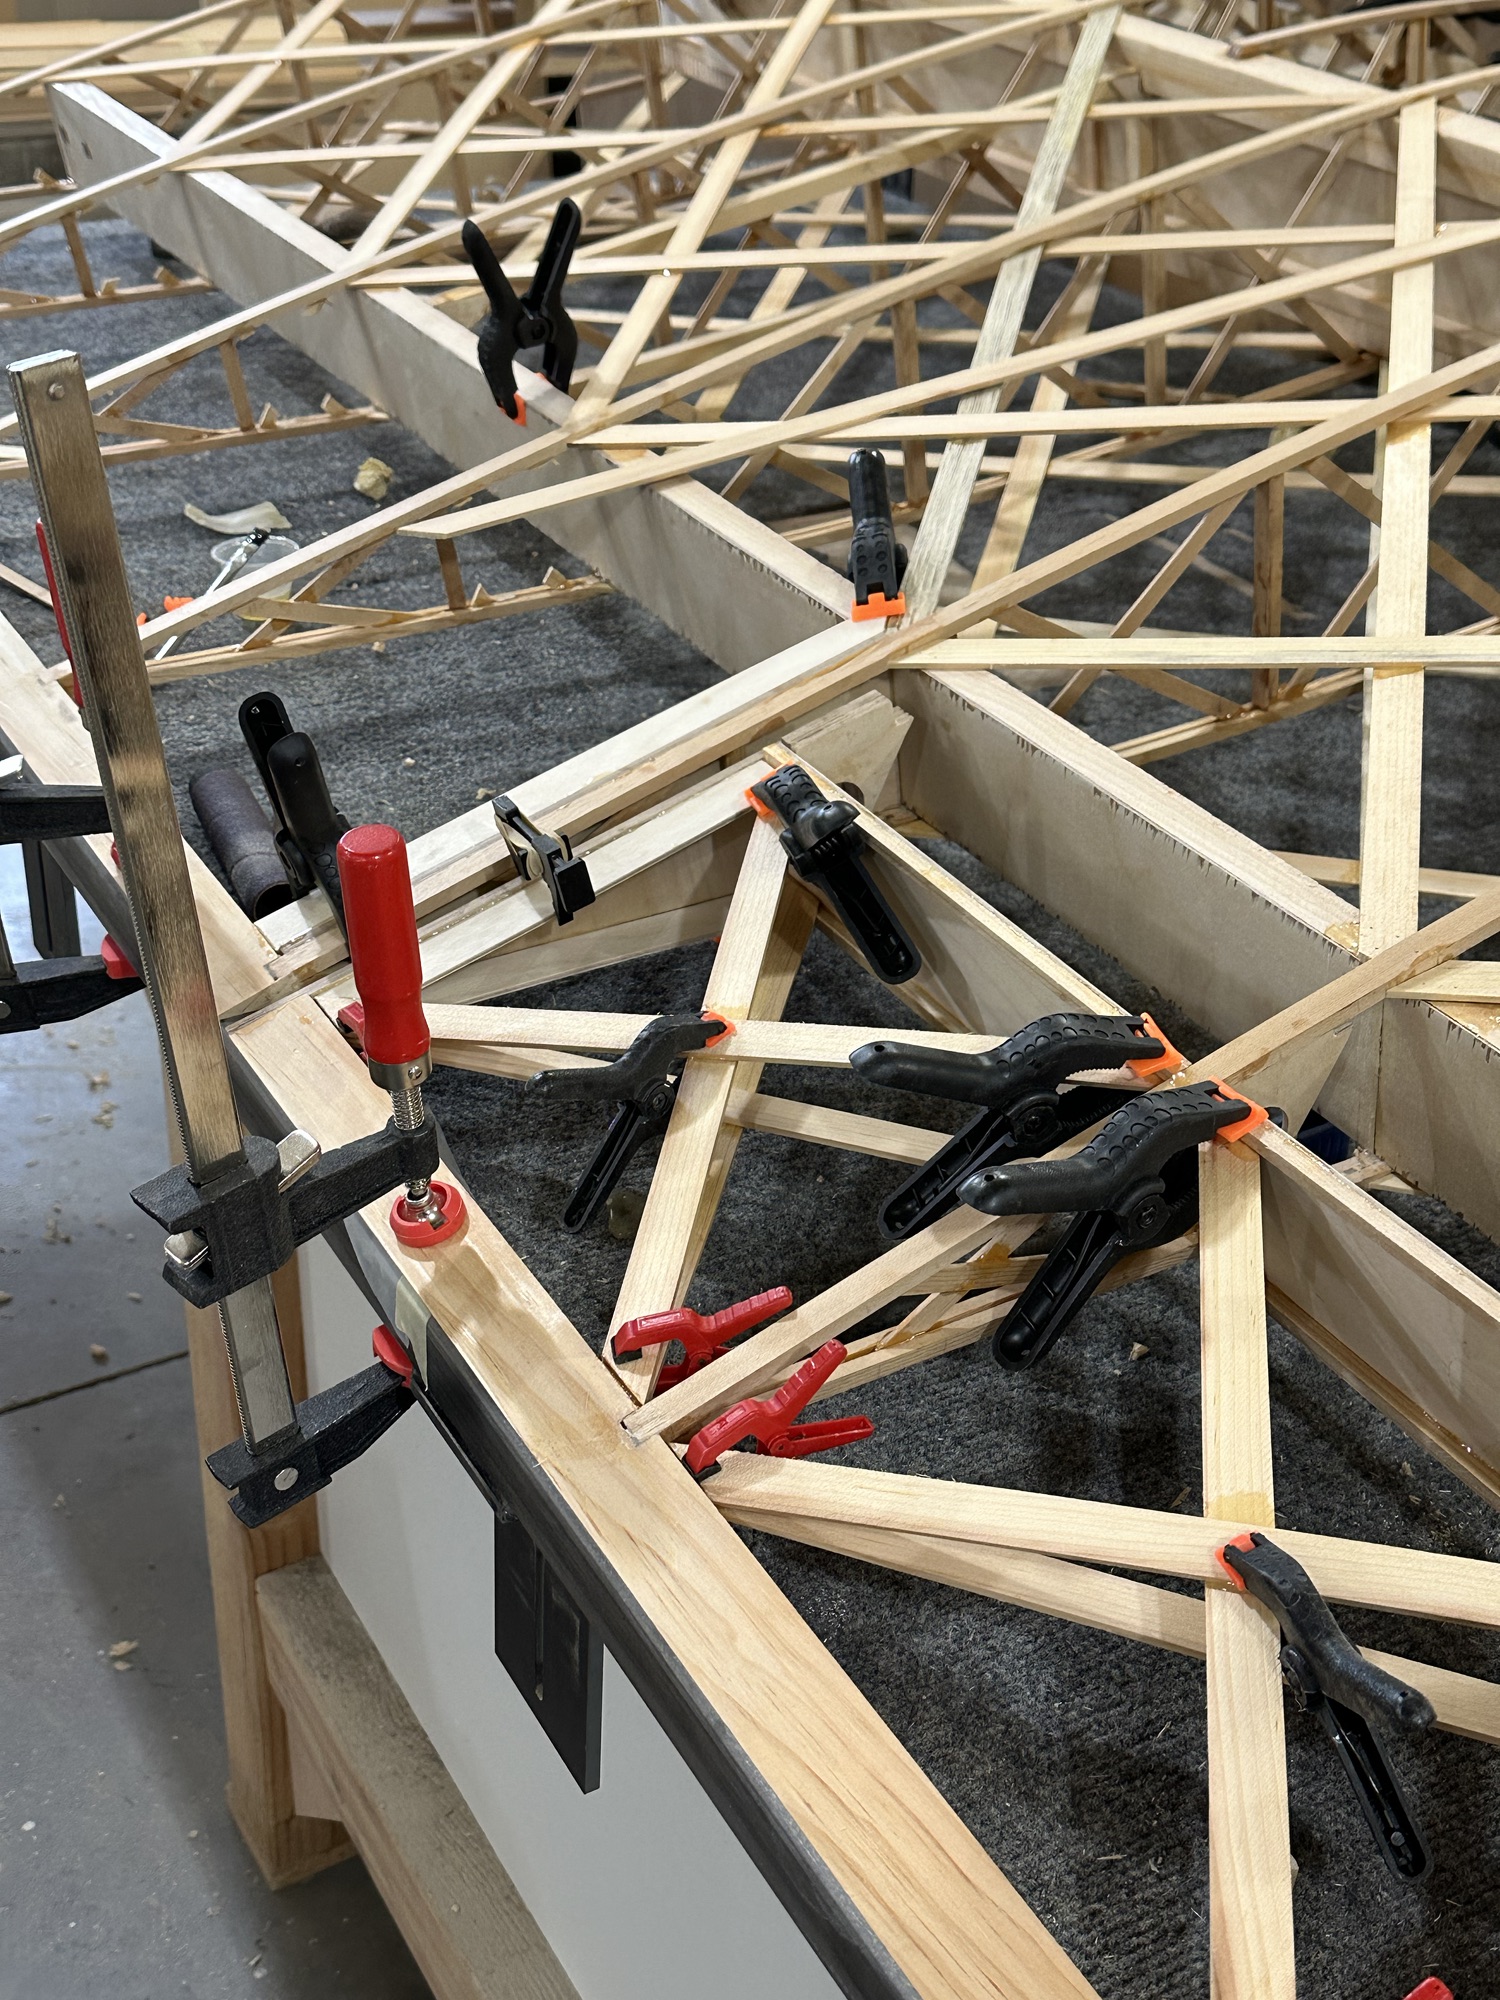
You think you’re about ready to perform some major step, then you step back and realize you’re not as close as you thought… I thought I was about ready to cut out the aileron, but I still had to get the bottom geodetic braces in as well as several of the plywood stiffening strips that keep the aileron bay and aileron from distorting when the fabric gets shrunk around it. Today I did that, I also got the leading edge plywood wrapped around the rest of the way and glued and clamped in place, and added the last of the wingtip reinforcements along with the gussets for all of those.

I started to shoot primer on the torque tube, but the can stopped spraying about halfway through. Super frustrating, as it’s a full can, It’s been in a cabinet in the garage for a while, so I suspect there was a chunk of unmixed solid that lodged in the valve or something. The spray tip is clear, the can is pressurized, but it refuses to spray. Bummer. I found a can of self-etch primer in another cabinet at home, so hopefully that works. I may end up with a torque tube that’s half gray and half white… oh well.

I’ve been cleaning up the Airpath compass while I wait for the new gaskets and diaphragm from Spruce. This one has a light and I didn’t want to use the incandescent bulb, and I’d already broken one of the wires anyway… so that path was blocked. I had ordered some LED bulbs from Amazon – they are commonly known as type 74 LED bulbs. The spec sheet showed they are about 0.7″ long and 0.23″ diameter. Those arrived today, and they do fit inside the bulb socket. I soldered the wires onto the new LED assembly “backwards”, or with the wires running along the body of the light so the tip goes in first and the connector end faces outward. This puts one of the three chip LEDs directly over the little red window that illuminates the compass. I had to remove about 1mm of the tail end of the lamp assembly so the little cover would close, but with that done it’s near perfect. I’ll get more pictures as soon as the paint I used to touch up the worn spots on the lamp cover is dry. The gaskets are supposed to be here on Tuesday, and I’ve got a can of mineral spirits I can use to fill it… not being willing to spend the extra money on UPS shipping for a pint or so of “compass fluid”, which from what I can tell is basically… mineral spirits.

Progress on aileron #1, and a compass

It’s been a while since I was able to make it over to Stu’s place. Between being sick and various Christmas related activities, I think it’s been close to 2 weeks since I got anything done.

Today I went over and got some more aileron work done. I cut the trailing edge on the outboard end, and glued the aileron end plates and the remaining plywood pieces in place. Everything lines up well and I’m looking forward to cutting the aileron out of the wing for the next steps.

I also picked up an Airpath compass on eBay. This one is a C2350-L4-23M, I think. It’s in need of rebuild, which I knew would be the case when I bought it. The compass arrived completely dry, but the card rotates freely with no sign of binding. The compensation mechanism is in perfect shape, markings are clear, lubber line is fine. With some new gaskets, diaphragm, and fluid it will be perfectly serviceable. Even the paint cleaned up nicely with a little naptha and denatured alcohol.

I ordered the repair kit and a couple of replacements for missing screws from Spruce, This one is lighted and is designed to use a little GE incandescent bulb, but rather than use one of those I think I’ll retrofit it with an LED. Of course I could just leave it un-lighted, since the plane won’t be equipped for night flight, but I figure I’ve got parts on hand and time to spare, so I may as well fix it up with a red light.

While I was doing the aileron work, Stu was building a table for a 4′ x 4′ CNC router that should be here in a month or so. He’s understandably pretty pumped about that.

More aileron work

With a week or so off in there due to both my wife and I having COVID, things have been progressing. I got one of the torque tubes measured and cut for the wing. The plywood bits for the nose of the aileron ribs all got drilled out. Looking at how to do the aileron build brought up some issues, though. The plans say to glue and clamp those in place — the challenge is in how to do that, exactly. The clamping anyway.

In order to make the job a bit less complicated, I glued up the plywood sandwiches for the two ends and the middle, where the locking pins will install. I spread some epoxy and threaded the pieces onto the cutoff piece of torque tube to get them all perfectly aligned – and they were tight. With everything aligned perfectly, I shot a few 1/2″ 23 ga. micro pins to keep everything stable, then added spring clamps and took them off the tube so they wouldn’t end up glued to it.

Next day I ran those and the 1/8″ ply pieces on a spindle sander with a 3/4″ drum on it to enlarge the holes a bit. I wanted a slip fit on the tube for the thicker pieces, and a more “roomy” fit for the 1/8″ pieces. Those were supposed to get 1-1/8″ holes in the first place, but I missed that part in the instructions and we drilled them to 1″.

Realizing that the wing now can’t sit flat on the steel rail due to the trailing edge of the wingtip bow not being tapered to match the wing, I took care of that as well. Only the last couple inches of the bow need to be tapered. I started with a little razor plane that Dad used for model airplane work to shave the bow lamination and corner block down very close to the contour I wanted. I then finished it up with a sanding block, and I’m quite happy with the result.

Everything is ready now to get the plywood pieces glued into place. I’d have done it today, but as I was about to mix up the glue I was reminded that it was time to go pick up the grandkids, which turned into dinner and a late arrival home.

First wingtip bow

On Monday night we got the wingtip bow put in place and corner blocked. It’s looking very much like a wing now! I also received my order of plywood from Spruce, so was able to cut and glue in the gussets for the compression struts.

Of course there is still work to be done. Some additional bracing needs to be installed for the bow, and the trailing edge will need to be sanded to match the contour of the wing trailing edge. Details, details.

Yesterday I picked up three 12′ long sections of 6061-T6 aluminum tubing. Two of these will become lower wing aileron torque tubes, and the third will become the torque tubes for the upper wings. None of that stuff does not come cheap, I’m telling you. I’ve pretty much blown my materials budget for the month. But, at least now I can continue with aileron construction – once I get back over there to the shop. My darling wife is sick and has tested positive for COVID, so I’m avoiding getting close to anyone for a while just as a general precaution. Once I know I’m not contagious I’ll get back over and get that tube cut to length and resume work.

Aileron and wingtip 12/2

Today we got the ends of the wingtip bows trimmed to length, and the wingtip supports trimmed to fit. I want to get the bows routed or sanded to their final shape before gluing them in, so that’s going g to need to wait a bit. I did cut the corner blocks for both ends.

The CW36 aileron bay end plates aren’t as bad as I thought, and the holes can be modified as needed, so I glued them in place. I also cut and glued in the remaining aileron spar stiffeners and the plywood piece that will hold the bracket for the aileron connecting rod. I think that’s everything I feel comfortable doing before getting the torque type in place. I also need to stop at Lowe’s Aviation Department to pick up a little chunk of 1” PVC pipe. The Celebrity uses 3/8” slices of plastic pipe to keep the ailerons centered in the aileron bays.

I was pretty chuffed. I estimated it would take about 8 cc of glue for everything I wanted to glue today… so I mixed up 8 cc, and ended up with almost nothing left over.

More left wing work

I’ve been over working on the wing a couple of times since the last post. Stu and I worked out what seems to be the best way to fit the wingtip bow. Yesterday we glued, stapled, and clamped the leading edge plywood to the top of the ribs and the top false spar, but left it at that stage. Wrapping the ply around the leading edge results in the upper edge pulling loose, so we decided to leave it as is and do the rest later on. I was planning on today, but may hold off on that until the wingtip bow is installed — I want to get the corner blocking glued in behind the LE ply, and that may be difficult with the plywood fully wrapped. Don’t know, I’ll need to look at that today.

We spent an hour or two yesterday trying to work out the aileron bits and pieces. The factory cut and drilled plywood bits (CW32, CW34, CW35, etc.) have been both a blessing and a curse. Most of the confusion seems to come from the fact that the CW36 pieces, which attach to the ribs just inboard and just outboard of the aileron bay, are apparently drilled WAY off. The pieces are too long for the wing to begin with — they seem to be sized for a rear spar built with the original 1/2″ thickness. non the current 3/4″. Then there’s a hole marked “more or less” on center, but the actual hole is drilled about 1/8″ or so low, or high, depending on how the piece is flipped. There is no orientation we could find that matches up with the holes drilled in the CW35 pieces that are used to attach the aileron to the torque tube. Fortunately, it really doesn’t matter. I’ll be cutting 1/2″ UHMW end bearings that will attach to those plywood pieces, so we can enlarge those holes as much as needed as long as there’s enough room left to attach the bearing pieces.

What we did get done was to cut and glue in the aileron spar web, and some of the 1/4″ stiffeners before the glue left over from the leading edge ply got too thick to work with. I glued up a test piece with that; the epoxy is a bit thicker than I would normally use, but I may have just been too conservative on that. I can’t think of any reason it wouldn’t give a full strength joint; the test piece will tell me for sure.

For the most part, I’m waiting for my aluminum for the torque tubes to arrive at Millard Metals, and sheets of 1/16 and 1/8 ply to arrive from Spruce. I need the ply to cut gussets for the compression struts, and we don’t want to get much farther into the ailerons without full length torque tubes to keep everything perfectly aligned.