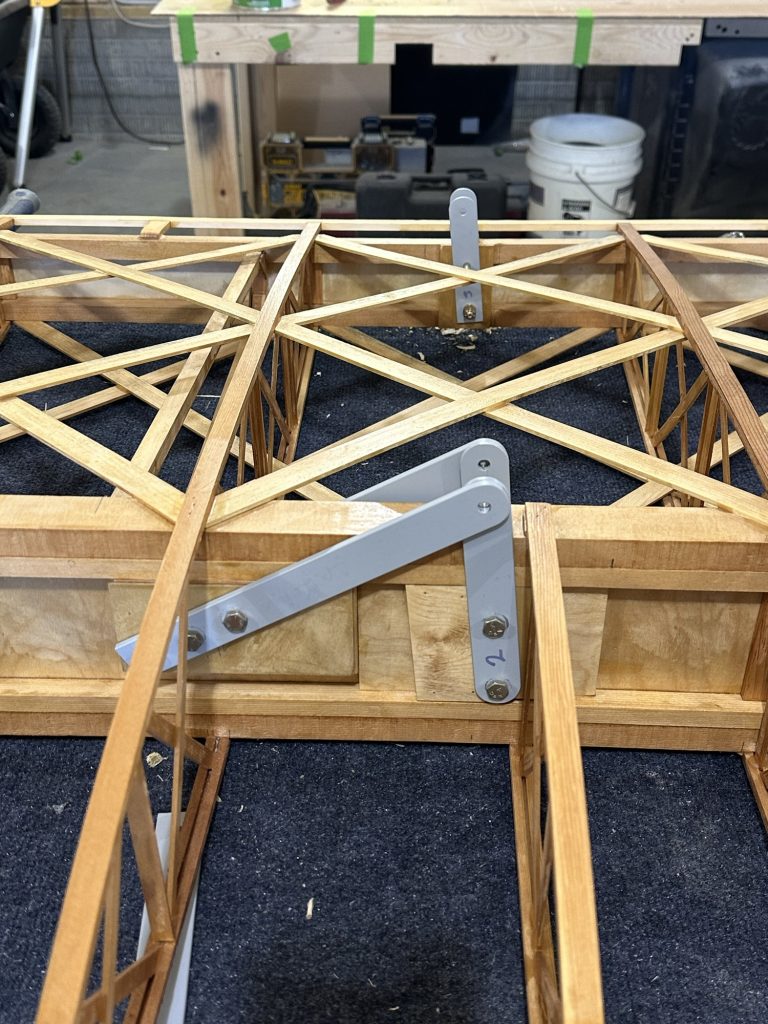
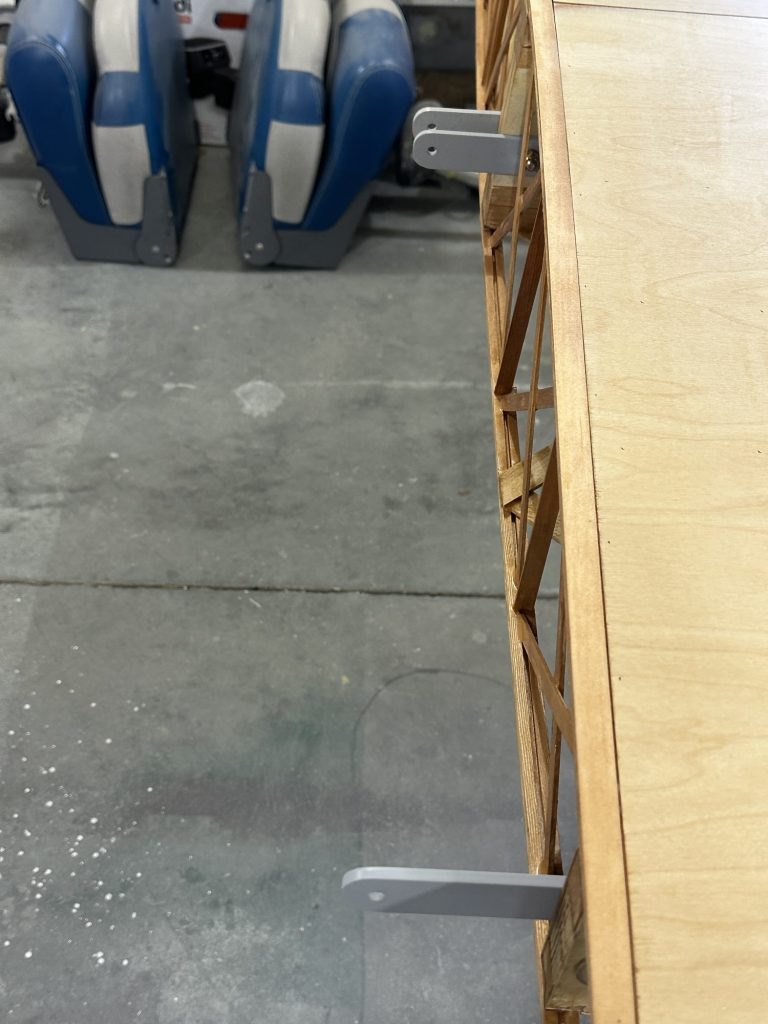
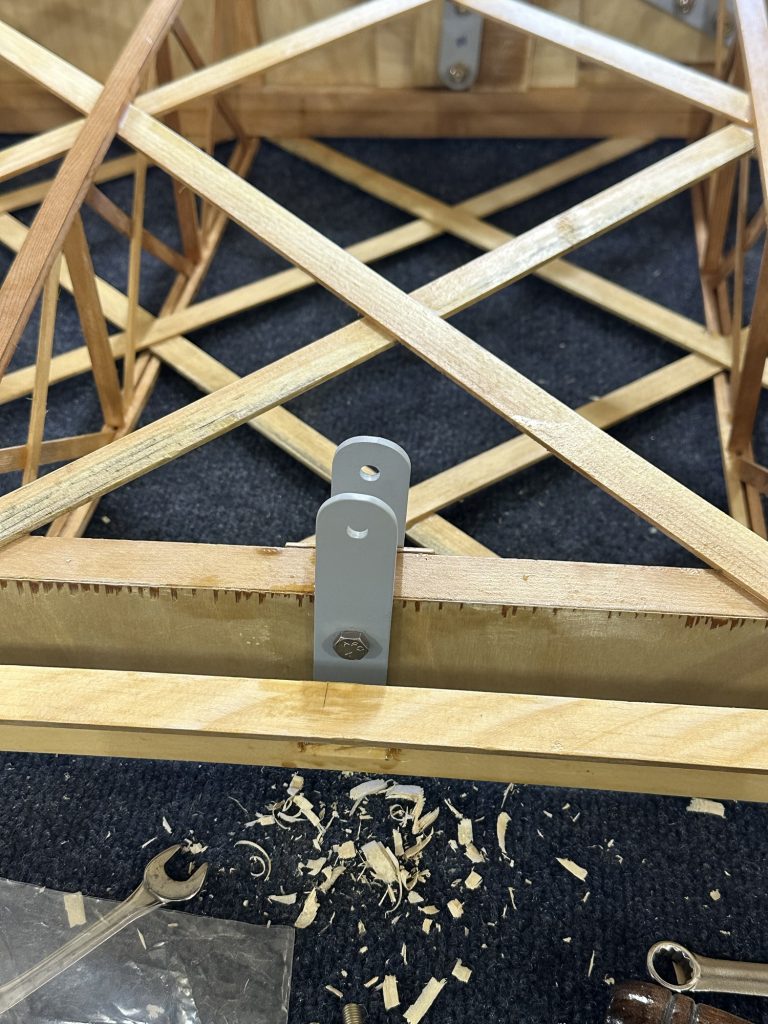
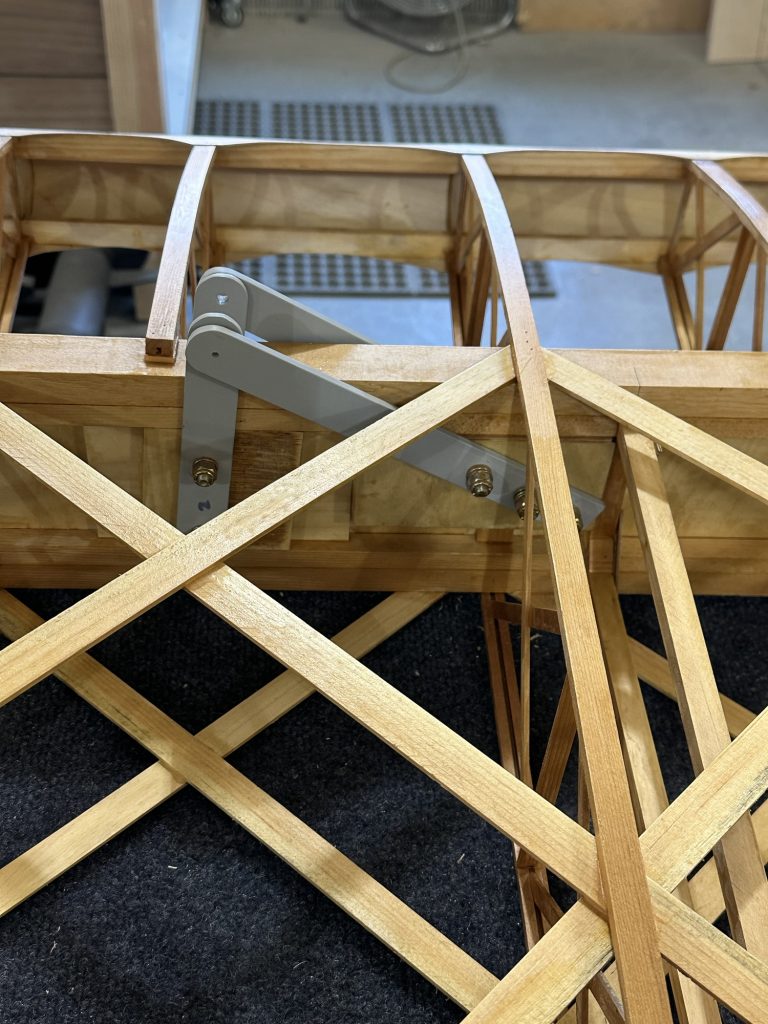
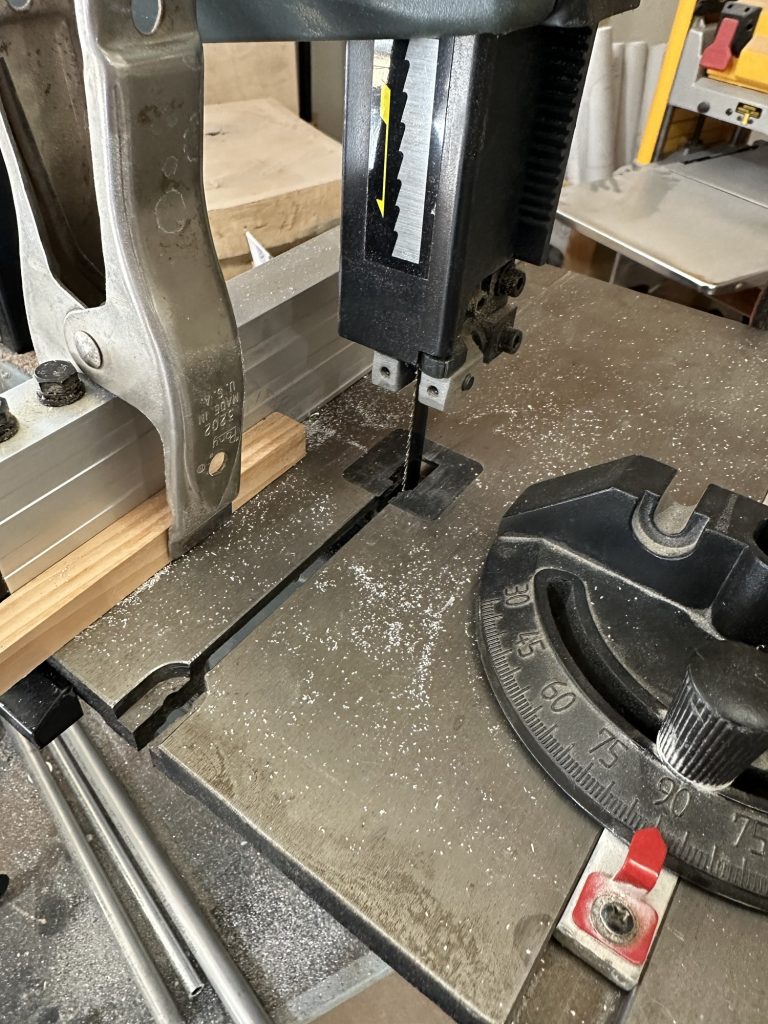
Over the past couple of days I’ve been collecting, drilling, and prepping the aluminum wing attachment parts. These are a collection of pieces cut from 6061 and 2024 AL bar stock. They will be used to attach the wing spars to the fuselage, attach flying and landing wires, and attach the N struts, and connect the upper and lower ailerons. Each one must be cut from the raw bar stock, drilled for bolts, and some of the ends rounded. I’ll do some sort of finish to prevent corrosion. I have some Alodine left over from when I was building the RV-12; if it’s still usable I’ll use it. If not, I’ll most likely buy some.
More than once the instructions have caused a little bit of panic. For example: Yesterday I drilled all of the holes in the attachment brackets to their final quarter inch (0.250) size. I remember that I’m short some pieces, but didn’t remember which ones or how many. I’m also unsure of which ends of which brackets need to be cut and sanded round. This morning I looked at the plan revision sheets that show the drawings for the parts… and saw that the drawings call out all of the holes to be 0.1875″. Panic!! Holy moly, did I just ruin all of those parts and waste all of that work? Oh, wait. I’d made little 3D printed pieces to help mark the ends for cutting… and those have 1/4″ bosses to fit the holes, so I planned 1/4″ holes before. And a 3/16 hole would fit an AN3 bolt. I’m pretty sure the plans call for AN4 bolts everywhere, and there’s no way in hell I’d be comfortable with wings held on with AN3 bolts…
Back to the wing spar plans… Yep. AN4 bolts and 1/4″ ID bushings everywhere. The supplemental drawings are incorrect or out of date, no big surprise. Back to work.
I did manage to badly mis-drill one of the CAW9 brackets, so that’s scrap — but it really doesn’t matter in the long run. I came up a little short on the 3/16″ 2024 stock needed for some of the parts, so I’ll need to buy another 12′ length anyway. It’s an odd size that is difficult to find on line, but fortunately my local supplier can get it for me even in single piece quantity. Even they don’t list it in their catalog. Most places only carry 2024 in 1/4″ thickness or more.
After inventorying my parts I need another 60″ or so of 2024 stock, and I only have about 3′ if that. Fortunately the parts I have on hand are enough for the two lower wings, so I can cut the bushings, buy hardware, and attach all the pieces on the two wings I have built and get them finished before moving on to the upper wings.
I got over to the shop to make sure the bolt lengths called out in the plans were OK. I’m glad I did. IN each case I decided to bump the bolt up one number to get the next longer grip length; the exception was the three bolts on each wing that attach the CAW-4 landing wire brackets. Those were specified nearly half an inch short; I had to go from AN4-20A to AN4-24A to get the right grip length. I’m glad I checked. I also ordered a couple dozen standard and half-thickness AN960 washers to get everything done up right. The hardware is ordered, now I just need to get the bracket ends done and get them prepped for installation.