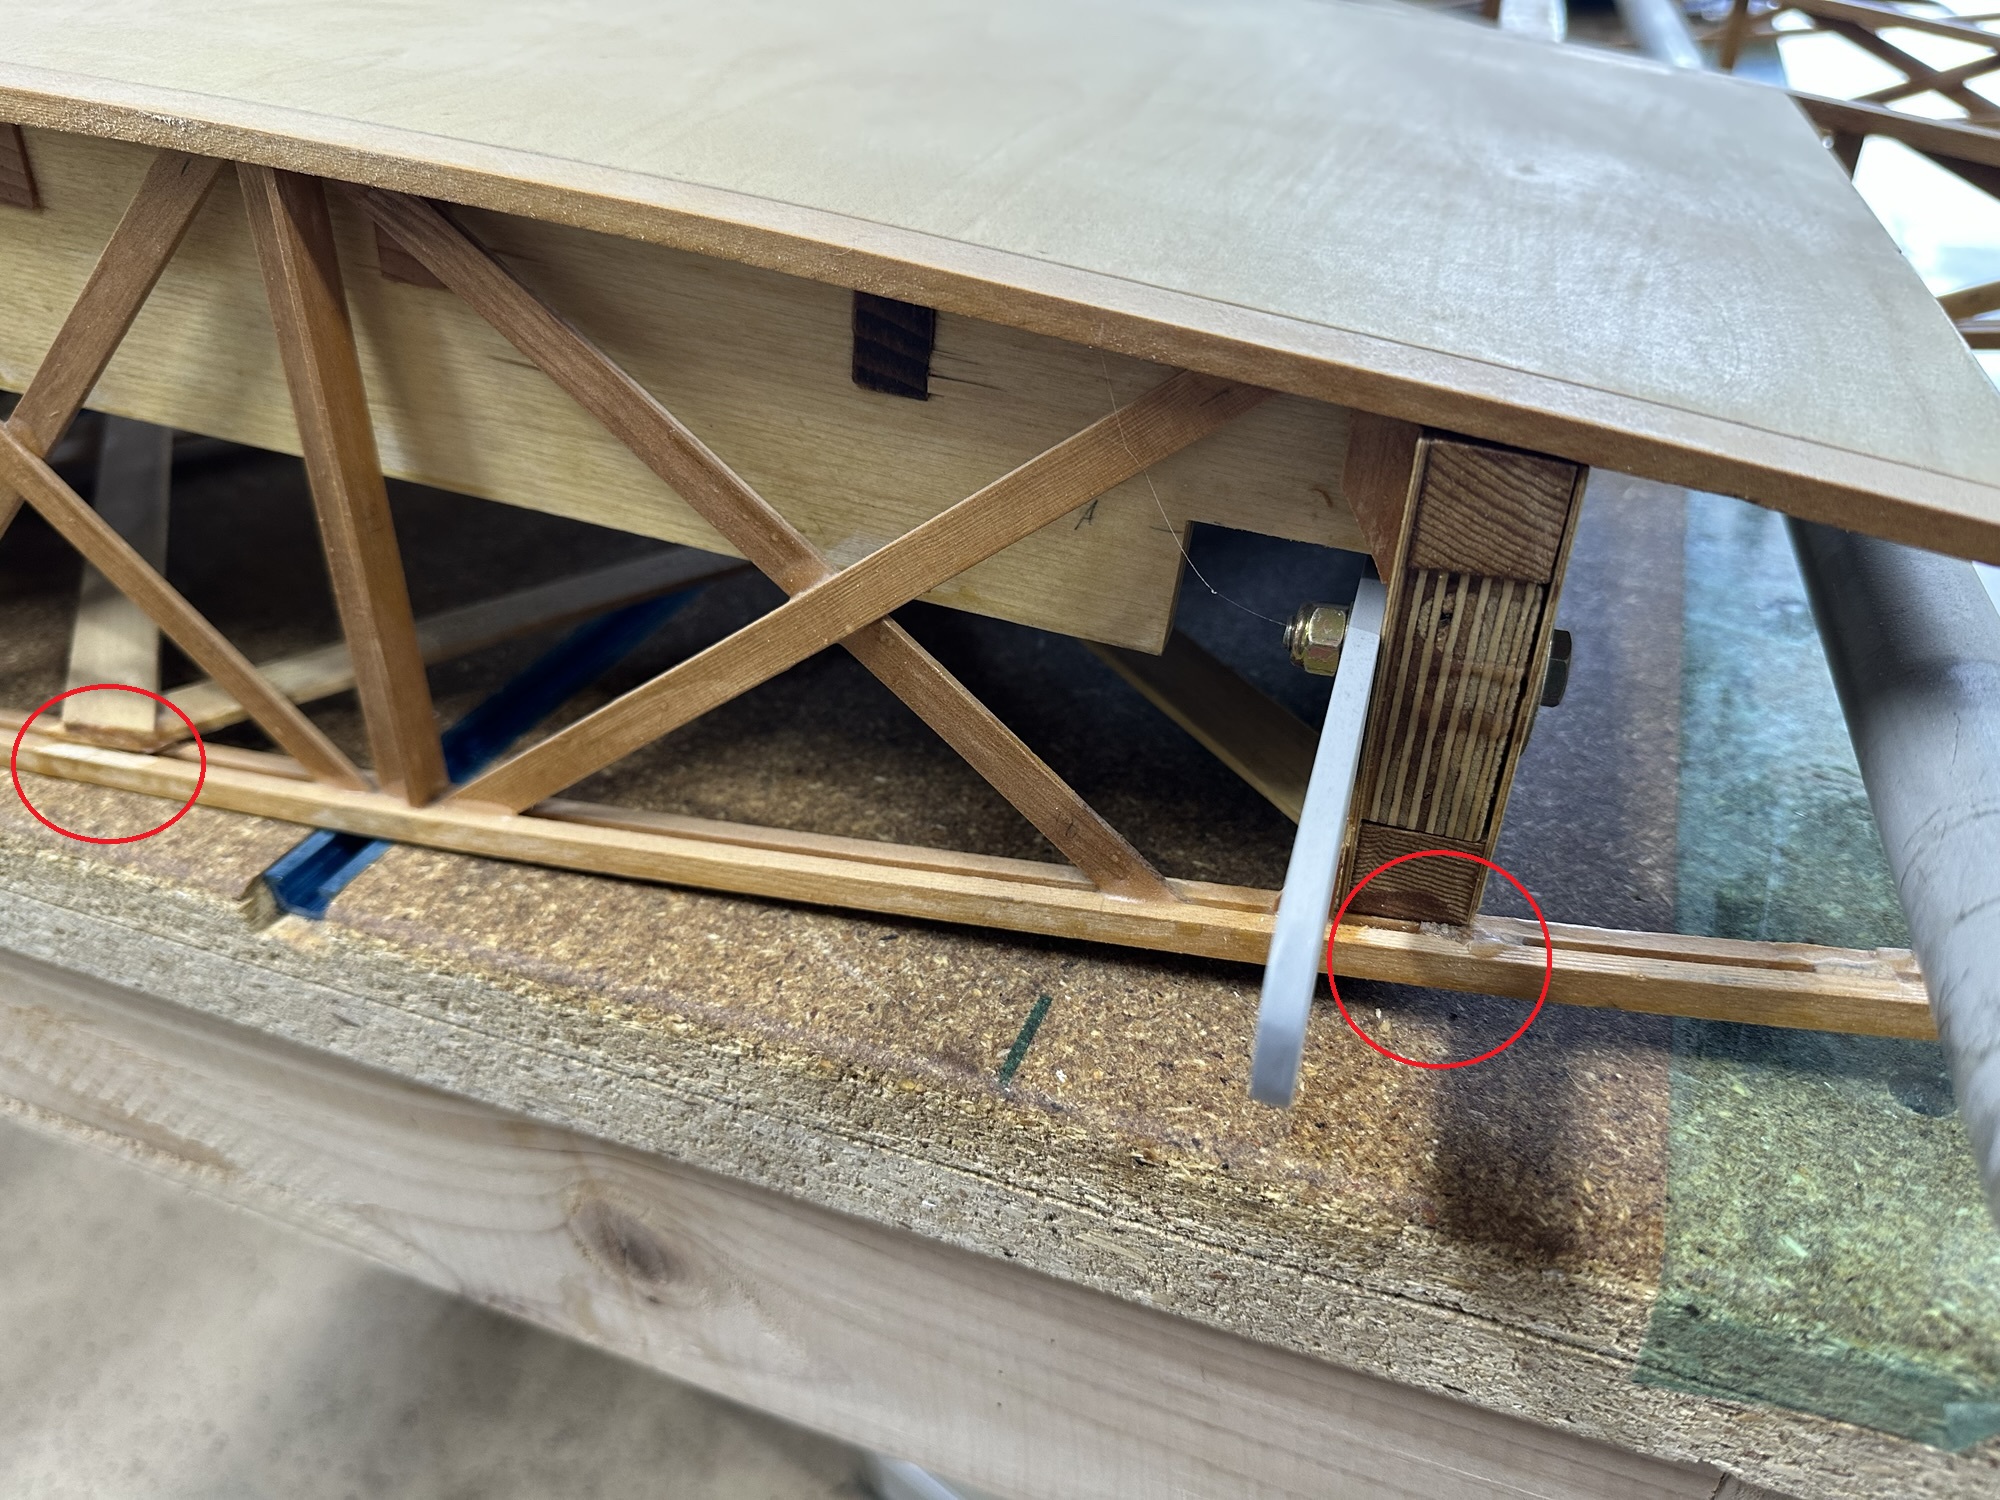
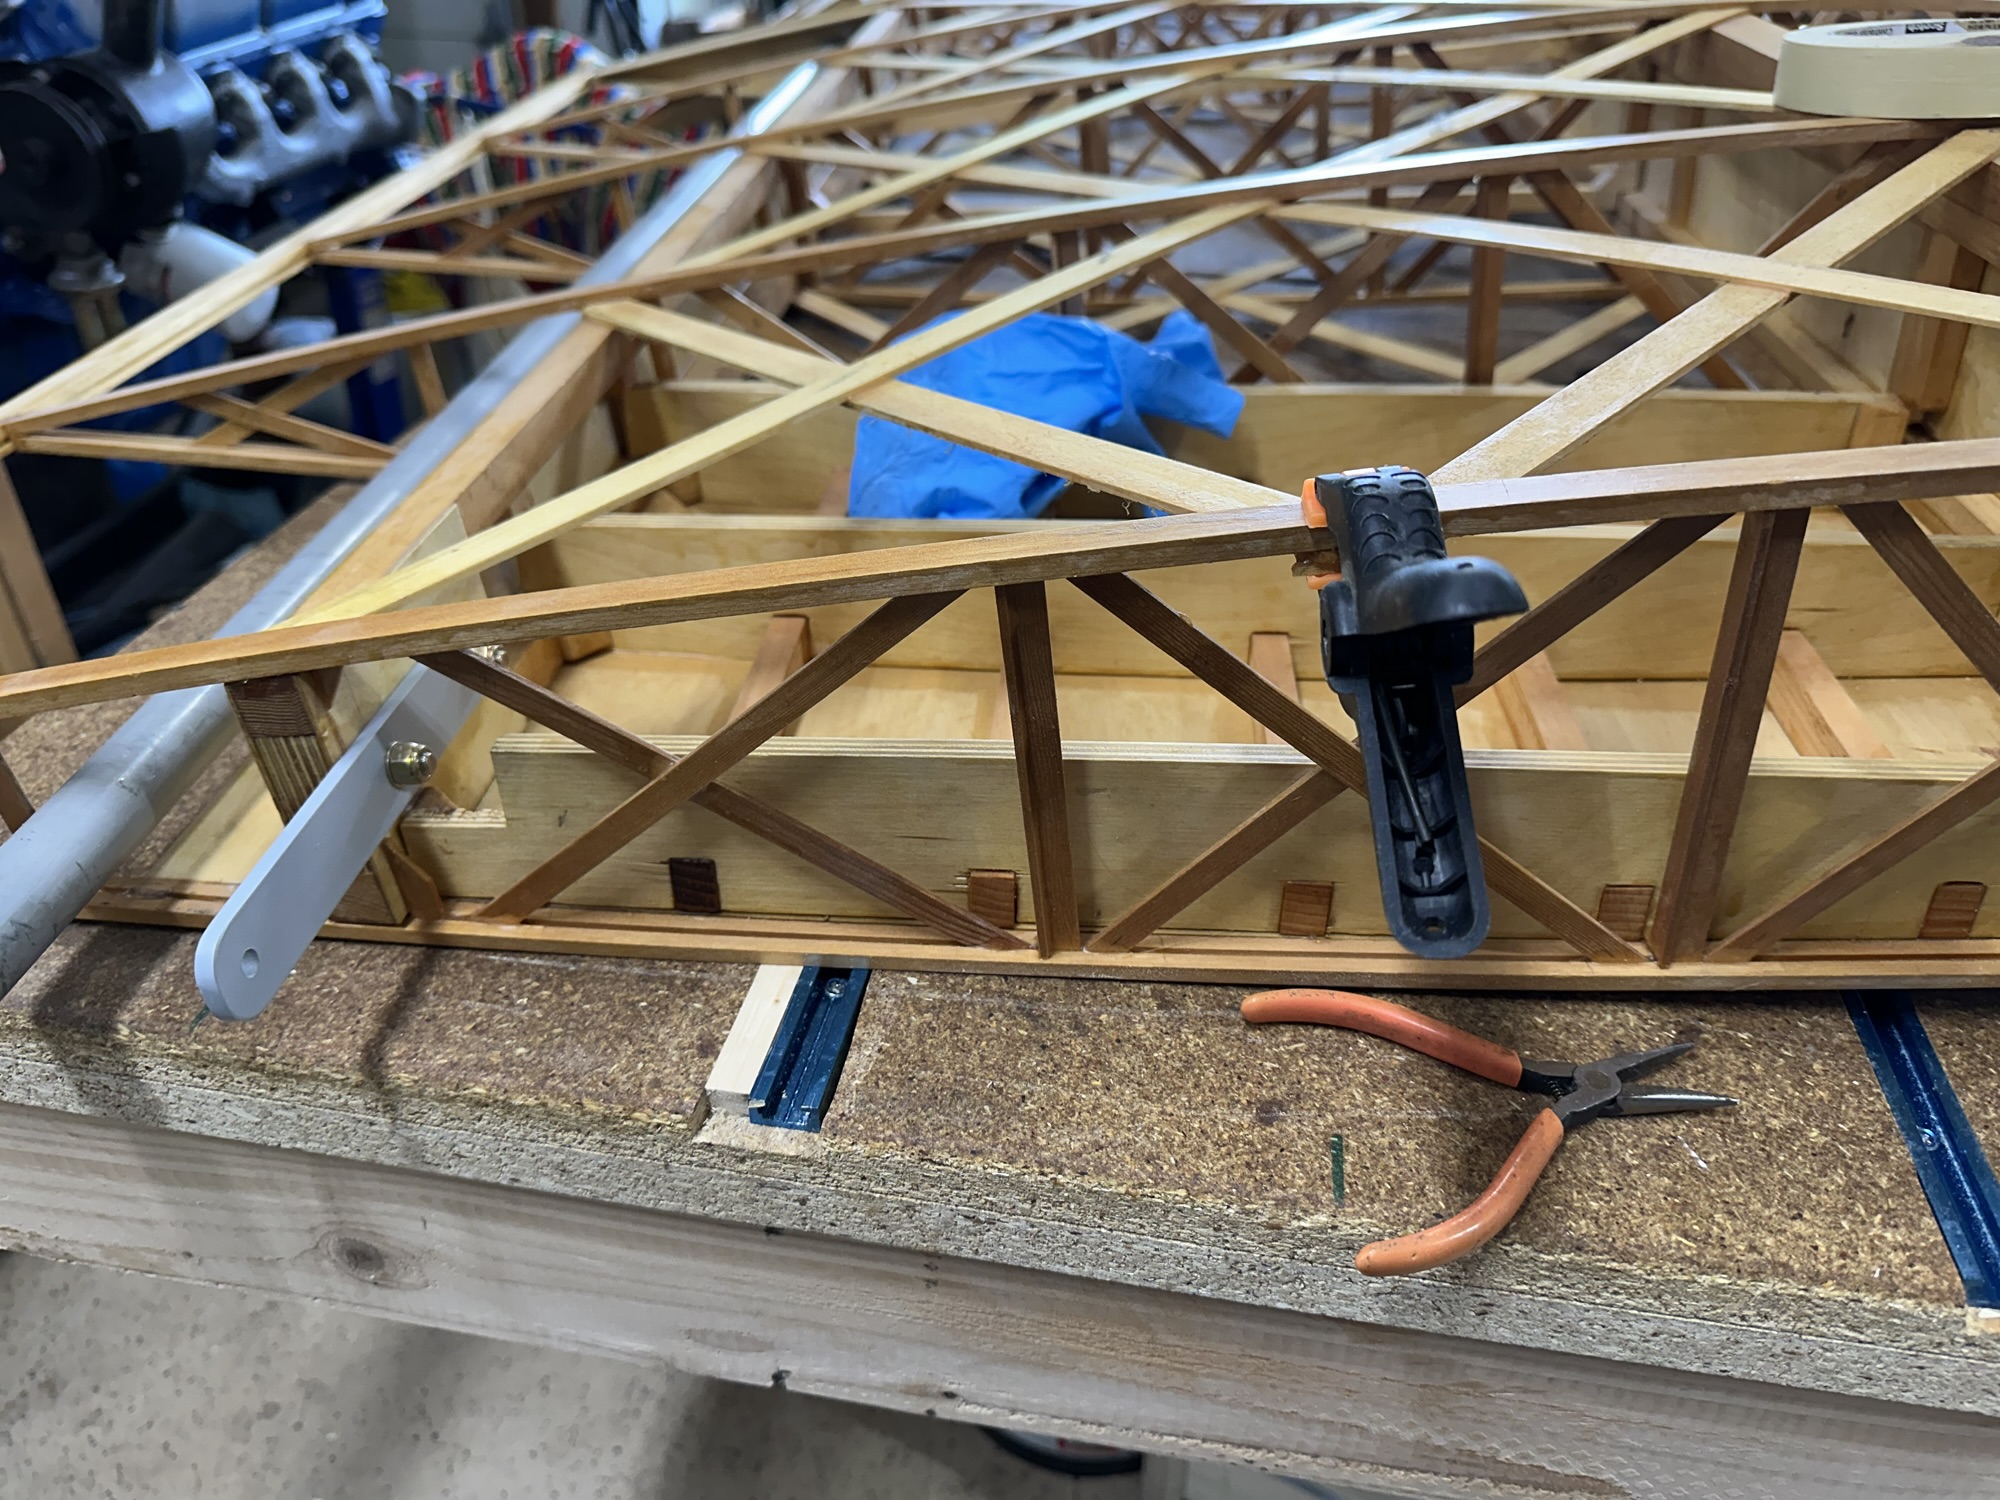
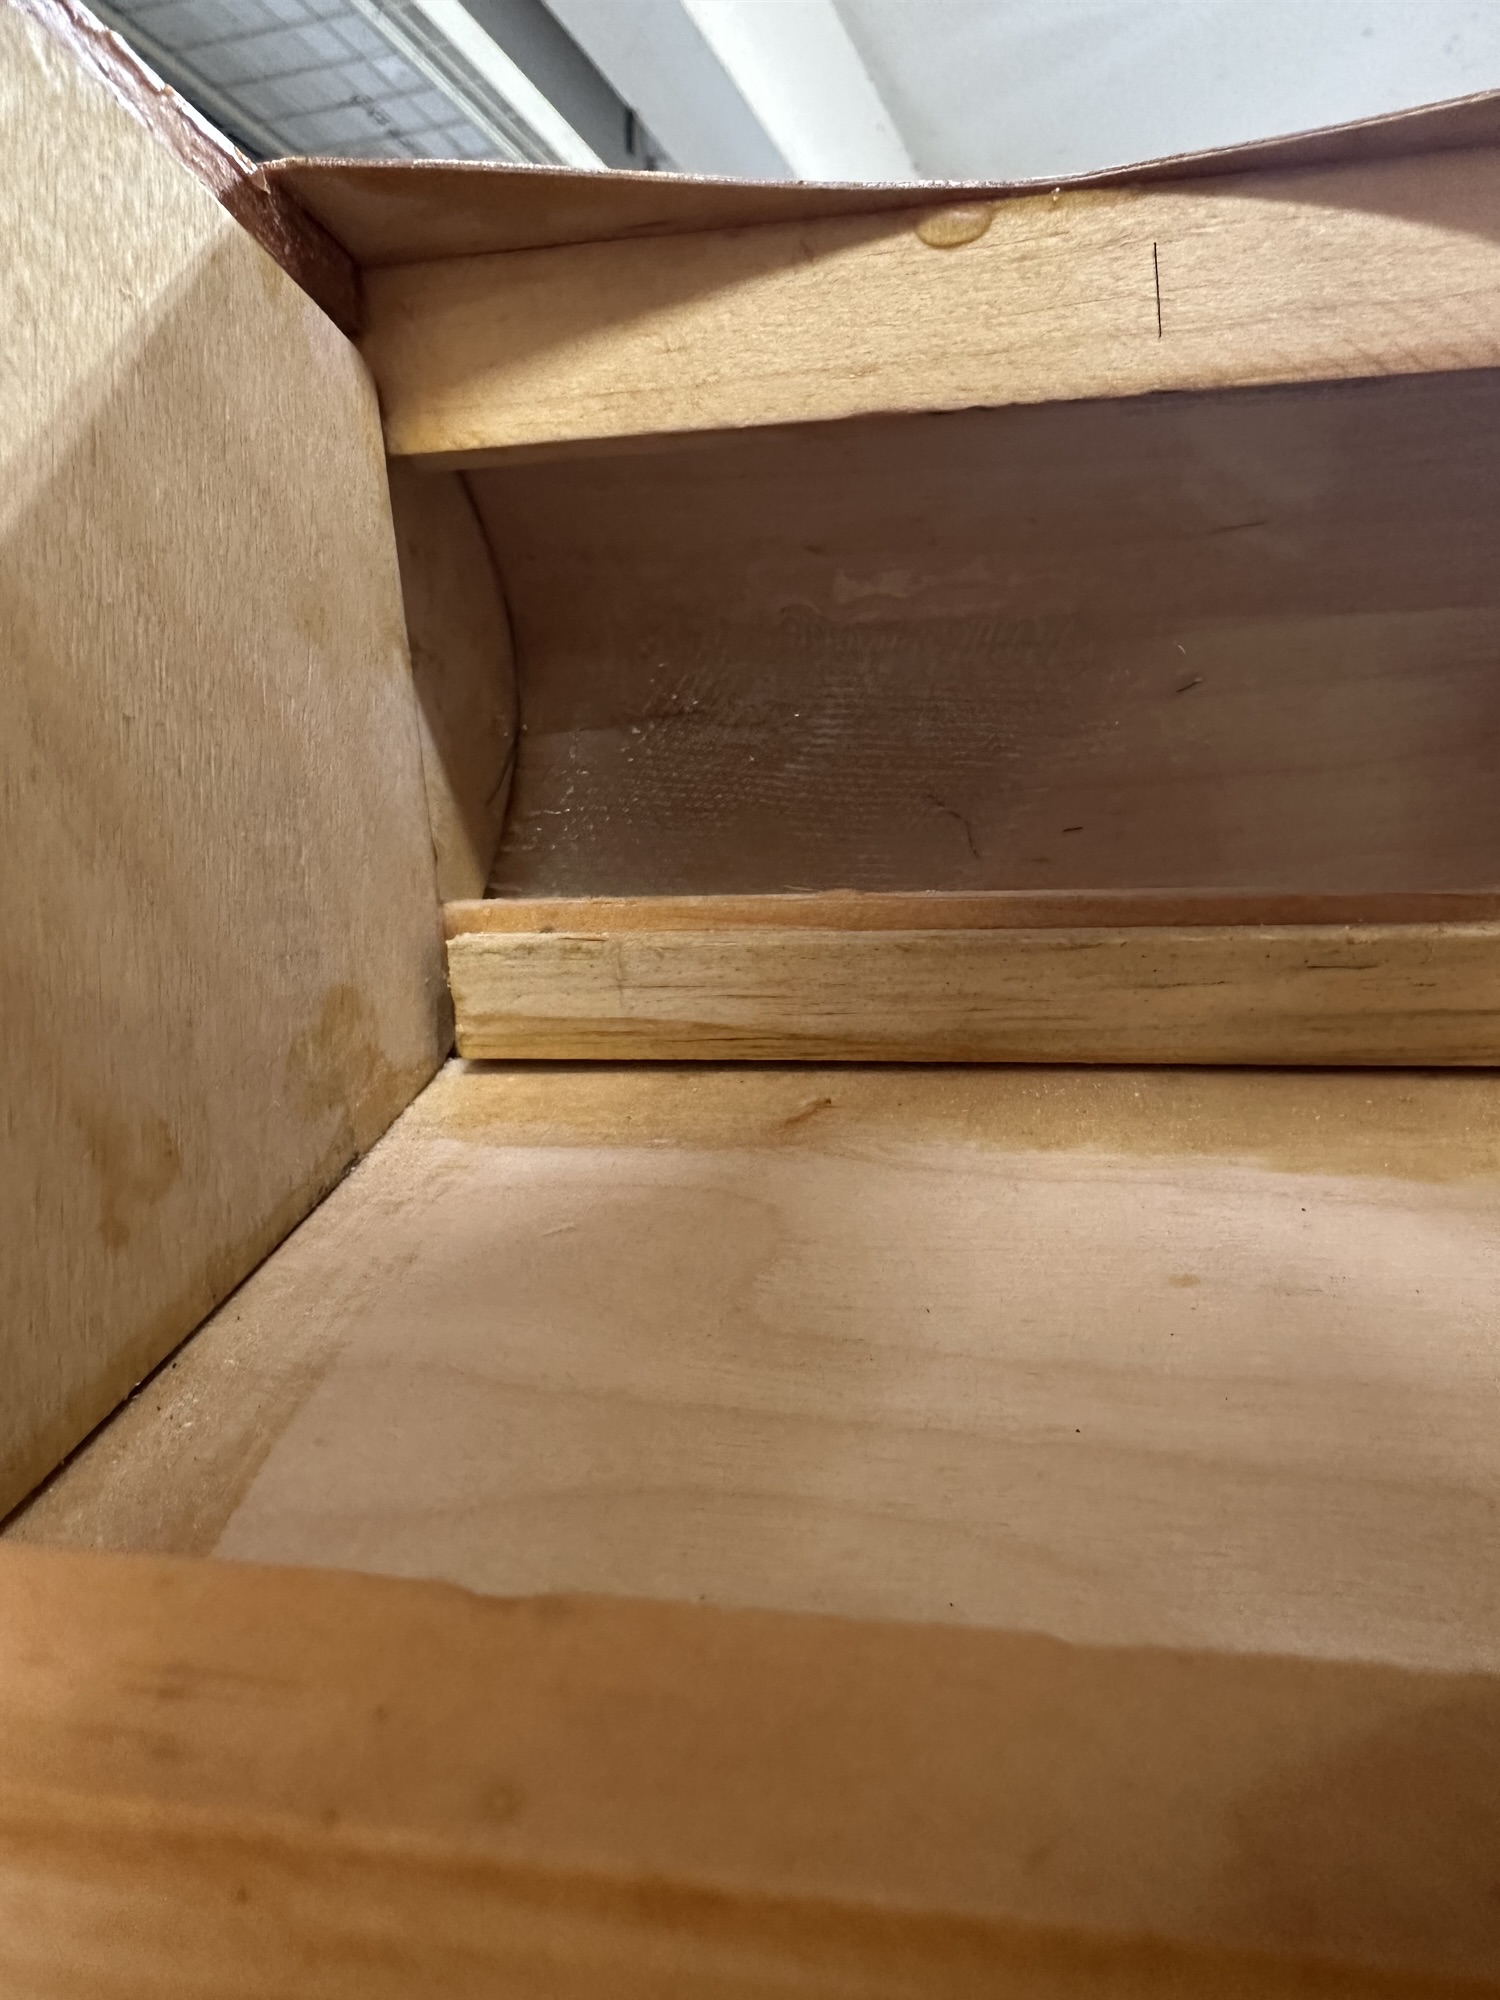
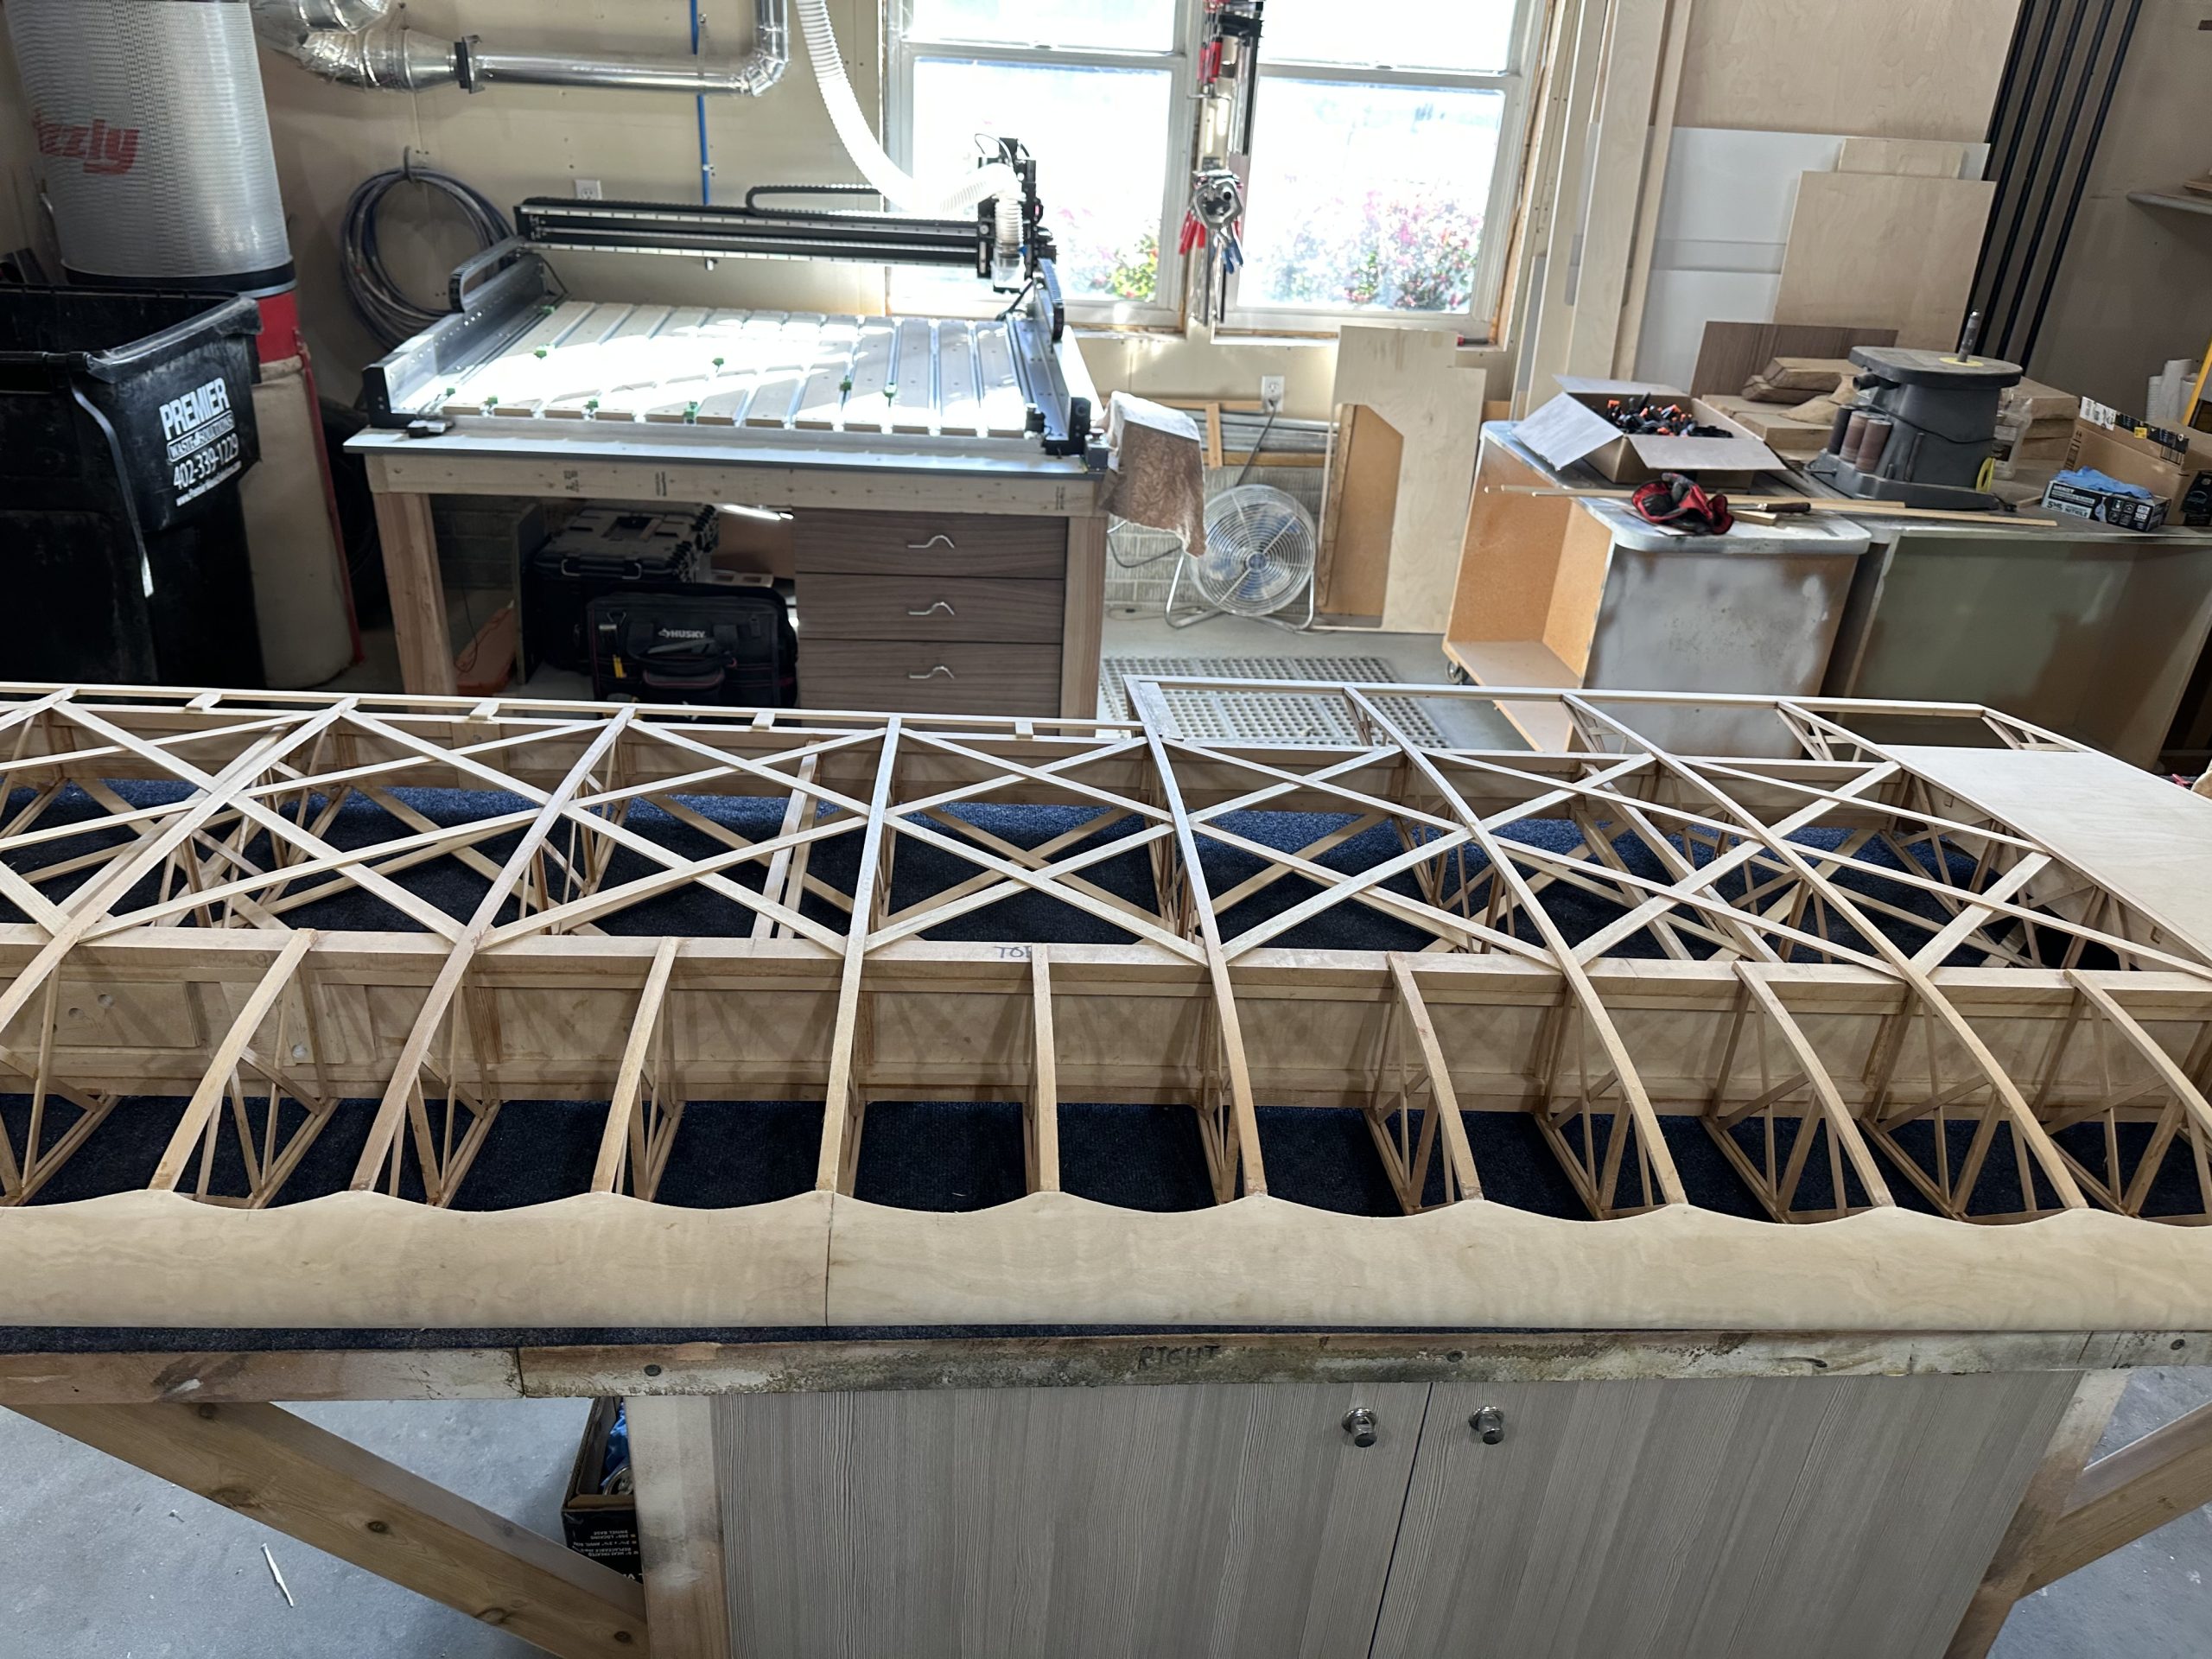
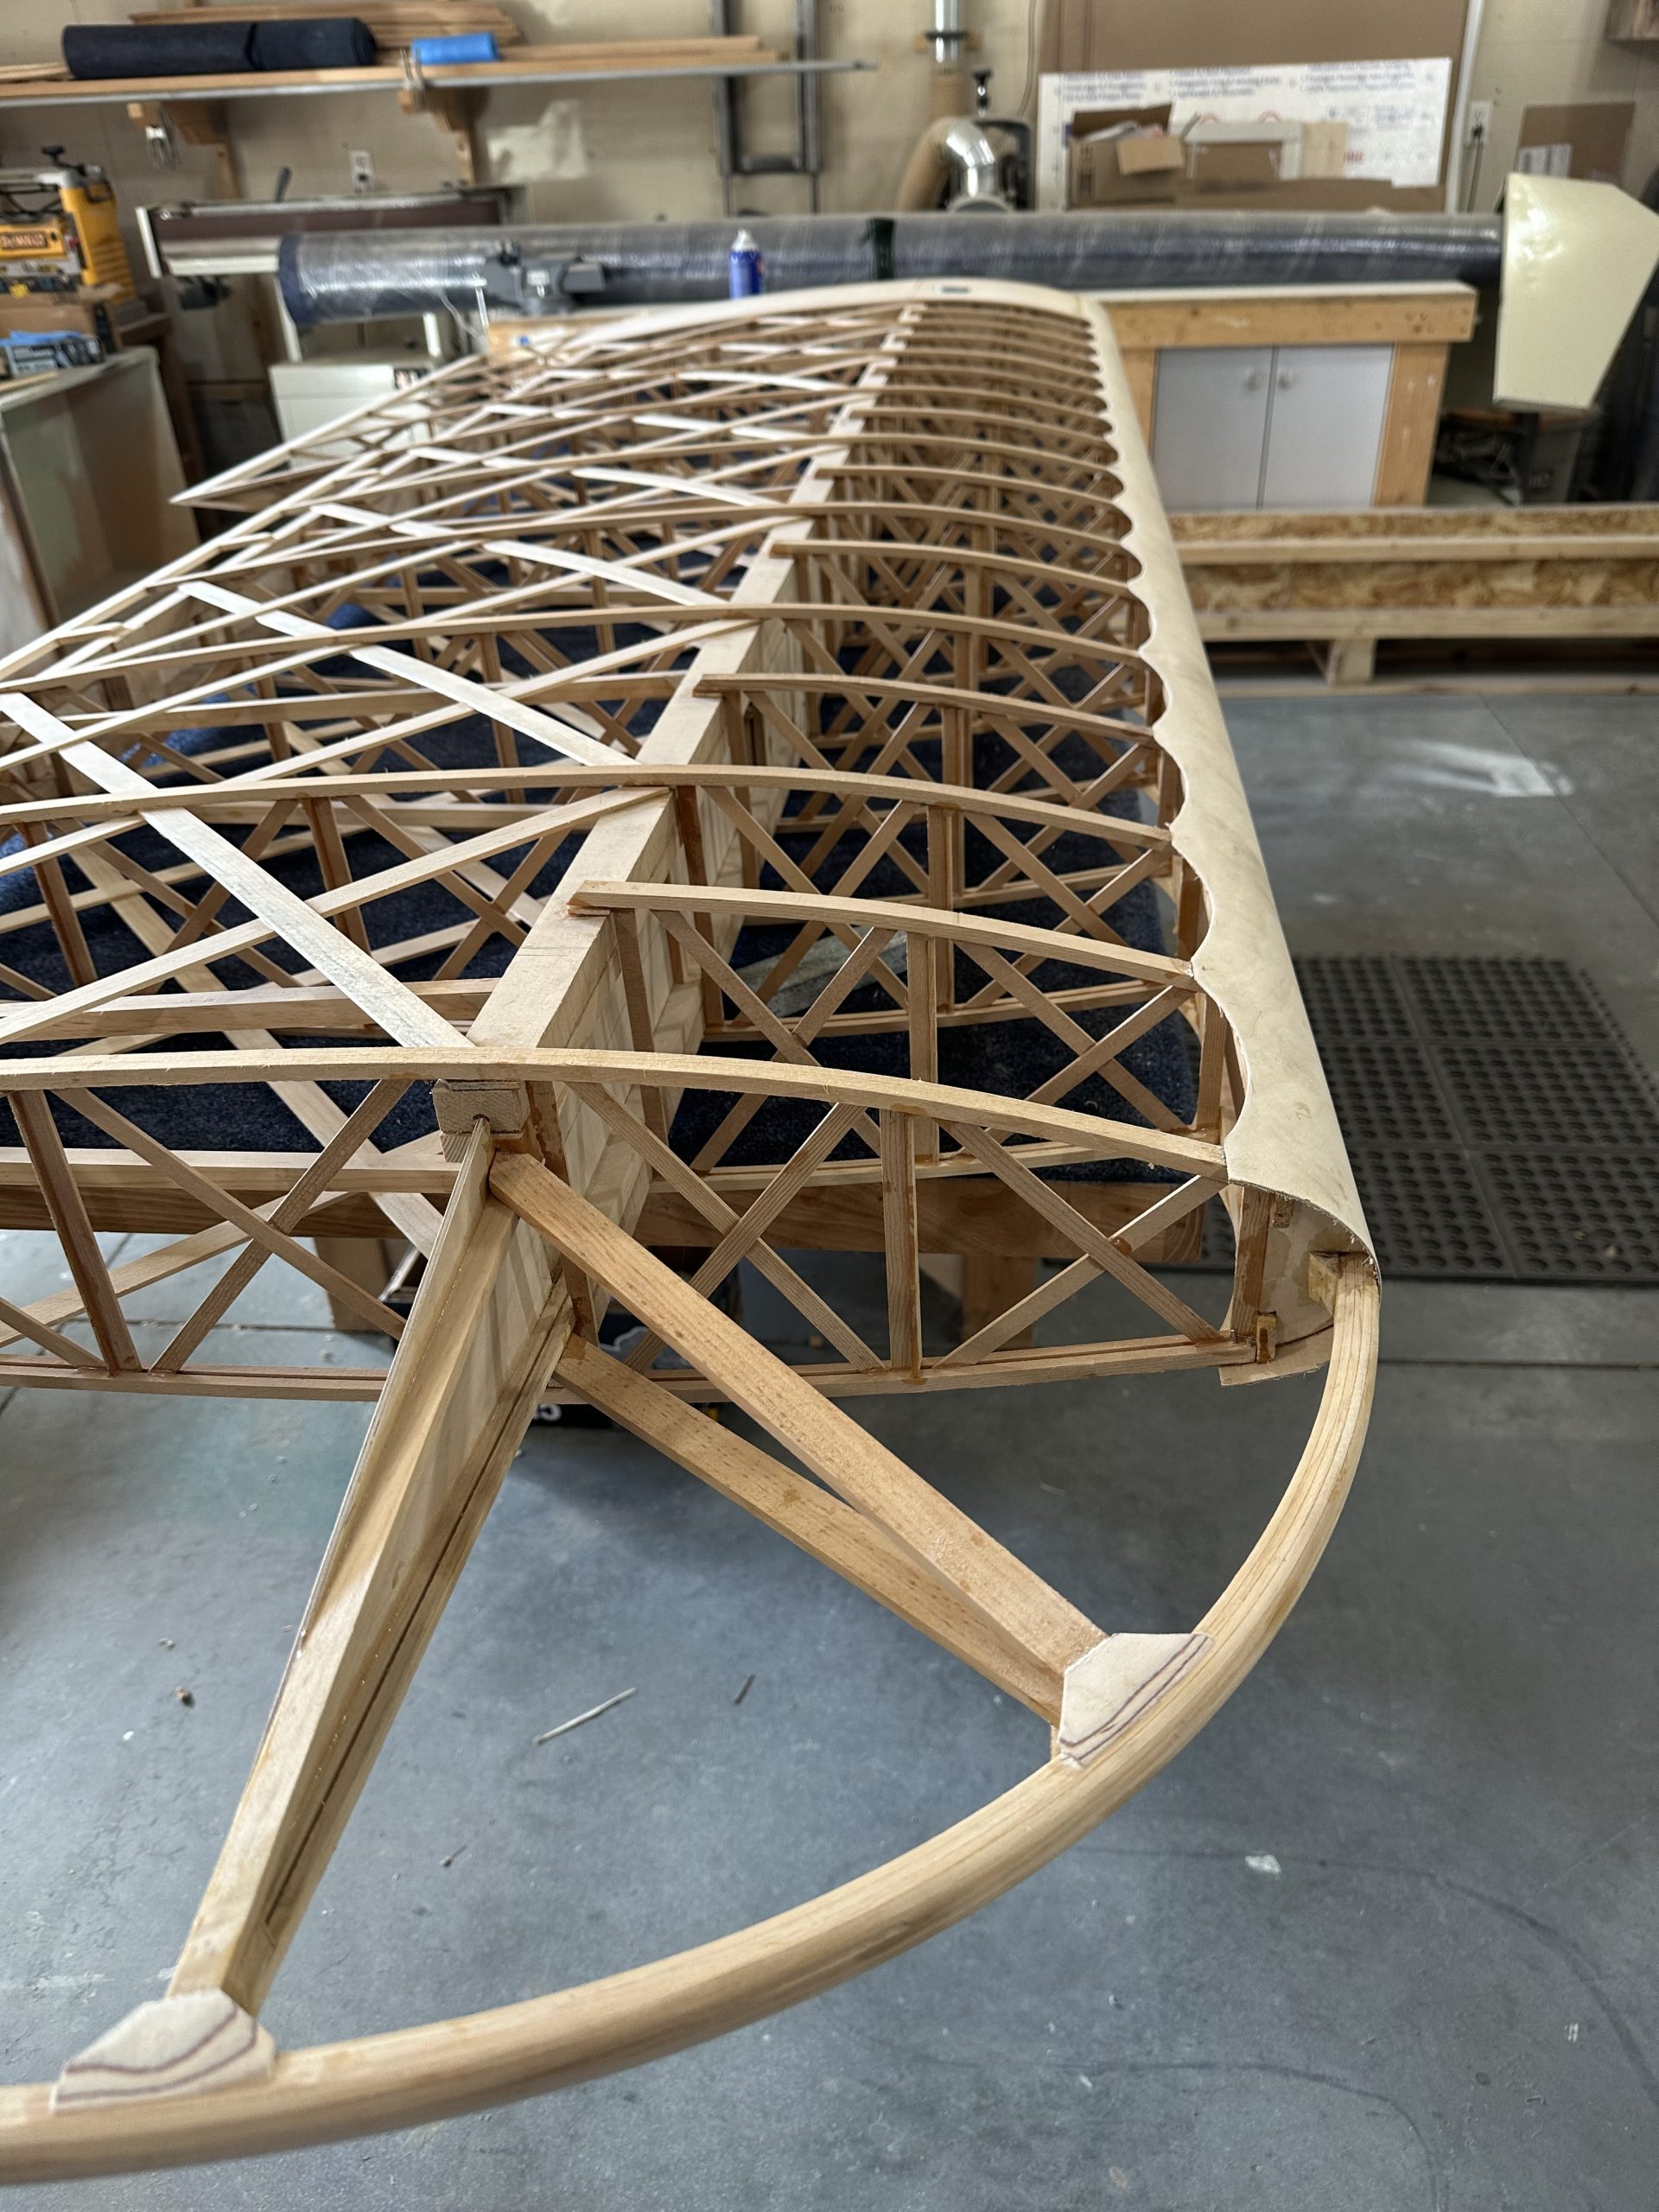
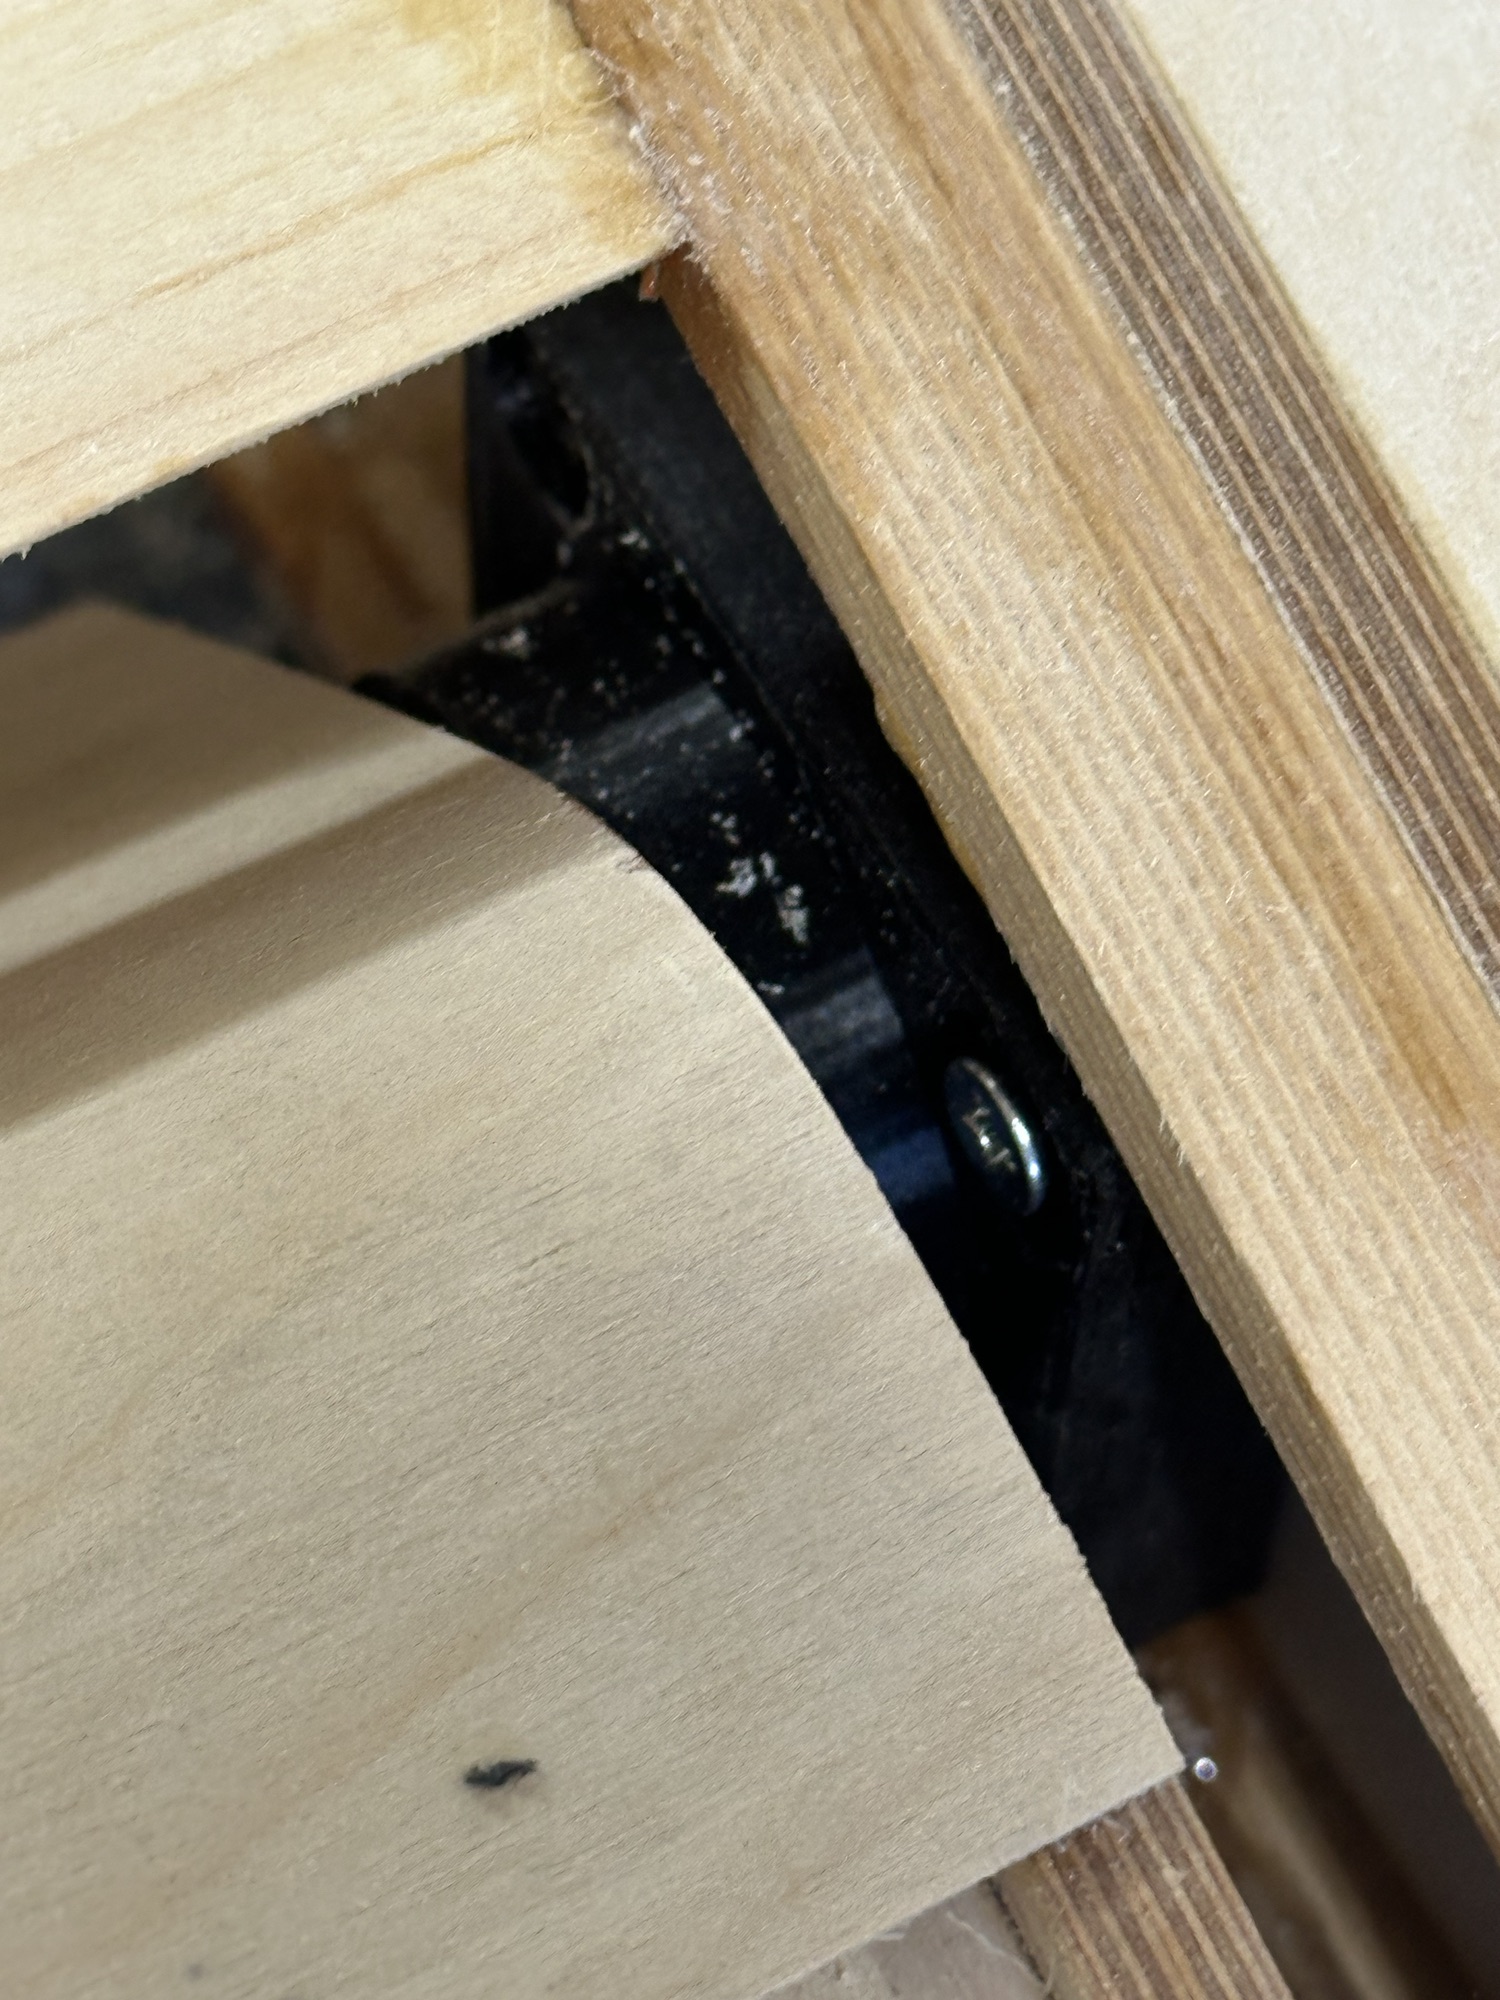
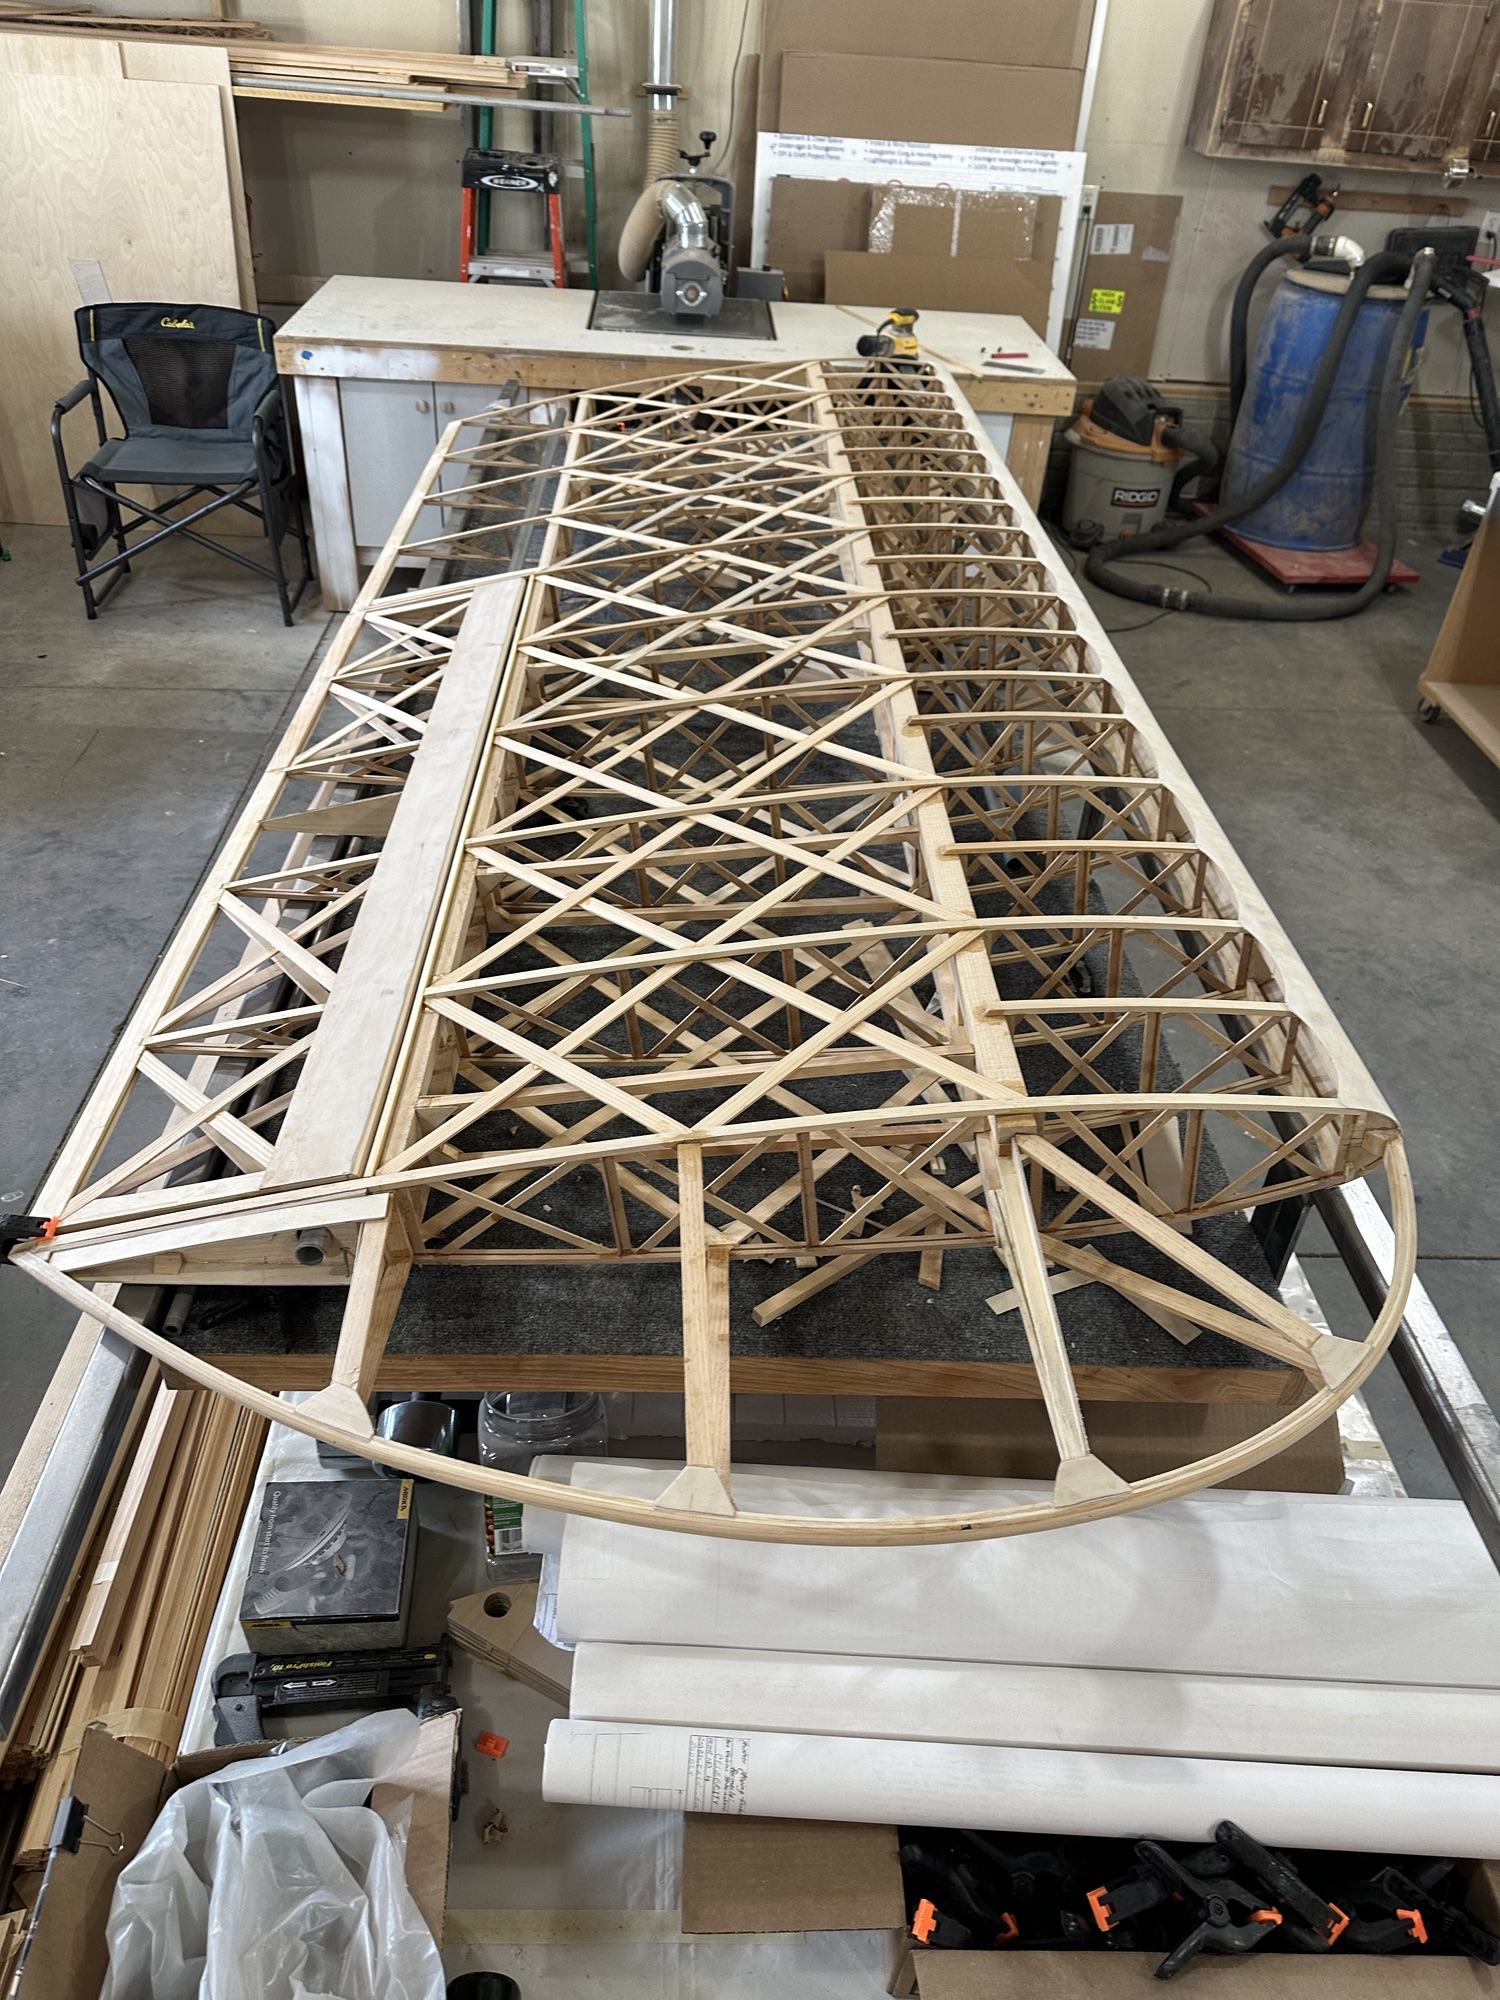
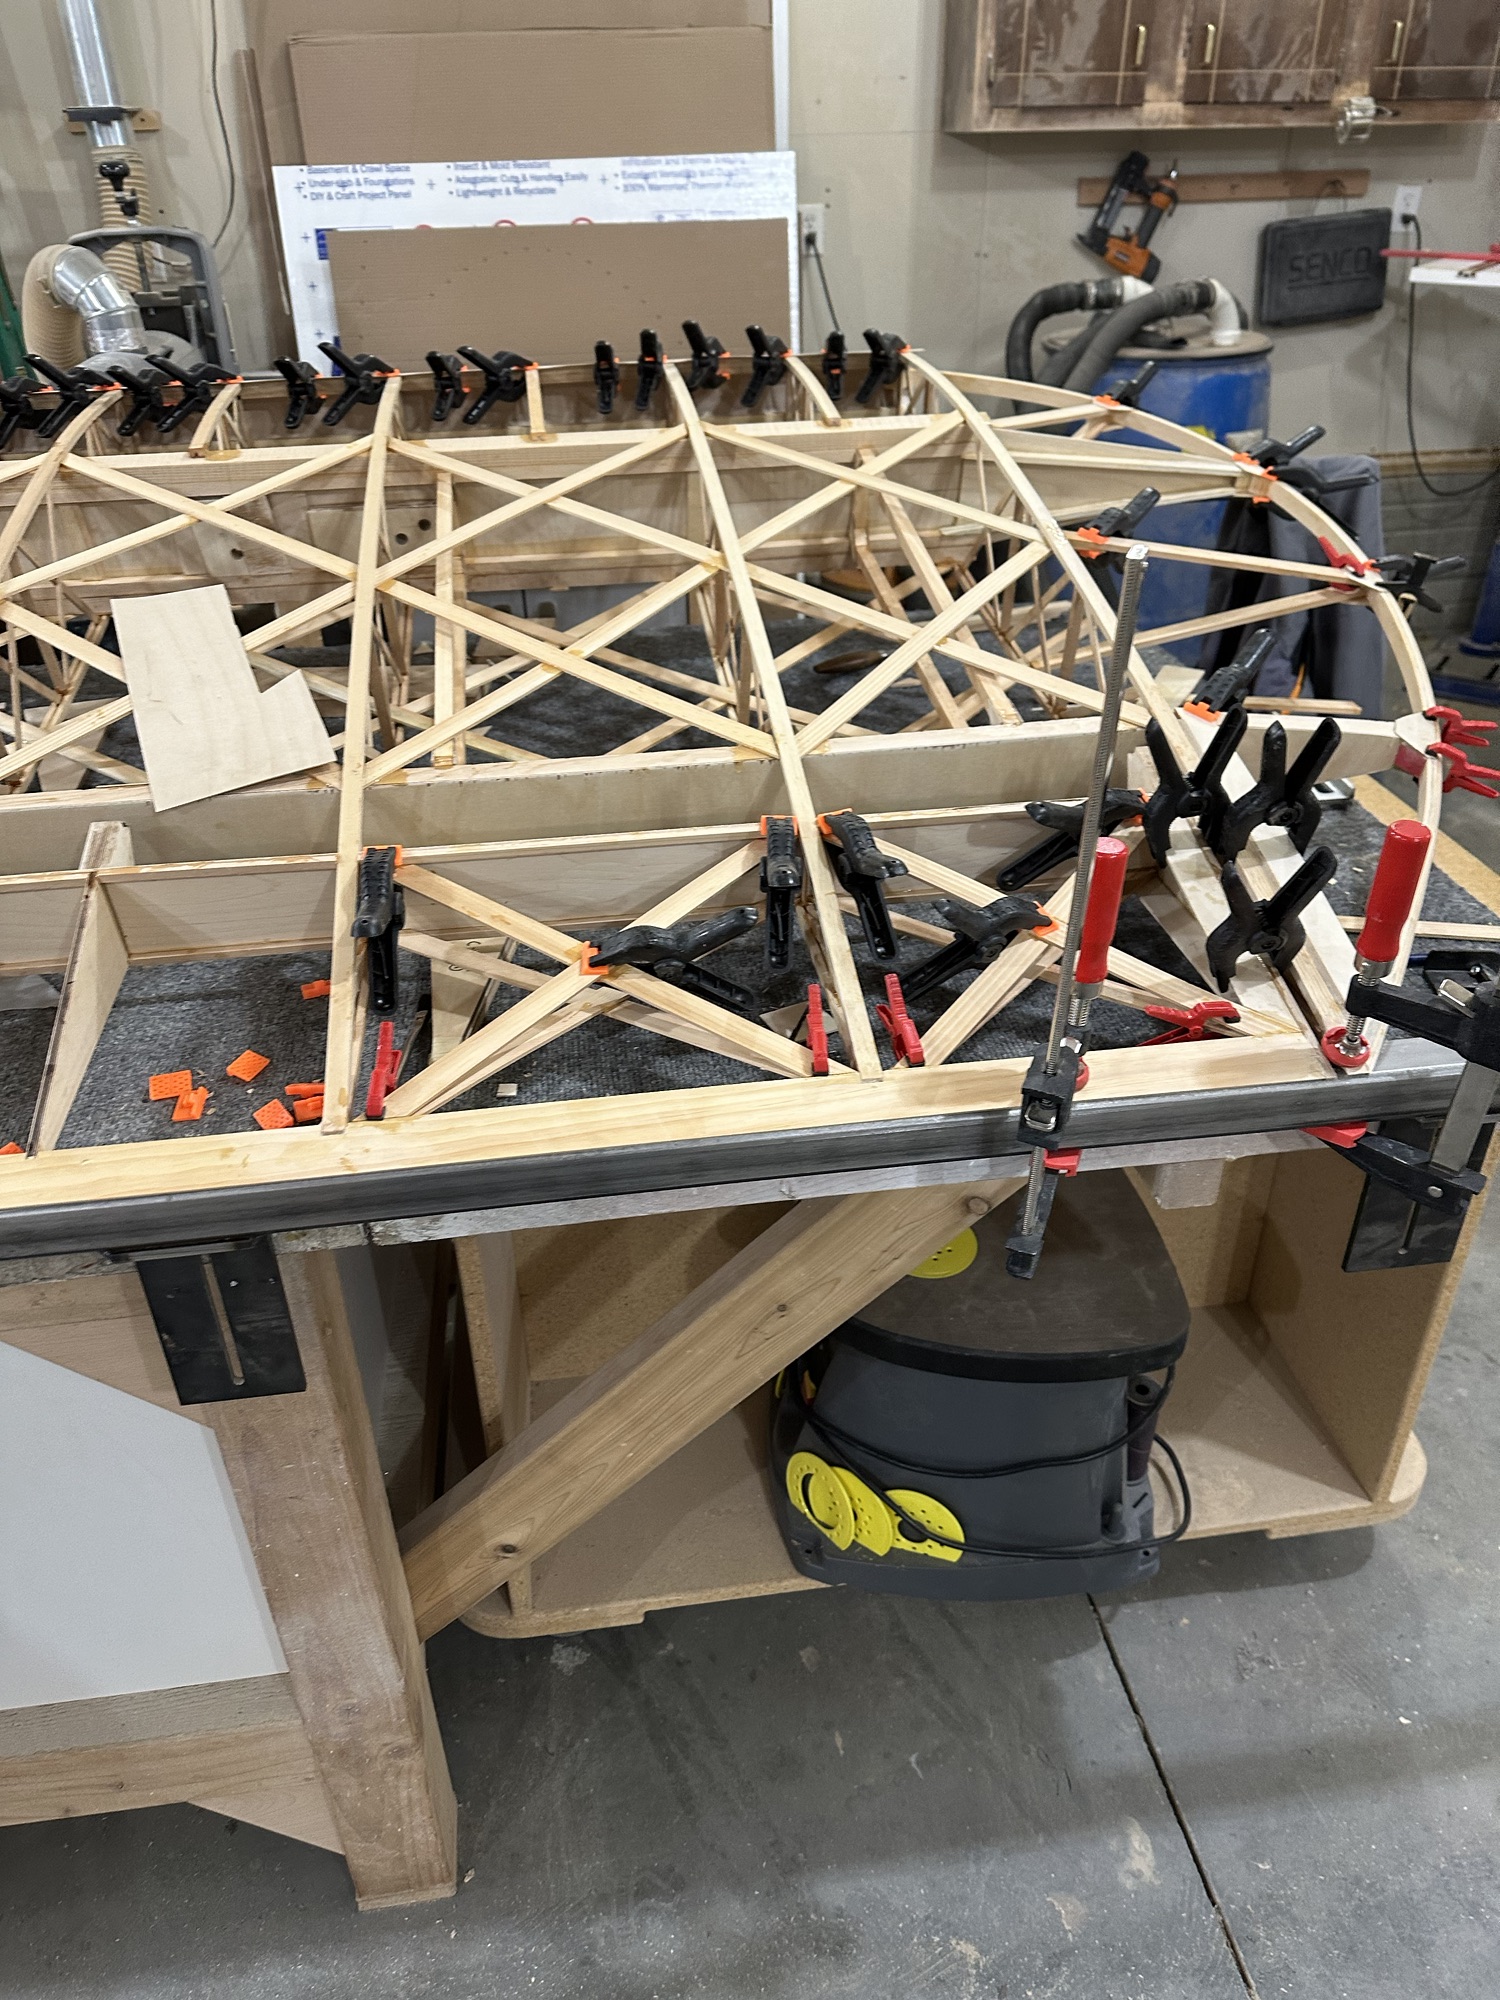
As we were moving the wing, I managed to snag the root rib on the corner of the workbench at Stu’s shop while we were getting it positioned to load into my pickup. This popped a couple of glue joints loose, both of which pulled the wood apart rather than just the epoxy breaking, so that’s as it should be.
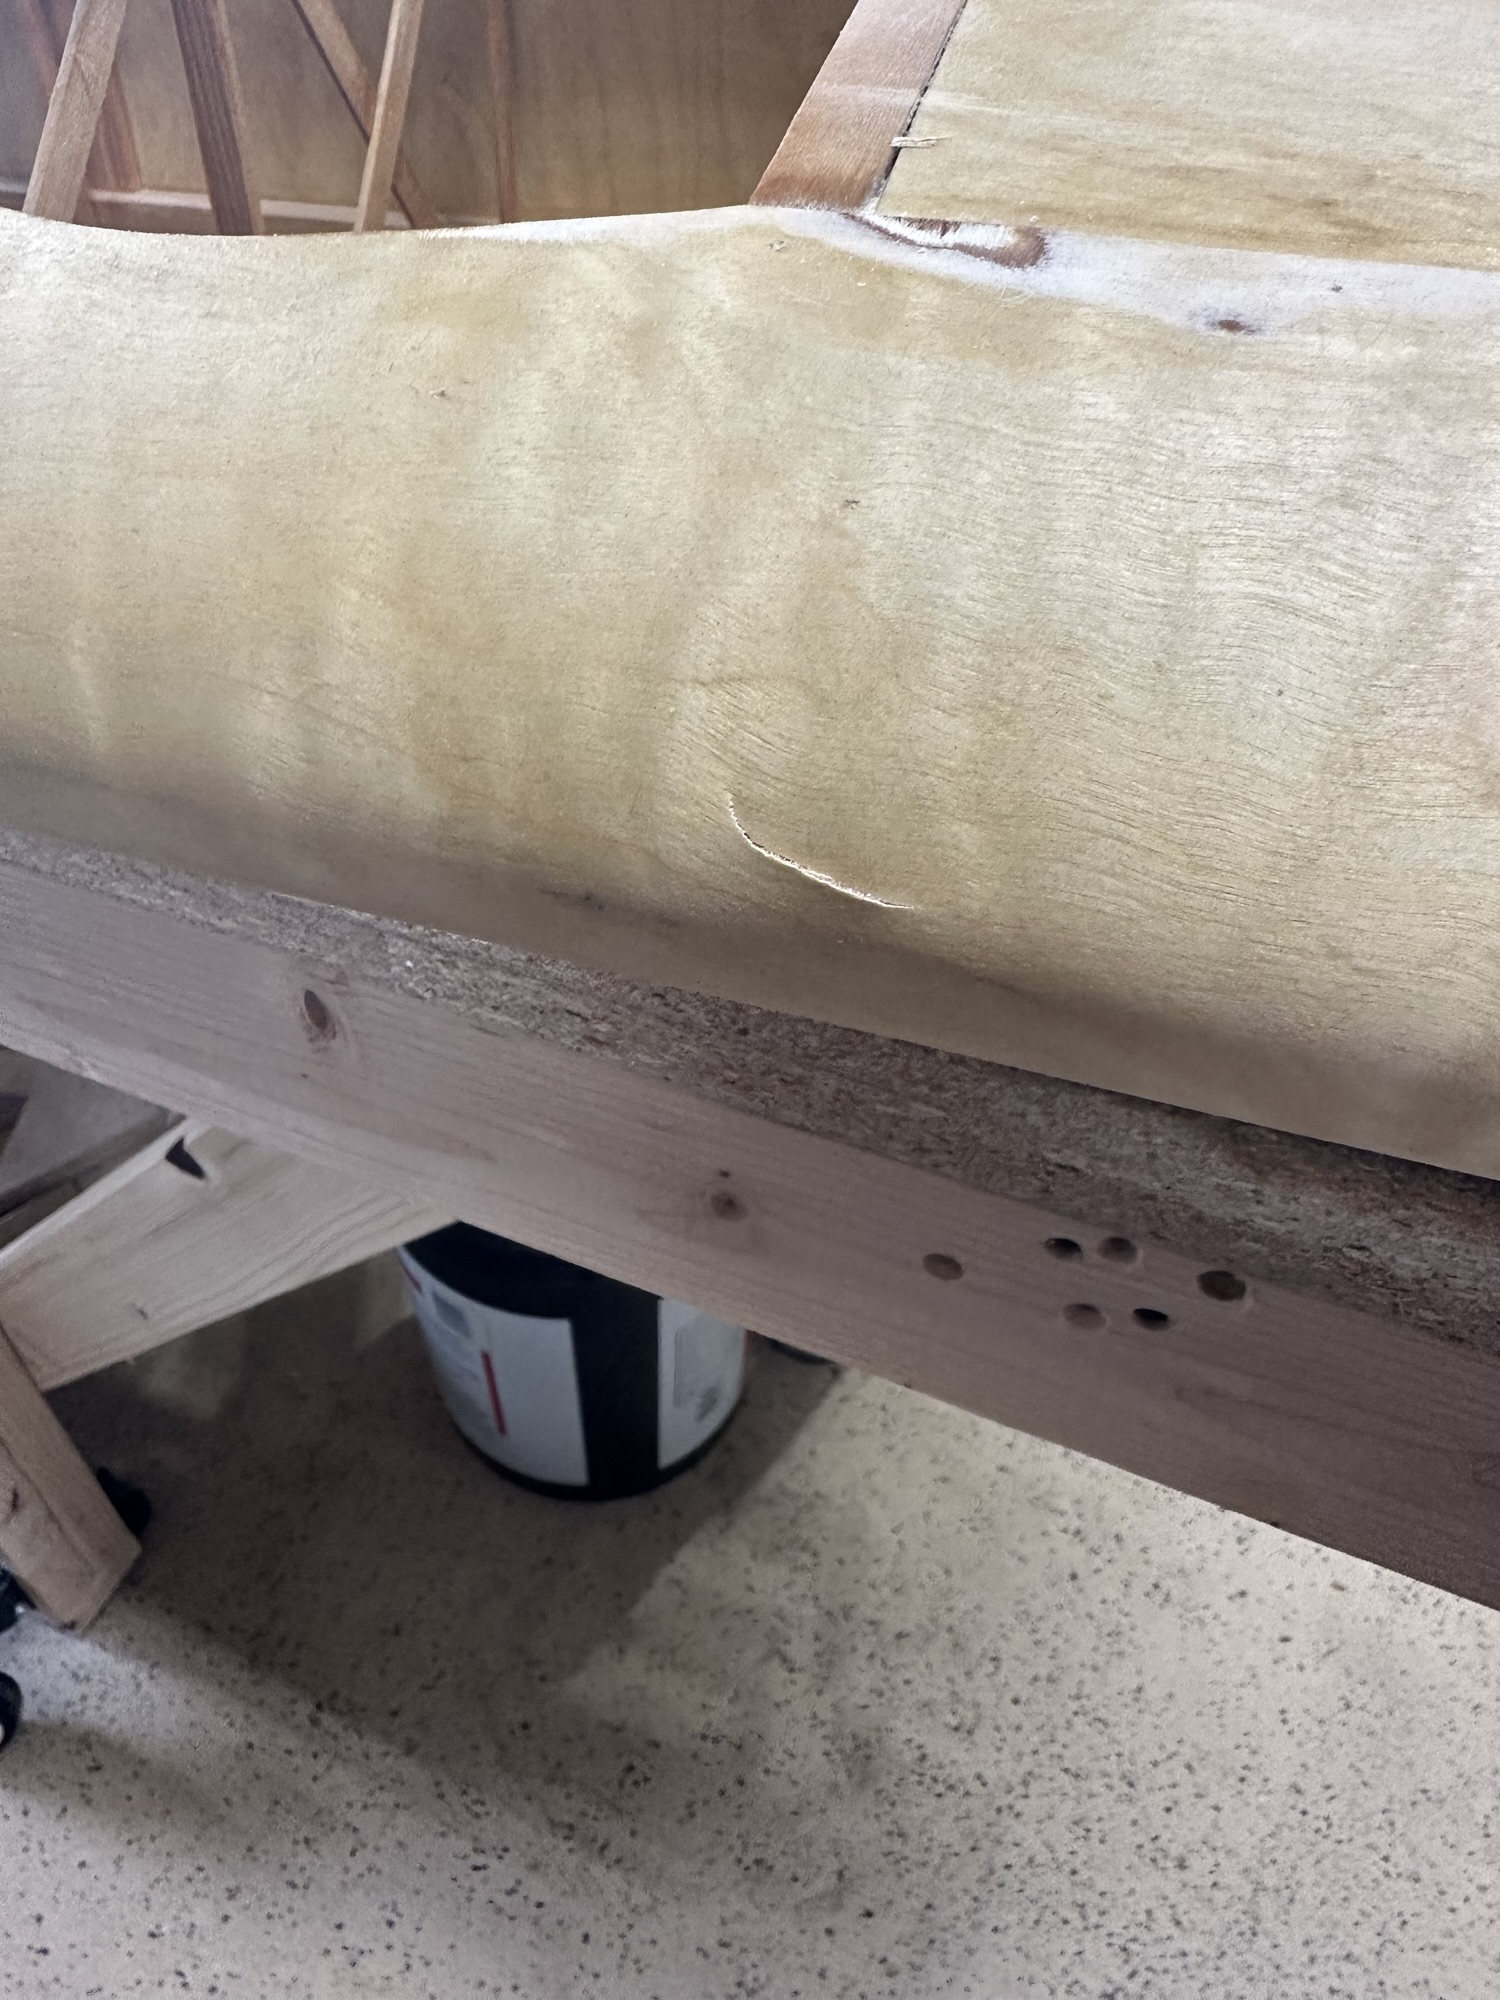
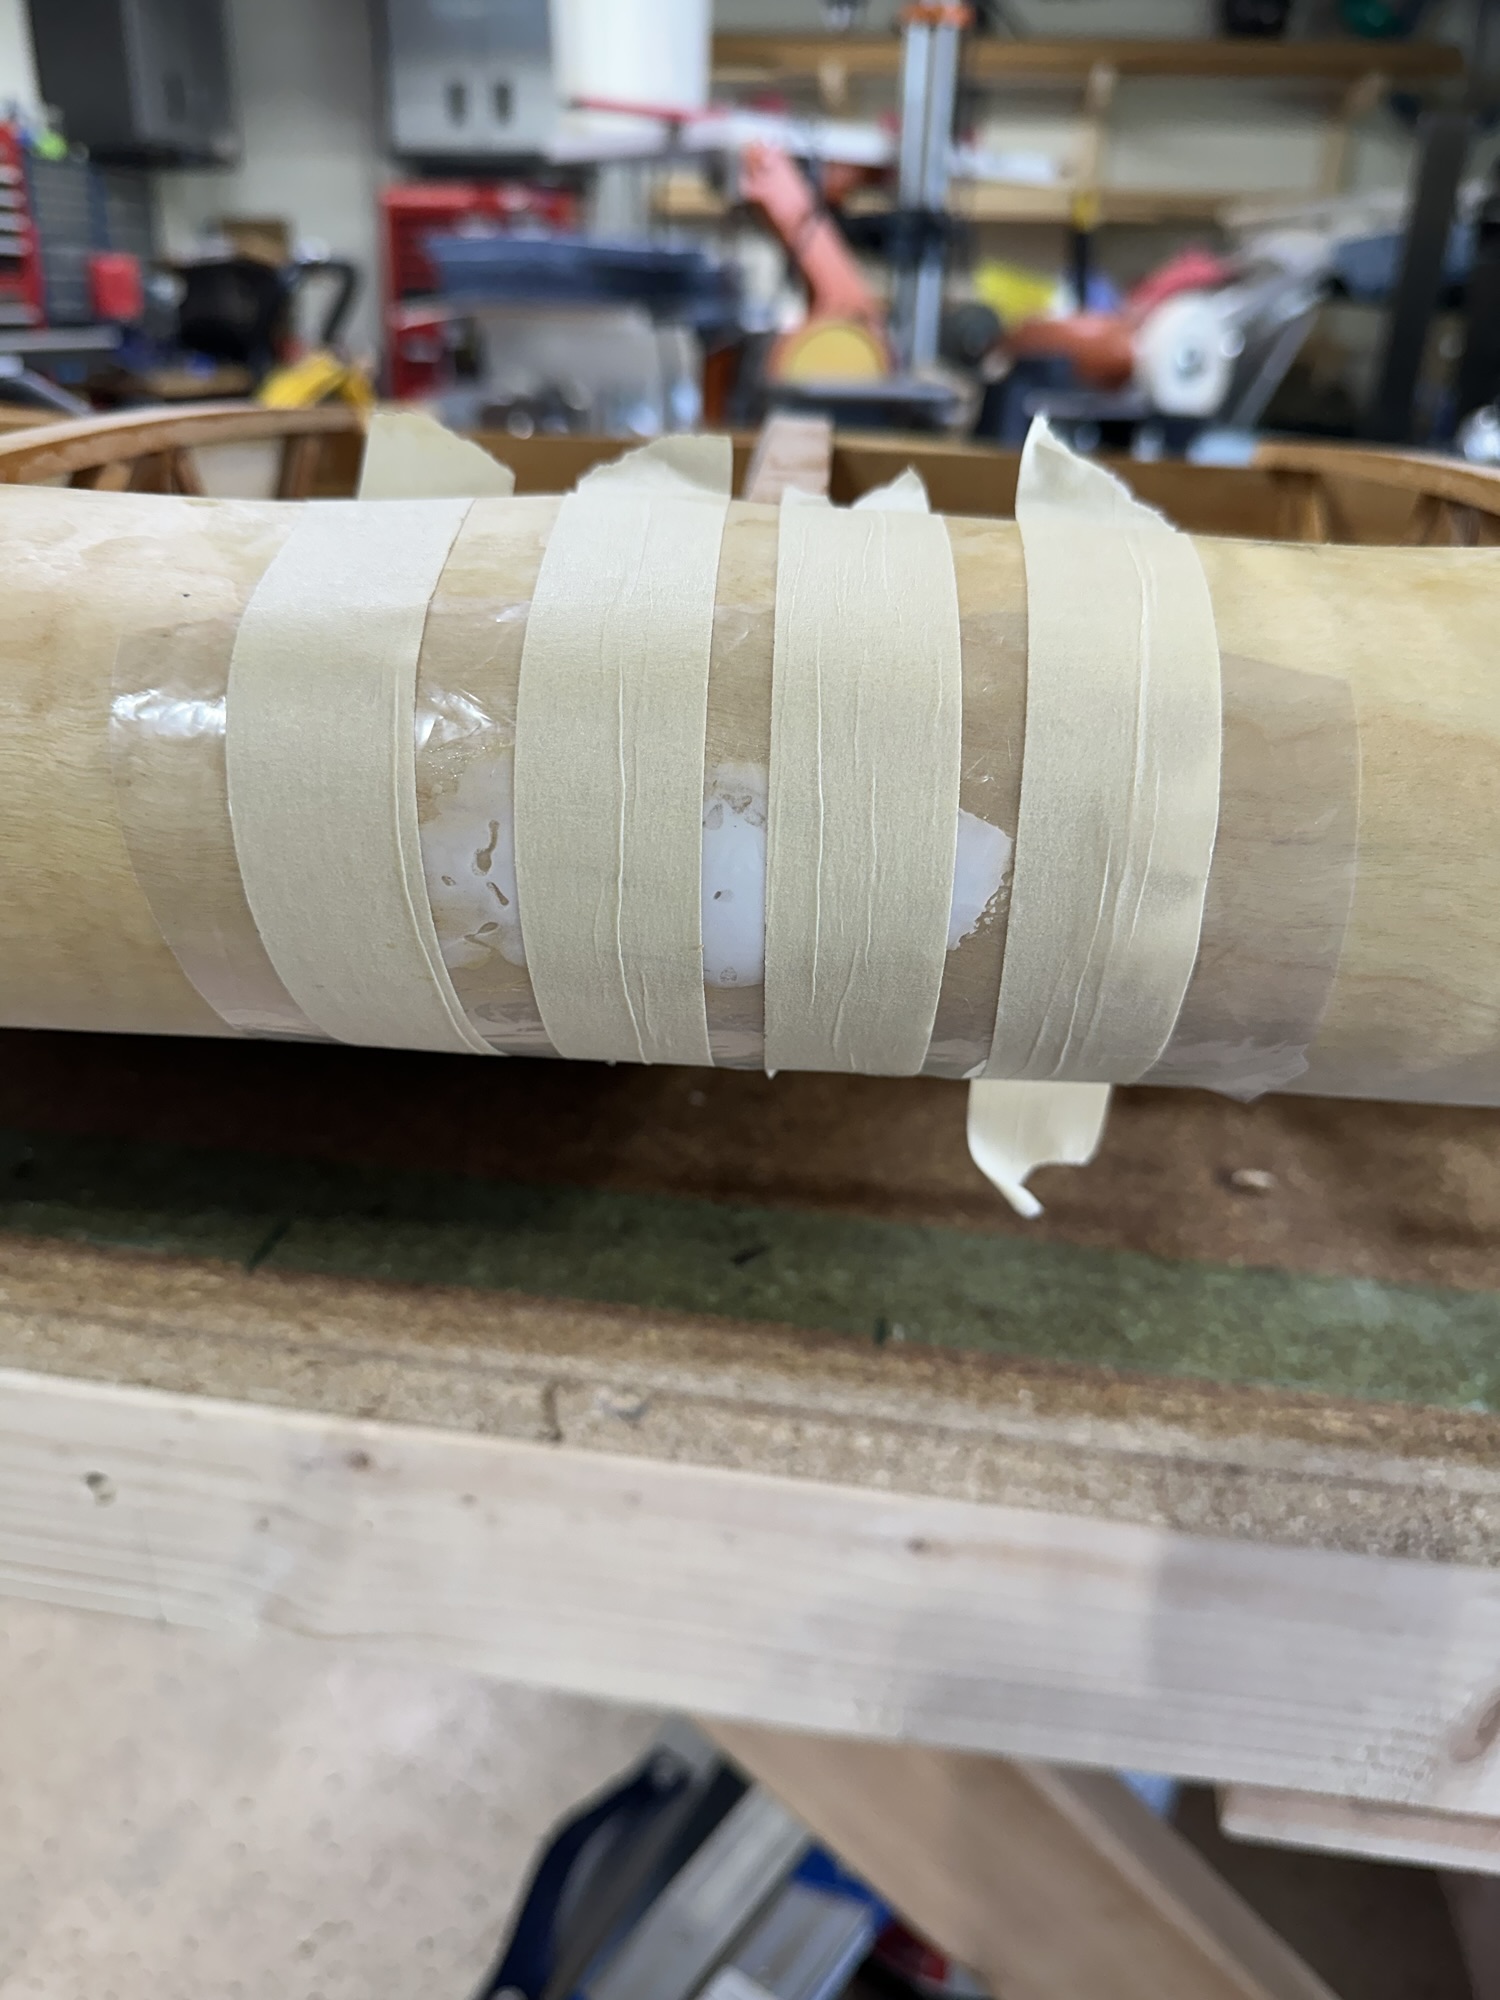
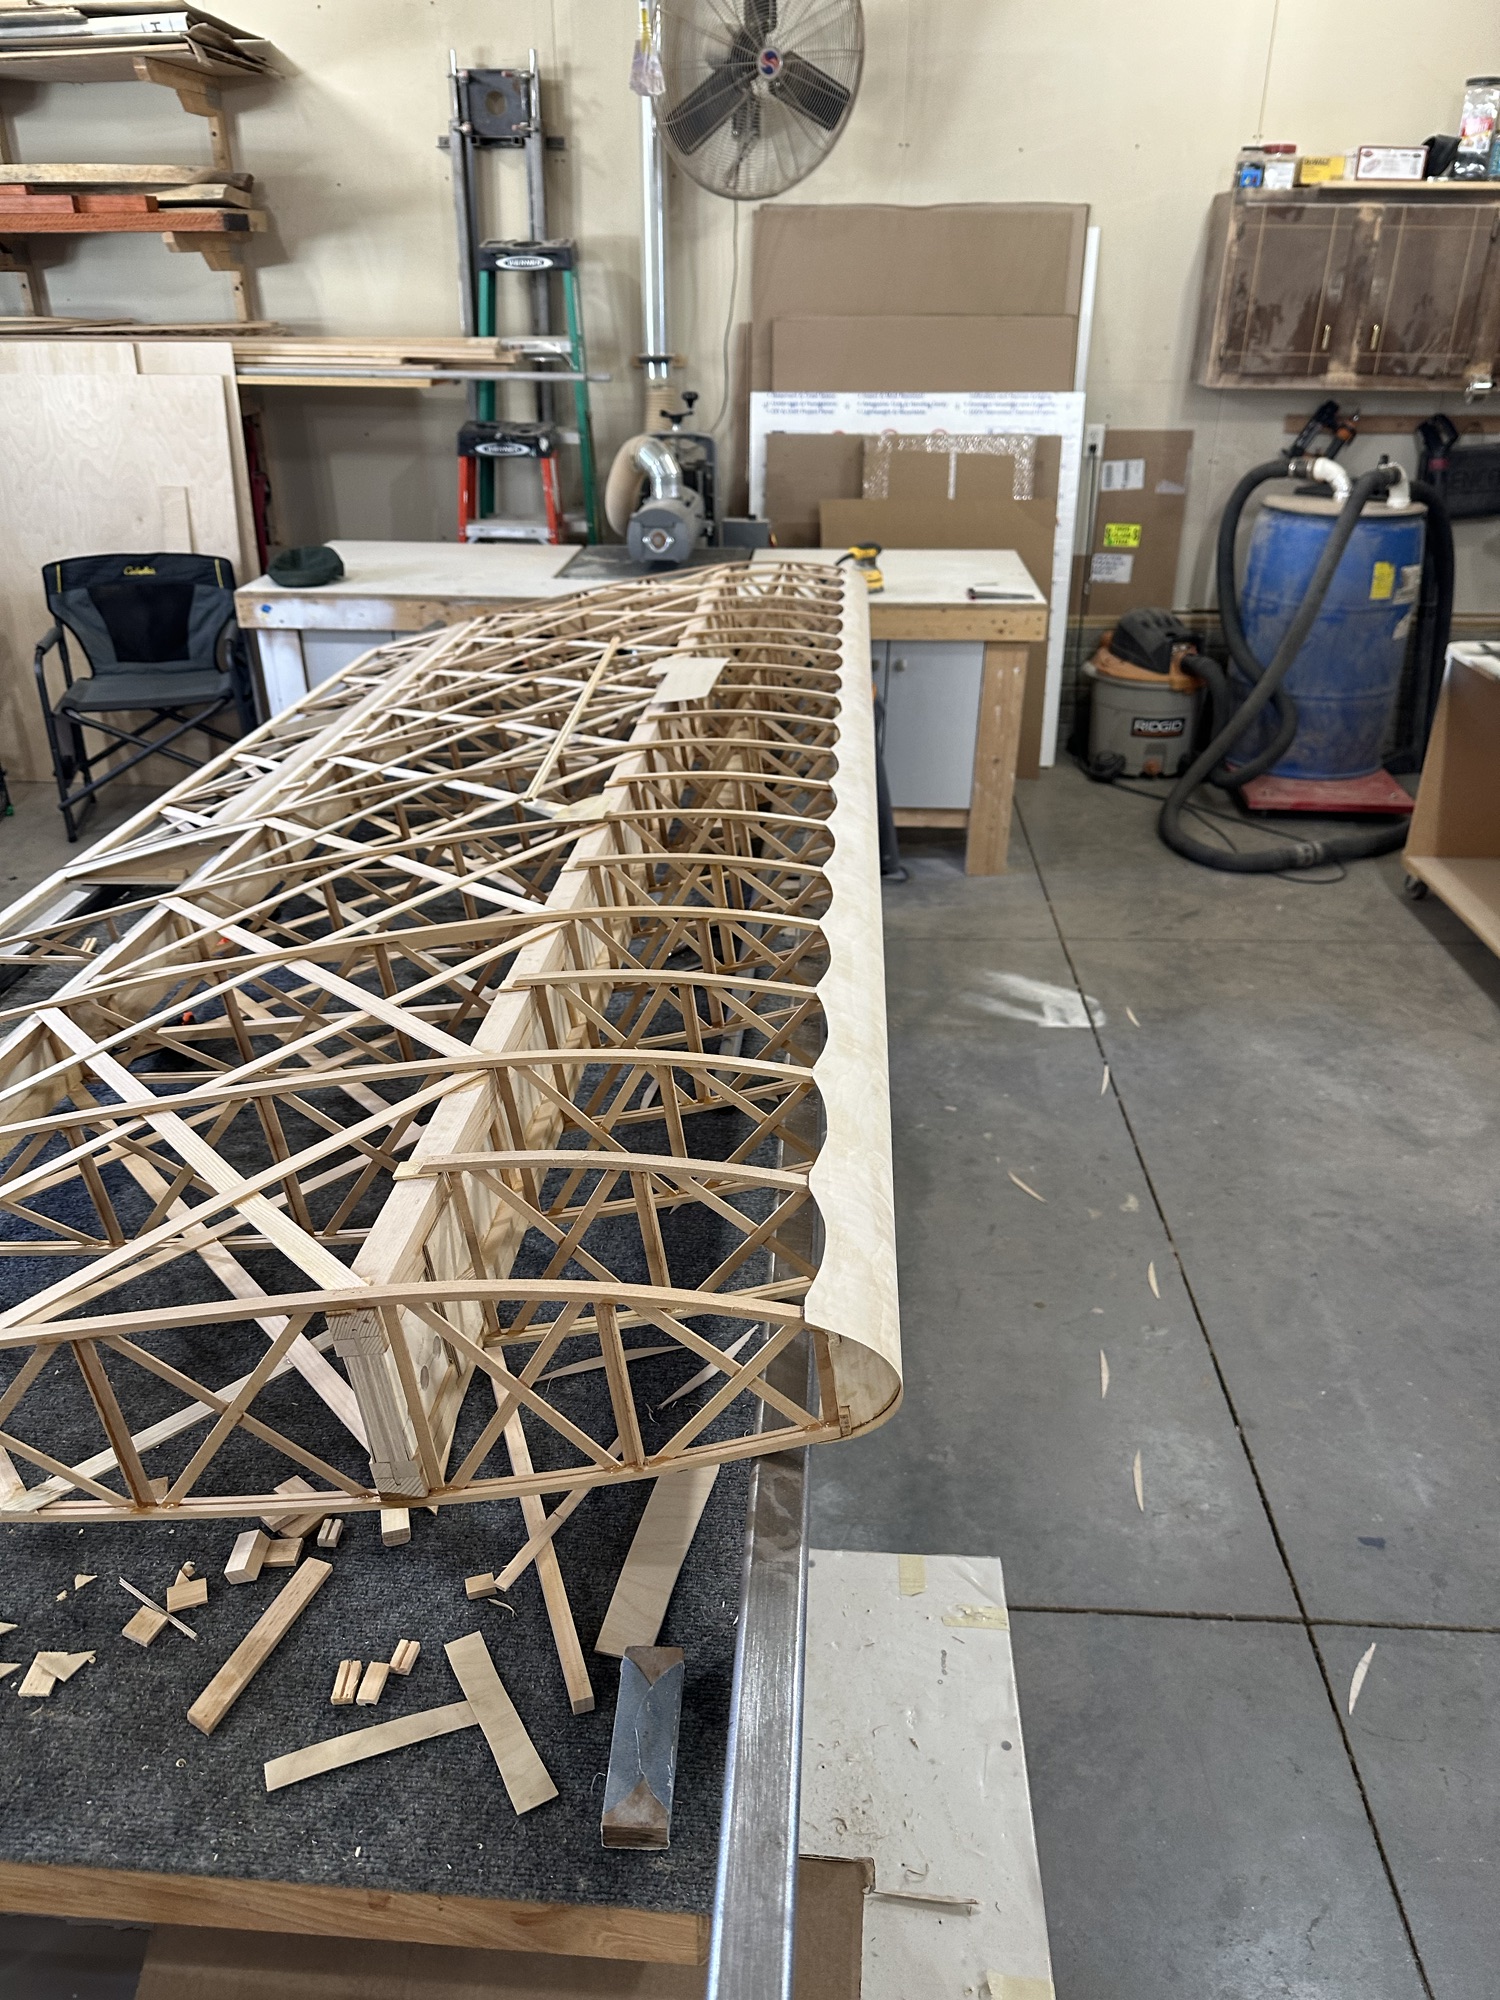
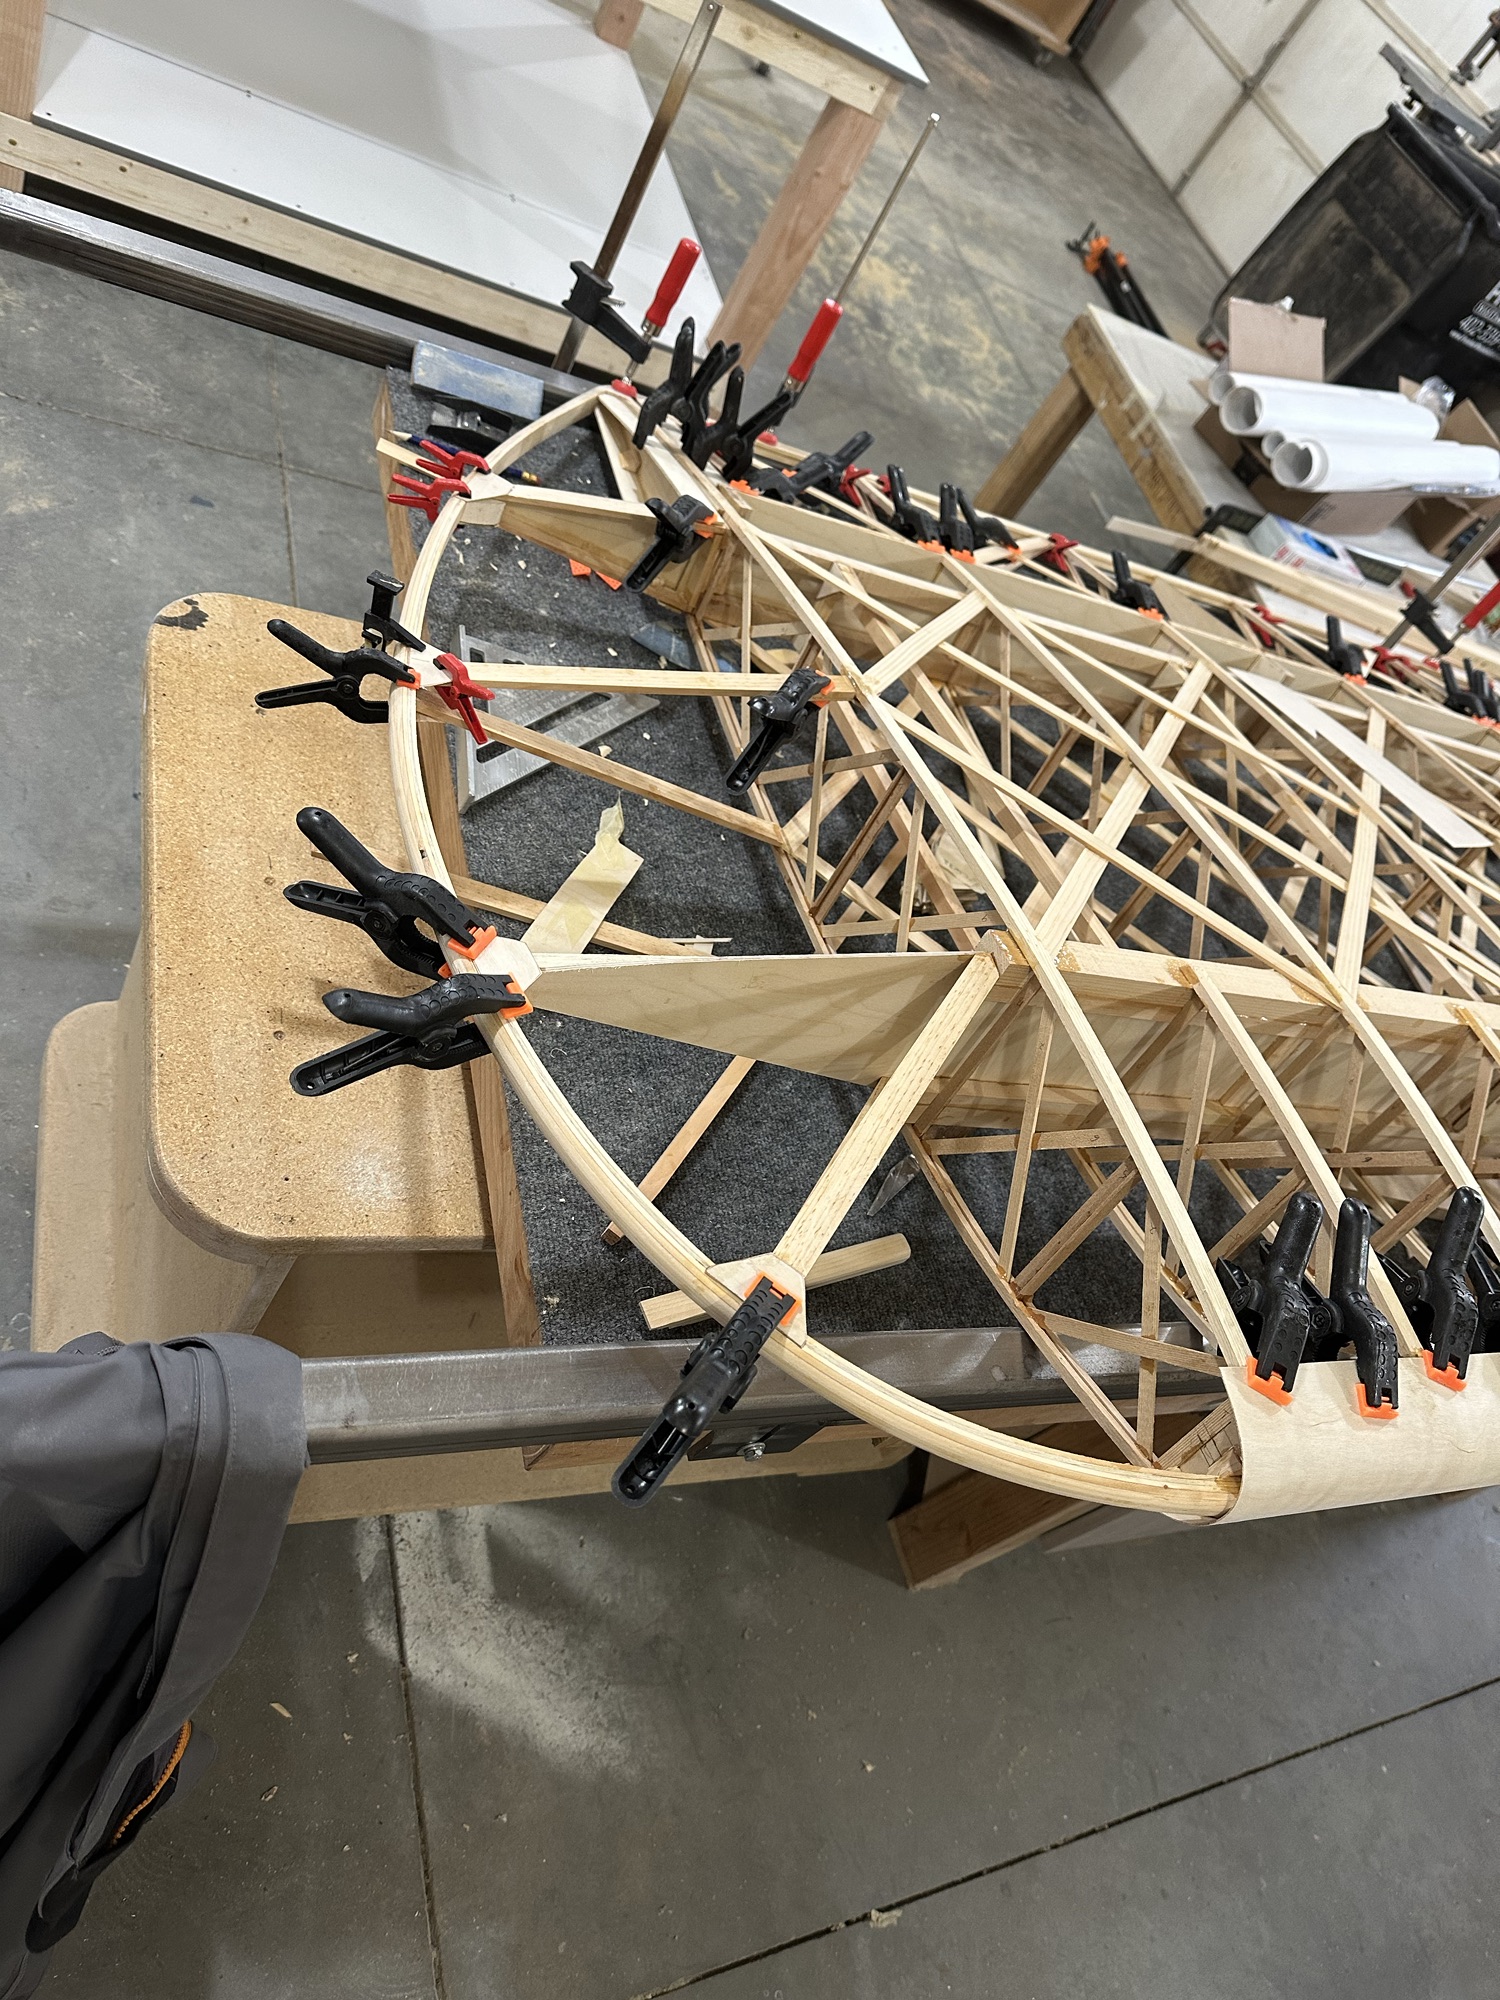
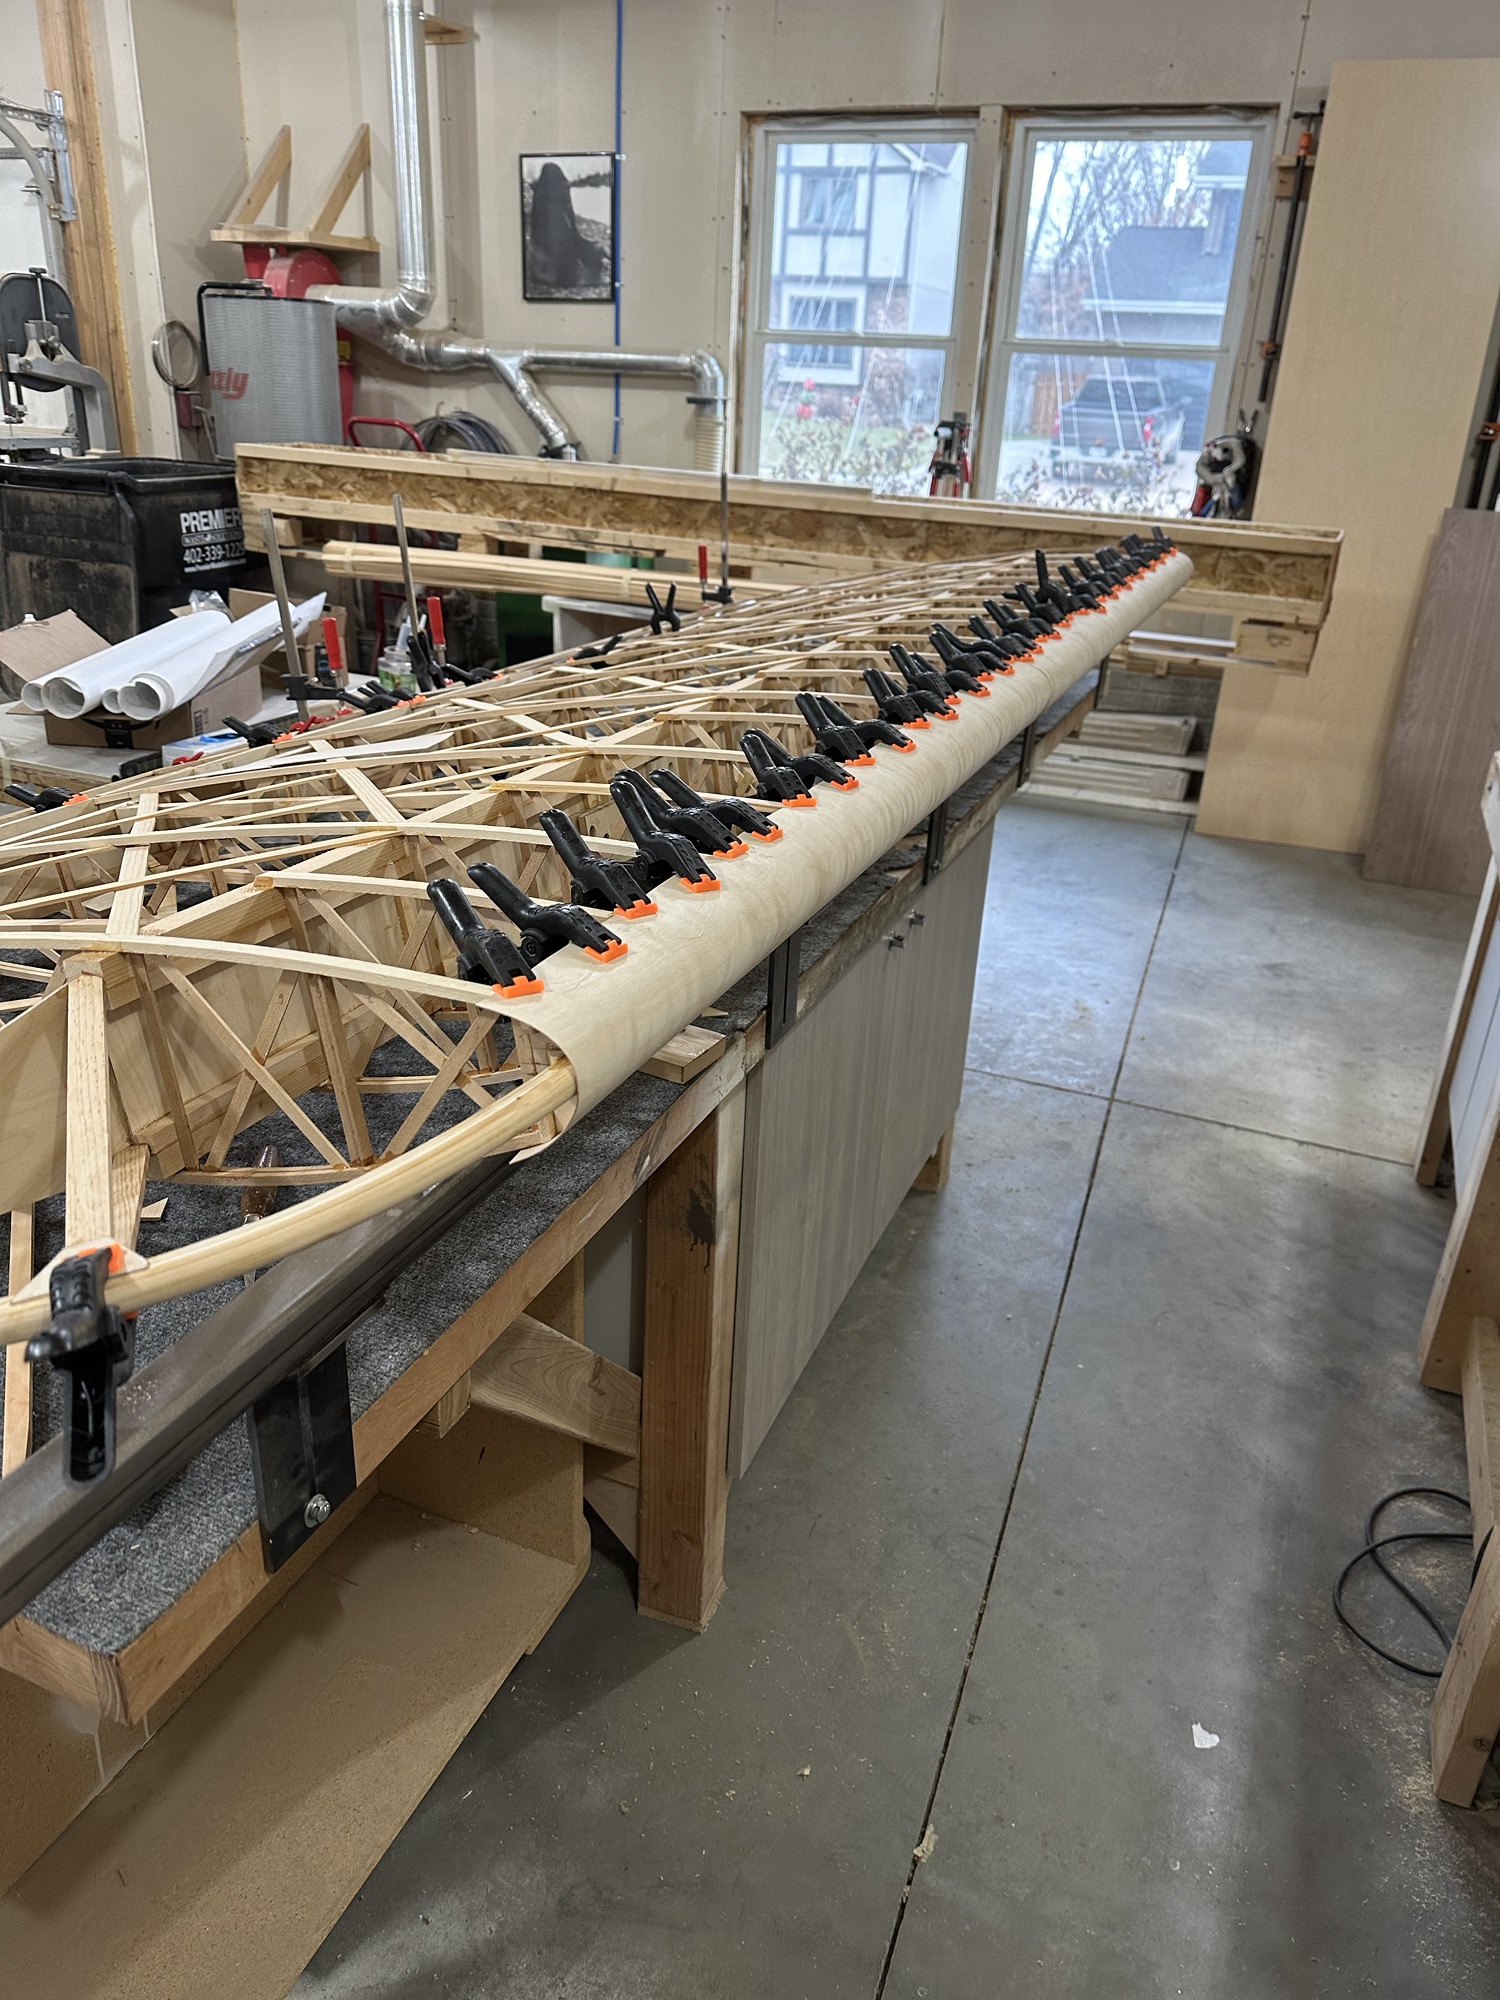
I also found an inch long crack in the leading edge plywood in the second rib bay, forward of the wing walk. I don’t know for certain if that happened during the move or at some time prior, when we were moving it off the bench. Doesn’t matter. Unfortunately it’s right on a curved part, and I was afraid I’d do more damage if I got too aggressive trying to pop the edges back together. I laid a layer of heavy fiberglass cloth on the inside of the leading edge. Once that was in place I buttered the outside with epoxy and micro balloons to make a filler, and taped plastic over it to keep it from sagging or dripping. I can sand it to the correct contour. I may add a second layer of glass underneath, I haven’t decided yet. What I did NOT do was remember that I had another place that needed a layer of micro (doh!) where I could have used the left-over I had. I didn’t realize this until the epoxy was well past the workable stage. Geez, I probably wasted two cents’ worth of material because of that!
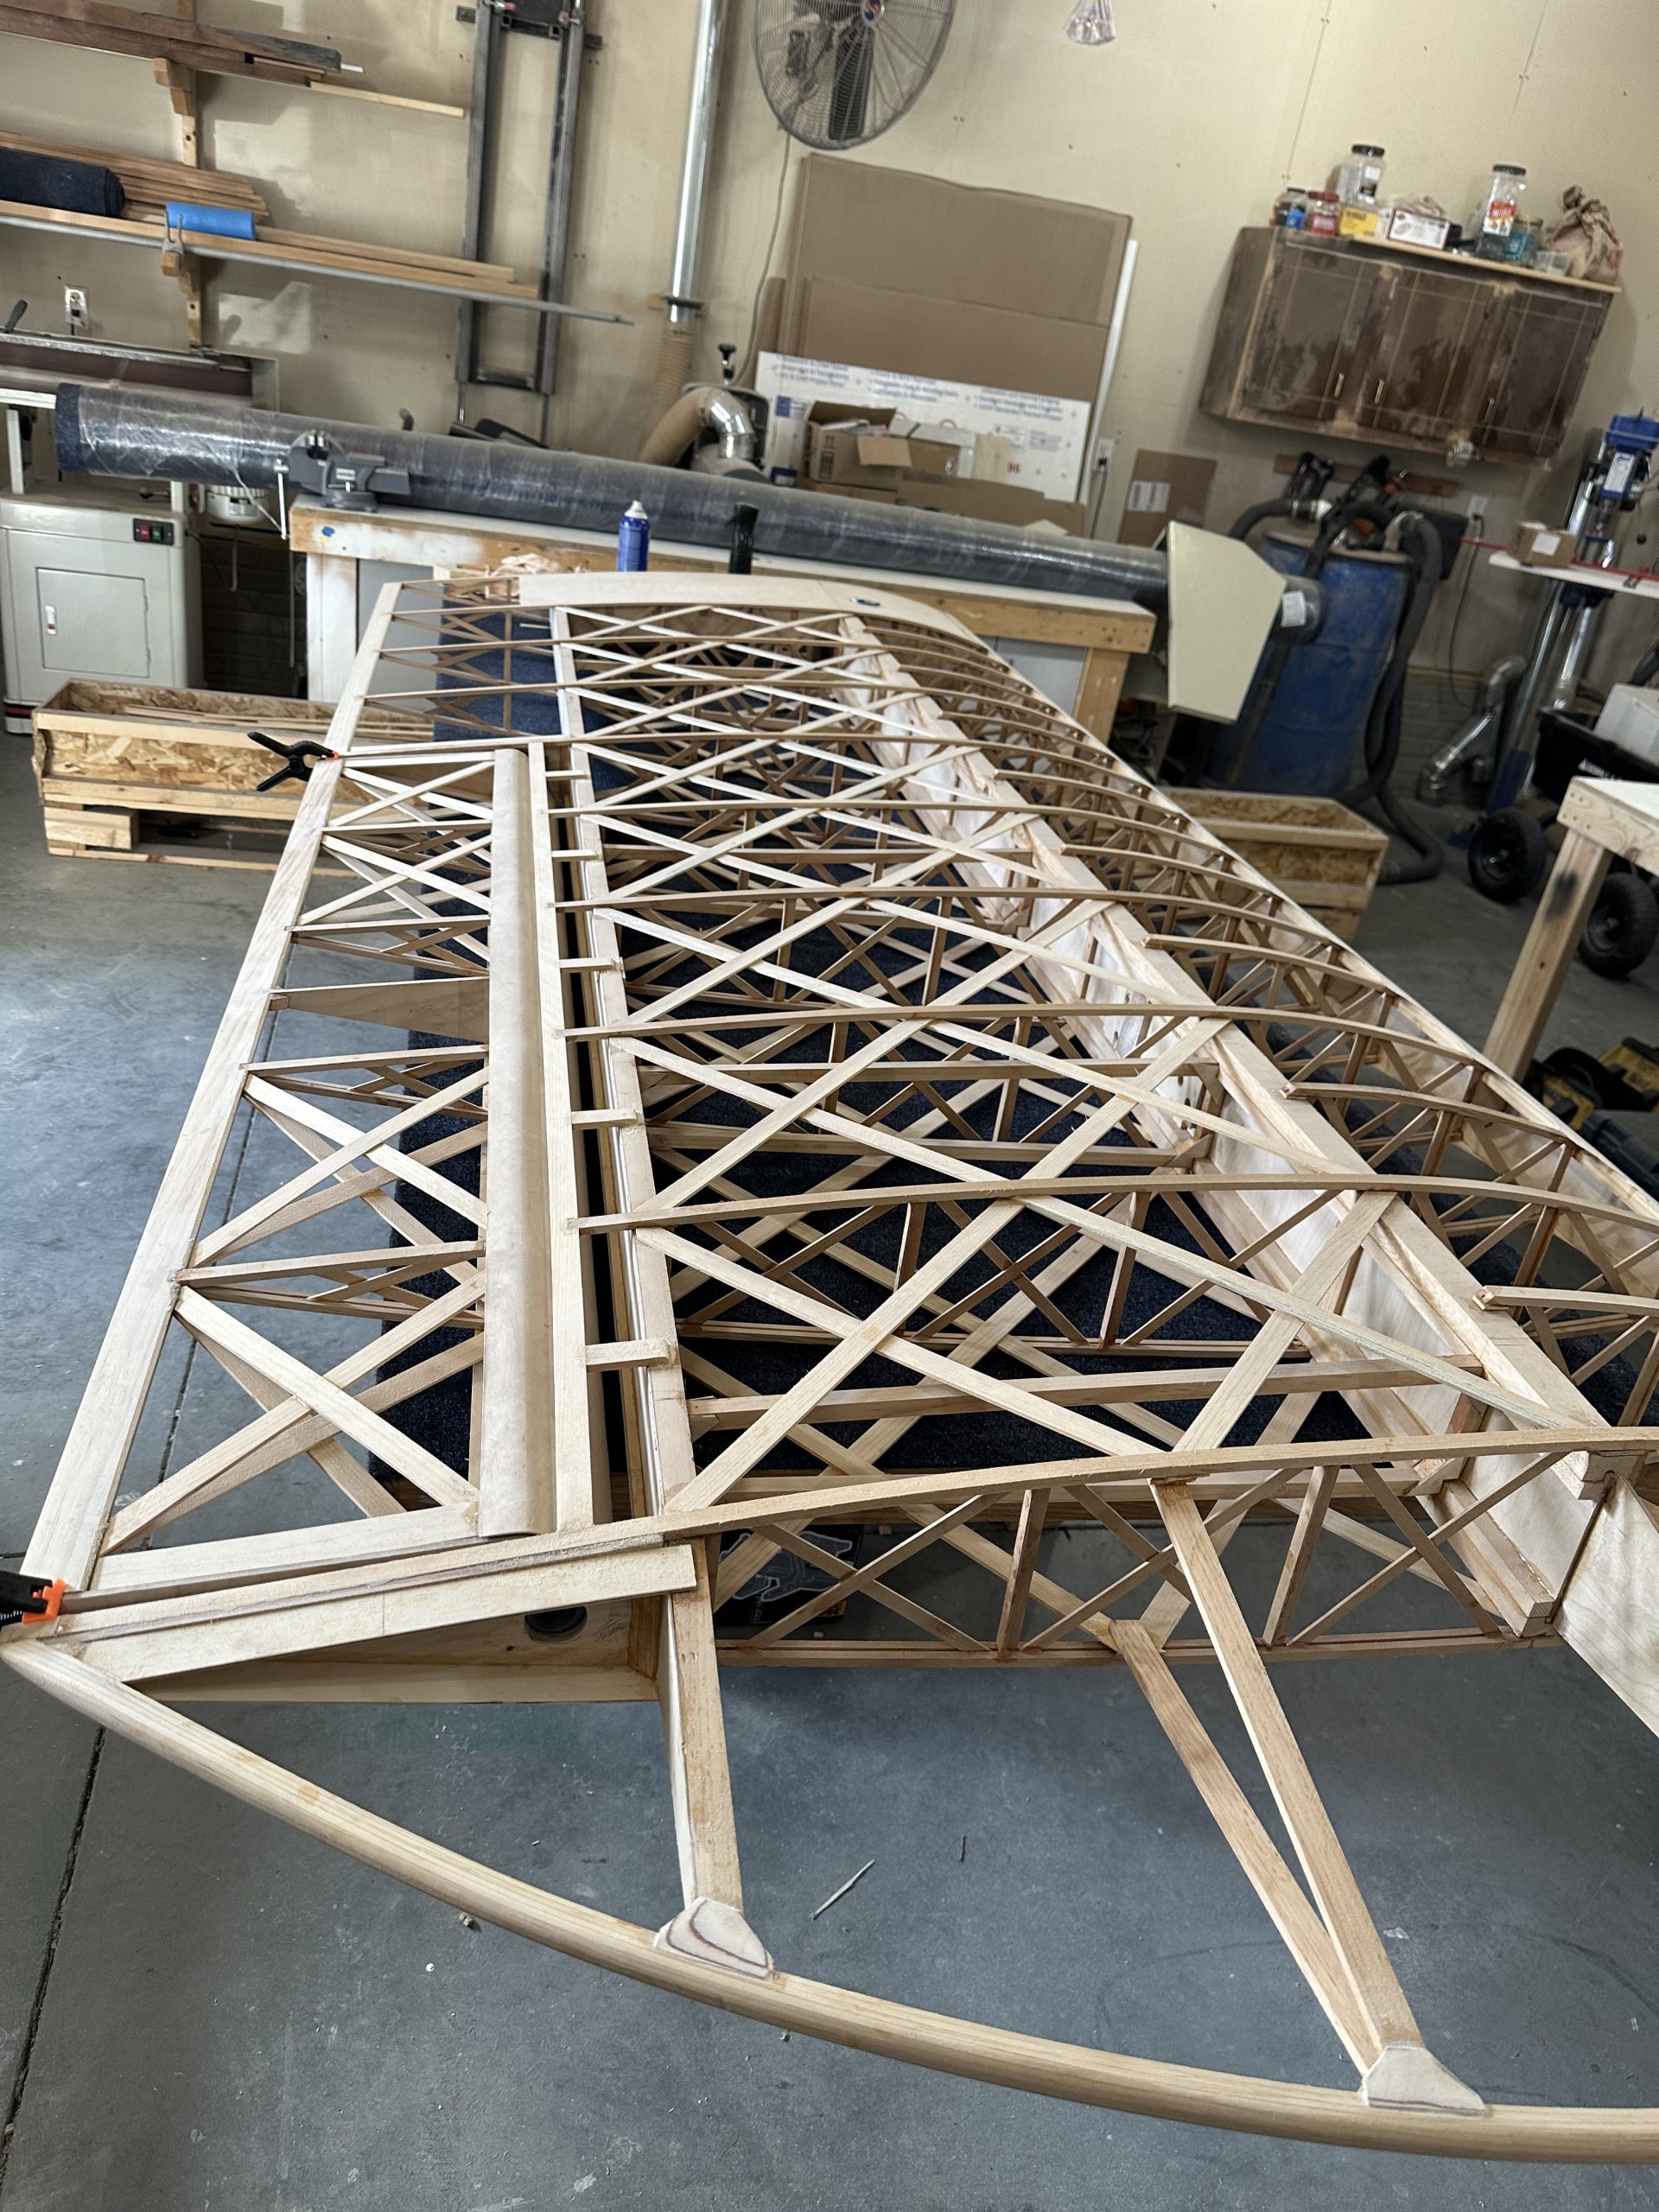
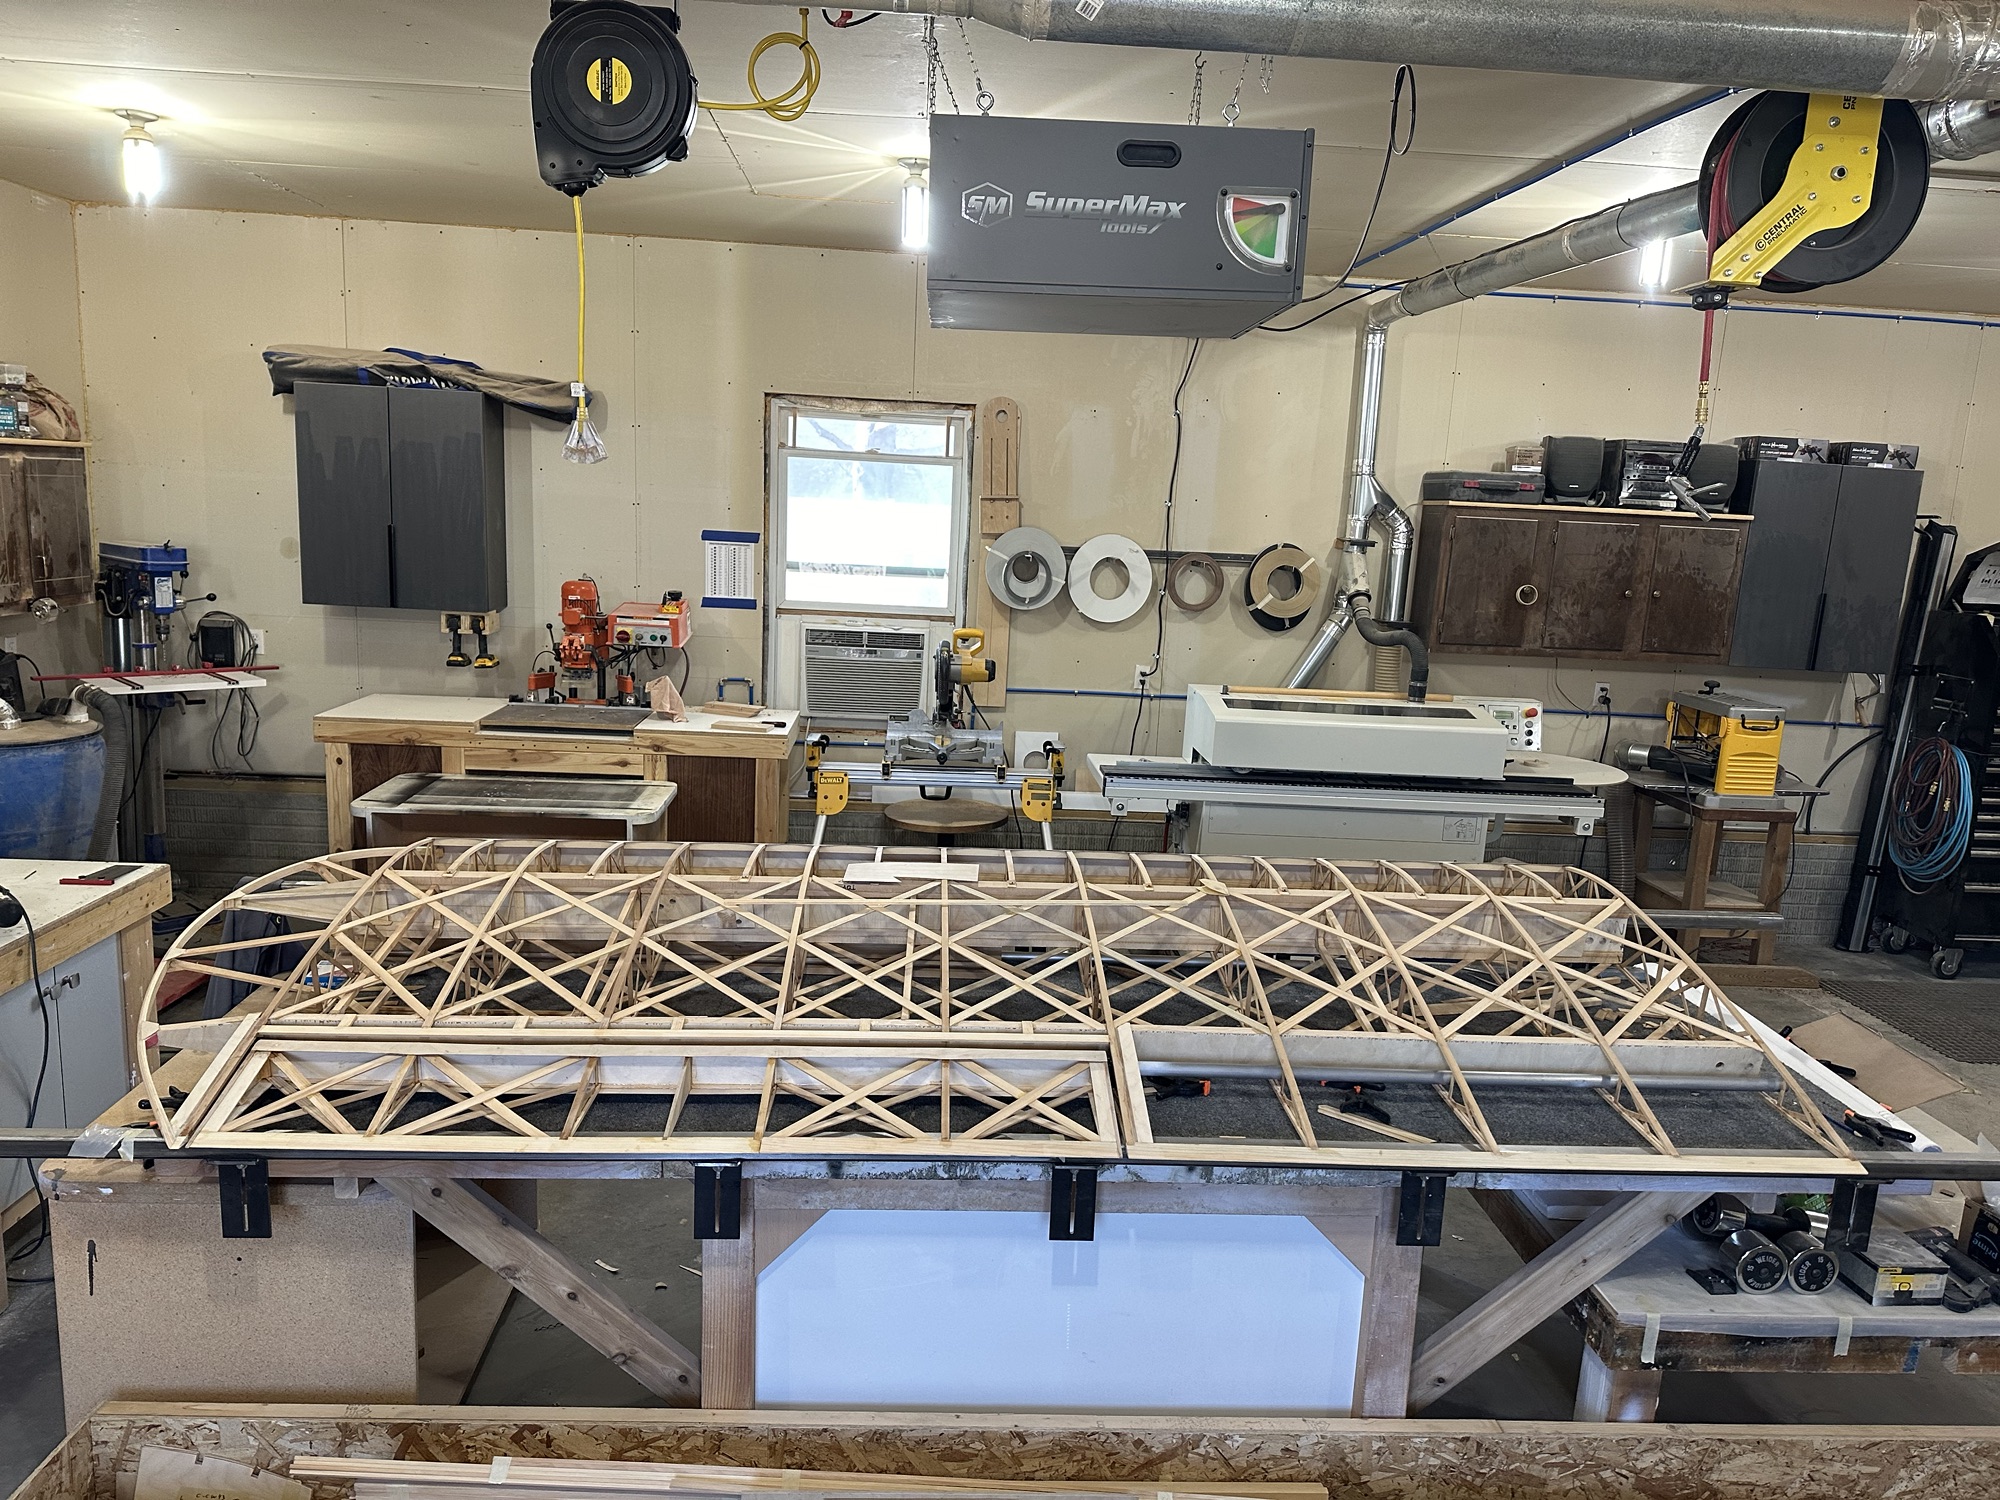
It’s good to have the wing here; this all took less than half an hour but will take at least 8-12 hours to mostly cure. I can go back out this afternoon or evening and get more done.
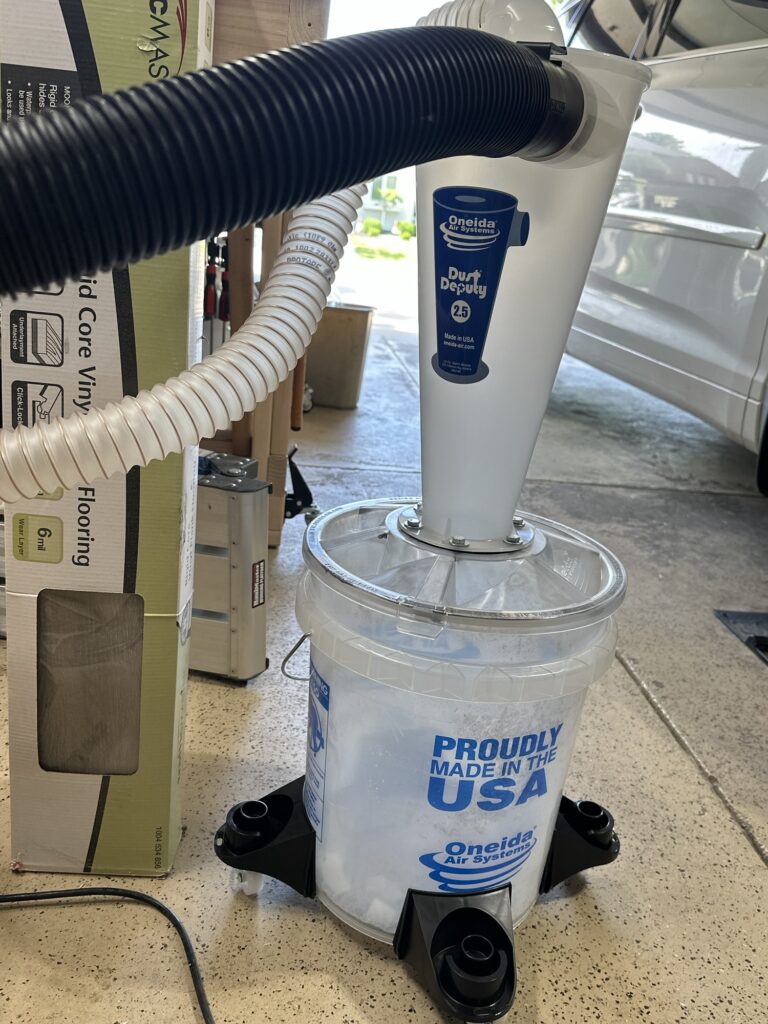
Also, yesterday I picked up a Dust Deputy cyclonic dust separator for the shop. It was brand new in the box, and I got it for about 1/3 price. A welcome addition to the workshop for sure.