Second jig built

Yesterday I did a little shop cleanup.  Not a lot, just enough to get done what I wanted to do.  I cut a length of 3/4″ x 3/4″ pine and cut a bunch of 1-1/2″ blocks for the second rib jig.  I got the work bench partially cleared off.  The box from the R/C Cub went underneath, and the plans sheet and wings were moved to one end of the bench.  I now have roughly half the bench covered by model airplane wings, while the other half is being used to build the real thing.  ‘Murica, as my kids would say.

So, I built the second wing rib jig.  I used the first rib from the first jig and blocked everything up.  I used some plastic sheet Lisa had picked up underneath it to prevent the glue sticking things together.  When it was all finished, I mixed up 20cc of epoxy and glued up two ribs.  That’s going to work as long as it stays cold, but the glue was gelling by the time I was finished.  If it warms up at all there won’t be time to do two at a time, unless I can find a way to pre-glue the capstrip grooves a lot faster.  I wonder if thinning out a portion of the T-88 and brushing it into the grooves would work.  For that matter, I wonder if pre-gluing the grooves is even necessary.

This morning I pulled both ribs from the jigs.  You can’t tell them apart, and you can’t tell them from the other four I had done.  Any differences between the six ribs I have done are slight enough they can be removed by sanding.  So, now I can double my production rate.

More ribs

Rib #2 matches rib #1 to within plus or minus a millimeter or two everywhere.  I spent some time with an X-Acto knife and sanding block cleaning the excess epoxy off of the first rib, so it’s looking pretty good now.  Tonight I put #3 in the jig and glued it.

I was planning to make the second jig tonight also, but that’s going to just have to wait a little while.  The garage is getting too cluttered to work in.  I’ve got numerous tasks partially completed, and it’s a real mess.

  • I need to finish grooving the capstrips, first off, so I can use the table saw for other things. (done!)
  • I need to get the rest of the geodetic stock shaved down to final size.  I got my strip cutting jig from Rockler today, so we’ll see if the table saw can be used to help with that or not.
  • I need to cut more wood blocks for the jig.  With the spindle sander, I can make sure they are perfectly square. (done!)
  • There is some cleanup to be done, including two workbenches that are piled high with so much crap that I’m working with a rib building jig hanging over the sides on one end of the bench.  It’s an eight foot long bench and I’m using less than a foot of it.  Ridiculous.
  • I will need a place to store these ribs so they don’t get damaged.  And I definitely have to find a better solution for the geodetic braces.  The paper cups I have been using were a terrible idea.  They take up enough room that they’re a pain in the ass to use, and they tip over, fall off the bench and spill parts everywhere at the slightest bump or touch.
  • I have the table saw and spindle sander sitting halfway out in the middle of the floor, need to get a permanent location figured out.

That will at least get me to where I need to be to keep building ribs.  At some point I’m going to need another eight feet of workbench, but that can wait until I have the ribs and tail feathers built.  Pretty sure I can do all that on the 3 x 8 that I have now.

Bending wood and building stuff

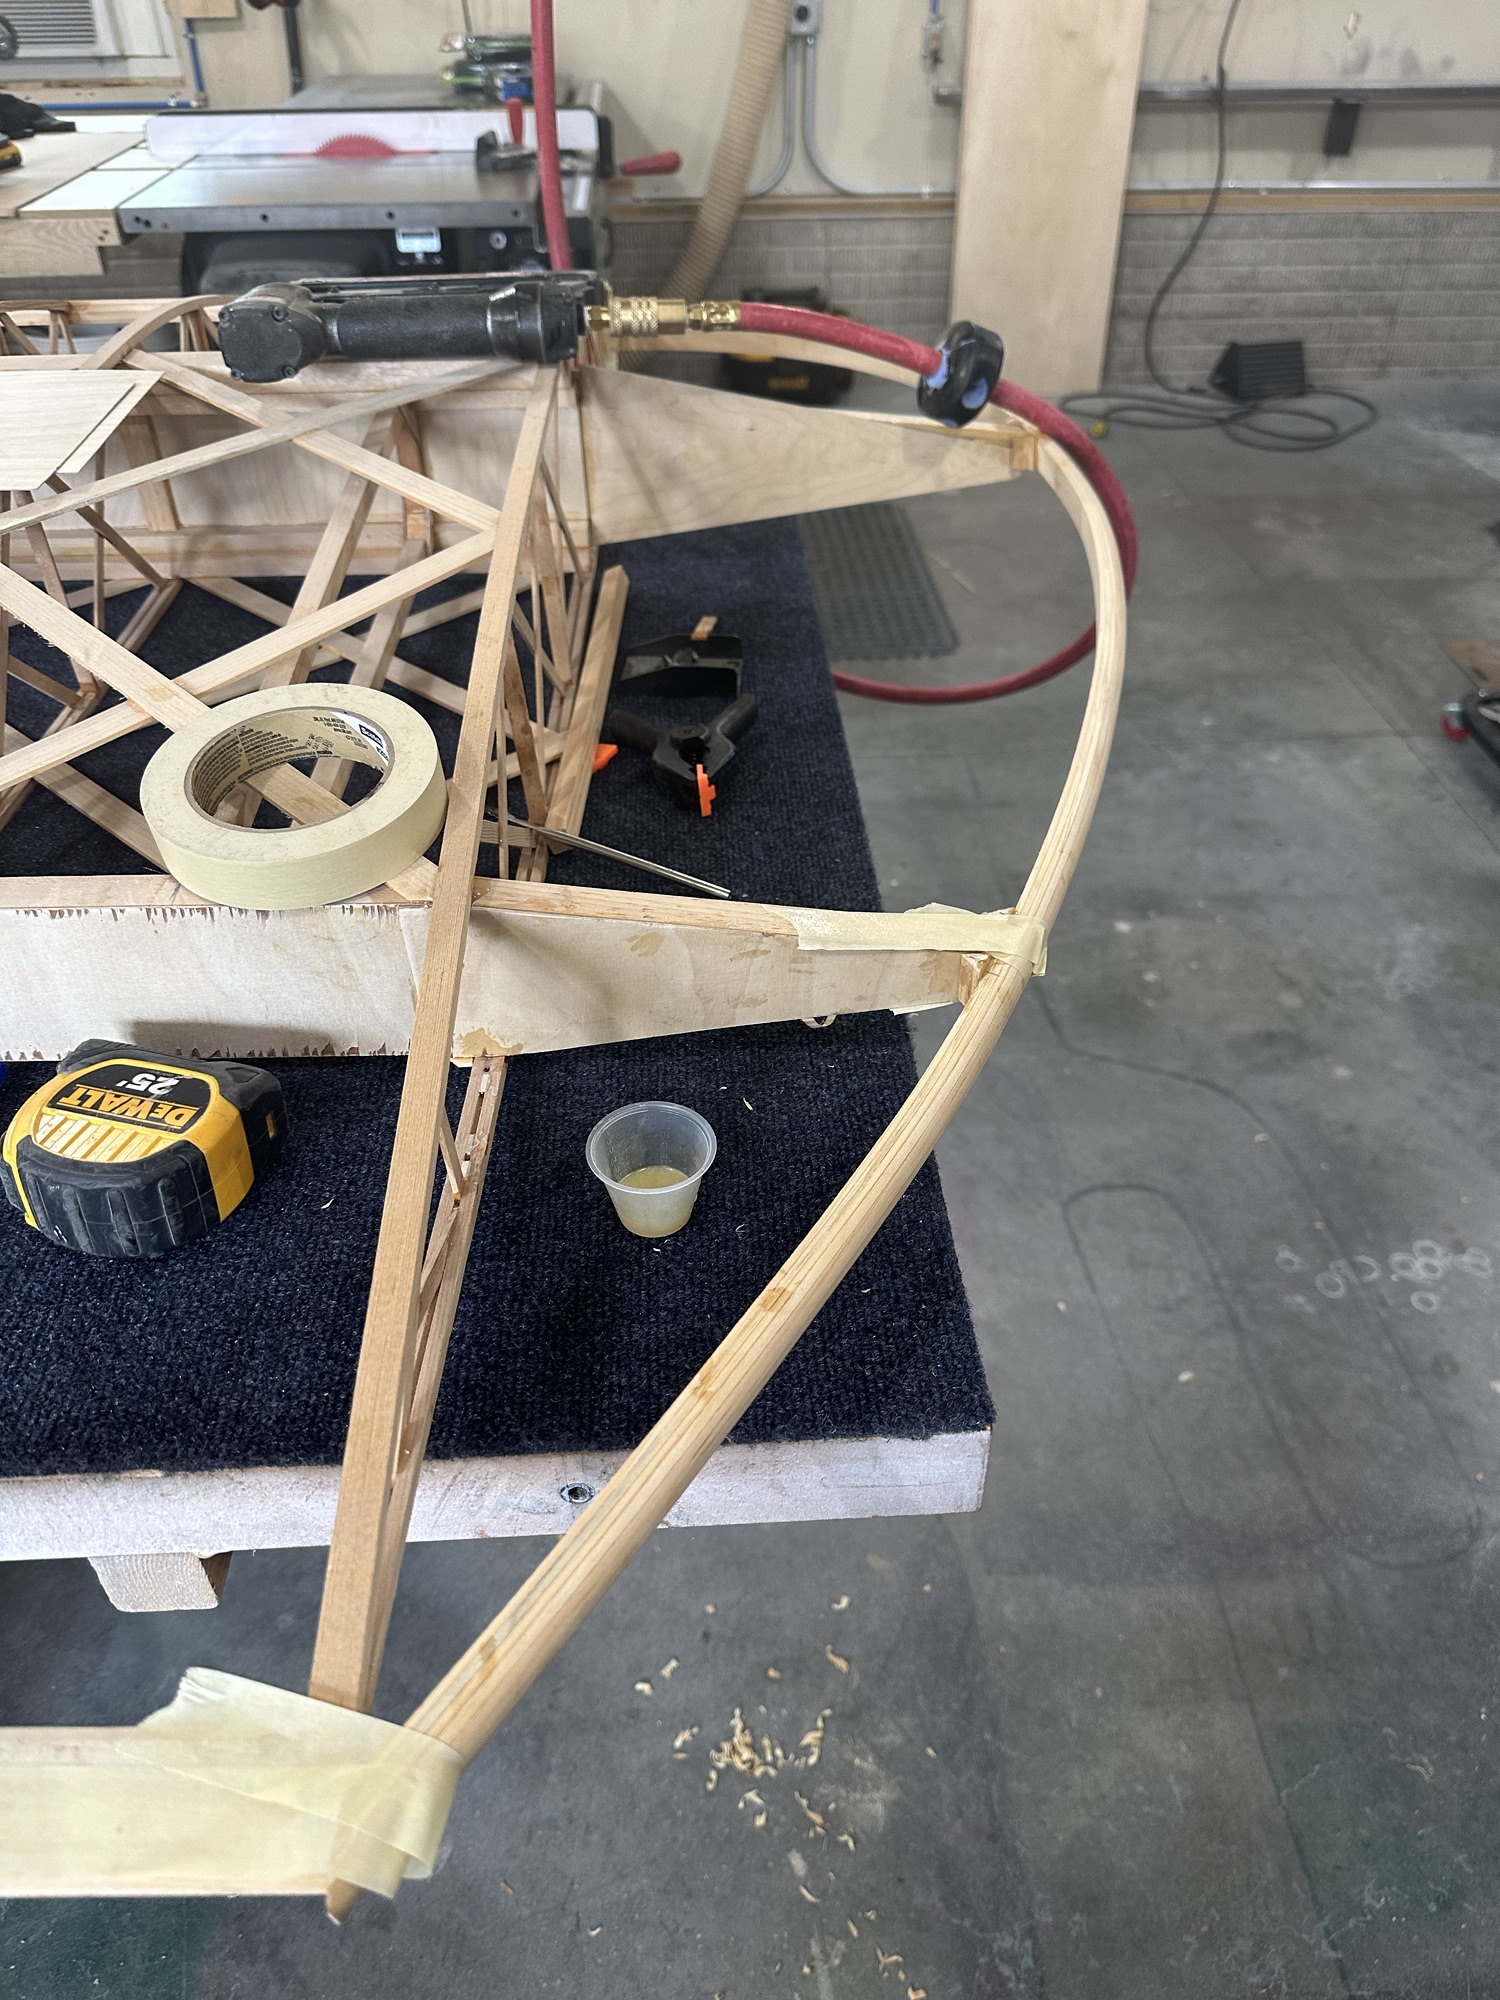
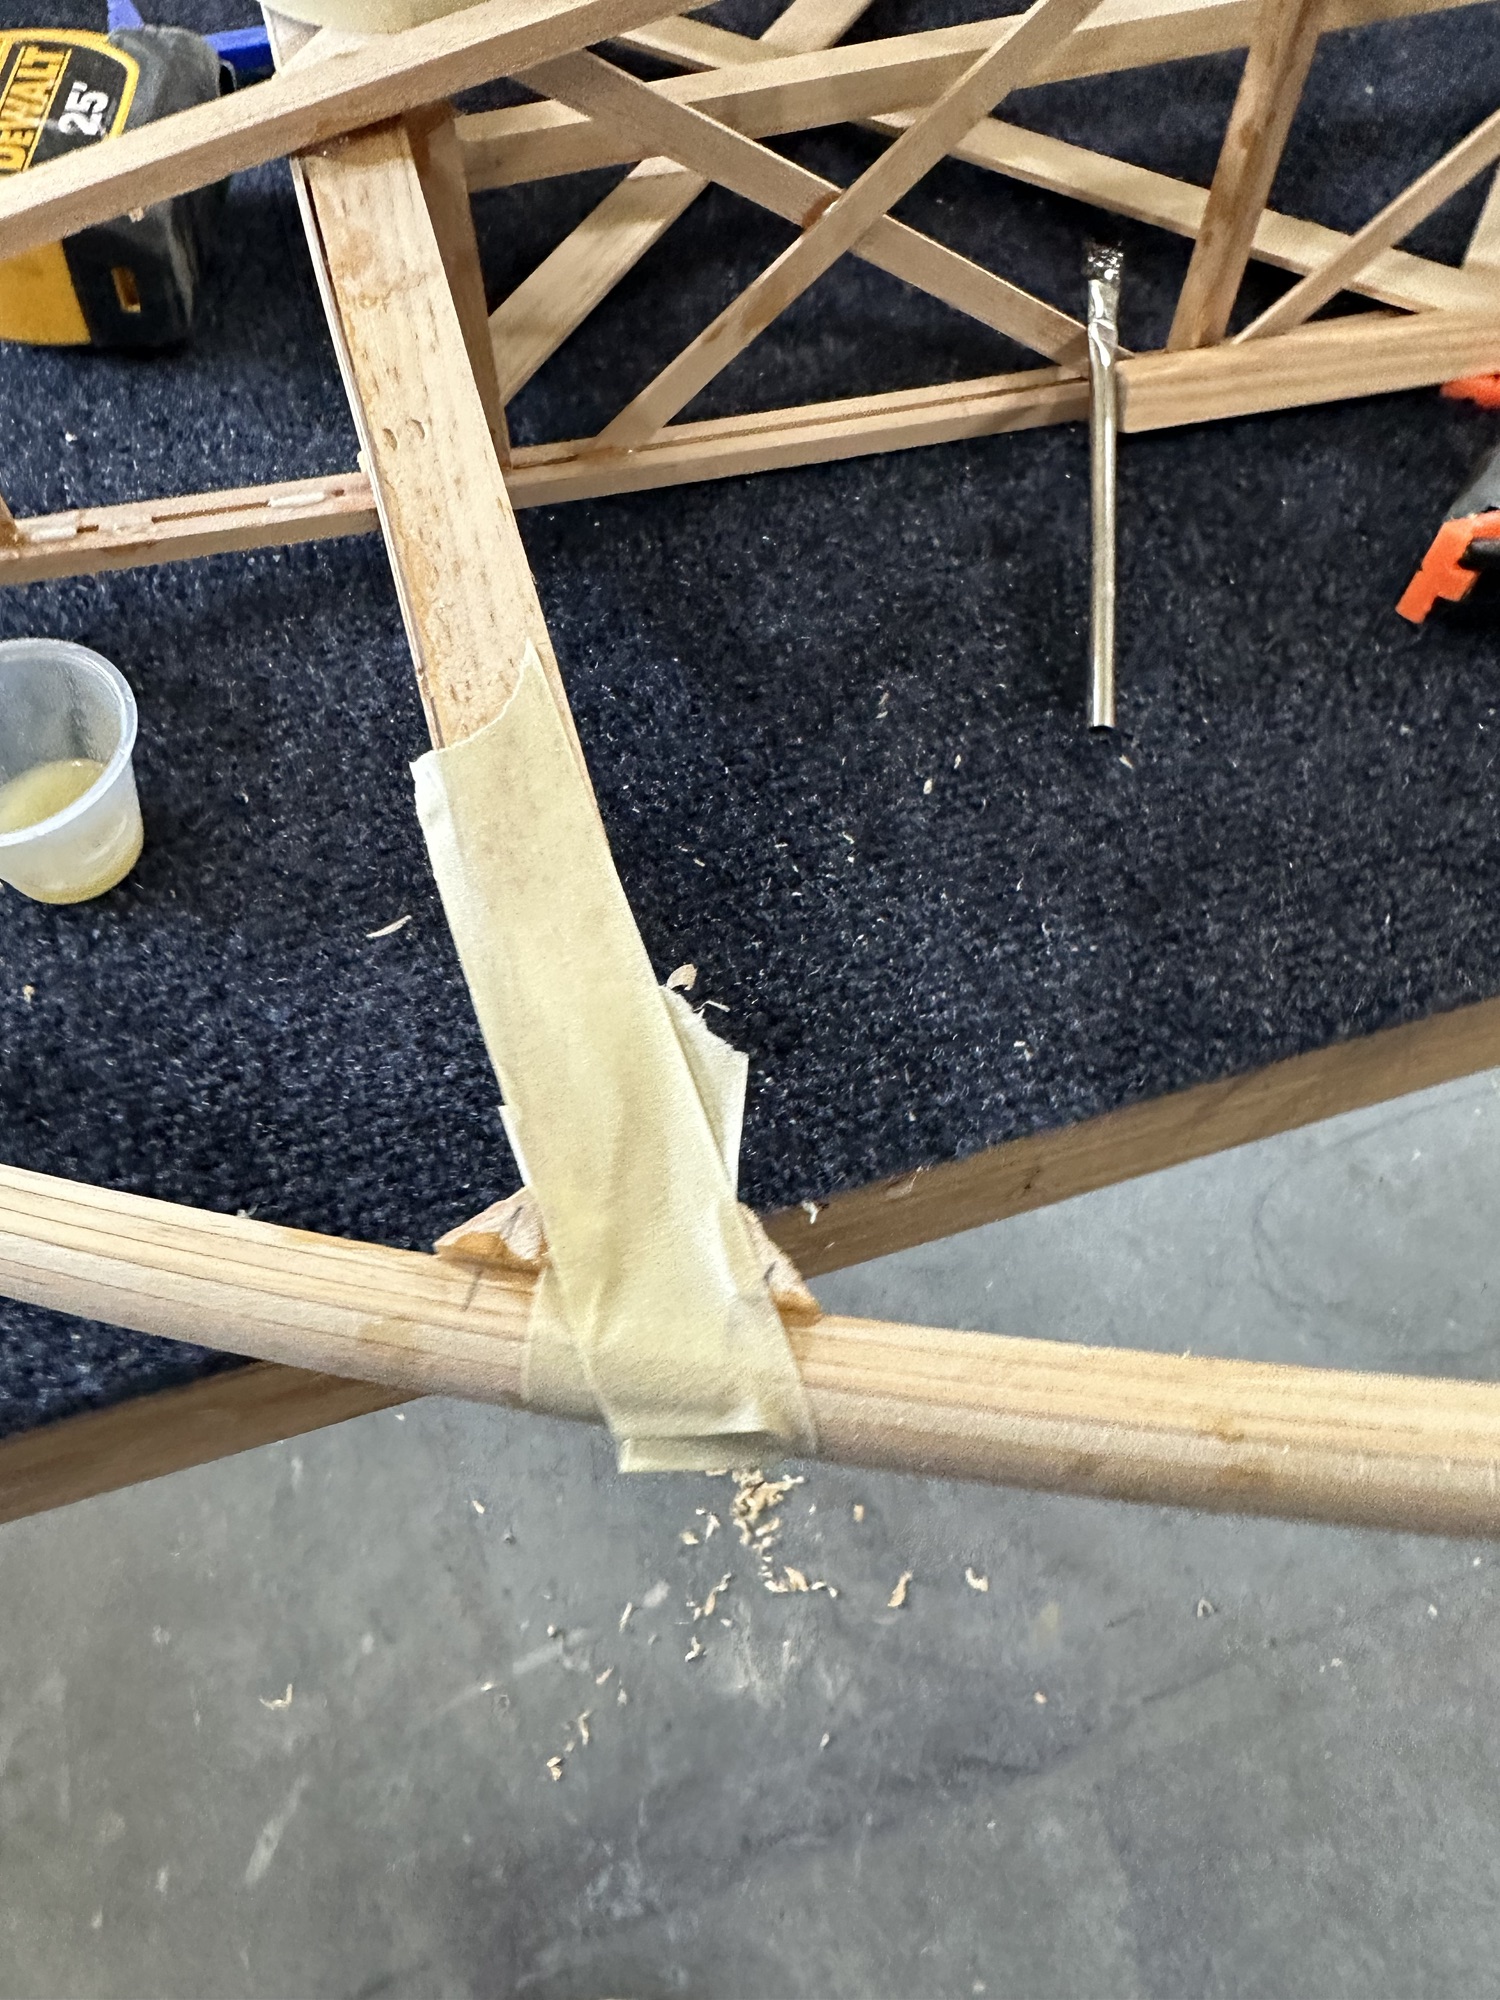
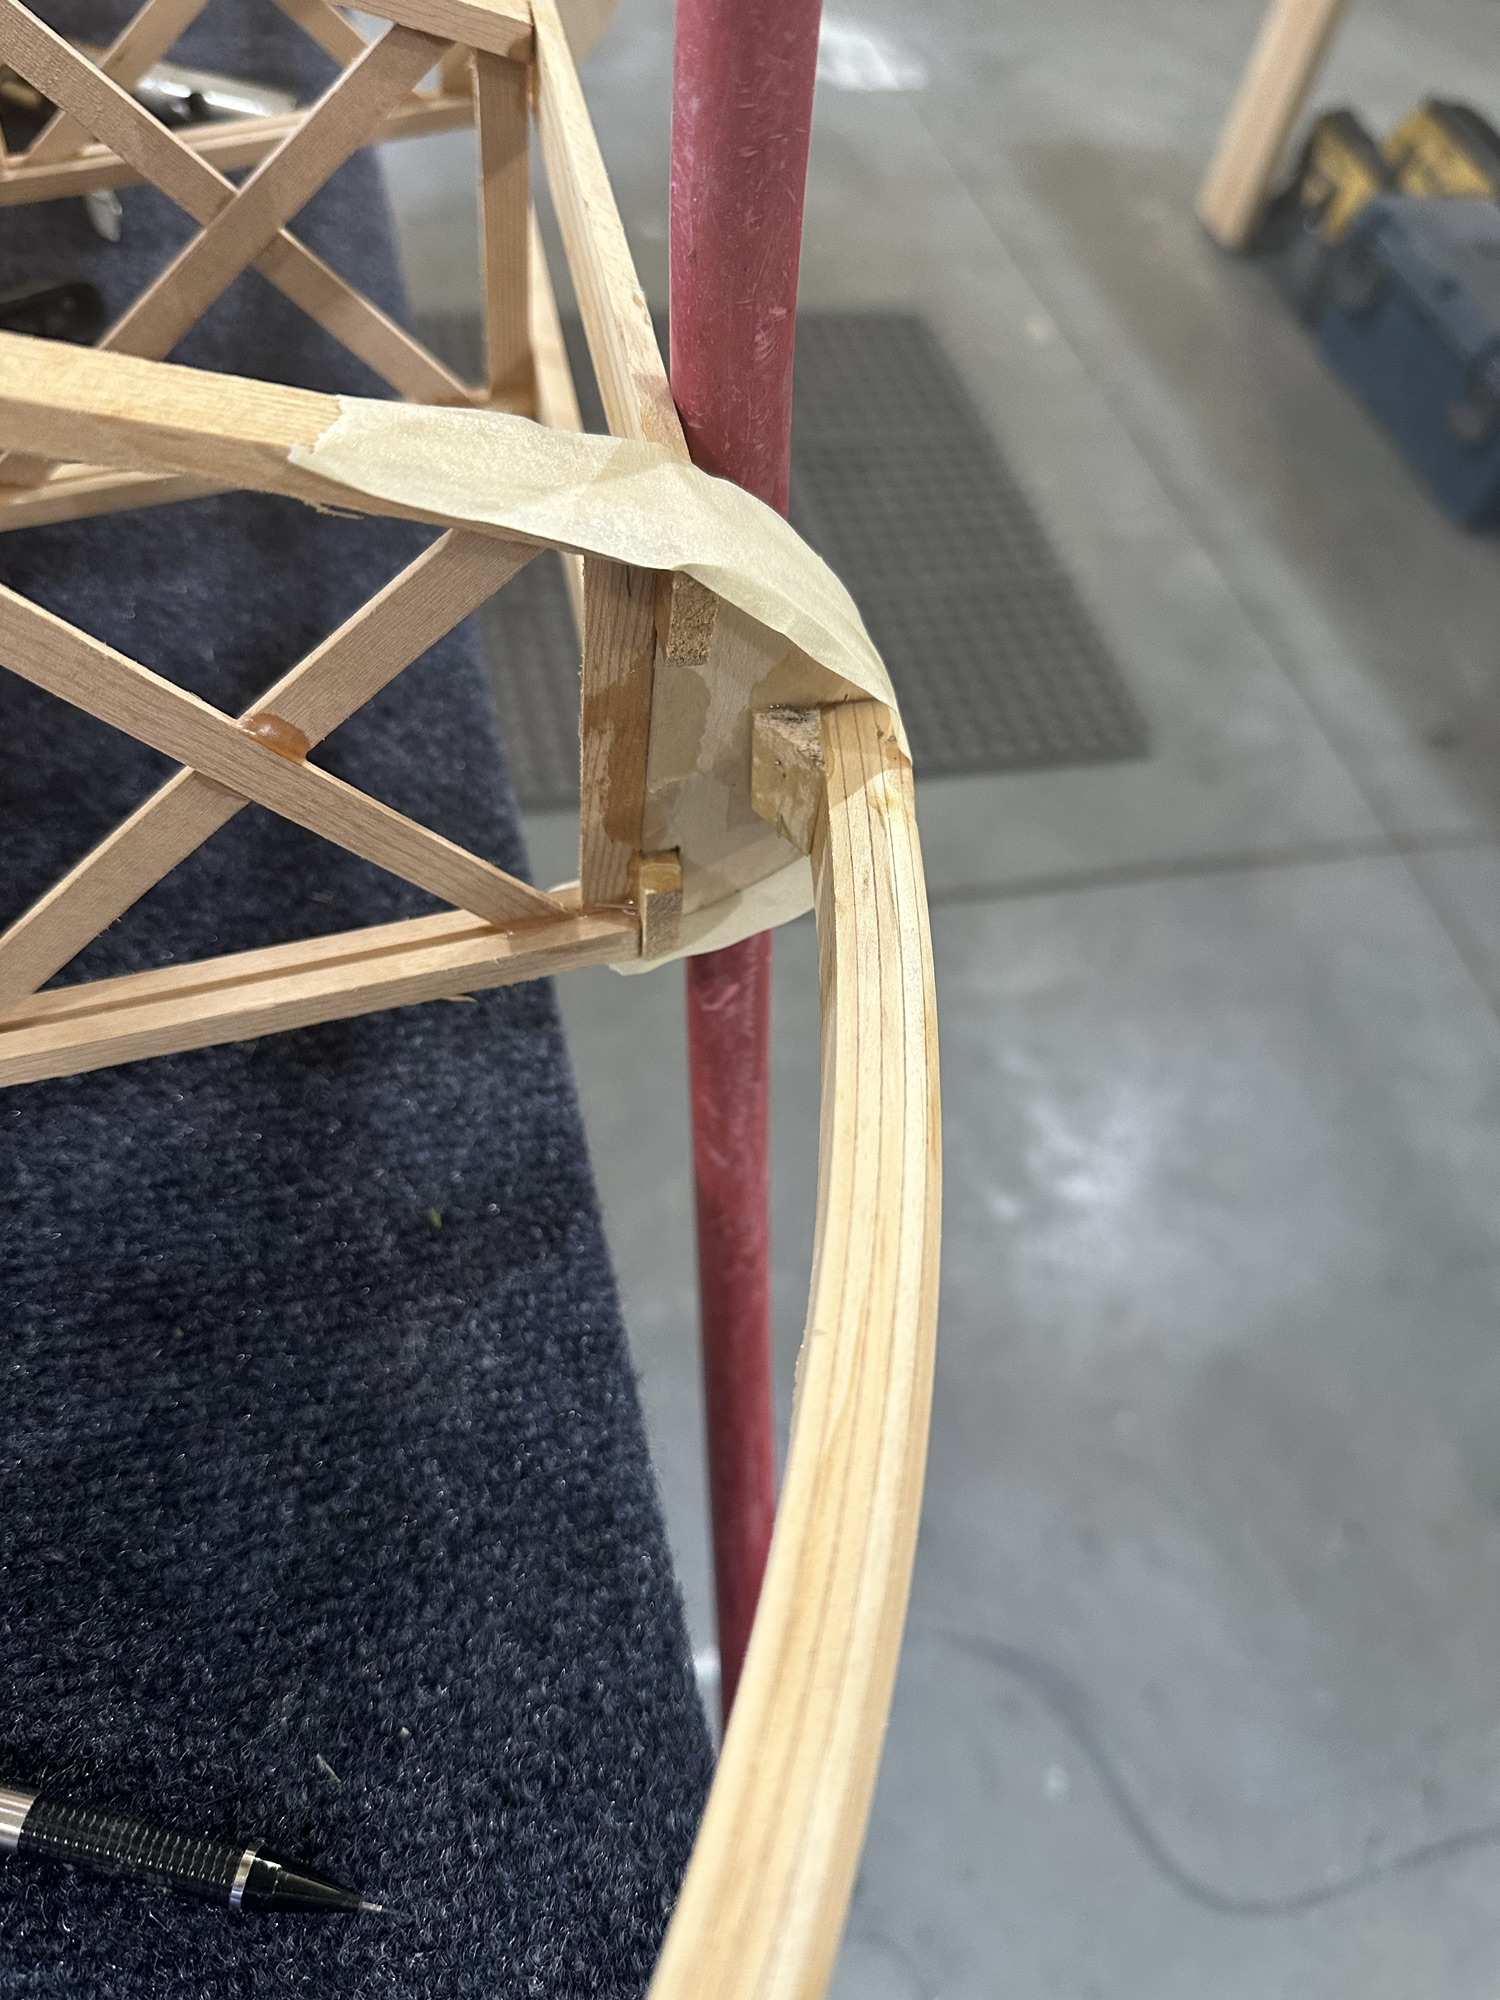
This morning I went out to check the epoxy on the bending form.  It’s not warm in the garage (low 50s), not ideal for curing epoxy.  In addition, I was not too precise in mixing the epoxy.  I have a small scale that weighs in grams, ounces or even carats that I plan to use for epoxy to be used when measuring epoxy for actual airplane parts, but I didn’t use that last night.  Anyway, the glue was hard but still a little tacky on the surface – so not totally cured but “OK enough” to use.  I pulled the three capstrips out of the water soak and clamped them in the form.  A few hours later they had taken a fairly good set — but one of them cracked at the peak of the bend.  Looking at that one, it would have been OK if I’d either bent the other end, or cut the slot on the opposite side.  I just happened to try to bend it in a direction that didn’t work well with the grain slope of that piece of wood.   I’ll have to watch that on future pieces.

Knowing that I’ll want to rip some 1/8″ thick strips to make the wingtip bows and the frames for the tail feathers, I went looking for a way to do that easily.  I’ve been successful in ripping thin strips on the table saw, but as countless others have discovered doing it between the blade and rip fence is not the safest way.  The blade tends to launch the cut strip backwards off the saw table.  I found this thin strip rip jig at Rockler.com, which looks to be exactly the tool I need to rip pieces for laminating.  It’s not expensive, and I can think of a dozen other projects for which it would be very useful to be able to make strips for curved laminations.  I ordered it.

At lunch time I pulled the strips out of the bending jig and installed the rest of the forming blocks on the rib jig.  As I thought, the bottom capstrips won’t need to be pre-bent.  So, the first rib jig is ready to go.

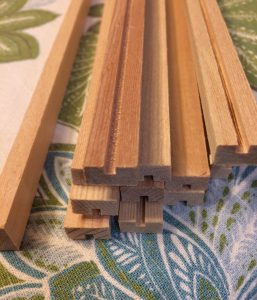
The next job will be to shave the 1/8″ x 3/8″ strips received from ACS down to 3/32″ thick.  They’re actually a little thicker than spec, around .135 or so.  I thought about setting up something to jig up my low end belt/disc sander to do the job, but I don’t see a lot of success there.  I have a razor plane, but it doesn’t seem to work well on the wide side of the spruce strips.  I will have to figure out a good way to shave or sand or plane these down to the right thickness.  I did cut out all of the geodetic braces for the first rib, and marked them according to their placement.  I’ll use them as patterns to cut the remainder — just as soon as I figure out how to get those strips pared down to the right thickness.  Sanding just the ends down is going to be too time consuming and the results would probably not be consistent enough to suit me.  I need to figure out the best way to shave about .040 to .045 off of those strips.

Finally — the first shipment of spruce!

The UPS man just delivered a 30# package of spruce capstrip from Aircraft Spruce.  I can now — finally — start building.

The first step was to set up the table saw to groove the top and bottom rib capstrips for the geodetic braces.  They need a 3/32 x 3/32 groove cut on one side.  Getting the saw set up to cut a perfectly centered groove was trivially easy, and it gave me a reason to install the zero clearance throat plate on the saw for the first time.  Not wanting to experiment on the expensive spruce, I cut a couple of strips of pine the exact size of the capstrip and used one to set up the saw for the right depth and spacing.  The strips are small enough that rather than trying to use a push stick to feed it all the way through, it works out best to feed most of it through in one direction and then flip the piece around and feed the other end in.  The saw is set up precisely enough that you can’t see where the transition is between the grooves cut from the two ends.  It’s perfect.  With that done I grooved a dozen pieces of capstrip and decided that would be good for a limited test run.

I’ll also need a bending jig for the capstrip, since the top piece needs a pretty good curve toward the leading edge.  I could really probably do it dry, but I’ll feel better knowing that the wood is less stressed during assembly.  Better to put the curve in beforehand, I think.  The spruce is flexible enough that I don’t think there will be a problem with the bottom pieces, but we’ll see how it works out.  I cut a bending fixture from a chunk of scrap 2×4 — it split on the end as I was finishing up the cut, so I figured what better time to mix up a spoonful of T-88 and epoxy it back together?  After all, the glue joint should be stronger than the wood itself.  We’ll test that out.  Once that glue cures and I get some capstrip soaked in water and bent, I will finally be able to finish blocking in the rib jig and start cutting the geodetics.  I’ll need to also set up some sort of rig to sand or plane the ends of those down to 3/32″.

The grandkids are coming over Saturday to get some help with their Pinewood Derby cars.  Looks like a full-on woodworking weekend.