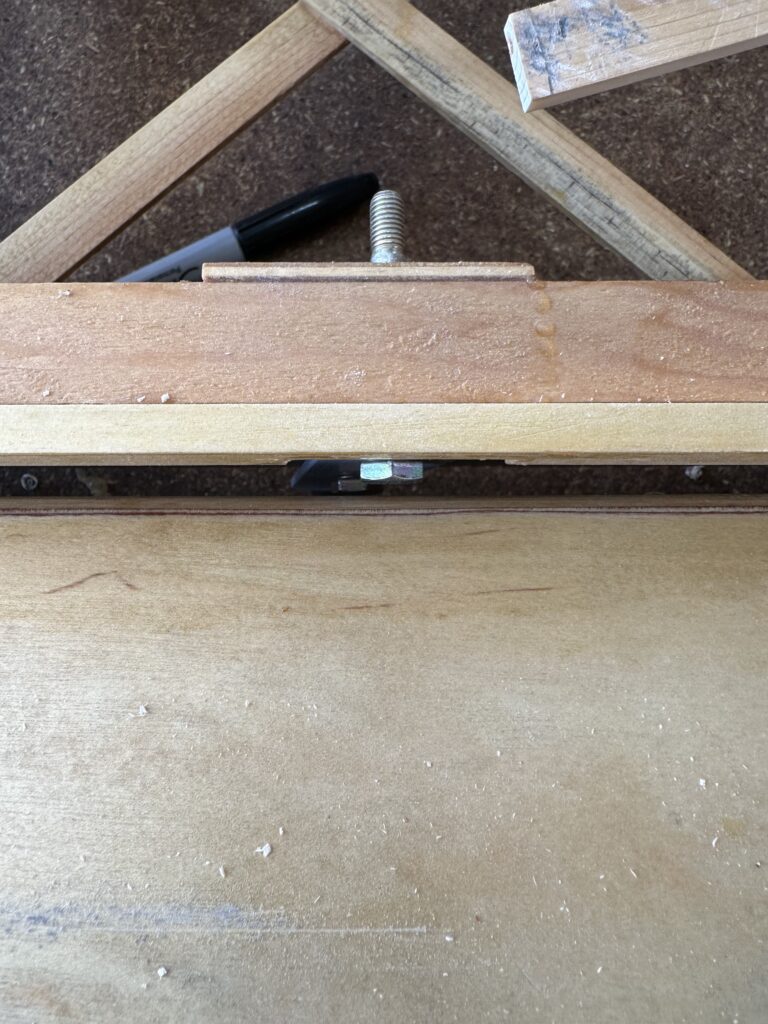
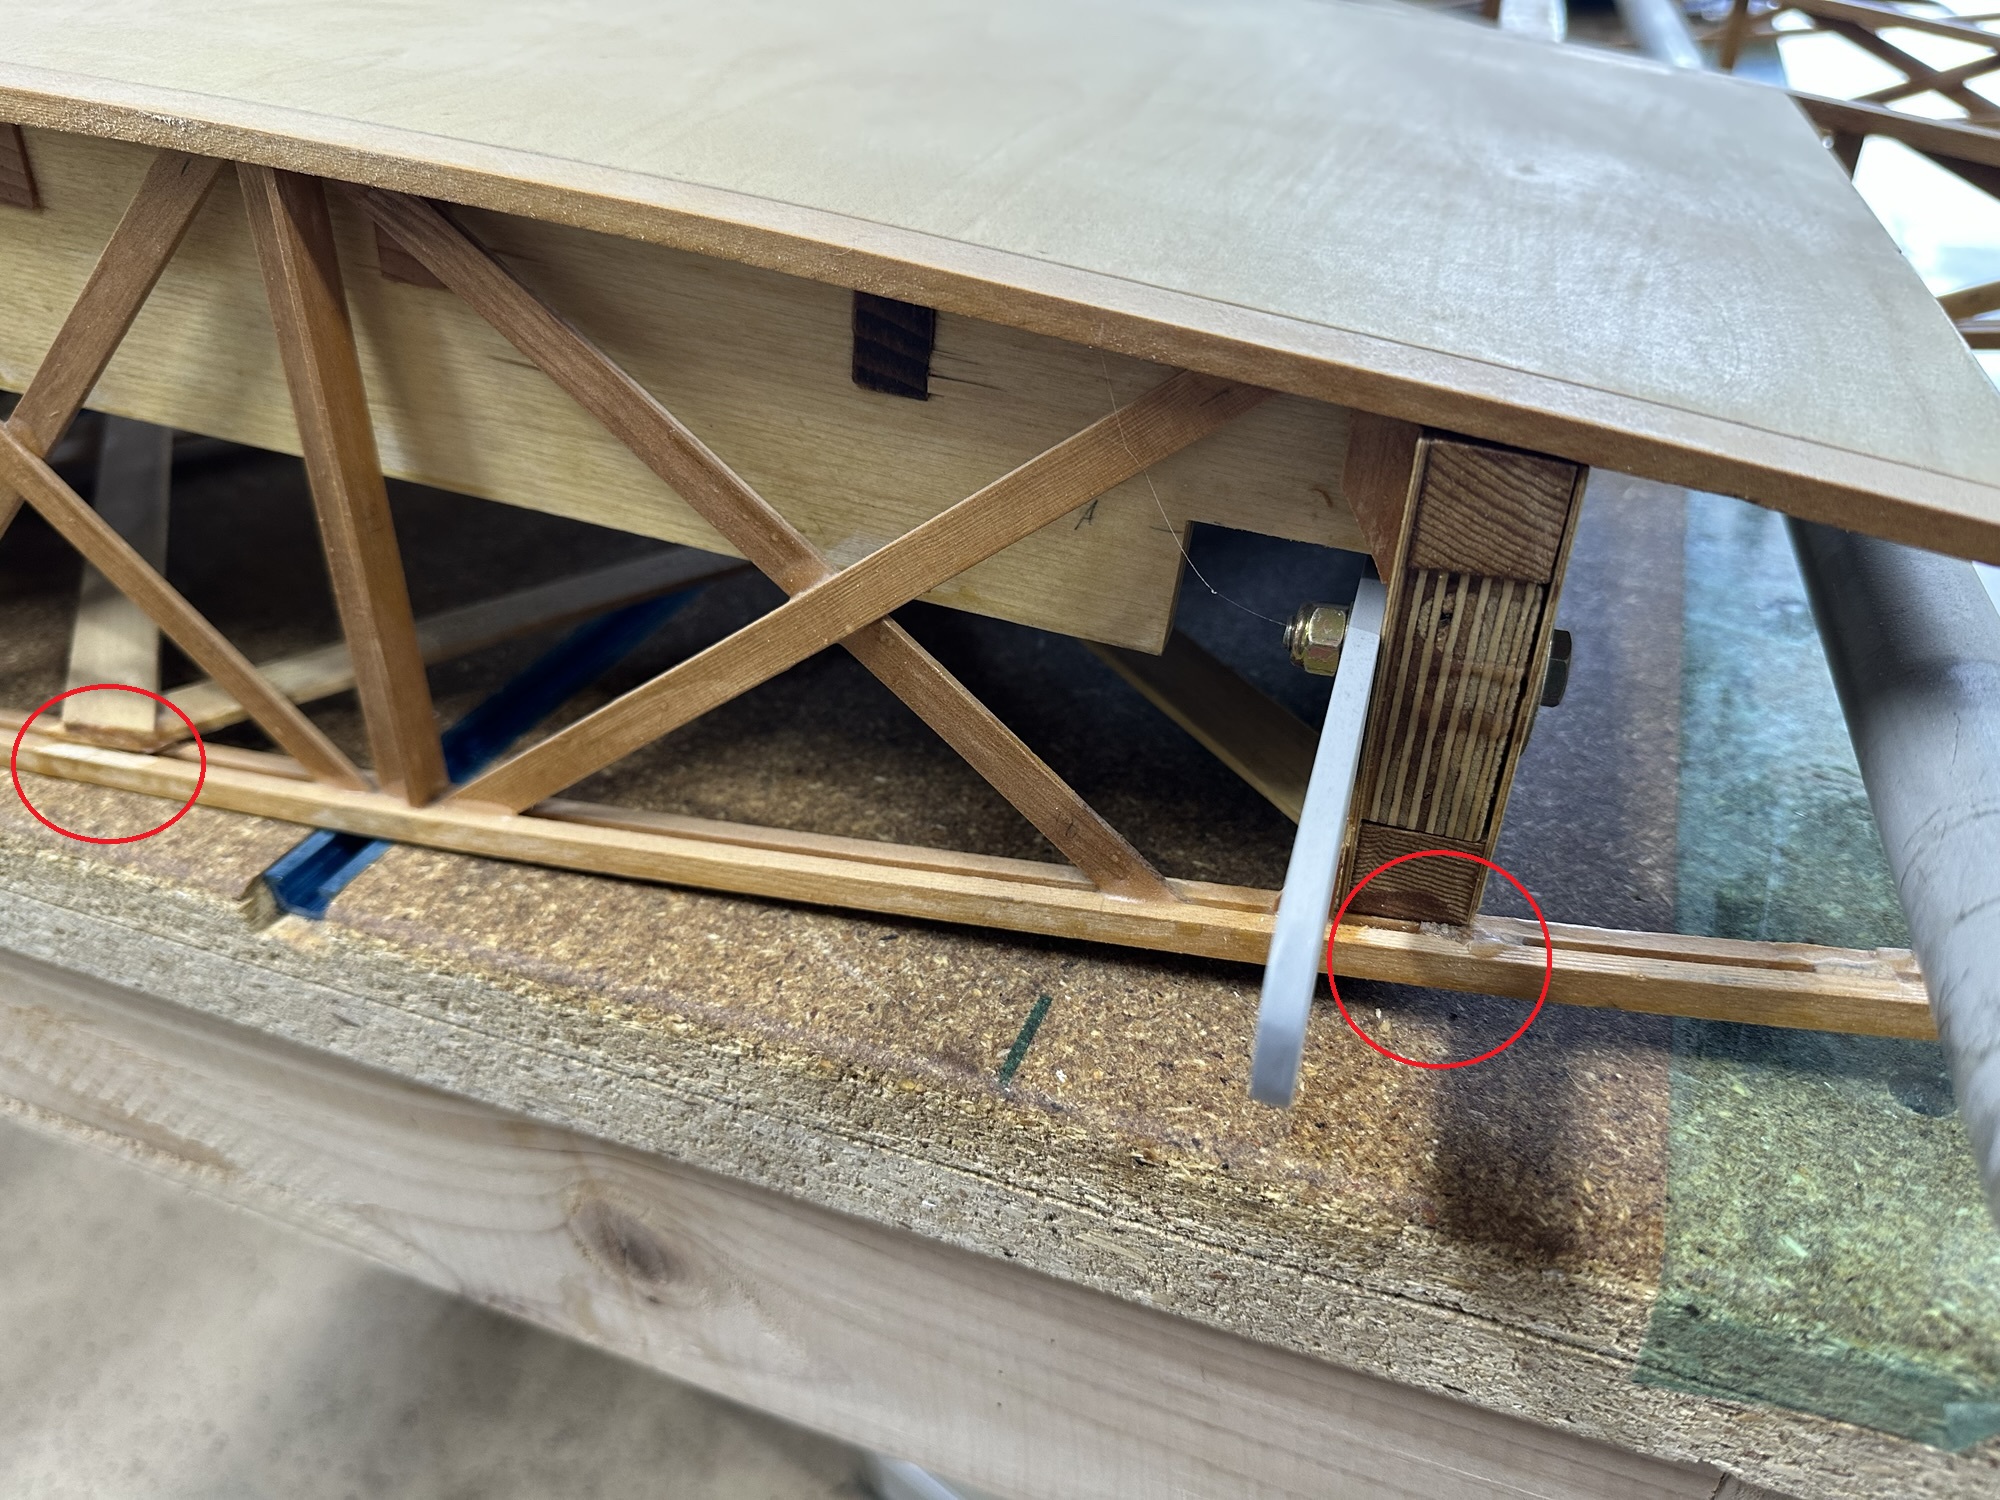
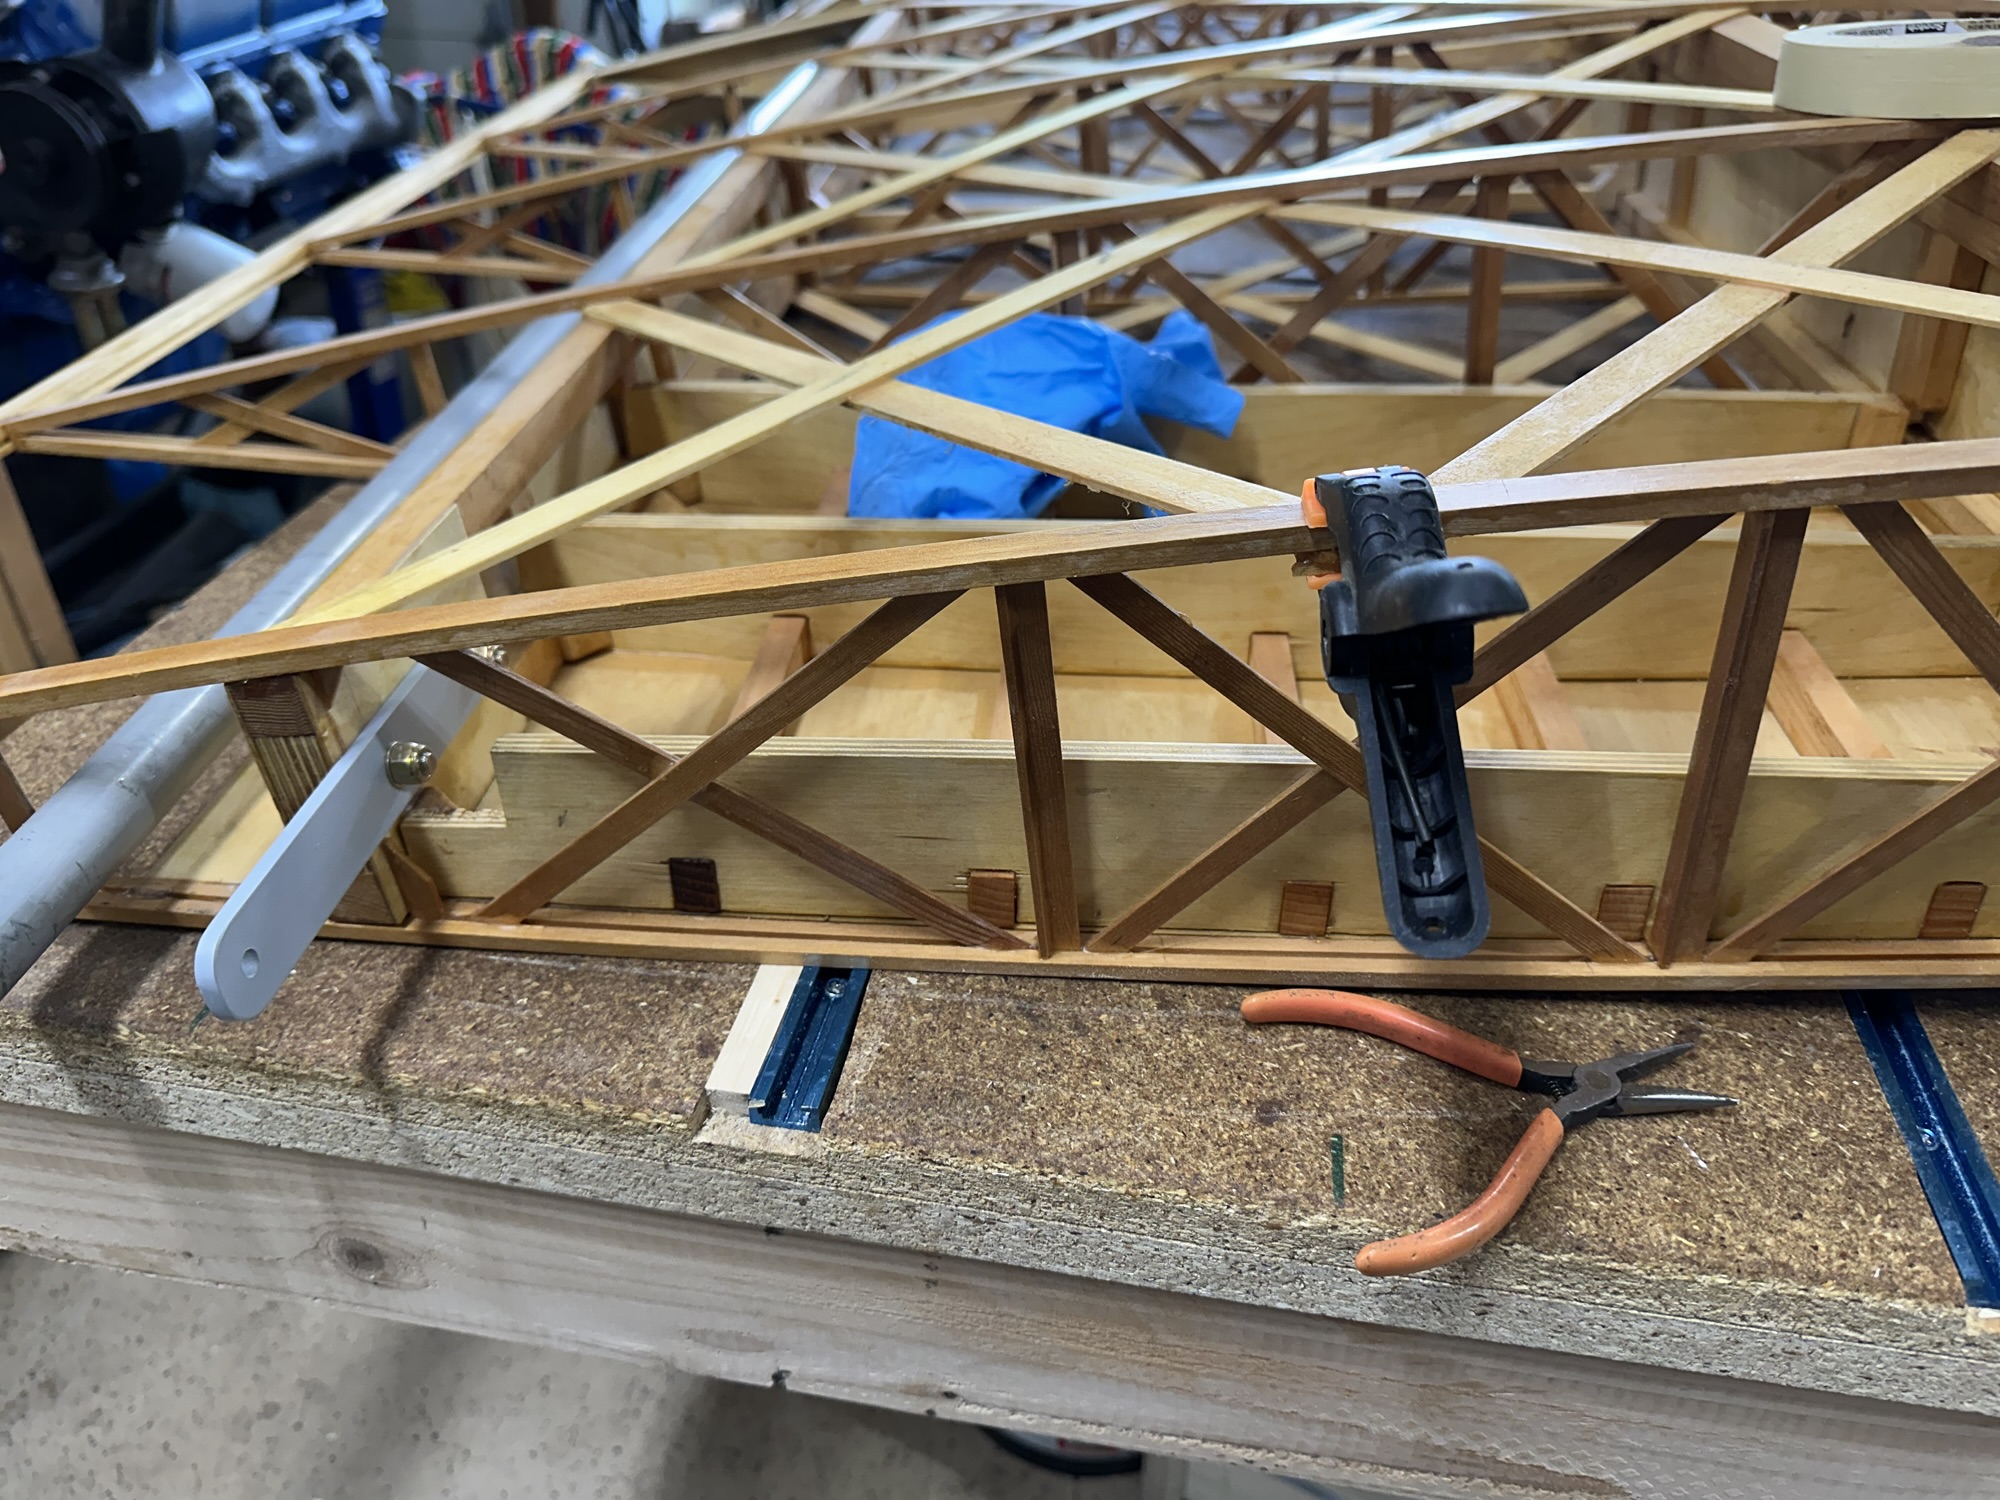
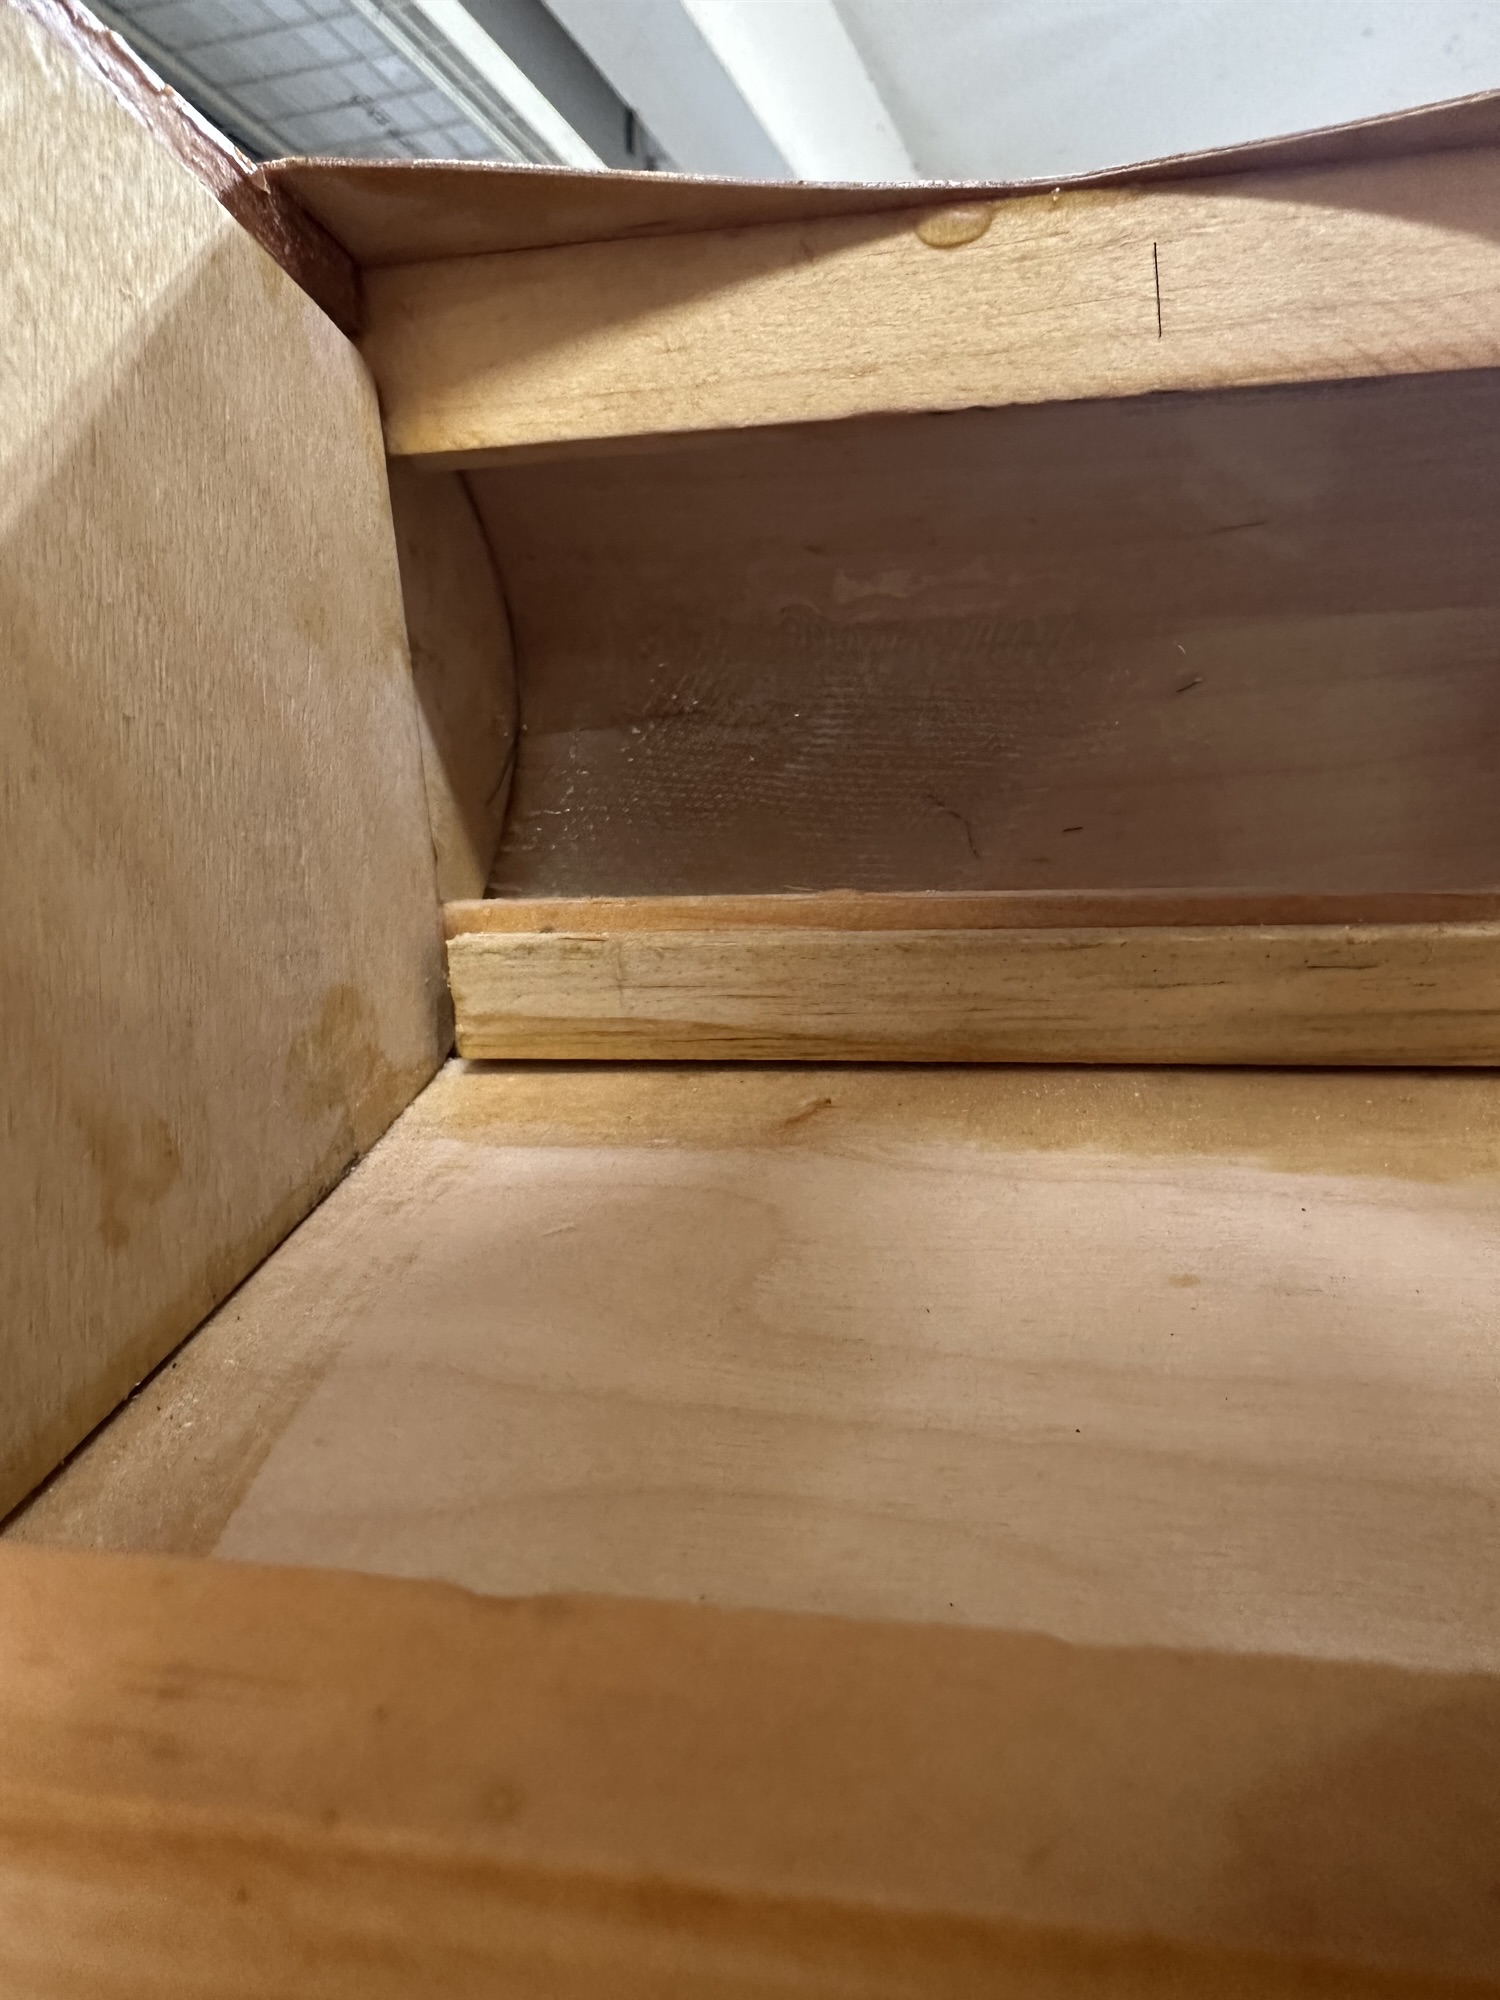
The torque tube still had quite a bit of drag, due to it rubbing on the edges of the holes in the bay end panels. This morning I sanded the areas where the tube was contacting wood and re-installed the bearing blocks and aileron. Now the only control drag is from the bearing blocks themselves. The set I have installed are 3D printed mockups, and I don’t know how accurate the hole size is. Before I machine the final items from UHMW or whatever I end up using, I’ll have Stu mill me out one or two from some cheap scrap material like plywood or MDF just to check the fit on the tubing and see if I need to tweak the OpenSCAD file.
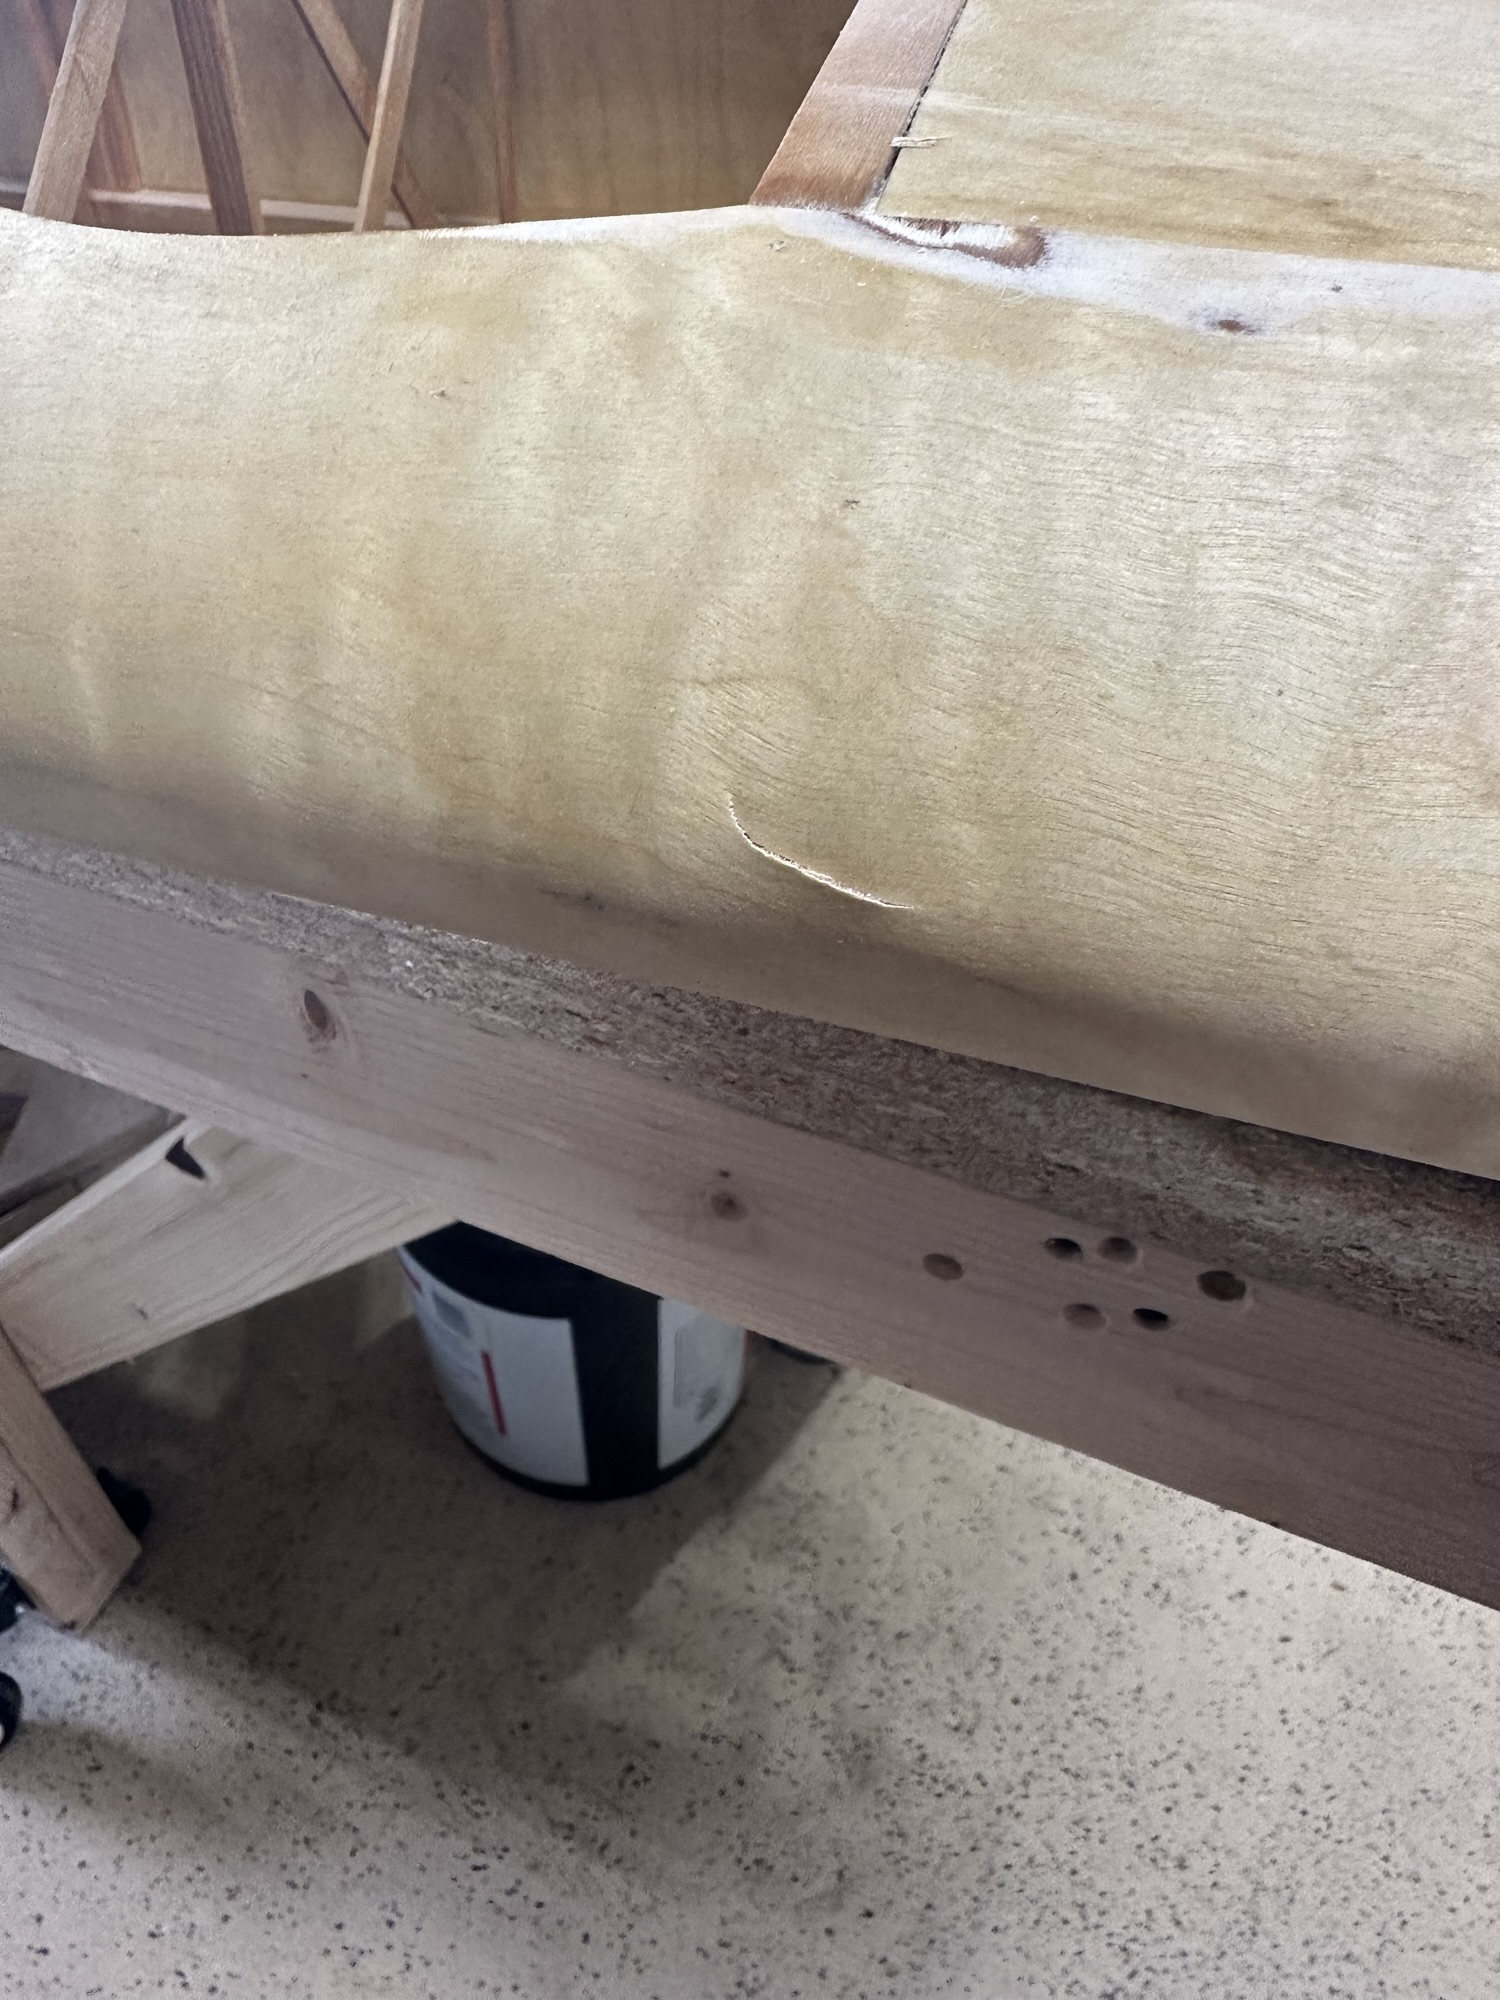
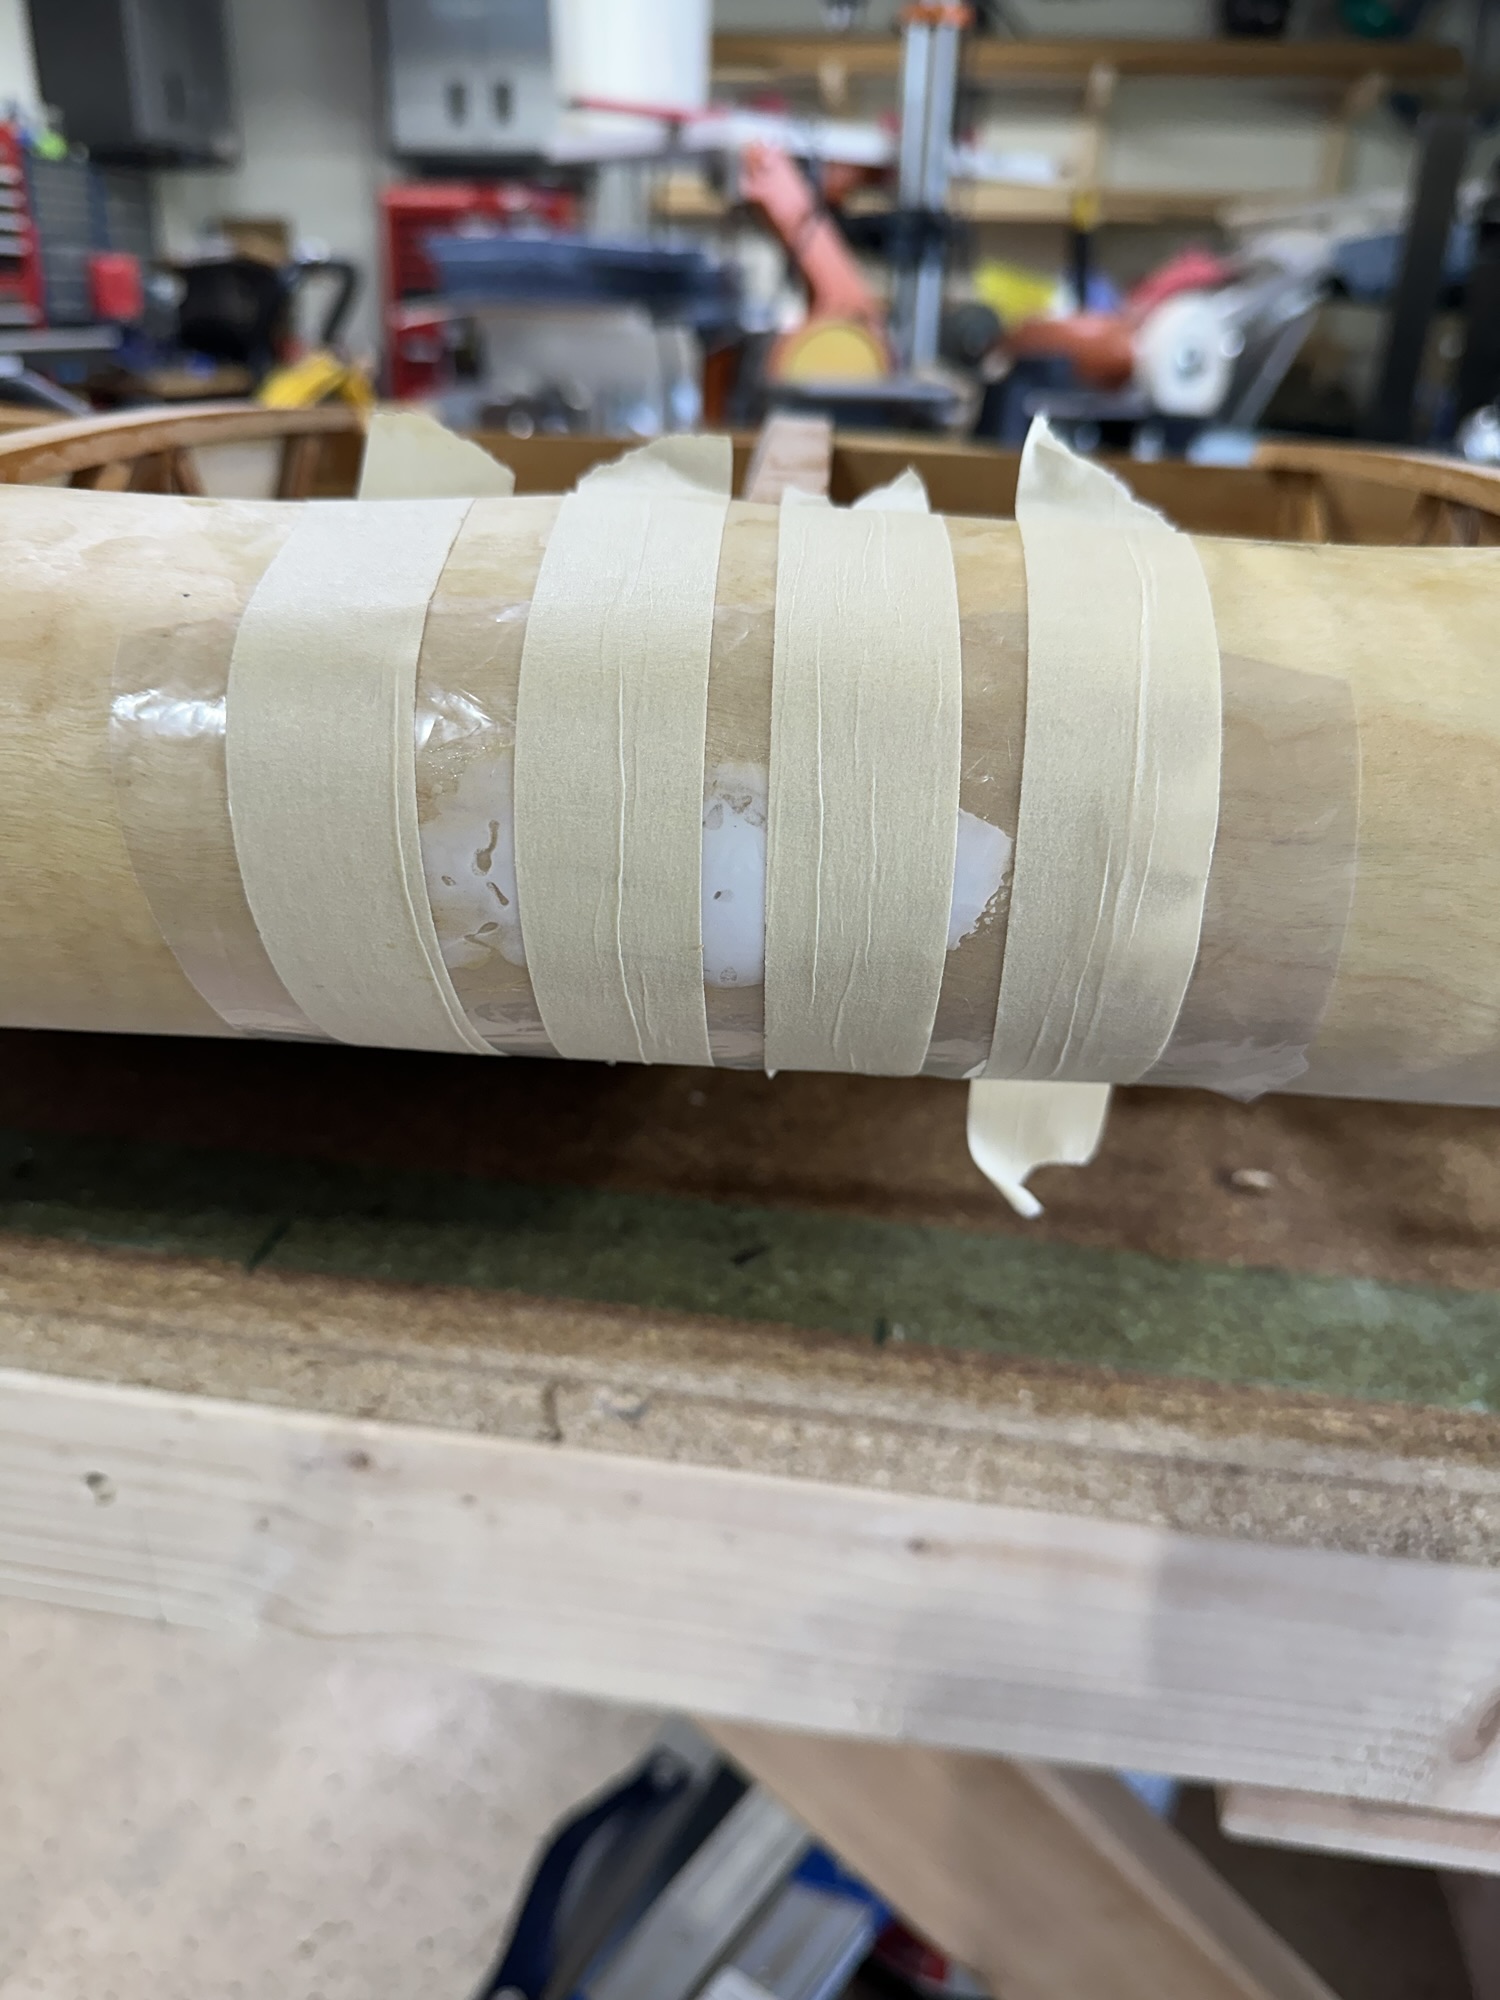
With that done, I used the Jorgensen bench plane to shave down the trailing edge to match the rest of the wing. I haven’t tried to change the taper yet, or reduce the thickness, I just basically whacked a quarter inch off the trailing edge of the aileron. I’ve used the planes a bit now, and every time I do I like them more. I like the little curled shavings, I like the feel of the blade precisely slicing off exactly as much as I set the plane for, I like the perfectly smooth edge it leaves. It’s so much nicer than using sanding blocks or power tools. I’m sure I don’t have the blades as sharp as they could be, but it’s still a joy to use them.
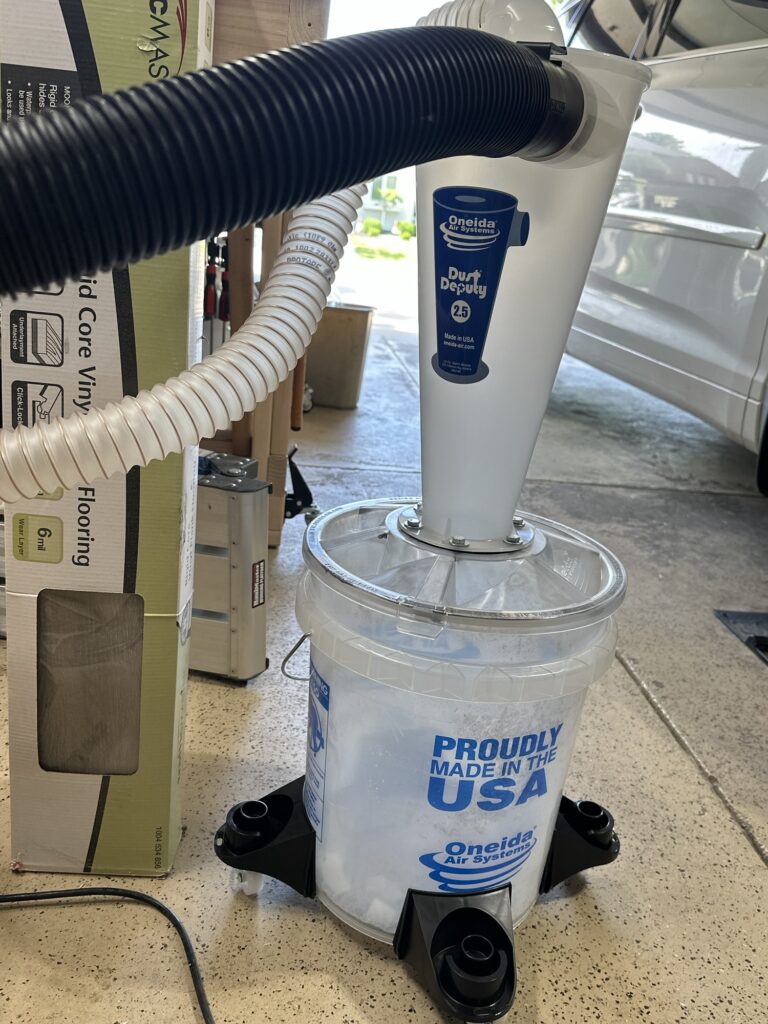
Having a QUIET shop vacuum and a dust separator is really nice as well. I want to put together some sort of cart or something to reduce the footprint – maybe put the dust separator on top of the vacuum. I’m still struggling with keeping the garage from getting cluttered and difficult to work in, but I can see a path to having a little more elbow room.