Compass overhaul

I think I’ve finished the compass overhaul. The rebuild kit arrived from ACS yesterday. After carefully cleaning the glass with denatured alcohol, I installed the new gasket and the glass. With everything reassembled, I filled it with compass fluid. I had about half a pint from a rebuild kit I had bought several years ago, when I came across an old Airpath compass that ultimately turned out to be an oddball military model for which there are no replacement parts or gaskets. It was leaky around the glass, and I eventually figured out that the cork gasket was slightly oversized. From what I can tell, it’s supposed to apply pressure around the edges of the glass to seal it against the inner black rubber gasket. It was getting squeezed between the case and face plate. After trimming about a millimeter or so from the outside, I finally got it to seal up.

Normally you would submerge the compass in a container of fluid to work out all the bubbles. In fact, the Airpath manual specifies submerging it and pulling a vacuum for a few hours to ensure there is no trapped or dissolved air. I didn’t go to those lengths. I was able to work all the bubbles out and get the fill (or drain) plug in, and so far there’s no sign of leakage.

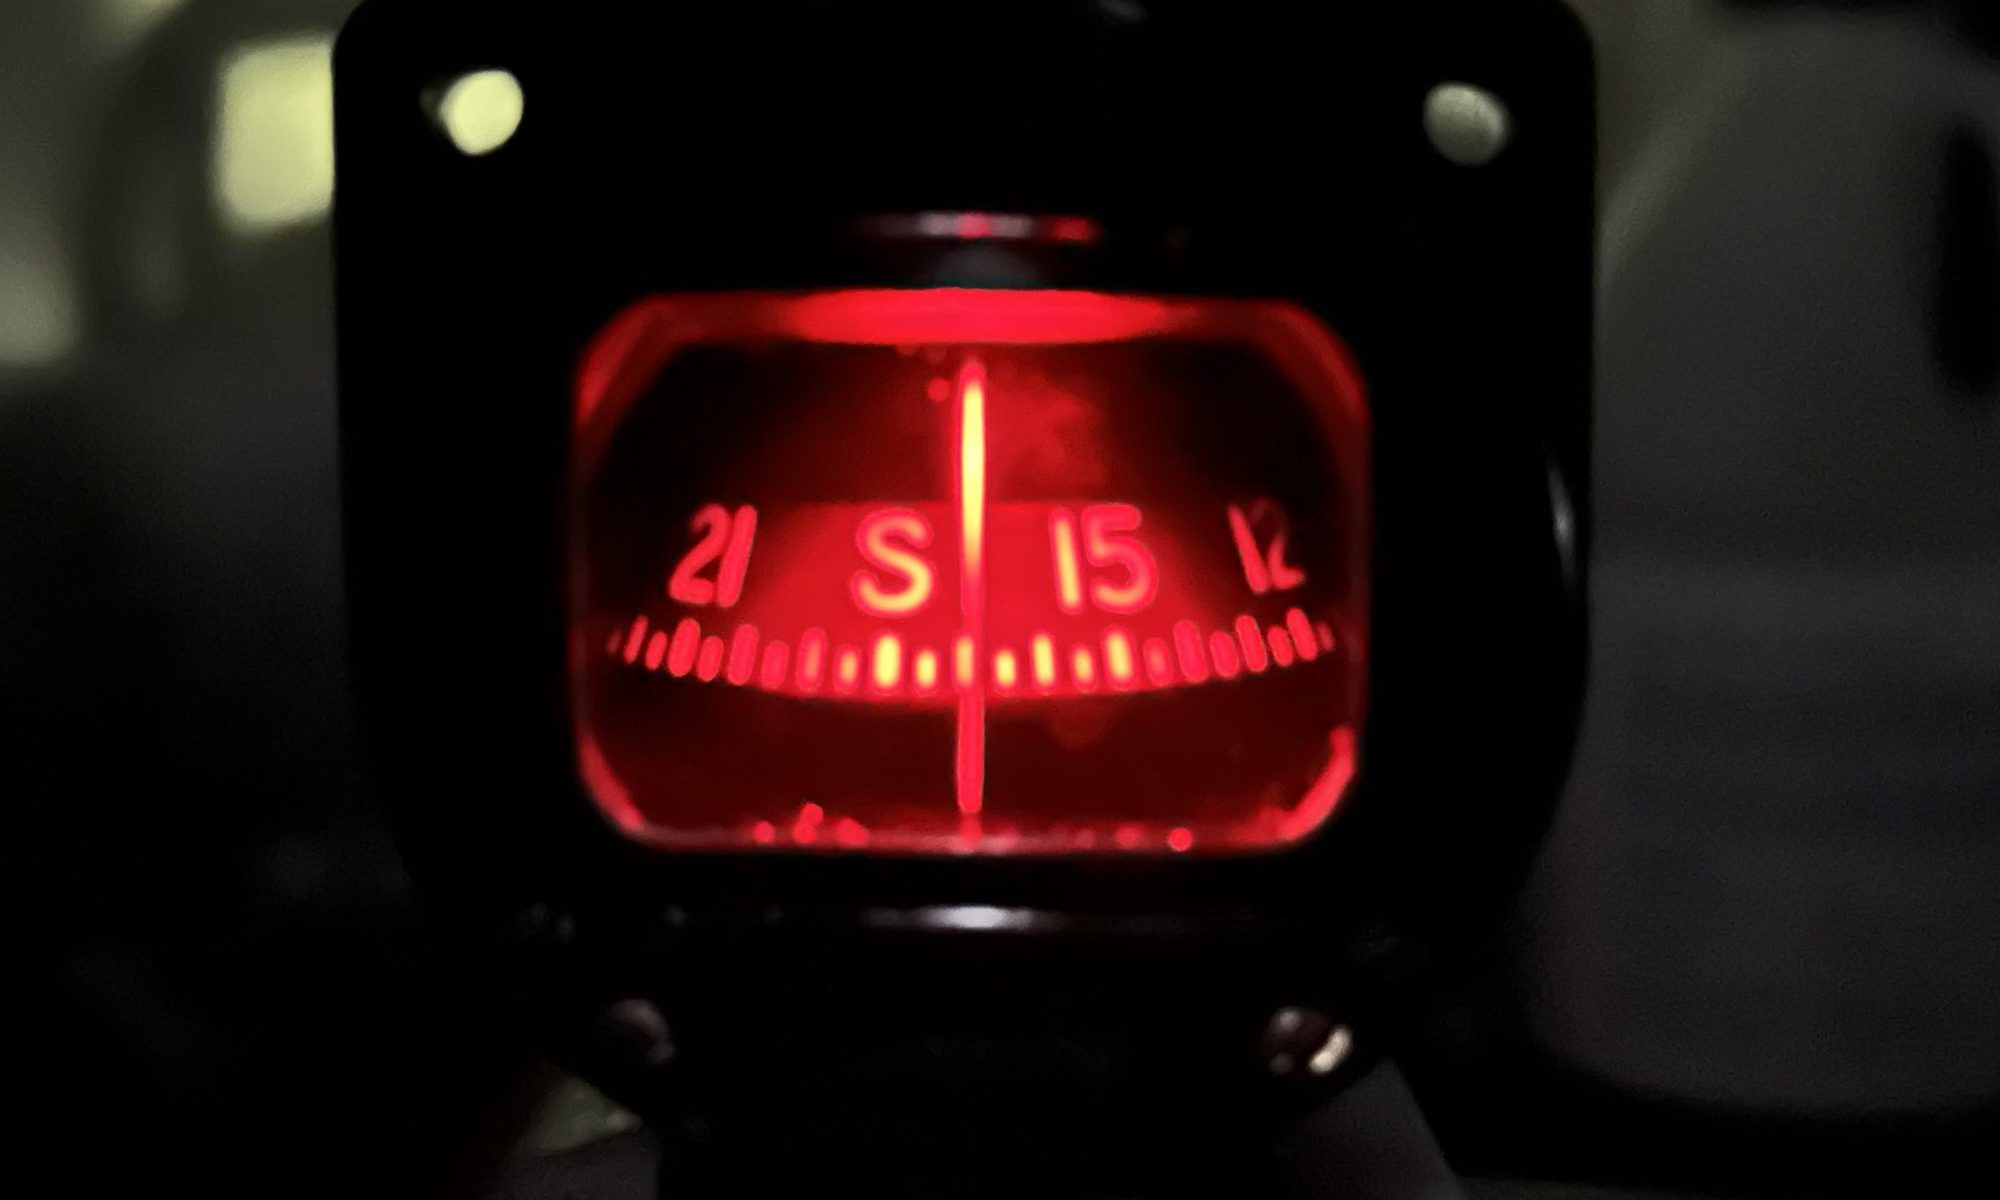
The new LED lamp works great. In a dark room there’s a nice red light that makes the compass quite readable. I’m happy with it.

I’ll let it sit on the bench for a few more days to ensure there’s no leak and no bubbles develop. If I do see any air, I’ll submerge it in a container and do it their way. I figure it won’t be getting mounted in a panel for at least a year or two, maybe longer, so I’ll have plenty of time to validate the quality of the rebuild. For a total investment of less than $71 I’ve got a completely rebuilt, well lighted Airpath compass. That total includes an extra nine little LED lamps that I’ll use elsewhere; if you don’t count those it’s under $65 total. Not bad considering I see dried-out junkers going for more than that on Fleabay.

Closing out 2023

You think you’re about ready to perform some major step, then you step back and realize you’re not as close as you thought… I thought I was about ready to cut out the aileron, but I still had to get the bottom geodetic braces in as well as several of the plywood stiffening strips that keep the aileron bay and aileron from distorting when the fabric gets shrunk around it. Today I did that, I also got the leading edge plywood wrapped around the rest of the way and glued and clamped in place, and added the last of the wingtip reinforcements along with the gussets for all of those.

I started to shoot primer on the torque tube, but the can stopped spraying about halfway through. Super frustrating, as it’s a full can, It’s been in a cabinet in the garage for a while, so I suspect there was a chunk of unmixed solid that lodged in the valve or something. The spray tip is clear, the can is pressurized, but it refuses to spray. Bummer. I found a can of self-etch primer in another cabinet at home, so hopefully that works. I may end up with a torque tube that’s half gray and half white… oh well.

I’ve been cleaning up the Airpath compass while I wait for the new gaskets and diaphragm from Spruce. This one has a light and I didn’t want to use the incandescent bulb, and I’d already broken one of the wires anyway… so that path was blocked. I had ordered some LED bulbs from Amazon – they are commonly known as type 74 LED bulbs. The spec sheet showed they are about 0.7″ long and 0.23″ diameter. Those arrived today, and they do fit inside the bulb socket. I soldered the wires onto the new LED assembly “backwards”, or with the wires running along the body of the light so the tip goes in first and the connector end faces outward. This puts one of the three chip LEDs directly over the little red window that illuminates the compass. I had to remove about 1mm of the tail end of the lamp assembly so the little cover would close, but with that done it’s near perfect. I’ll get more pictures as soon as the paint I used to touch up the worn spots on the lamp cover is dry. The gaskets are supposed to be here on Tuesday, and I’ve got a can of mineral spirits I can use to fill it… not being willing to spend the extra money on UPS shipping for a pint or so of “compass fluid”, which from what I can tell is basically… mineral spirits.

Progress on aileron #1, and a compass

It’s been a while since I was able to make it over to Stu’s place. Between being sick and various Christmas related activities, I think it’s been close to 2 weeks since I got anything done.

Today I went over and got some more aileron work done. I cut the trailing edge on the outboard end, and glued the aileron end plates and the remaining plywood pieces in place. Everything lines up well and I’m looking forward to cutting the aileron out of the wing for the next steps.

I also picked up an Airpath compass on eBay. This one is a C2350-L4-23M, I think. It’s in need of rebuild, which I knew would be the case when I bought it. The compass arrived completely dry, but the card rotates freely with no sign of binding. The compensation mechanism is in perfect shape, markings are clear, lubber line is fine. With some new gaskets, diaphragm, and fluid it will be perfectly serviceable. Even the paint cleaned up nicely with a little naptha and denatured alcohol.

I ordered the repair kit and a couple of replacements for missing screws from Spruce, This one is lighted and is designed to use a little GE incandescent bulb, but rather than use one of those I think I’ll retrofit it with an LED. Of course I could just leave it un-lighted, since the plane won’t be equipped for night flight, but I figure I’ve got parts on hand and time to spare, so I may as well fix it up with a red light.

While I was doing the aileron work, Stu was building a table for a 4′ x 4′ CNC router that should be here in a month or so. He’s understandably pretty pumped about that.