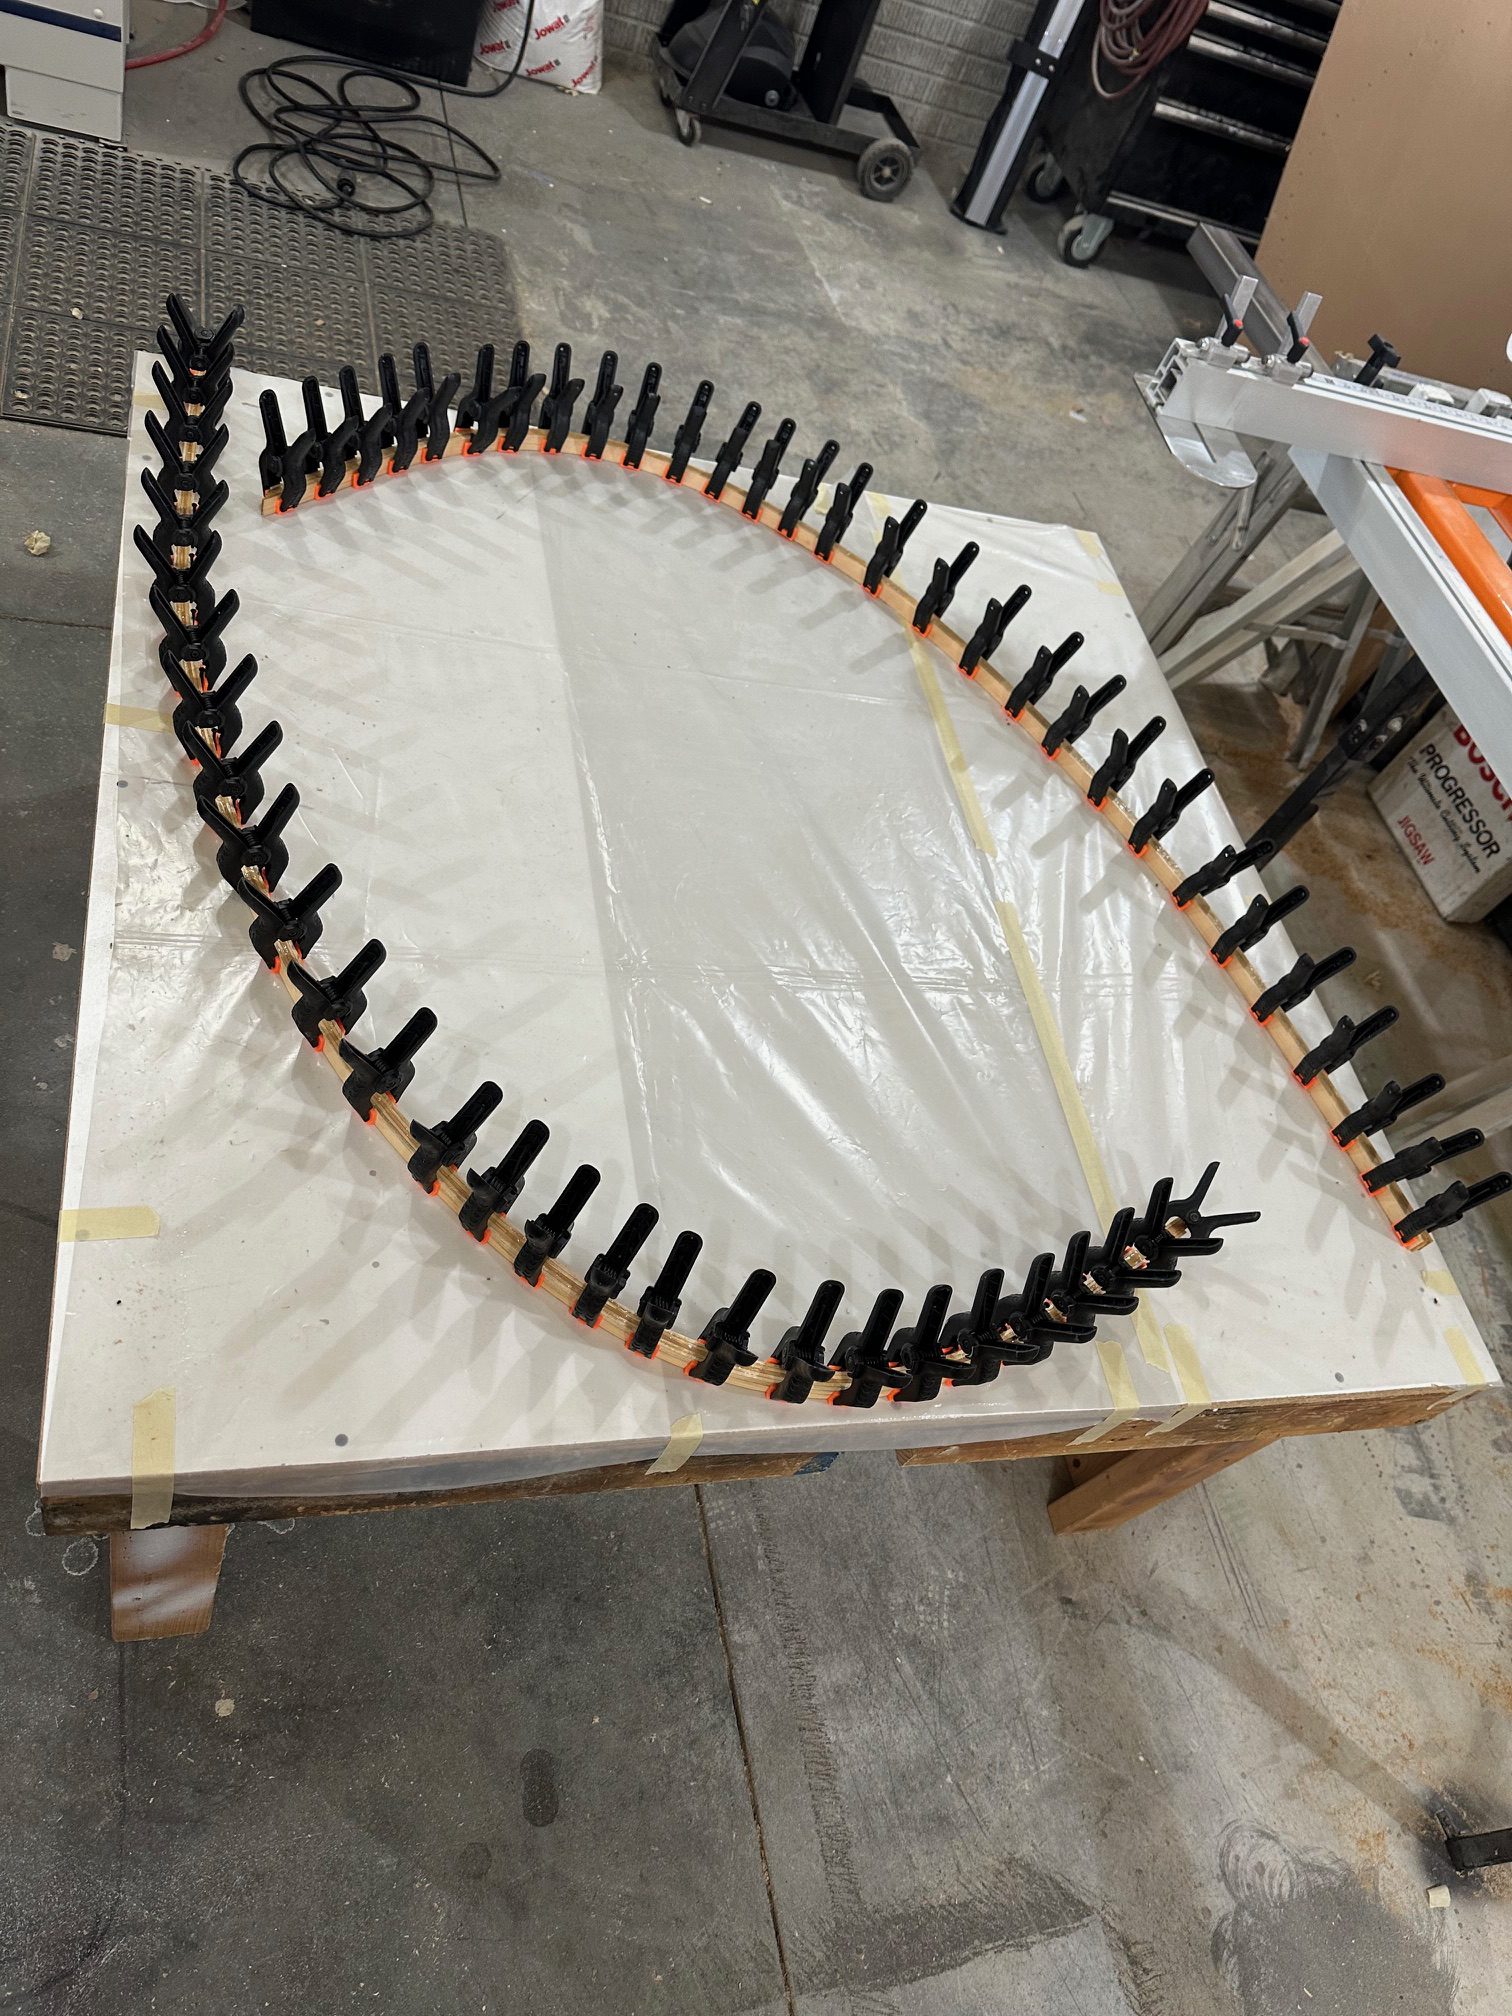
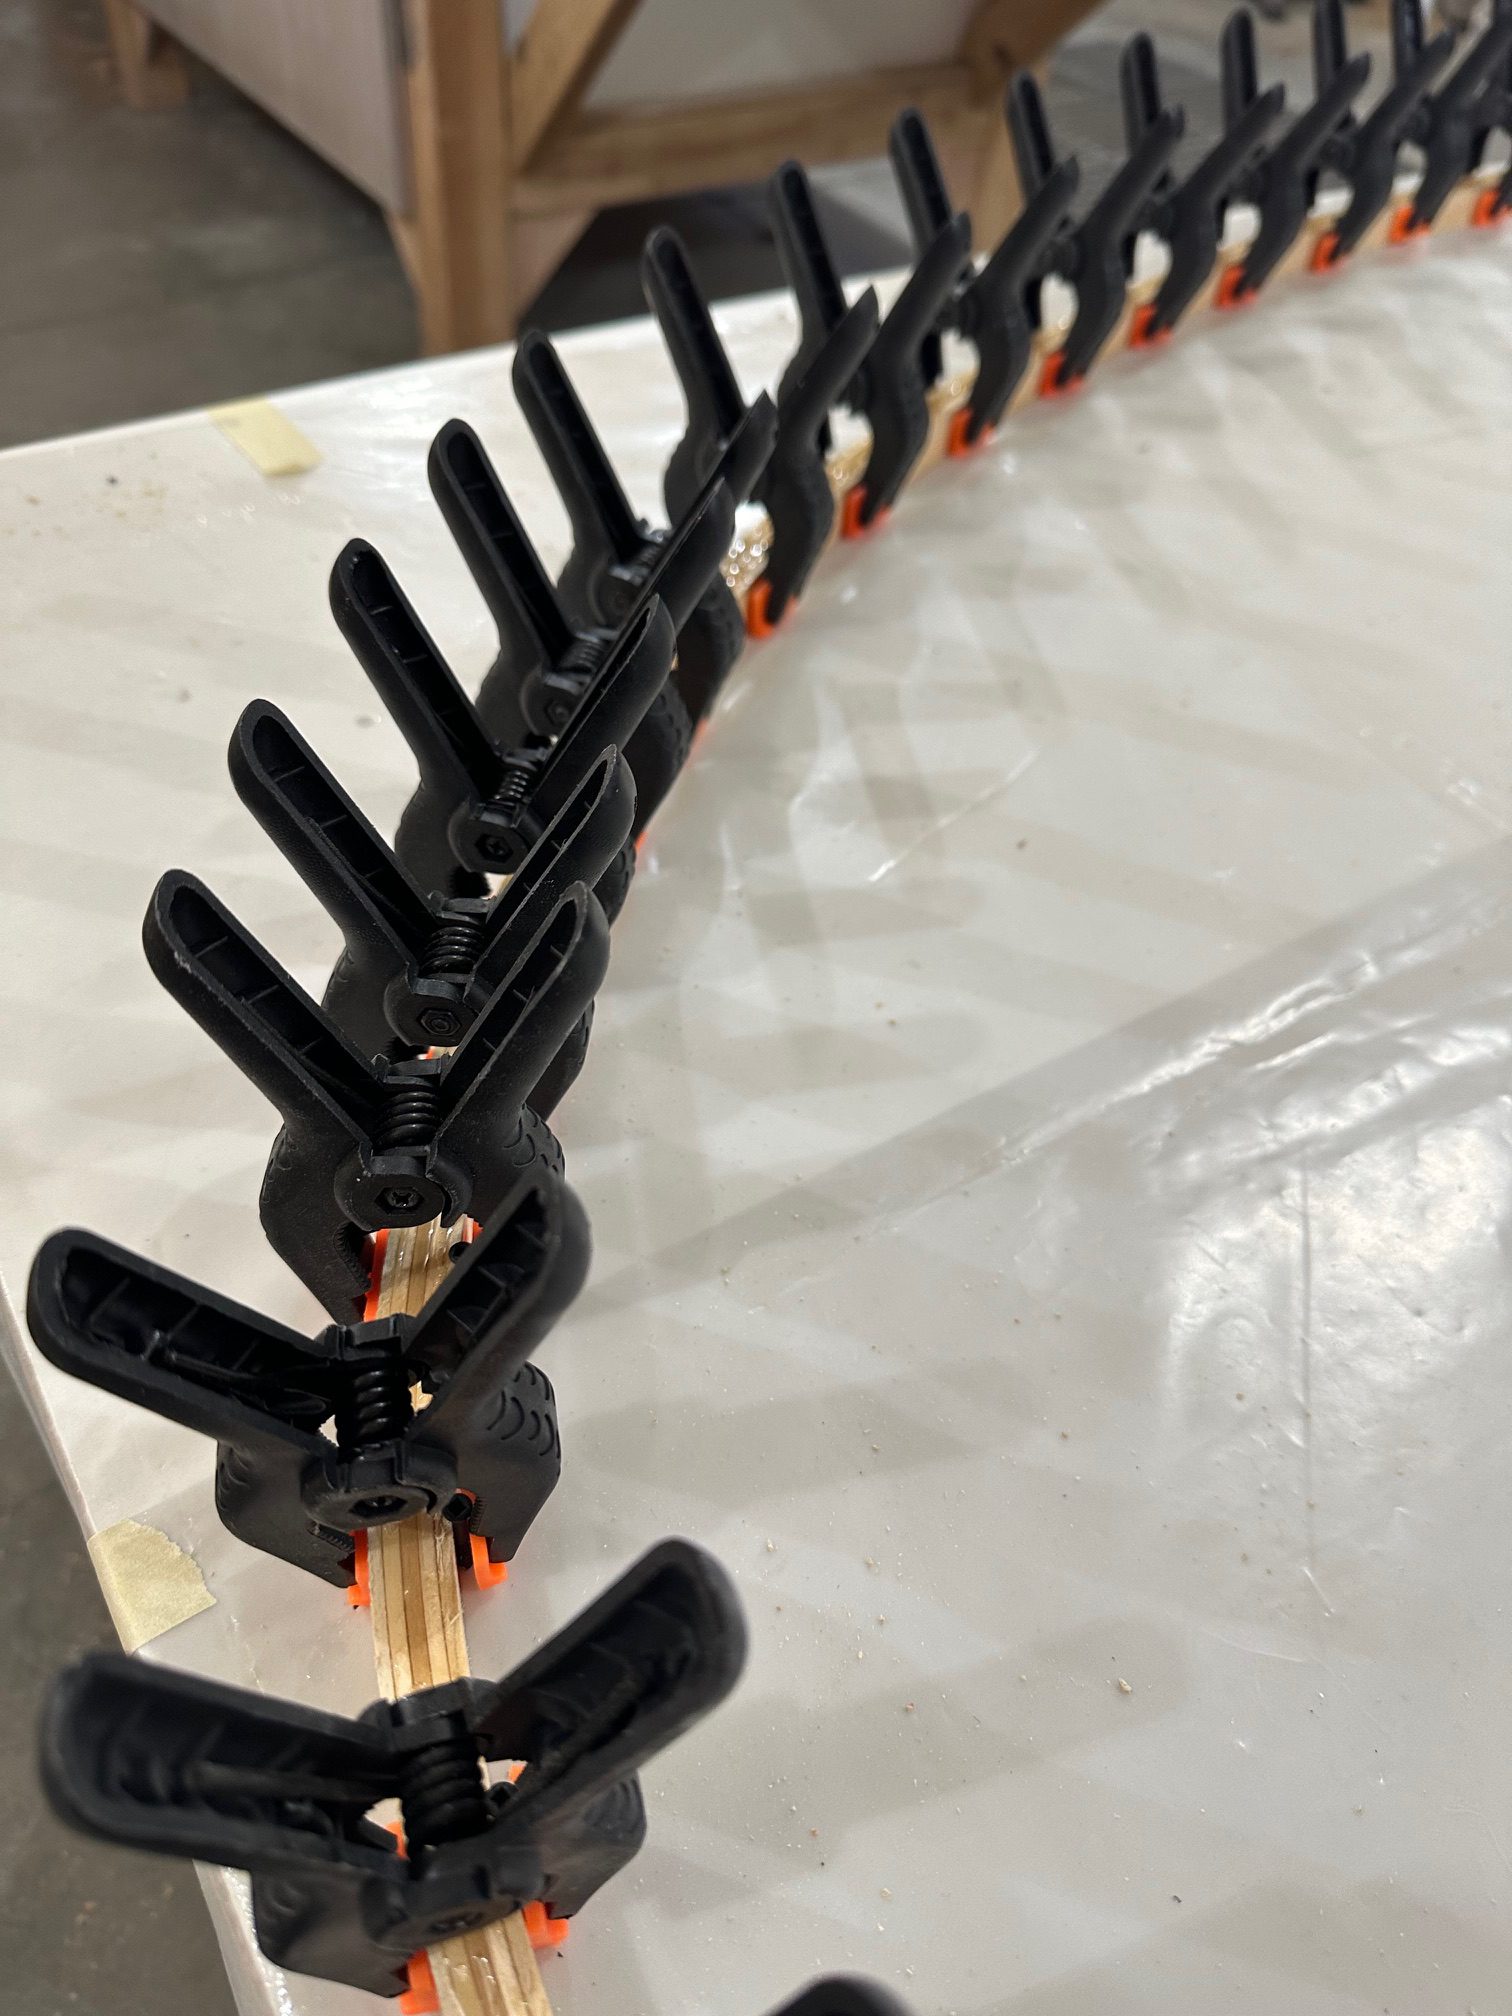
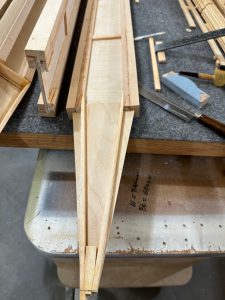
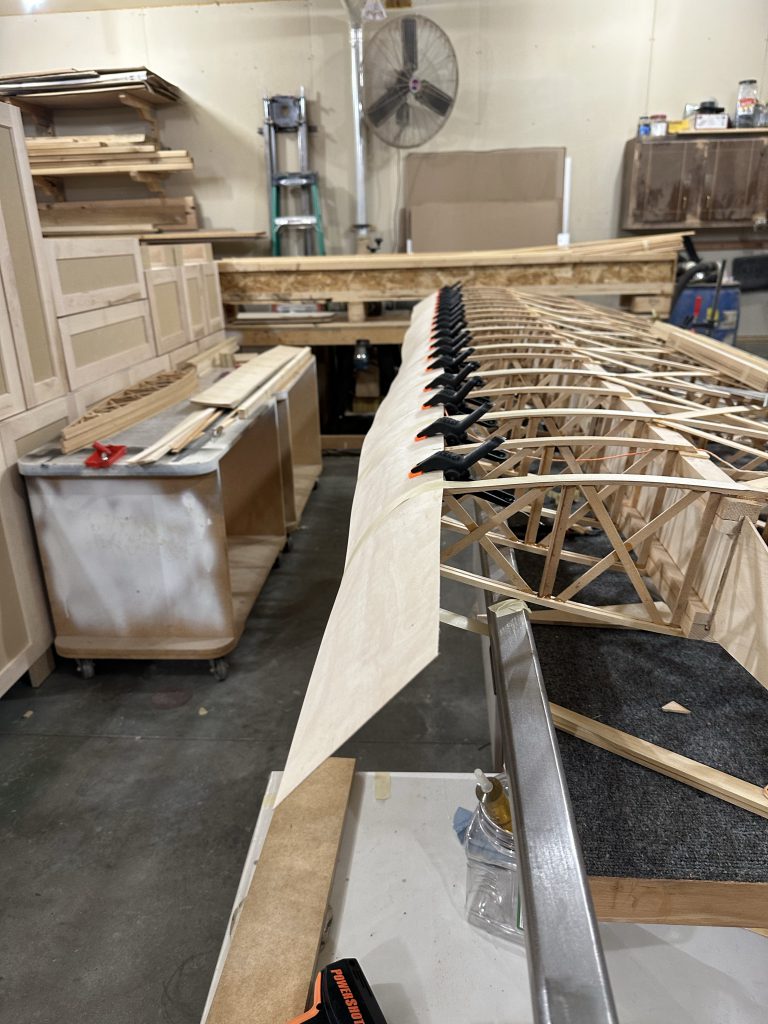
I’ve been over working on the wing a couple of times since the last post. Stu and I worked out what seems to be the best way to fit the wingtip bow. Yesterday we glued, stapled, and clamped the leading edge plywood to the top of the ribs and the top false spar, but left it at that stage. Wrapping the ply around the leading edge results in the upper edge pulling loose, so we decided to leave it as is and do the rest later on. I was planning on today, but may hold off on that until the wingtip bow is installed — I want to get the corner blocking glued in behind the LE ply, and that may be difficult with the plywood fully wrapped. Don’t know, I’ll need to look at that today.
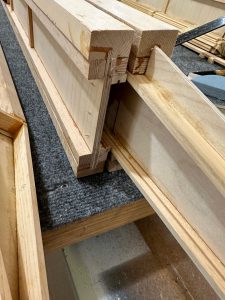
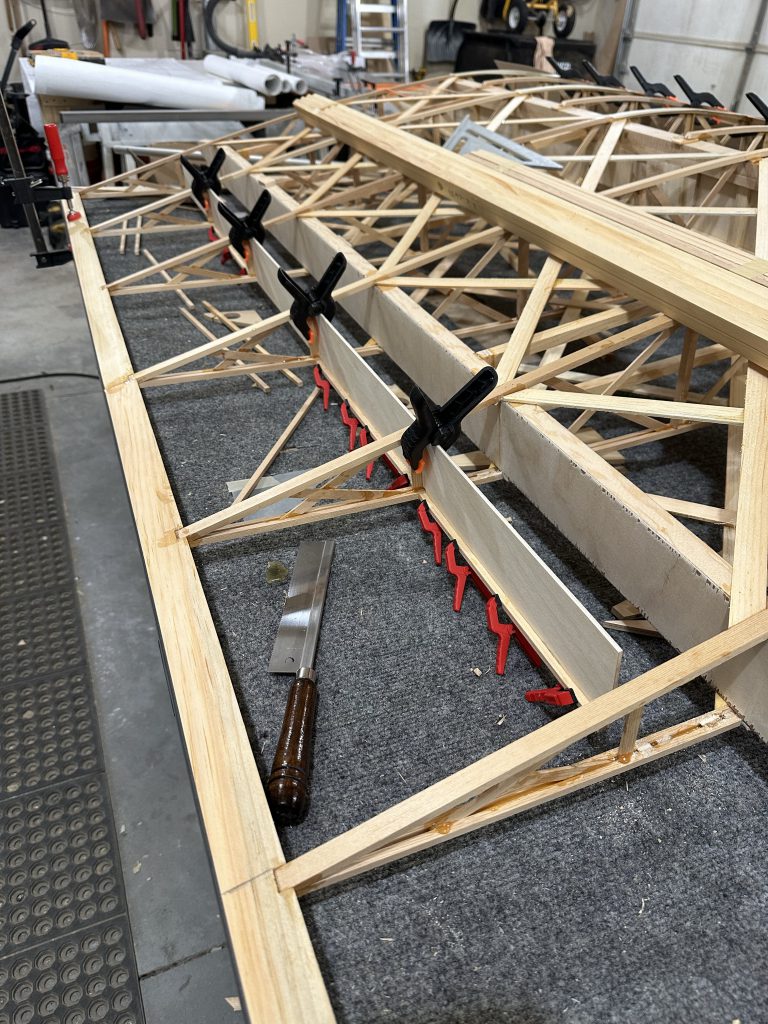
We spent an hour or two yesterday trying to work out the aileron bits and pieces. The factory cut and drilled plywood bits (CW32, CW34, CW35, etc.) have been both a blessing and a curse. Most of the confusion seems to come from the fact that the CW36 pieces, which attach to the ribs just inboard and just outboard of the aileron bay, are apparently drilled WAY off. The pieces are too long for the wing to begin with — they seem to be sized for a rear spar built with the original 1/2″ thickness. non the current 3/4″. Then there’s a hole marked “more or less” on center, but the actual hole is drilled about 1/8″ or so low, or high, depending on how the piece is flipped. There is no orientation we could find that matches up with the holes drilled in the CW35 pieces that are used to attach the aileron to the torque tube. Fortunately, it really doesn’t matter. I’ll be cutting 1/2″ UHMW end bearings that will attach to those plywood pieces, so we can enlarge those holes as much as needed as long as there’s enough room left to attach the bearing pieces.
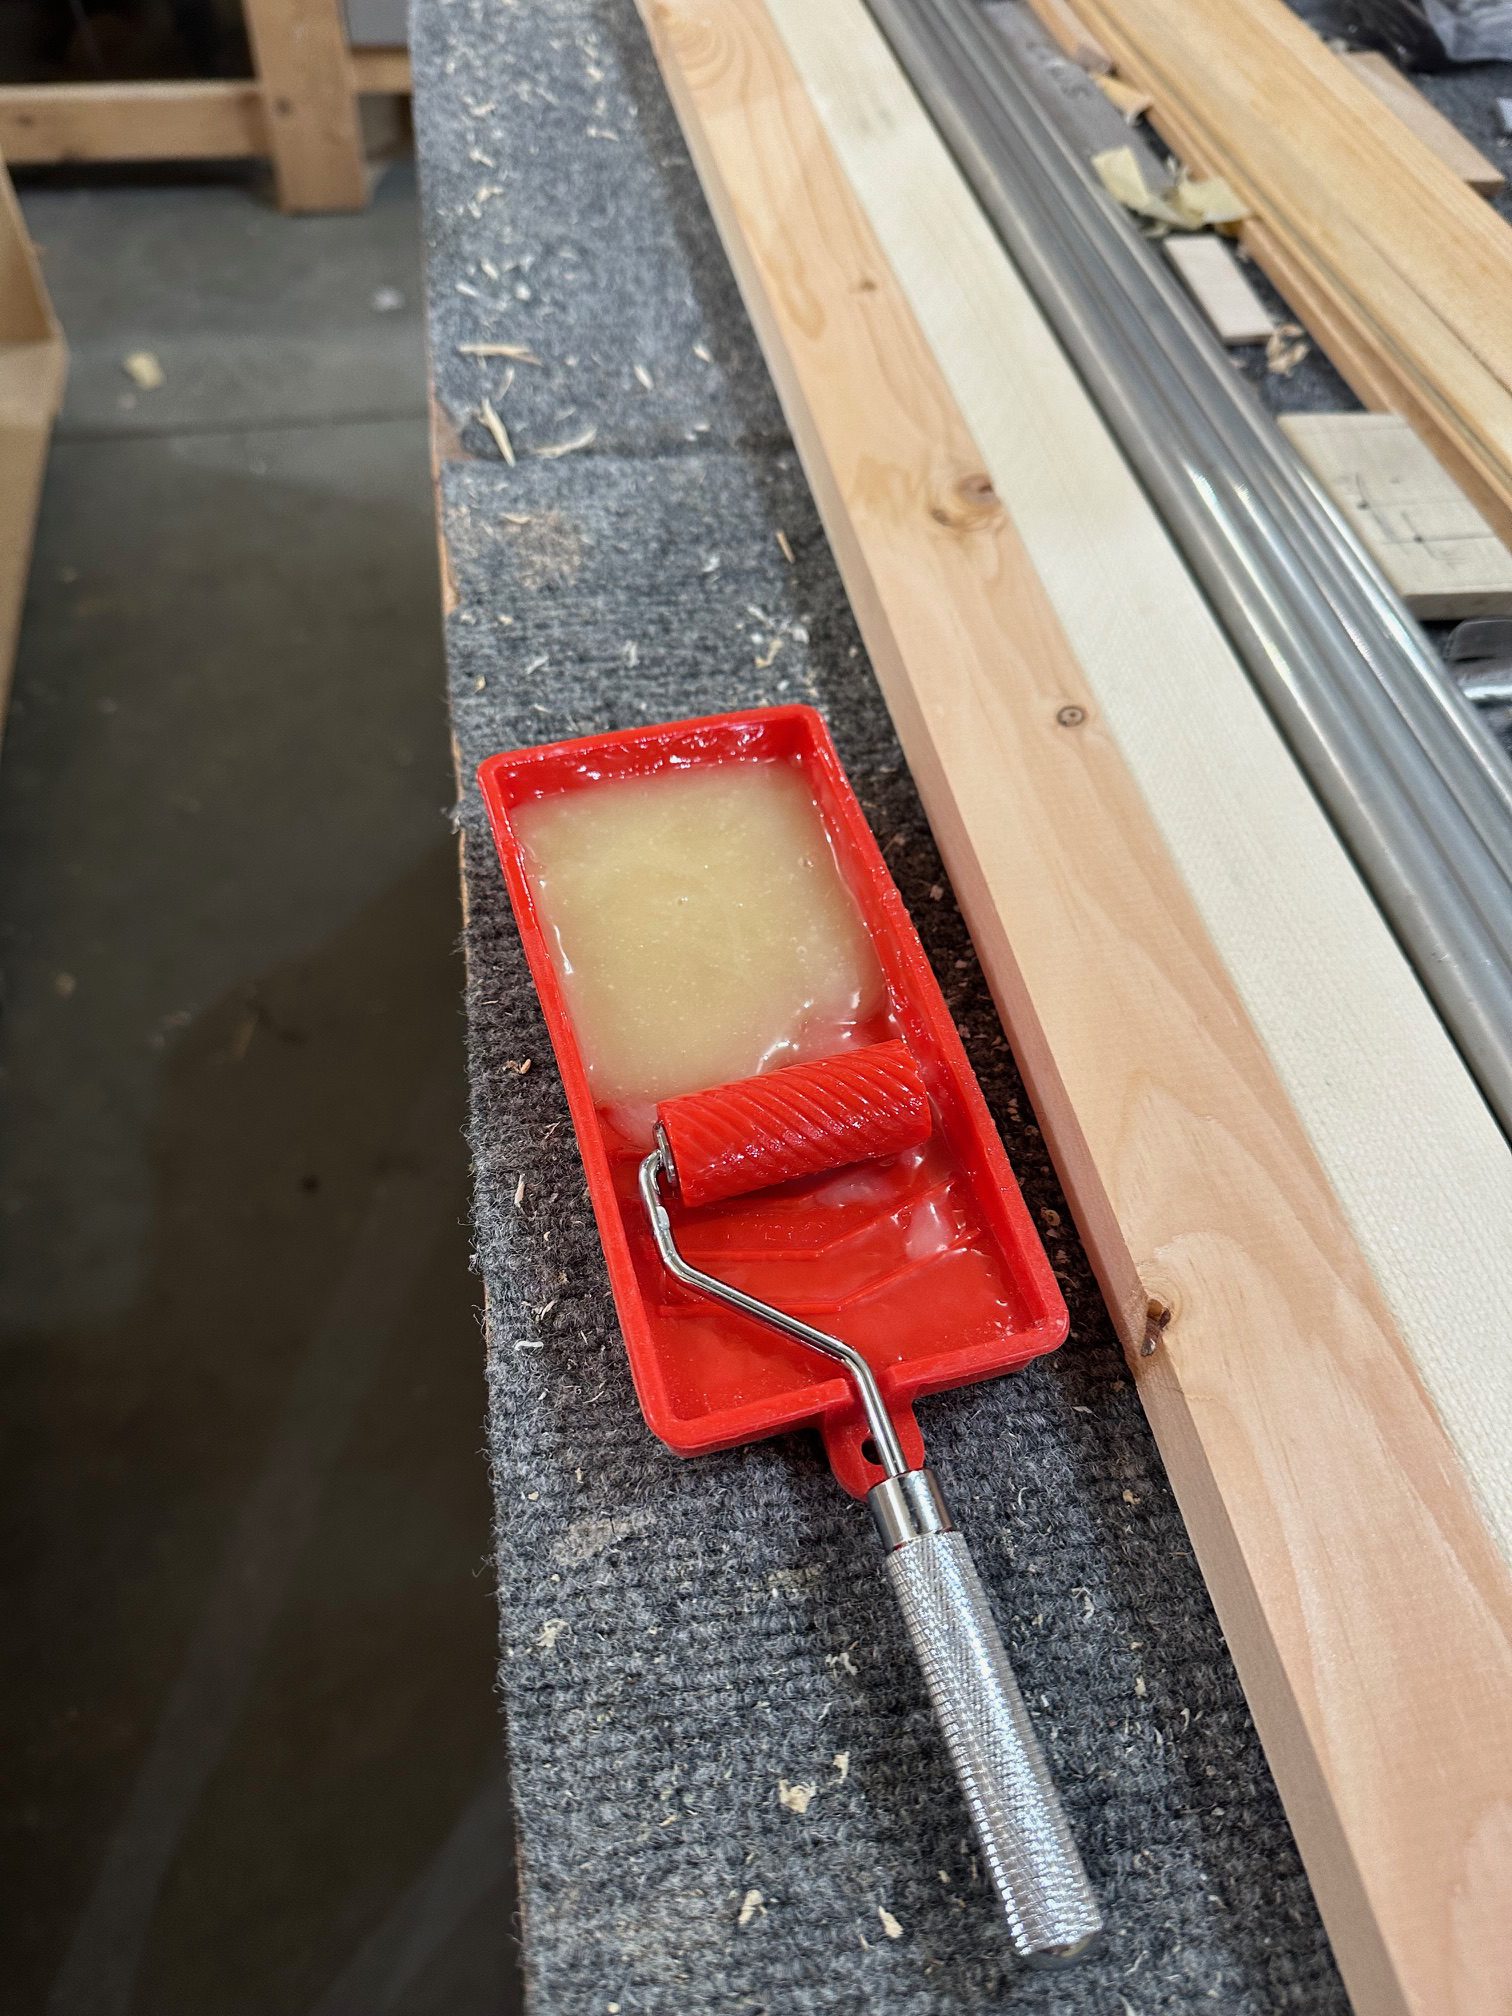
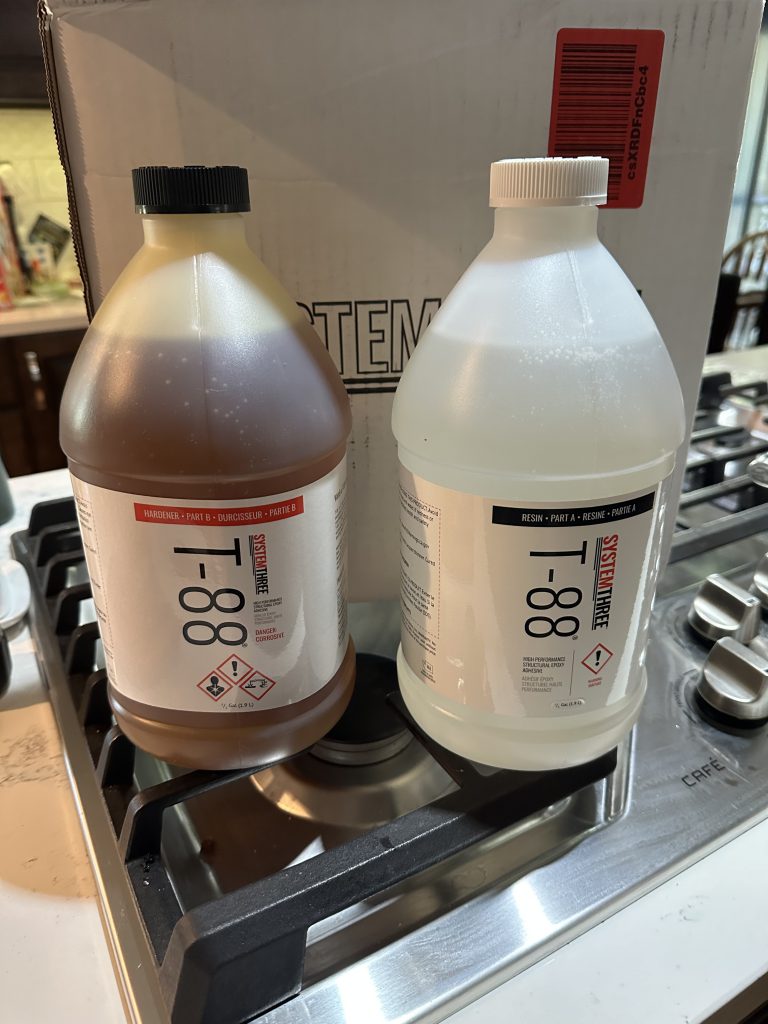
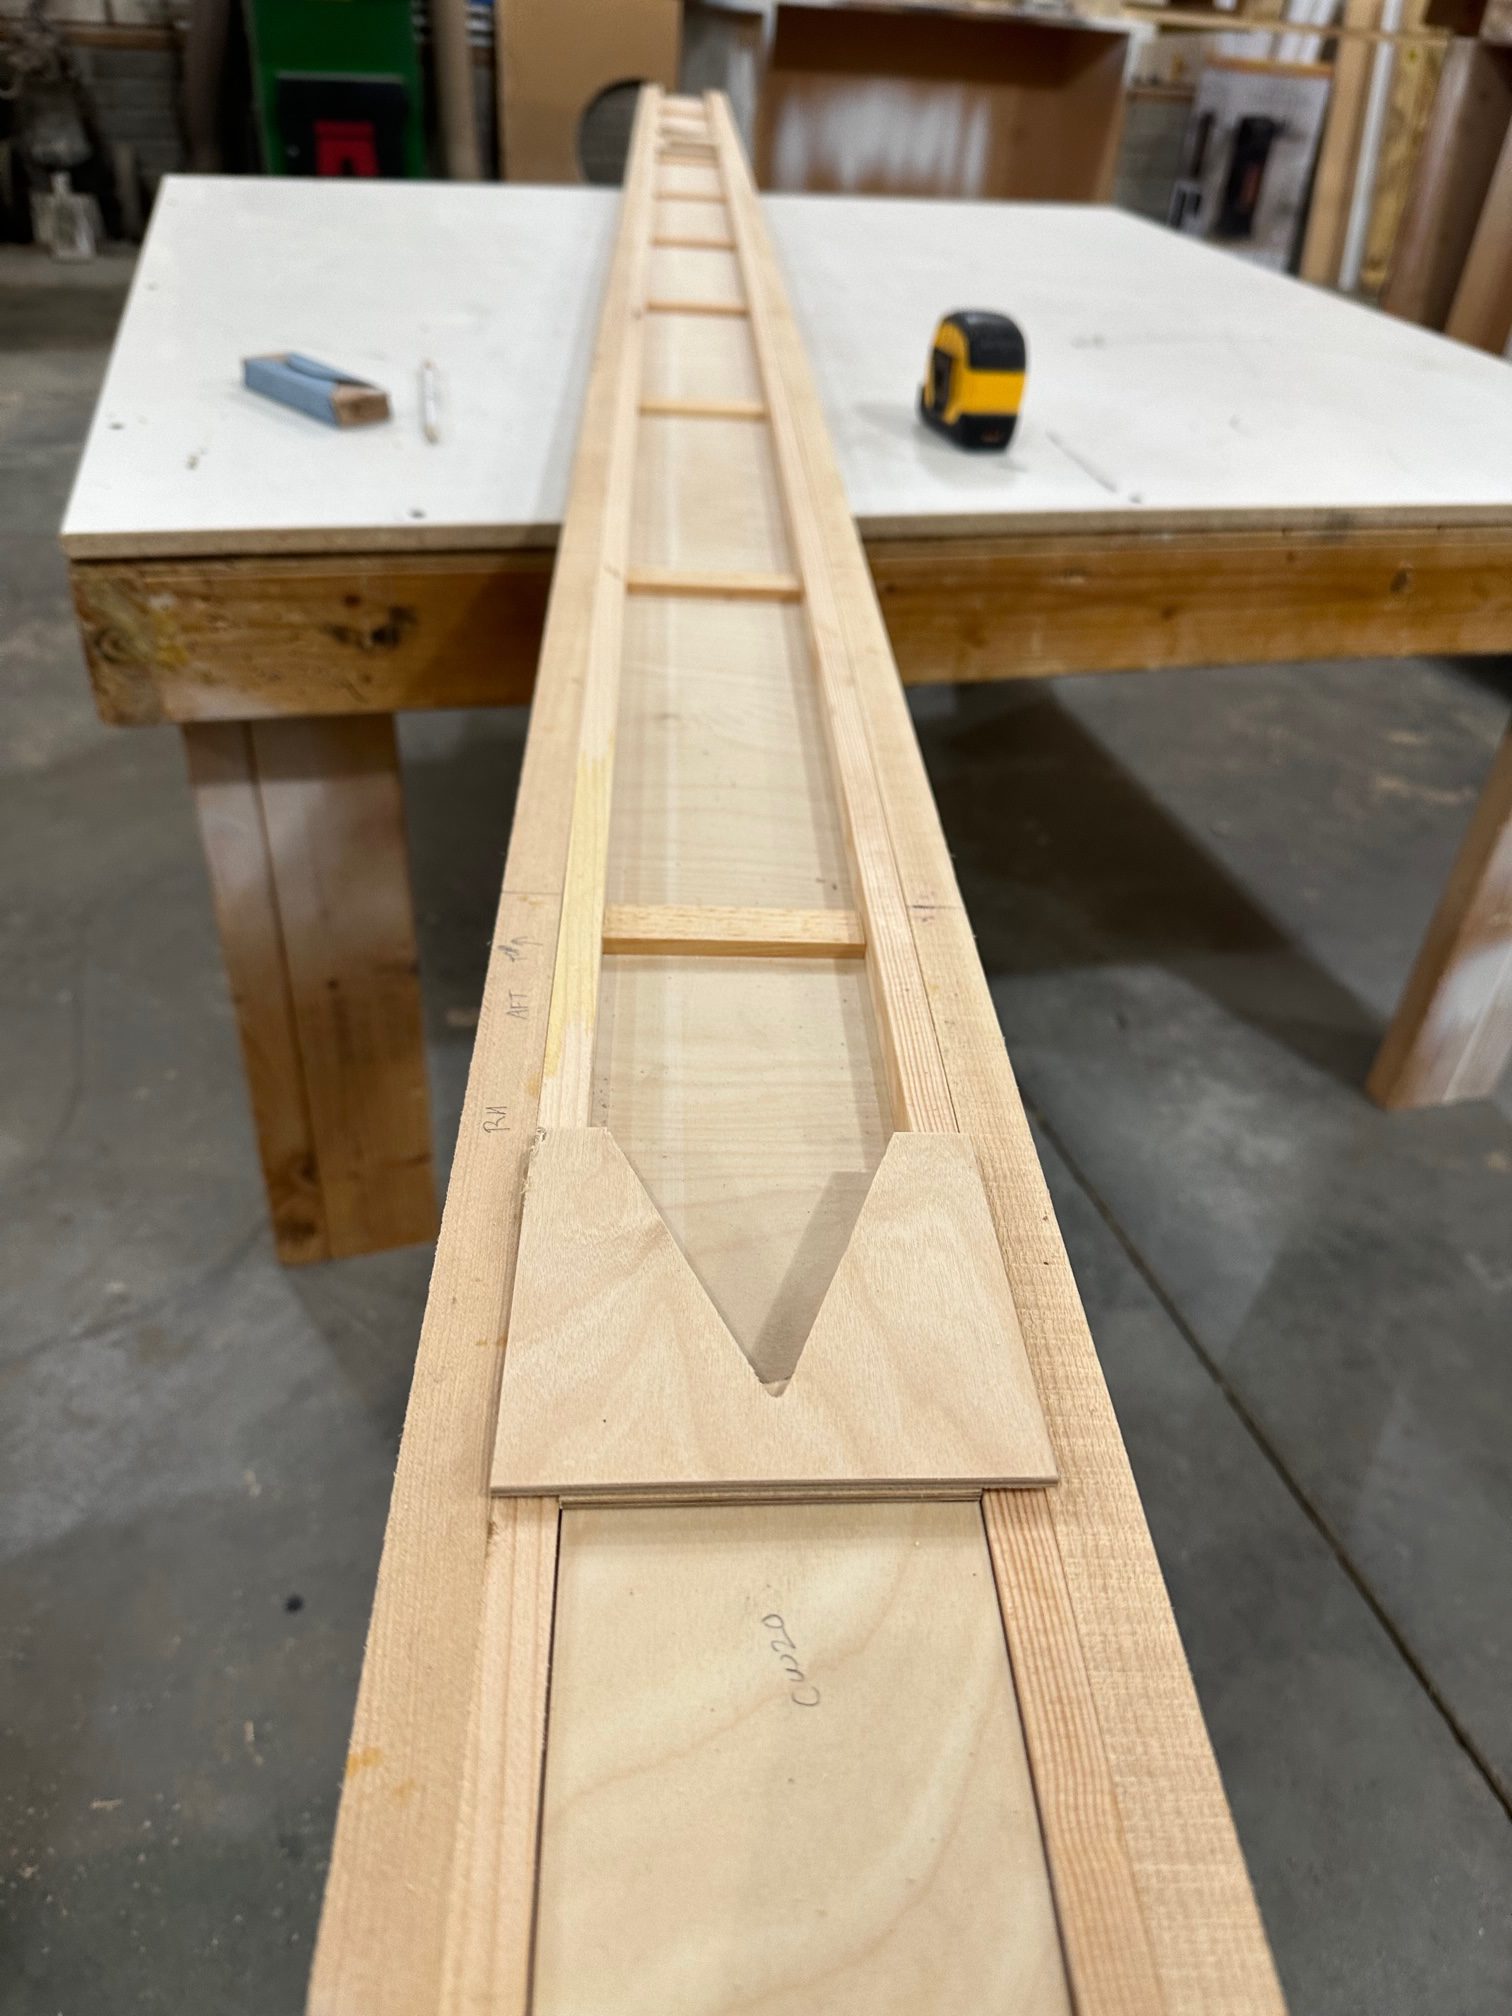
What we did get done was to cut and glue in the aileron spar web, and some of the 1/4″ stiffeners before the glue left over from the leading edge ply got too thick to work with. I glued up a test piece with that; the epoxy is a bit thicker than I would normally use, but I may have just been too conservative on that. I can’t think of any reason it wouldn’t give a full strength joint; the test piece will tell me for sure.
For the most part, I’m waiting for my aluminum for the torque tubes to arrive at Millard Metals, and sheets of 1/16 and 1/8 ply to arrive from Spruce. I need the ply to cut gussets for the compression struts, and we don’t want to get much farther into the ailerons without full length torque tubes to keep everything perfectly aligned.