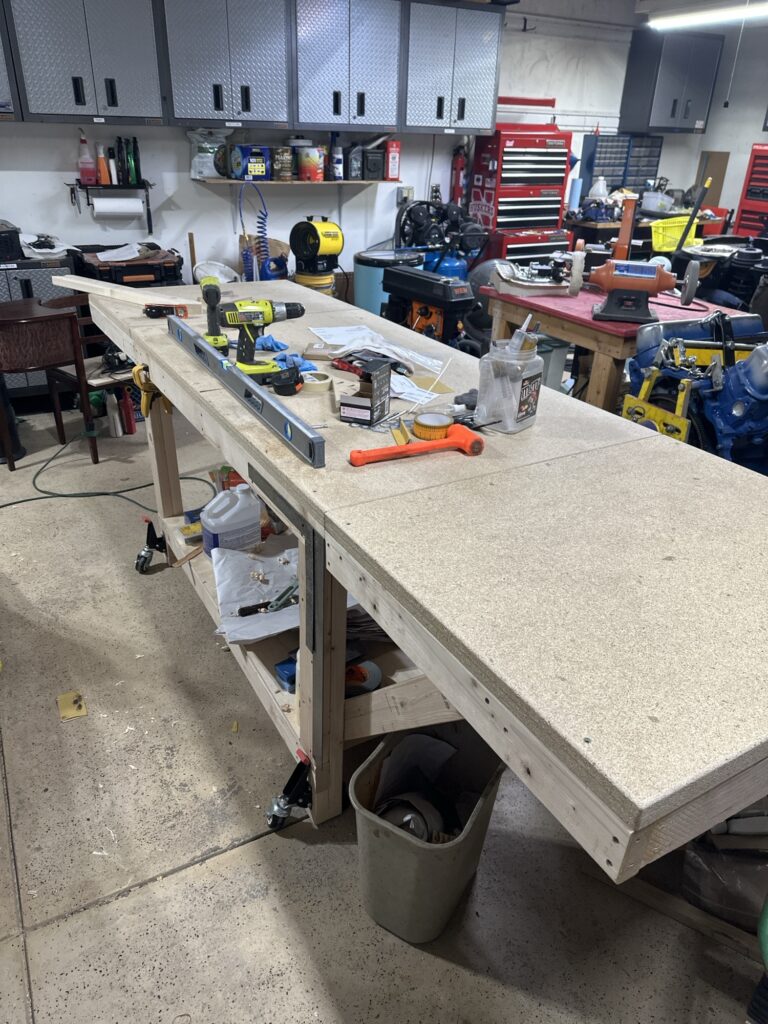
More aileron work

With a week or so off in there due to both my wife and I having COVID, things have been progressing. I got one of the torque tubes measured and cut for the wing. The plywood bits for the nose of the aileron ribs all got drilled out. Looking at how to do the aileron build brought up some issues, though. The plans say to glue and clamp those in place — the challenge is in how to do that, exactly. The clamping anyway.

In order to make the job a bit less complicated, I glued up the plywood sandwiches for the two ends and the middle, where the locking pins will install. I spread some epoxy and threaded the pieces onto the cutoff piece of torque tube to get them all perfectly aligned – and they were tight. With everything aligned perfectly, I shot a few 1/2″ 23 ga. micro pins to keep everything stable, then added spring clamps and took them off the tube so they wouldn’t end up glued to it.

Next day I ran those and the 1/8″ ply pieces on a spindle sander with a 3/4″ drum on it to enlarge the holes a bit. I wanted a slip fit on the tube for the thicker pieces, and a more “roomy” fit for the 1/8″ pieces. Those were supposed to get 1-1/8″ holes in the first place, but I missed that part in the instructions and we drilled them to 1″.

Realizing that the wing now can’t sit flat on the steel rail due to the trailing edge of the wingtip bow not being tapered to match the wing, I took care of that as well. Only the last couple inches of the bow need to be tapered. I started with a little razor plane that Dad used for model airplane work to shave the bow lamination and corner block down very close to the contour I wanted. I then finished it up with a sanding block, and I’m quite happy with the result.

Everything is ready now to get the plywood pieces glued into place. I’d have done it today, but as I was about to mix up the glue I was reminded that it was time to go pick up the grandkids, which turned into dinner and a late arrival home.

Still hacking away at it

Rear spars built, and tip supports added. Now building the tip supports for the main spars. At some point I need to get some AL stock and see if I can find my box of 4130 tubing to see if I’ve already got bushing material. Then I will need to drill the holes for the attachment and strut/wire fittings before starting wing assembly.

The spars don’t look terribly complex on the plans, but there really is a lot of detail work involved. It’s dragging on longer than I had hoped since it’s a trip over to Stu’s every time I want to get a little work done. I think I may need to take a little more structured approach to this — study the plans, then make a punch list for each trip so I don’t waste time while I’m there trying to figure out the next step.

Spar update 10/11

Last night I did some work to get the parts ready for the wingtip bow supports on the rear spars. I ended up not gluing them on, since I’ve got to think a little more about how I’m going to clamp the pieces together. I did get the stiffeners glued to the rear face of the upper rear spars.

Up until now everything I’ve done with the spars has resulted in parts that were still interchangeable. Main spars are identical and fore/aft symmetrical, so there’s no right or left side. The rear spars are not fore/aft symmetrical, so now I have a left and a right upper rear spar. I had to take just a few minutes extra to make sure everything was properly oriented before attaching those stiffeners, or I could end up with two left or two right spars. Needless to say, there are some extra pencil markings on them…

The easy way to manage T-88 epoxy

I’ve seen all kinds of methods people use to mix up their T-88 epoxy. The manufacturer says to mix the resin and hardener (Part A and Part B) 1:1 by volume, or 100:83 by weight – which are the same thing. Plenty of videos on YouTube and EAA Hints for Homebuilders show various methods, and I’ve read some pretty involved threads on various homebuilding message boards. Some squeeze out equal lines of the two parts. Some cut the bottle tips to different sizes and squeeze out for a measured amount of time. Some have built scales to measure out by weight. Some do it in graduated mixing cups, like the little medicine cups that are easy to find. Some just use “TLAR” – or, “That looks about right”. You can buy T-88 in twin dispensing cartridges that automatically dispense and mix the glue — but it’s something like six times the cost of buying it in bottles, and of course you’re going to waste some each time when you throw out the mixing tube.

I have a bit of an aversion to not measuring epoxy accurately, and estimating and hoping for the best didn’t seem to me like a good plan when building an airplane. I know the precise ratio isn’t super critical; even System Three says that. Still, though, why guesstimate or get “close enough” when it’s so easy to get an exact amount?

I bought some 60cc catheter tip syringes through Amazon. They’re cheap and disposable, though I’ve reused mine a number of times. I fill one with Part A and one with Part B, and usually use a permanent marker to mark the cap for the Part B (darker) syringe, just so I don’t accidentally mix the caps up and ruin some epoxy. I’ll fill them just past the 60CC mark, then stand them tips-up overnight to let all the trapped air bubble up to the top, then squeeze a little back into the bottle or jug until the plunger is exactly on the 60cc mark. Pull the plunger back just a bit to get a little air in the tip, and cap it.

By doing this you can very accurately measure both parts to mix up any desired quantity of glue, from 2 cc up to 120 cc. Gluing plywood spar webs to spar caps? I’ll mix up 20 cc at a time, 10cc from each syringe. Building ribs? About 8 or 10 cc of glue will do two wing ribs, so 4 or 5 cc from each syringe. When the syringes are empty, you can either be a cheapskate like me and refill them, or just toss them in the trash if they’re too grungy to re-use or if you’re Daddy Warbucks and don’t care about the cost. I’ve got two pair of syringes that I use, and each has been refilled probably six or eight times. I just ordered some more syringes, since these are getting a little sticky and I want to keep fresh ones on hand. I use them for other things as well, so it’s never a bad idea to have some around. You also don’t want to run out of glue before you’re done building for the day, so I try to always have at least two sets filled.

Note: Pay attention to the quality of the syringes you buy. The first few I bought were made by B-D (Beckton-Dickinson) or Brandzig, are nice heavy duty plastic, are marked with 1 cc graduations, have good caps, and are generally high quality. The next batch I bought are thin, lightweight, shorter, marked with 2 cc lines, and are generally cheap Chinese crap. I’ll toss these after the first use and chalk it up to a lesson learned. As is almost always the case, it’s better to spend a little extra for good quality.

Workshop assessment and kit inventory

I met with Stu over the weekend to figure out where and how we’d set up the spar assemblies. I was concerned about the lack of any long workbenches in his shop. He’s primarily set up for building cabinets, and most of his work tables are smaller, low to the ground, and on casters. As it turns out, one of the tables has folding extensions that make it 9 or 10 feet long. The top is very thick, heavy, rigid, and very flat — he uses it to mount rails and a sled for a router to flatten large slabs of wood. He put threaded inserts on the edges of the table where a set of heavy welded steel rails can be attached. With those installed, there will be a built-in straight edge for blocking and clamping the spar caps. It’s not something I would have thought of; the “normal” practice is to lay out a chalk line and nail wood blocks to locate the spar caps during assembly. I think, however, that this setup will be more than adequate for spar construction. I may need to build a matched-height extension for the wing assembly, but that’s a decision for another day.

The wing kit contains no hardware at all. Fortunately it looks like all of the hardware required is made from readily available material and requires simple manufacturing. It’s all flat aluminum stock, some 4130 tubing for bushings, aluminum tubing for aileron torque tubes, and so on. No brake, lathe, welder, etc. required yet. Some of the material I may already have on hand, in fact. The rest can be ordered or even found locally.

While I was there, I grabbed a few pieces of rib capstrip so I could finish off the last of the false ribs. I made two on Sunday, and set up two more this morning.

Tempus fugit

Another year draws quickly to a close, with what feels like not a lot of progress on this project. I have a tall stack of ribs, but really nothing else. I had hoped to have a good start on the tail surfaces by now, but haven’t even started on them. We’ll need the basement for a family Christmas party, so no laying a 4×8 sheet of MDF over the island down there to start laminating pine. No worries, though. I have located some nice clear pine boards at Menard’s that will rip down nicely into 10′ long lamination strips. I have an order of Finnish birch ply queued up on Aircraft Spruce’s web site, ready to place the order once I’m sure I have all the stuff on there that’s going to be expensive to ship. As soon as we’re finished with the post-party cleanup, I’ll have the basement available to work in through the rest of the winter since the garage will just be a bit too cold for epoxy.

I also got a great idea from one of the guys on the Biplane Forum. I’ve been pondering how to store the wing ribs. I think I’ll build short pieces of main and rear spars out of pine and non-certified plywood, just to assemble all the ribs and clamp them together. That way I can surface sand them all together, and maybe if I’m lucky use that assembly to run them through the table saw for trimming as well. Maybe.

Ready for ribs

Well, the work bench is cleared off — well, at least enough to get both jigs on it.  I’ve got a couple dozen sticks of geodetic brace stock shaved down.  The epoxy syringes are filled.  All I need now is a razor saw and a steam setup.

Yes, I have a razor saw.  Somewhere.  I pulled it out during the kitchen remodel, and I remember seeing it in a box of tools we were using, but now I can’t find it.  It’s a Zona, good quality but inexpensive.  A new one is on the way.  Two, in fact; one medium and one fine tooth.  I also have a steam box that I built for the capstrips, but I’m unsure whether I’ll use it in the basement.  It takes bench space (which I now don’t have down there), and drips water out the end by design.  I’m thinking about ways I can use it vertically.  I had looked at rigging up a piece of pipe or something with a heating element for hot water, but it looked like an awful lot of extra work considering I’m over halfway through the ribs.  I’ll probably need it for the tail and wingtip bows as well, but I’m not entirely sure yet how I’m going to steam 6 to 9 foot long strips of wood.  Tonight I tried soaking half a dozen capstrips in a bucket of hot water for an hour — we’ll see how well that worked. 

Back at it…

Well, I thought it had been a lot longer since I did any construction, but I see it was only back in February.  I really wouldn’t have been surprised to find that I’d gone an entire year without building anything.  But, I’m getting ready for winter and more building.  To be honest, I’d had second thoughts recently about even continuing with this project.  Sometimes it seems like such a massive undertaking, especially when I see pictures of guys attaching the wings and getting flying wires made and rigging done…  only to tear it all apart again and then start covering.  Covering!!  How the hell an I ever going to cover this beast?  But then I decide that maybe I’ll keep at it after all.  Hey, it’s relatively cheap…  so far…  as hobbies go.  It keeps me occupied for as long as I care to work on it, and nothing bad happens if I let it sit idle for a while.  Even a long while. 

Over the past few days I’ve been working on getting my absolute pit of a basement workshop cleaned up at least enough to be able to move around and use the workbench.  A new water softener installation, a kitchen remodel and a few other household projects meant there was a lot of mess left over, and a whole lot lot of crap got just piled everywhere.  Most of it’s cleaned up.  Not enough, really, but at least enough for me to be able to take stock of where I am.  In hindsight, I suppose I could have, you know, looked at my blog posts, but where’s the fun in that?

I need 26 normal wing ribs, and they are all done.  I need 16 aileron ribs — the same as the normal ribs, but just missing a couple of cross pieces.  Of those, I have built ten, so there are six left to build.  Then there are 34 false ribs — just stubs from teh leading edge back to just behind the main spar.  I’ve built one of them, so 33 left to build.  Those should be quicker to build, since there are only about a quarter of the geodetic braces to cut and glue.  Unfortunately, each will still occupy a full rib jig — so two at a time is still the limit.  Unless…  maybe after the aileron ribs are done, I can tear down one of the rib jigs and rebuild it to do several false ribs at a time.  I think keeping one rib jig intact would be good, just in case I should ever need to build more ribs for a repair or whatever. 

I’ve got a bunch of geodetic brace stock sanded down to the correct thickness.  Enough for sure to do the rest of the aileron ribs and get a good start on the false ribs.  I’ll probably do half a dozen more, then put the oscillating sander away and maybe knock out a few ribs.  I’m starting to get a little fired up again. 

Getting ready for winter…

It’s only late August, but I’m trying to get started on cleaning up the garage / workshop for the winter.  I can’t build in its current state.  Too many other projects, too much clutter.  I’ve got to get stuff put away, thrown away, stowed, etc.  Then I want to get the rest of the geodetic strips shaved down for assembly, so I’m not out there all winter miserable as I run them through the sander.

Prep work

I’ve been away from building for a while dealing with a remodeling project, the annual condition inspection on the RV-12, Oshkosh and few other odds & ends.  At Oshkosh I discovered that the wood shop guys had actually saved my miniature wing rib from last year (2016).  I brought it home with me, of course.  Last night I pulled the staples, cleaned it up and sanded it, and gave it a coat of clear polyurethane.  I figure it will make a nice wall decoration for my office.

Last night I also started cleaning up some of the enormous mess in the garage so I can get back to building.  I’m not quite there yet, but tools are slowly making their way back into drawers and onto pegs.  It may take a few more days, but it will be nice to get back out to a garage that’s not a complete disaster.  There are 14 wing ribs hanging on the wall, and the guy on the Biplane Forum is catching up with 11 finished.  He can work faster, since he can pull his ribs out of the jigs as soon as they are stapled.  I need to step up my game!

I did pick up a good idea from that discussion — using cut down acid brushes to mix & apply the epoxy.  They’re cheap, and it looks like I might be able to get more precise application of the glue where it’s needed, in the amount needed, with good penetration into the wood grain.  I’m anxious to try that, I have a handful of brushes here.  And, I got some of the epoxy  into 60 cc syringes so I can dispense exactly the same amount of each component.  I know it’s not terribly critical with T-88, but I still want to be as accurate as I can.