Back at it…

Well, I thought it had been a lot longer since I did any construction, but I see it was only back in February.  I really wouldn’t have been surprised to find that I’d gone an entire year without building anything.  But, I’m getting ready for winter and more building.  To be honest, I’d had second thoughts recently about even continuing with this project.  Sometimes it seems like such a massive undertaking, especially when I see pictures of guys attaching the wings and getting flying wires made and rigging done…  only to tear it all apart again and then start covering.  Covering!!  How the hell an I ever going to cover this beast?  But then I decide that maybe I’ll keep at it after all.  Hey, it’s relatively cheap…  so far…  as hobbies go.  It keeps me occupied for as long as I care to work on it, and nothing bad happens if I let it sit idle for a while.  Even a long while. 

Over the past few days I’ve been working on getting my absolute pit of a basement workshop cleaned up at least enough to be able to move around and use the workbench.  A new water softener installation, a kitchen remodel and a few other household projects meant there was a lot of mess left over, and a whole lot lot of crap got just piled everywhere.  Most of it’s cleaned up.  Not enough, really, but at least enough for me to be able to take stock of where I am.  In hindsight, I suppose I could have, you know, looked at my blog posts, but where’s the fun in that?

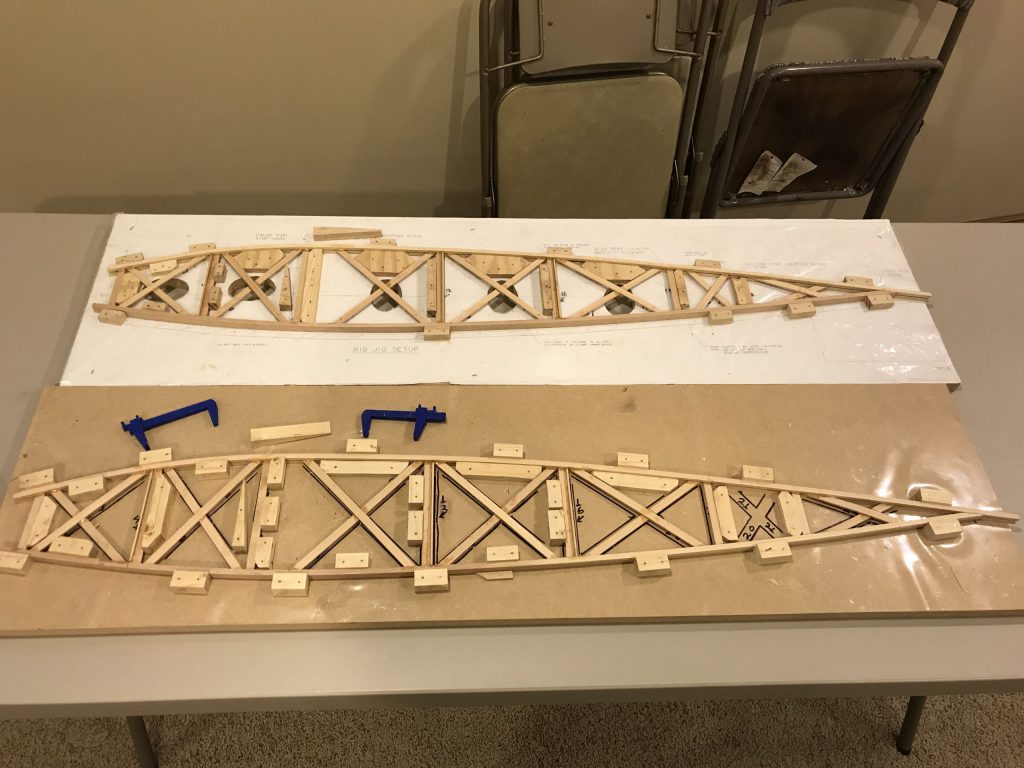
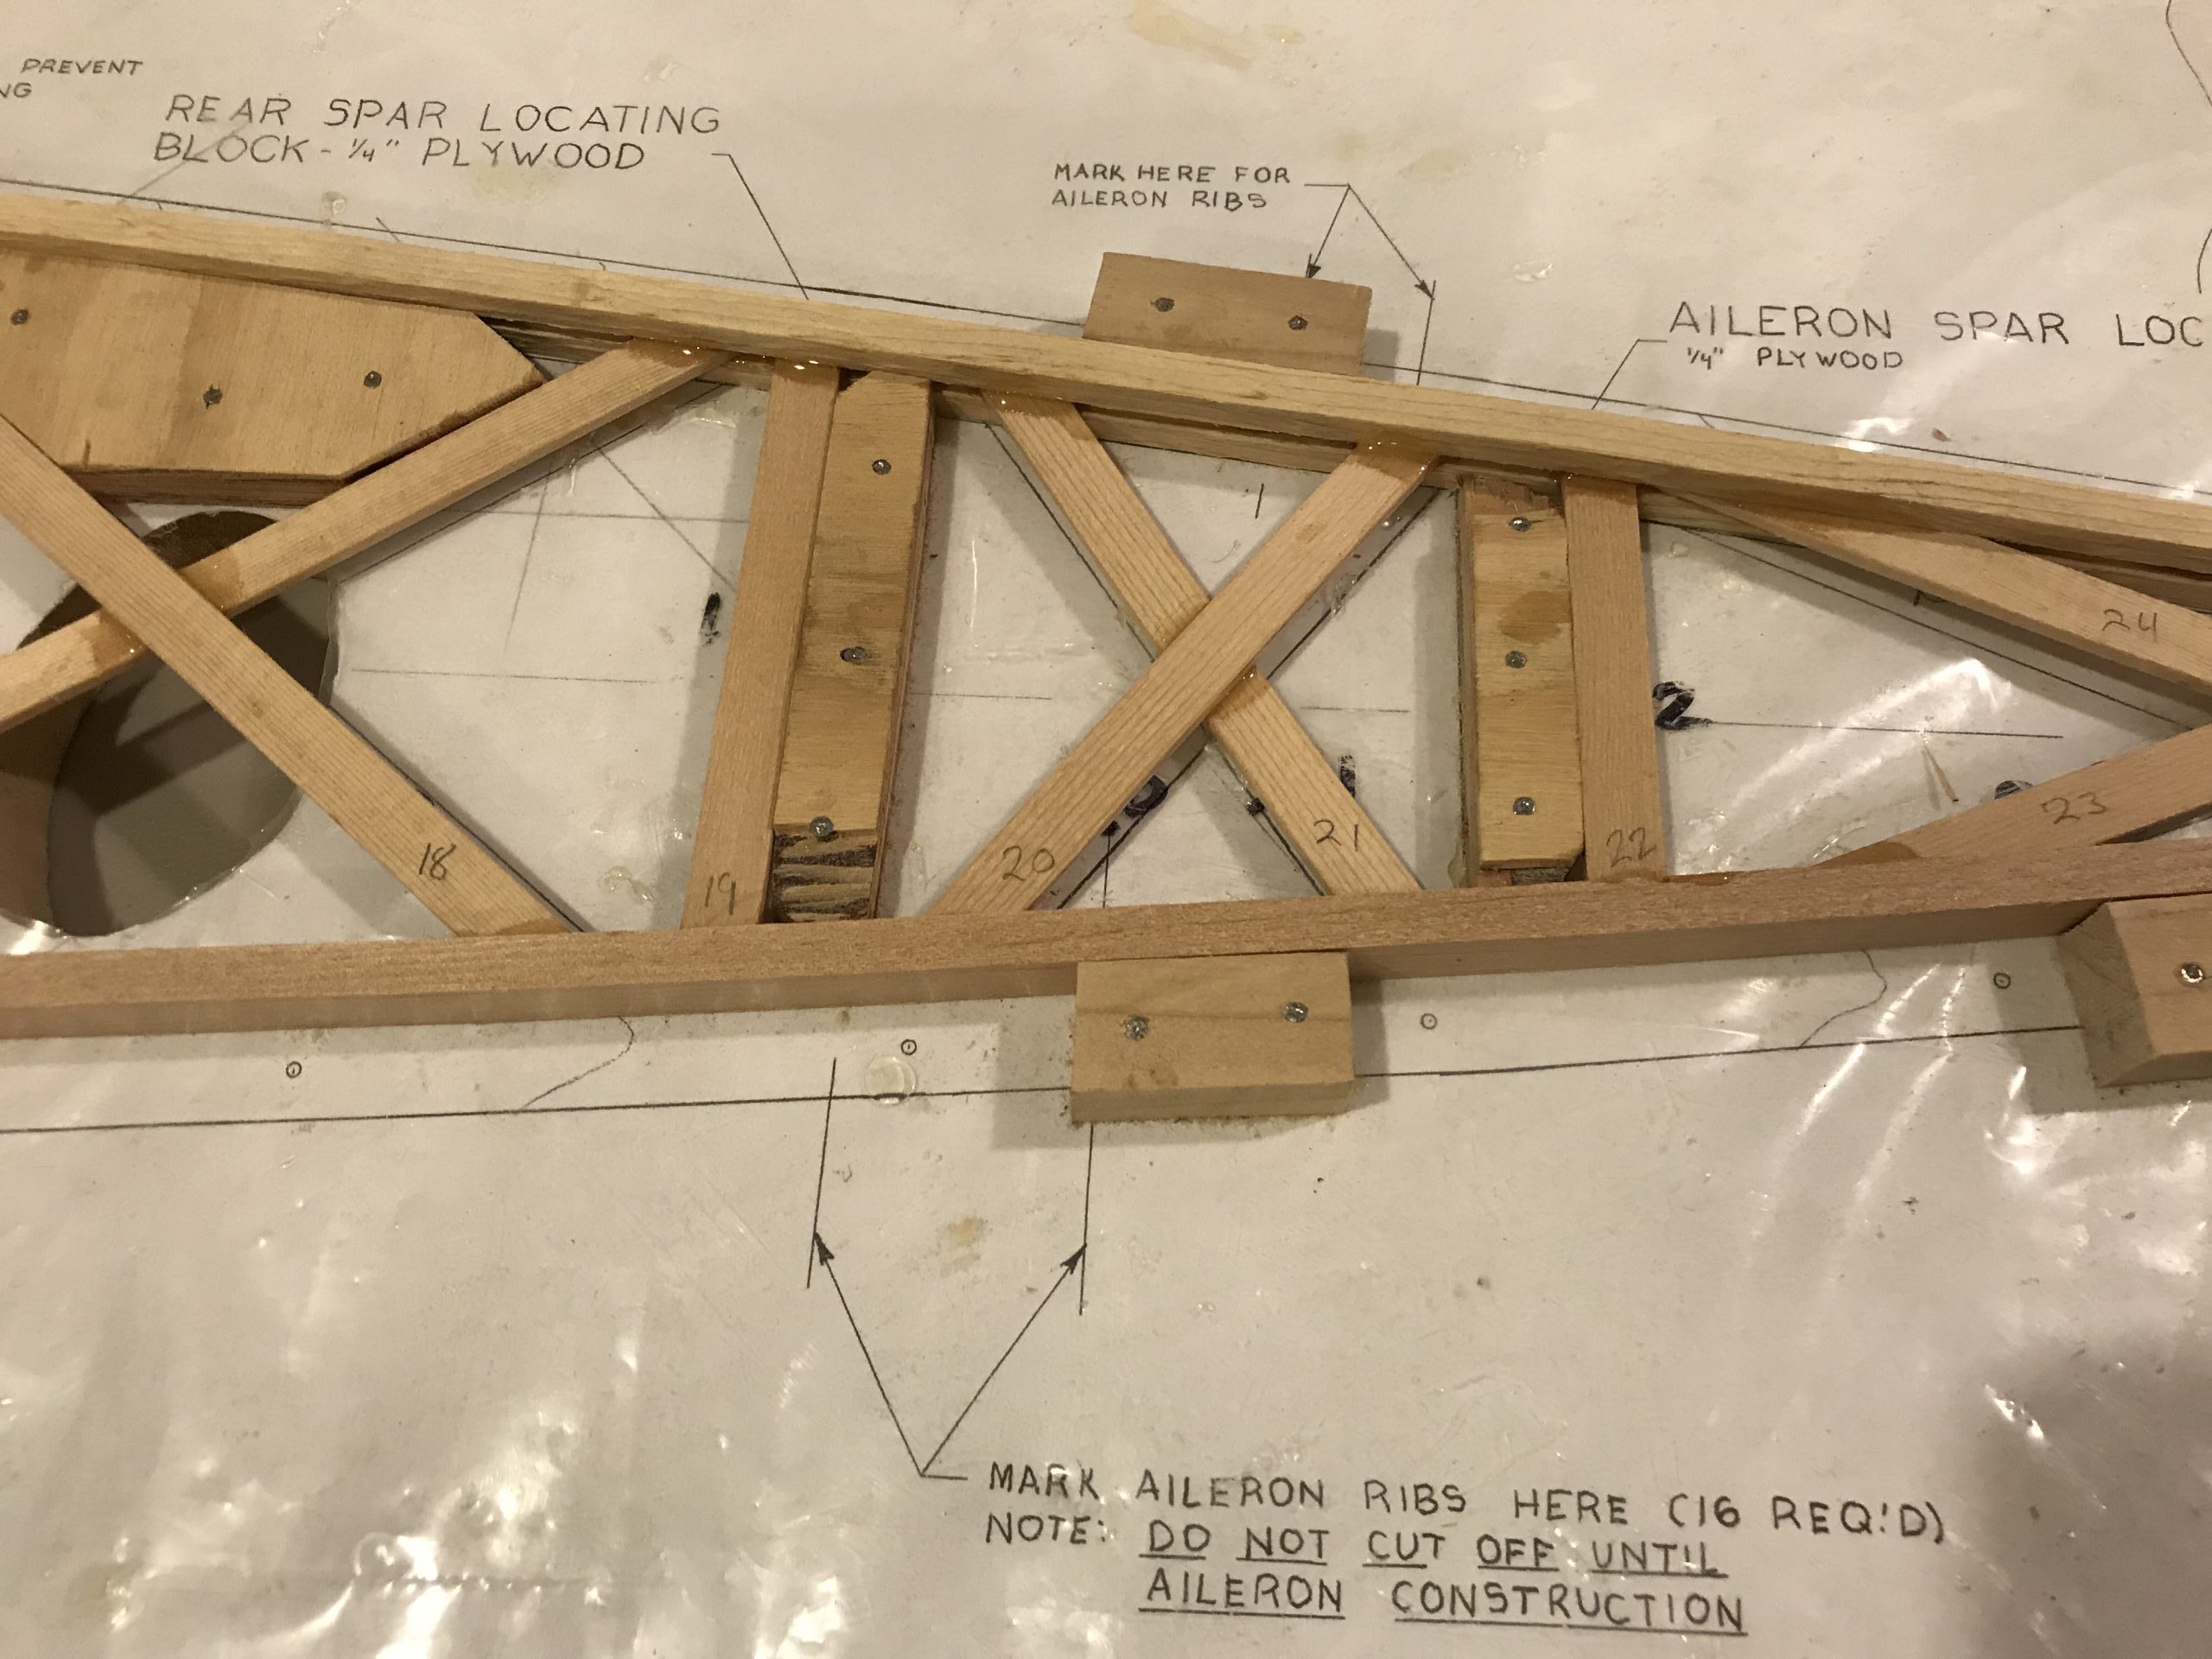
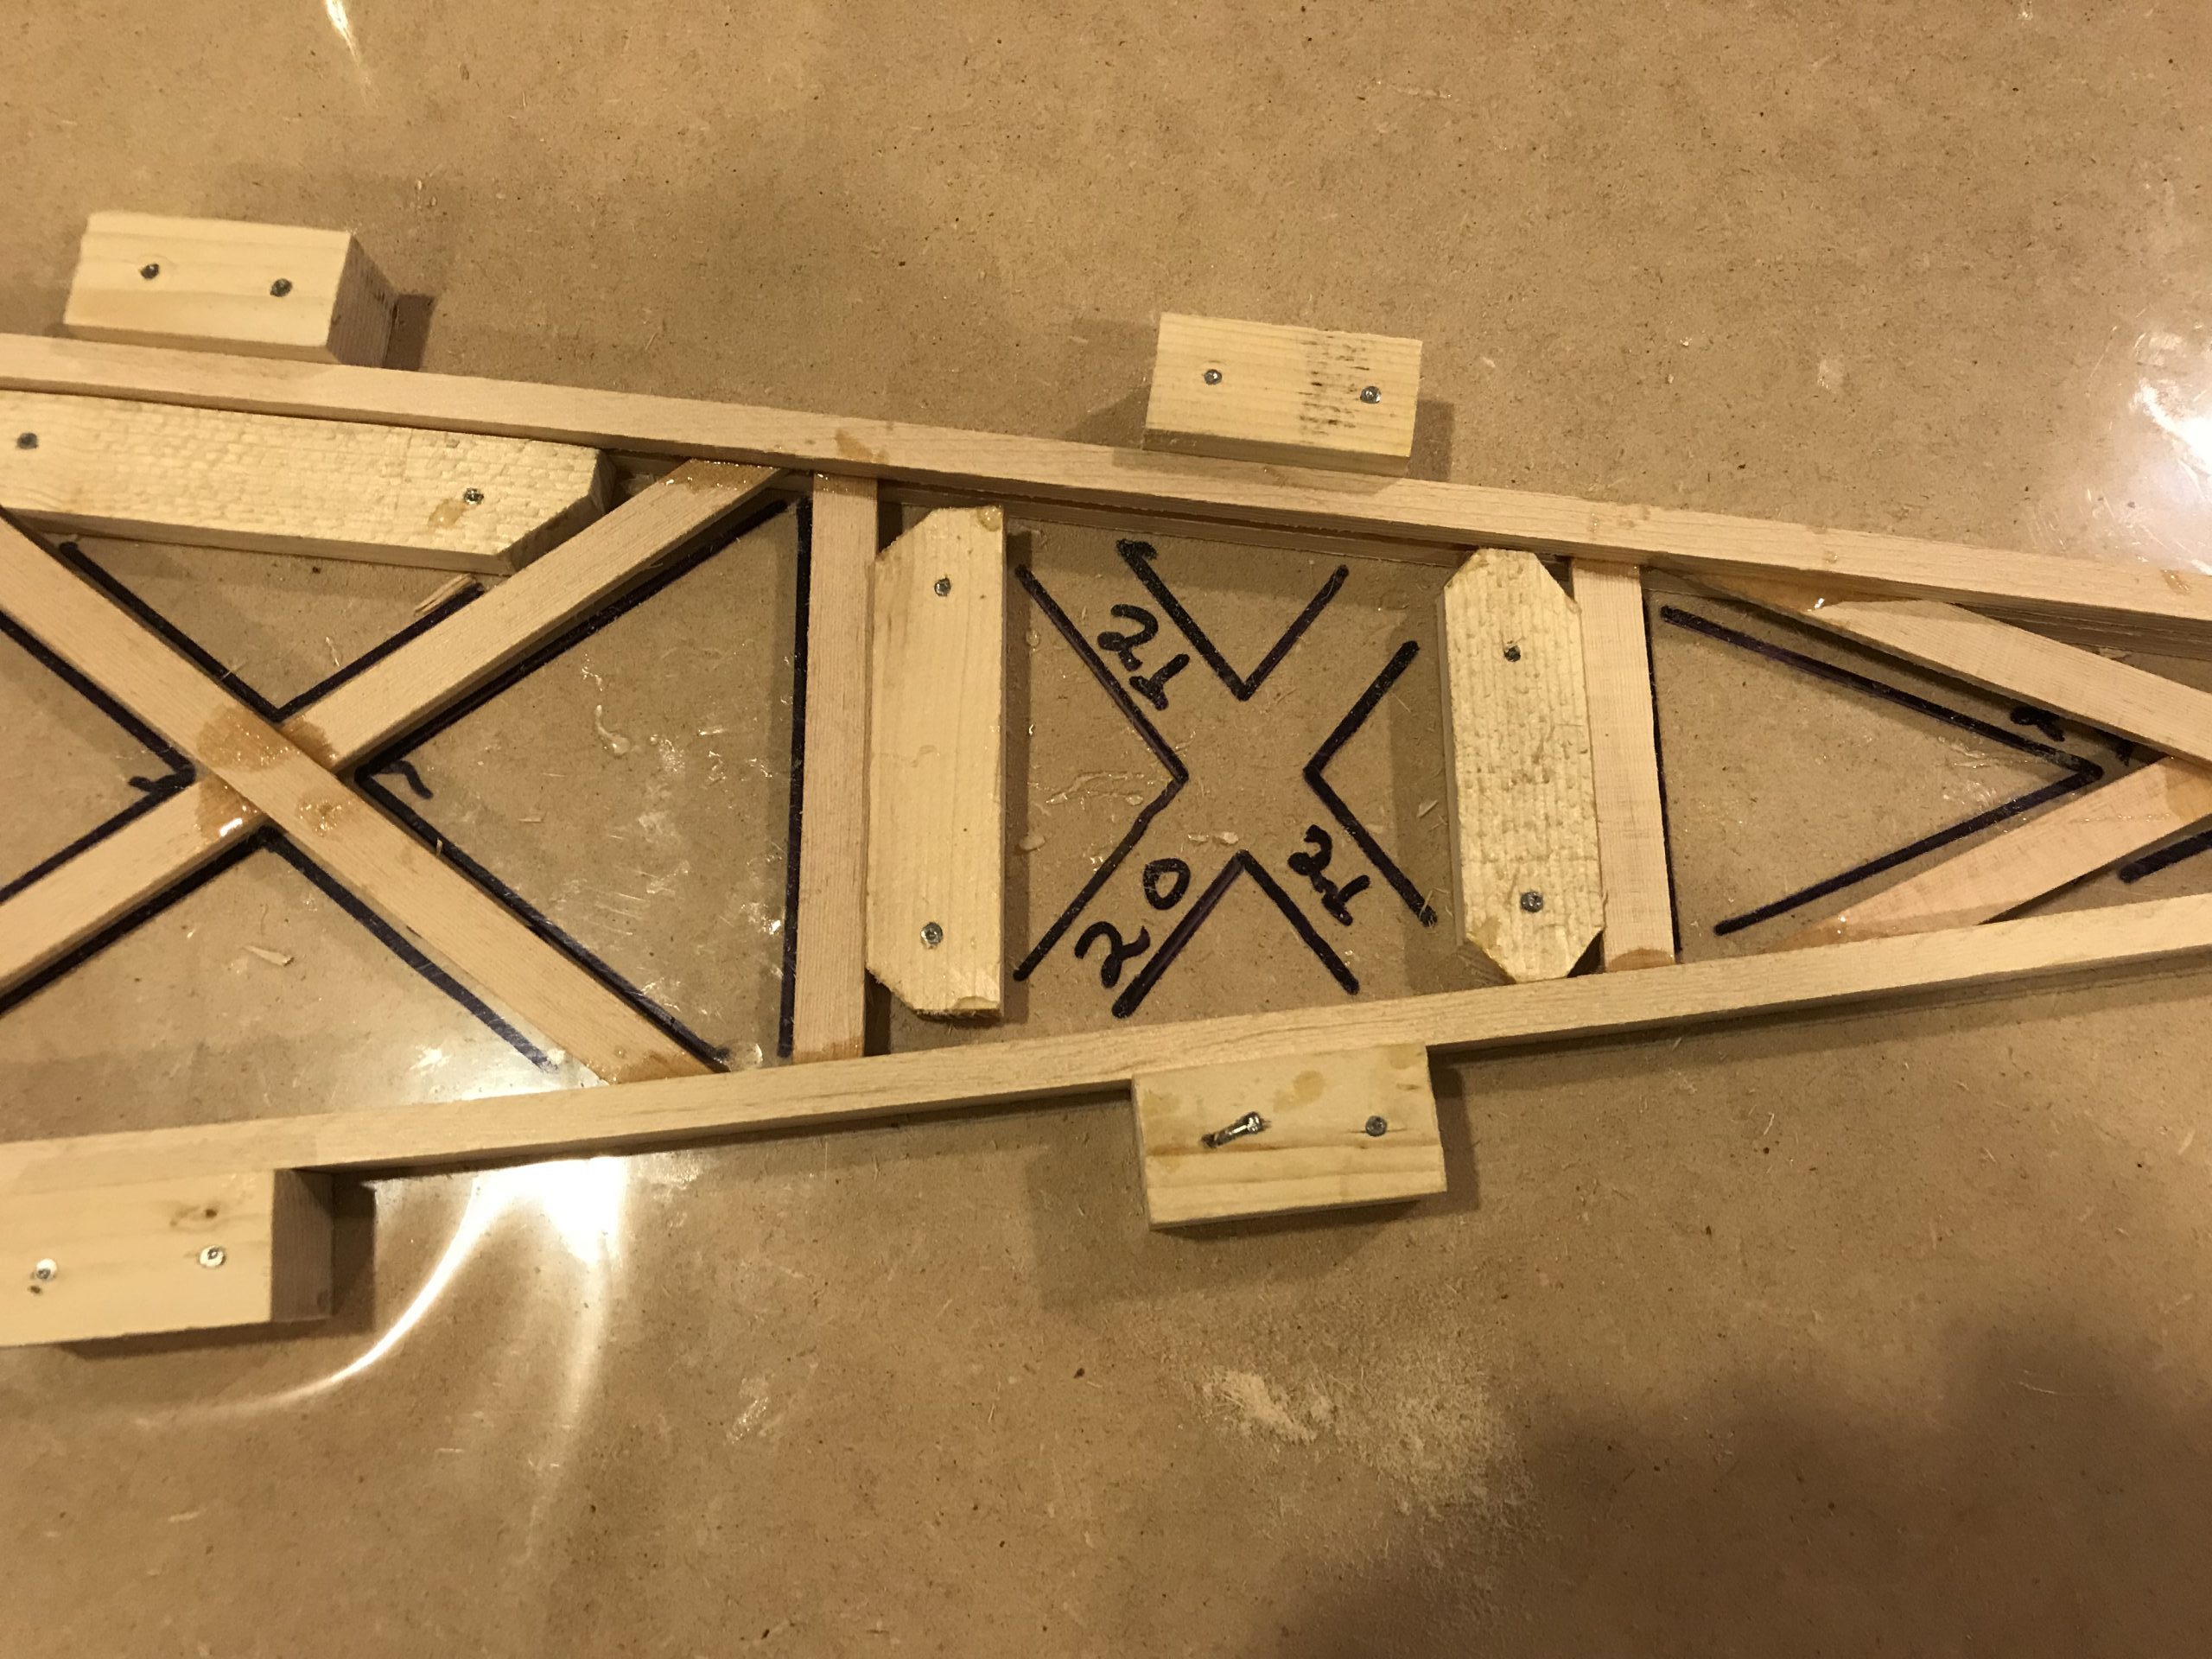
I need 26 normal wing ribs, and they are all done.  I need 16 aileron ribs — the same as the normal ribs, but just missing a couple of cross pieces.  Of those, I have built ten, so there are six left to build.  Then there are 34 false ribs — just stubs from teh leading edge back to just behind the main spar.  I’ve built one of them, so 33 left to build.  Those should be quicker to build, since there are only about a quarter of the geodetic braces to cut and glue.  Unfortunately, each will still occupy a full rib jig — so two at a time is still the limit.  Unless…  maybe after the aileron ribs are done, I can tear down one of the rib jigs and rebuild it to do several false ribs at a time.  I think keeping one rib jig intact would be good, just in case I should ever need to build more ribs for a repair or whatever. 

I’ve got a bunch of geodetic brace stock sanded down to the correct thickness.  Enough for sure to do the rest of the aileron ribs and get a good start on the false ribs.  I’ll probably do half a dozen more, then put the oscillating sander away and maybe knock out a few ribs.  I’m starting to get a little fired up again. 

Slow progress

I’ve knocked out a few more aileron ribs, two at a time.  I’m about halfway through them and trying to speed things up a little, so I don’t die of old age with a half finished airplane.

Yesterday I decided to use up a piece of obviously bad capstrip Aircraft Spruce saw fit to ship me.  This piece has a large chunk missing out of one edge, part of a knothole or pitch pocket or something.  Part of it is in no way suitable for aircraft use or much else for that matter.  But – there’s enough good wood there to use it for false ribs, so I made one of those.  That went OK, but it’s apparent that I will need to soak the top capstrip in HOT water for the false ribs.

I’m looking forward to starting work on the tail surfaces.  I’m planning to get out to the garage and clear off the workbench this week, lay out the plans and see exactly what I will need to get started.  The wood called out is white pine, so I’ll start checking the local places for suitable pieces of white pine or Douglas fir…  a little heavier, but I know Menard’s sells some good boards from which I can cut suitable pieces for the laminations.

Plugging along on aileron ribs

Five down, eleven to go.  Cutting the geodetic braces individually is really not as much of a chore as I thought it would be.  I am finding that I’m going through the 6′ lengths of stock quickly, though — I figure I have enough shaved down for the next 3 ribs, maybe 4, then I’ll have to fire up the drum sander again and make some more.  Not that it’s stupidly tedious work or anything, mind you.

In hindsight, it would have been a whole lot less work and actually less expensive to have bought 3/8″ thick spruce spar stock and just ripped it down to 3/32 strips, losing half the board to saw kerf.  I am at a loss to explain why that little bit of math didn’t make itself obvious.  Of course, I thought at the time that shaving 1/32″ off those strips would be quick and easy.  Not so much.  So…  if you’re building a Celebrity from plans, you’d be better off doing that.

First aileron rib

Full rib top, aileron rib bottom.

Yesterday I glued up the last full rib (#26) and the first aileron rib.  I’m going to call this a milestone.  🙂  I now have 15 more aileron ribs to go, then 34 false ribs.  I suppose I should pull out the plans sheet for the spars and see exactly what I need to order for them.  I have the BOM, but it doesn’t really tell me what I need to know without looking at the plans too.

I had to look at the plans a few times.  It looked like the plan sheet was calling out just one geodetic brace to omit for the aileron ribs, but the locations to mark for eventual cutting didn’t make sense.  I finally realized that the text read, “Omit this X-brace for aileron ribs”…  as in, BOTH braces, not just the one.  Great!  That’s two less pieces to cut and glue.

Back to working in pairs

I finally went out and got the second rib jig from the garage and brought it down to the basement.  Ribs 24 & 25 are now curing, they will be ready to pull tomorrow evening.  My new routine:

  • Put the first jig on the bench.  Cut all the pieces fro one rib and set the geodetic pieces above and below the rib caps, ready to glue.
  • Stack the second jig on top of the first, cut all the pieces for it.
  • Mix up enough glue for both ribs (14cc seems about right)
  • Glue up the rib in the top jig and set it aside.
  • Glue up the rib in the bottom jig.

Double the completion rate.  I’m out of pre-cut geodetic pieces, so now I”m marking and cutting them individually with a razor saw.  It doesn’t take much longer, really, and each one is cut exactly to fit.

I’m almost out of pre-curved top capstrips.  The comments on the plans say you can bend the spruce dry and glue the ribs.  I don’t like the idea of having that much tension on the wood.  The nice thing about working indoors, though, is that I can keep hot water hot longer.  When I run out of pre-bent pieces, I’ll try the hot water bend method again.  In the garage the water cooled off far too quickly.  In the basement, I can get REALLY hot water in a capped length of PVC, and keep it hot long enough to soften the capstrip.  System 3 says T-88 works fine on damp wood…  I’ll try that and see how it goes.

Got rib #22 done…

I finally took a minute to go out and count the ribs hanging in teh garage today.  Combined with the ones in the basement, I have 22 of the 26 required full ribs.  Four more and I can start on the 16 aileron ribs — they are identical to the full ribs, but missing one geodetic brace.  After that will come 34 false ribs.  I’m considering (maybe) using 1/16″, 2mm or 3/32″ birch plywood for those, just to speed up the process.  Haven’t decided yet, and probably won’t do it because of weight.  We’ll see once I get to that point.

Six down.

Progress has been slow, much slower than I planned, but really — building ribs is a pretty low priority.  I have knocked out half a dozen in the basement, to add to the I-forget-how-many in the garage.  I’ll need to count them up soon, but I know I’m not at 26 yet, which is the count of full ribs I will need.

Back at it – more ribs

Got the basement workbench cleared off enough to move rib production indoors.  So far I’m only using one jig, but I’ve knocked out two ribs now.  I need to get the second jig set up.  One rib per day isn’t going to cut it.  Sure is nice working in the basement instead of the garage though.

It’s damn cold outside!

I’ve been wanting to get back to building ribs.  The garage bench has been piled too deep to get anything done, and now it’s been below zero for over a week solid.  Insulation or no, it’s damned cold out in the garage.  Too cold for epoxy to cure, and too cold to work.

So…  there’s a perfectly good work bench down in the basement.  8′ long and rock solid, built by Dad back in the 1960s.  It’s been pretty much completely covered up for the past several years with a collection of parts, partially-disassembled or -assembled prototype projects and assorted debris from the side business I was running, plus a CNC router that took up about 3′ of it.  I have cleared most of it off (much of it into a trash can).  The CNC machine is shelved for now; I’ll maybe resurrect it when needed at a later date.  It will probably come in handy for cutting the instrument panel and/or nose ribs.

The next issue is containers for the geodetic rib braces.  There are 24 braces used in each rib, all of which are of course slightly different.  Just enough so that none are interchangeable.  I was using paper cups to hold them in the garage, but it’s a completely unsatisfactory solution.  In the basement I think I’m going to try stapling taller plastic cups along the back edge of the bench and see how that works.

I’m not moving power tools down there from the garage, so new geodetics will be cut with a razor saw.  We’ll see how that works out…  it’s one of those jobs I wish I could set up a machine or fixture to do.  It’s 24 different lengths with over 40 different angle cuts, so I’m not sure how I’d make that work.  Even cutting them out in batches on the band saw meant fine-tuning each one with a sanding block before assembly.  It’s fiddly work and tedious as hell.  Classic gusseted ribs would be a whole lot faster and easier to build.  If I were starting this over I’d probably just depart from the plans and build them all that way; I’d probably have them all done by now.


Another rib

Just so I could feel like I’m not totally stalled, I built rib #15 this weekend.  6cc of glue turned out to be just about right, with no skimping and very little excess.  The new method of mixing and applying the epoxy with an acid brush worked out well.  I think I will go back to an earlier idea I had, of pre-wetting the groove with glue before putting the top and bottom capstrips into the jig.  It will be easy to do with the brush, and will save some assembly time.  I have a template with pencil marks defining where the glue should go; I think I’ll mark the glue lines along the bottom and top of the jigs to make it easier to apply the glue.