On Thursday I picked up the particle board and plywood and Stu helped me — er, that is to say, Stu cut the sheets up for the top and shelf of the new bench. He’s got a massive SawStop table saw, and he’s a virtuoso using it. It seems to be a challenge for me to rip a 2×4 in half on a table saw; he can zip a 4×8 sheet of 3/4 particle board through that thing like it was a sheet of paper. I try not to use his saw, because even though I’ve never in my life hit the blade of a running saw with a finger, sure as hell I’d trigger his SawStop and add the ignominy of replacing a blade and cartridge to my list of accomplishments. I have, however, found that when I do use his saw things go a lot easier. My old table saw was a challenge to use — for most of the time I owned it the fence wasn’t parallel to the blade, and once I got that fixed the blade was dull. It was actually halfway decent in the end, for smaller pieces. Once I got it finally set up and a brand new carbide blade on it, some asswipe stole it… so now I get to buy new, some day when I have a place to put one. But I digress.
The tops are two layers of 3/4″ particle board, glued and stapled together. The lower shelf is 1/2 plywood, mainly because I had to buy some anyway for another project. The shelf is in three sections, so I’ll need to join them with some scraps of particle board or something. I plan to build some sort of storage to slide in on top of that shelf.
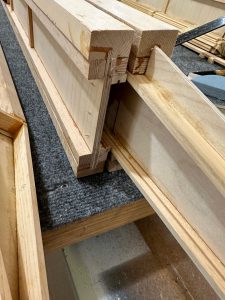
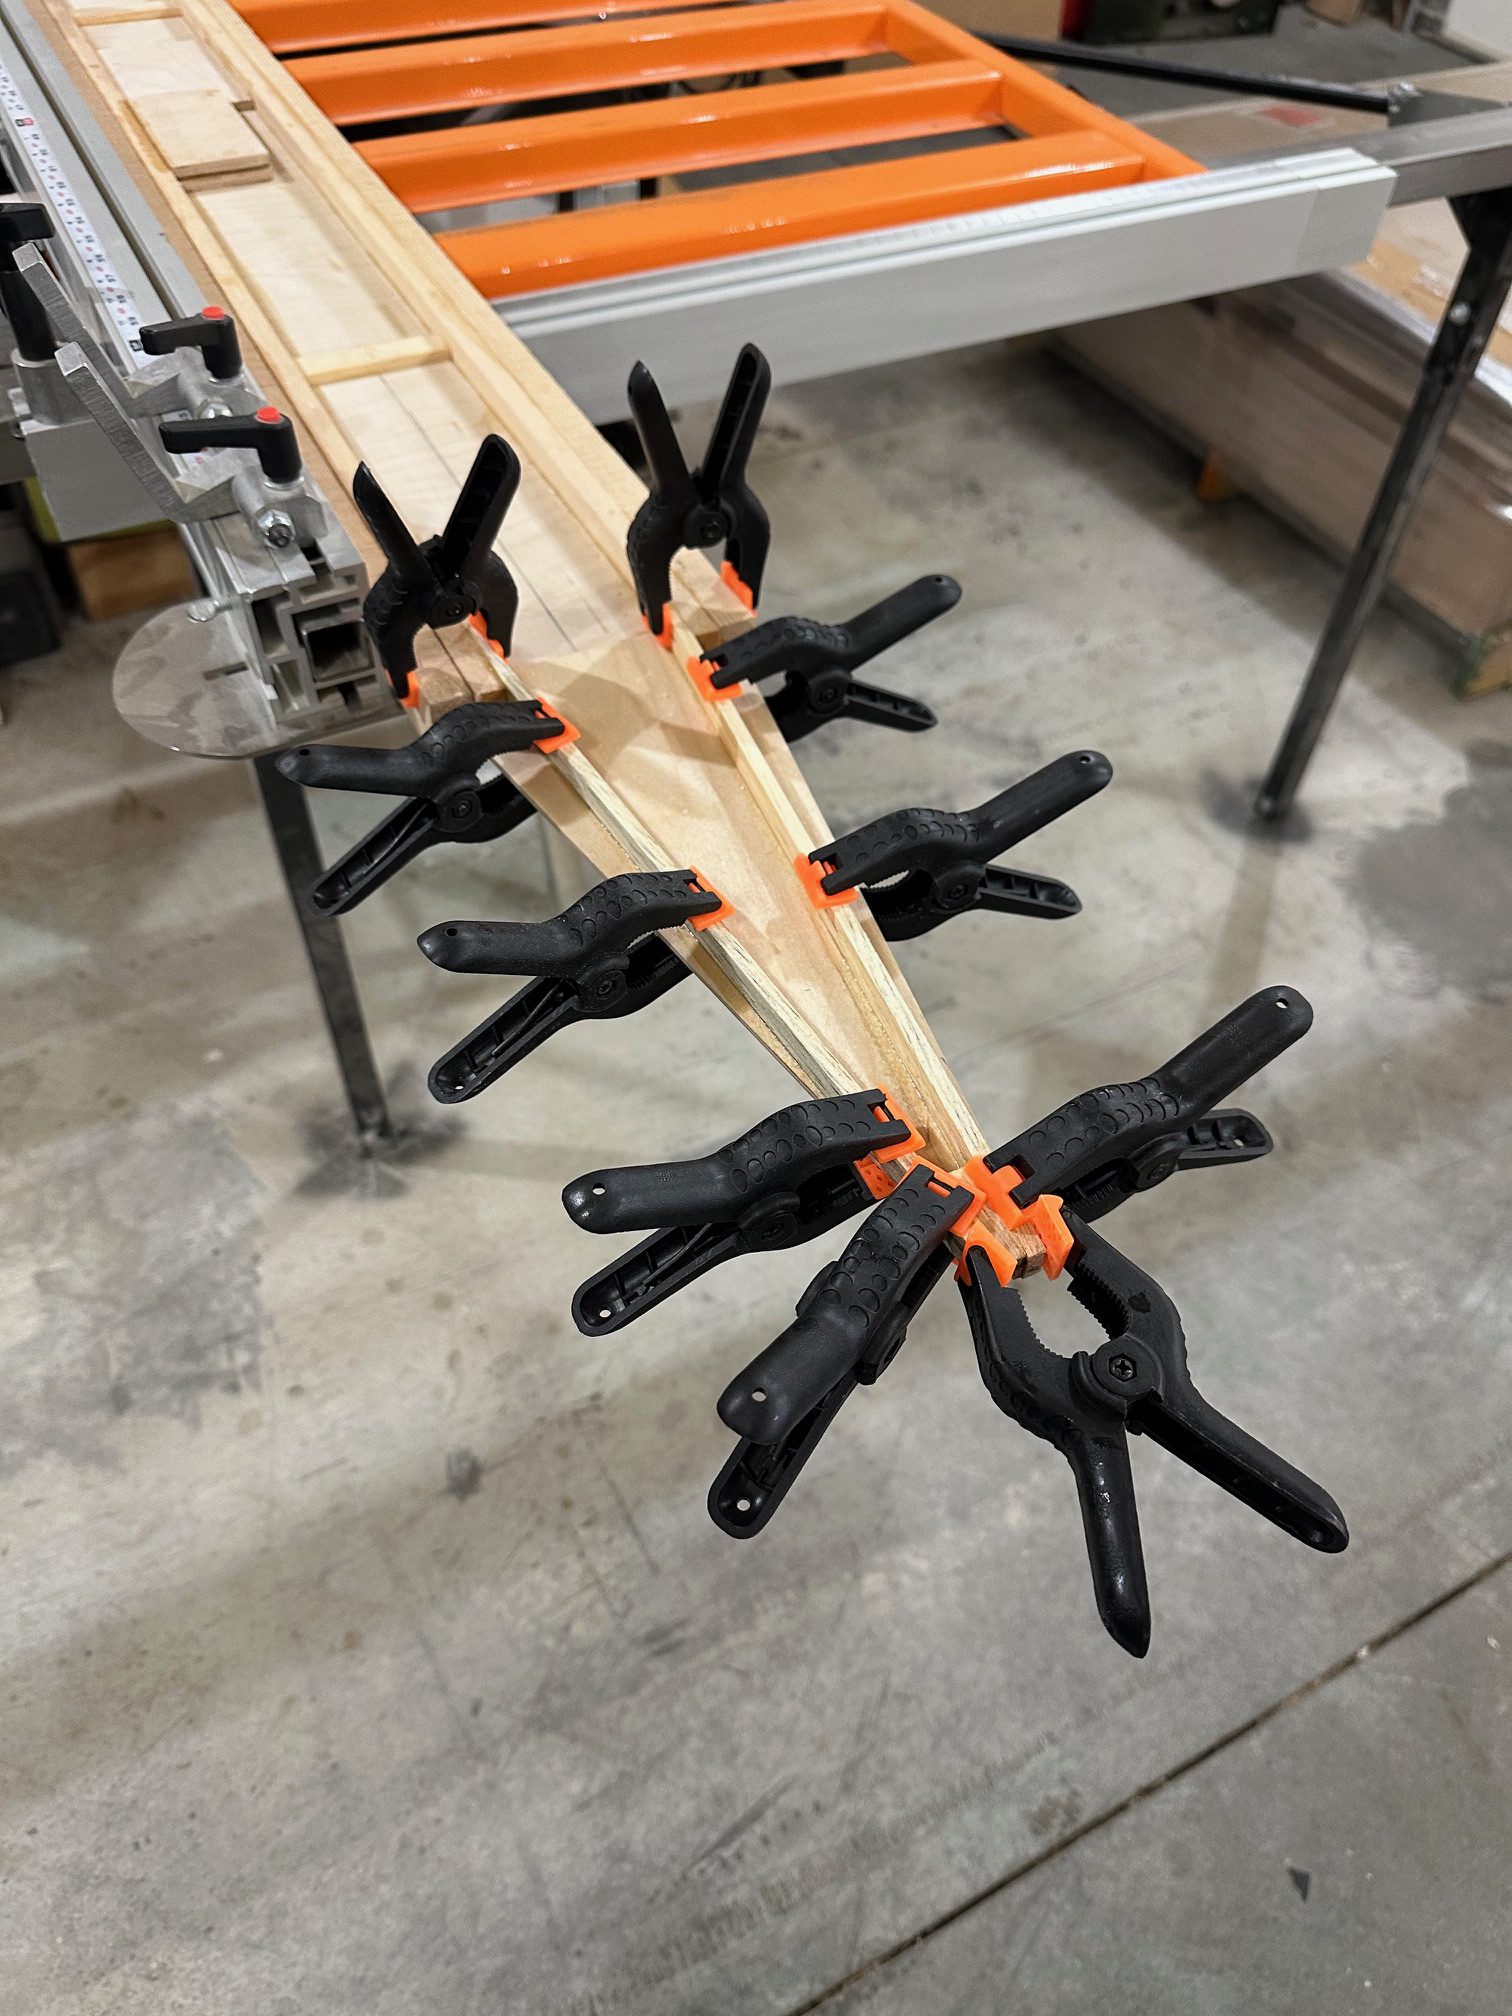
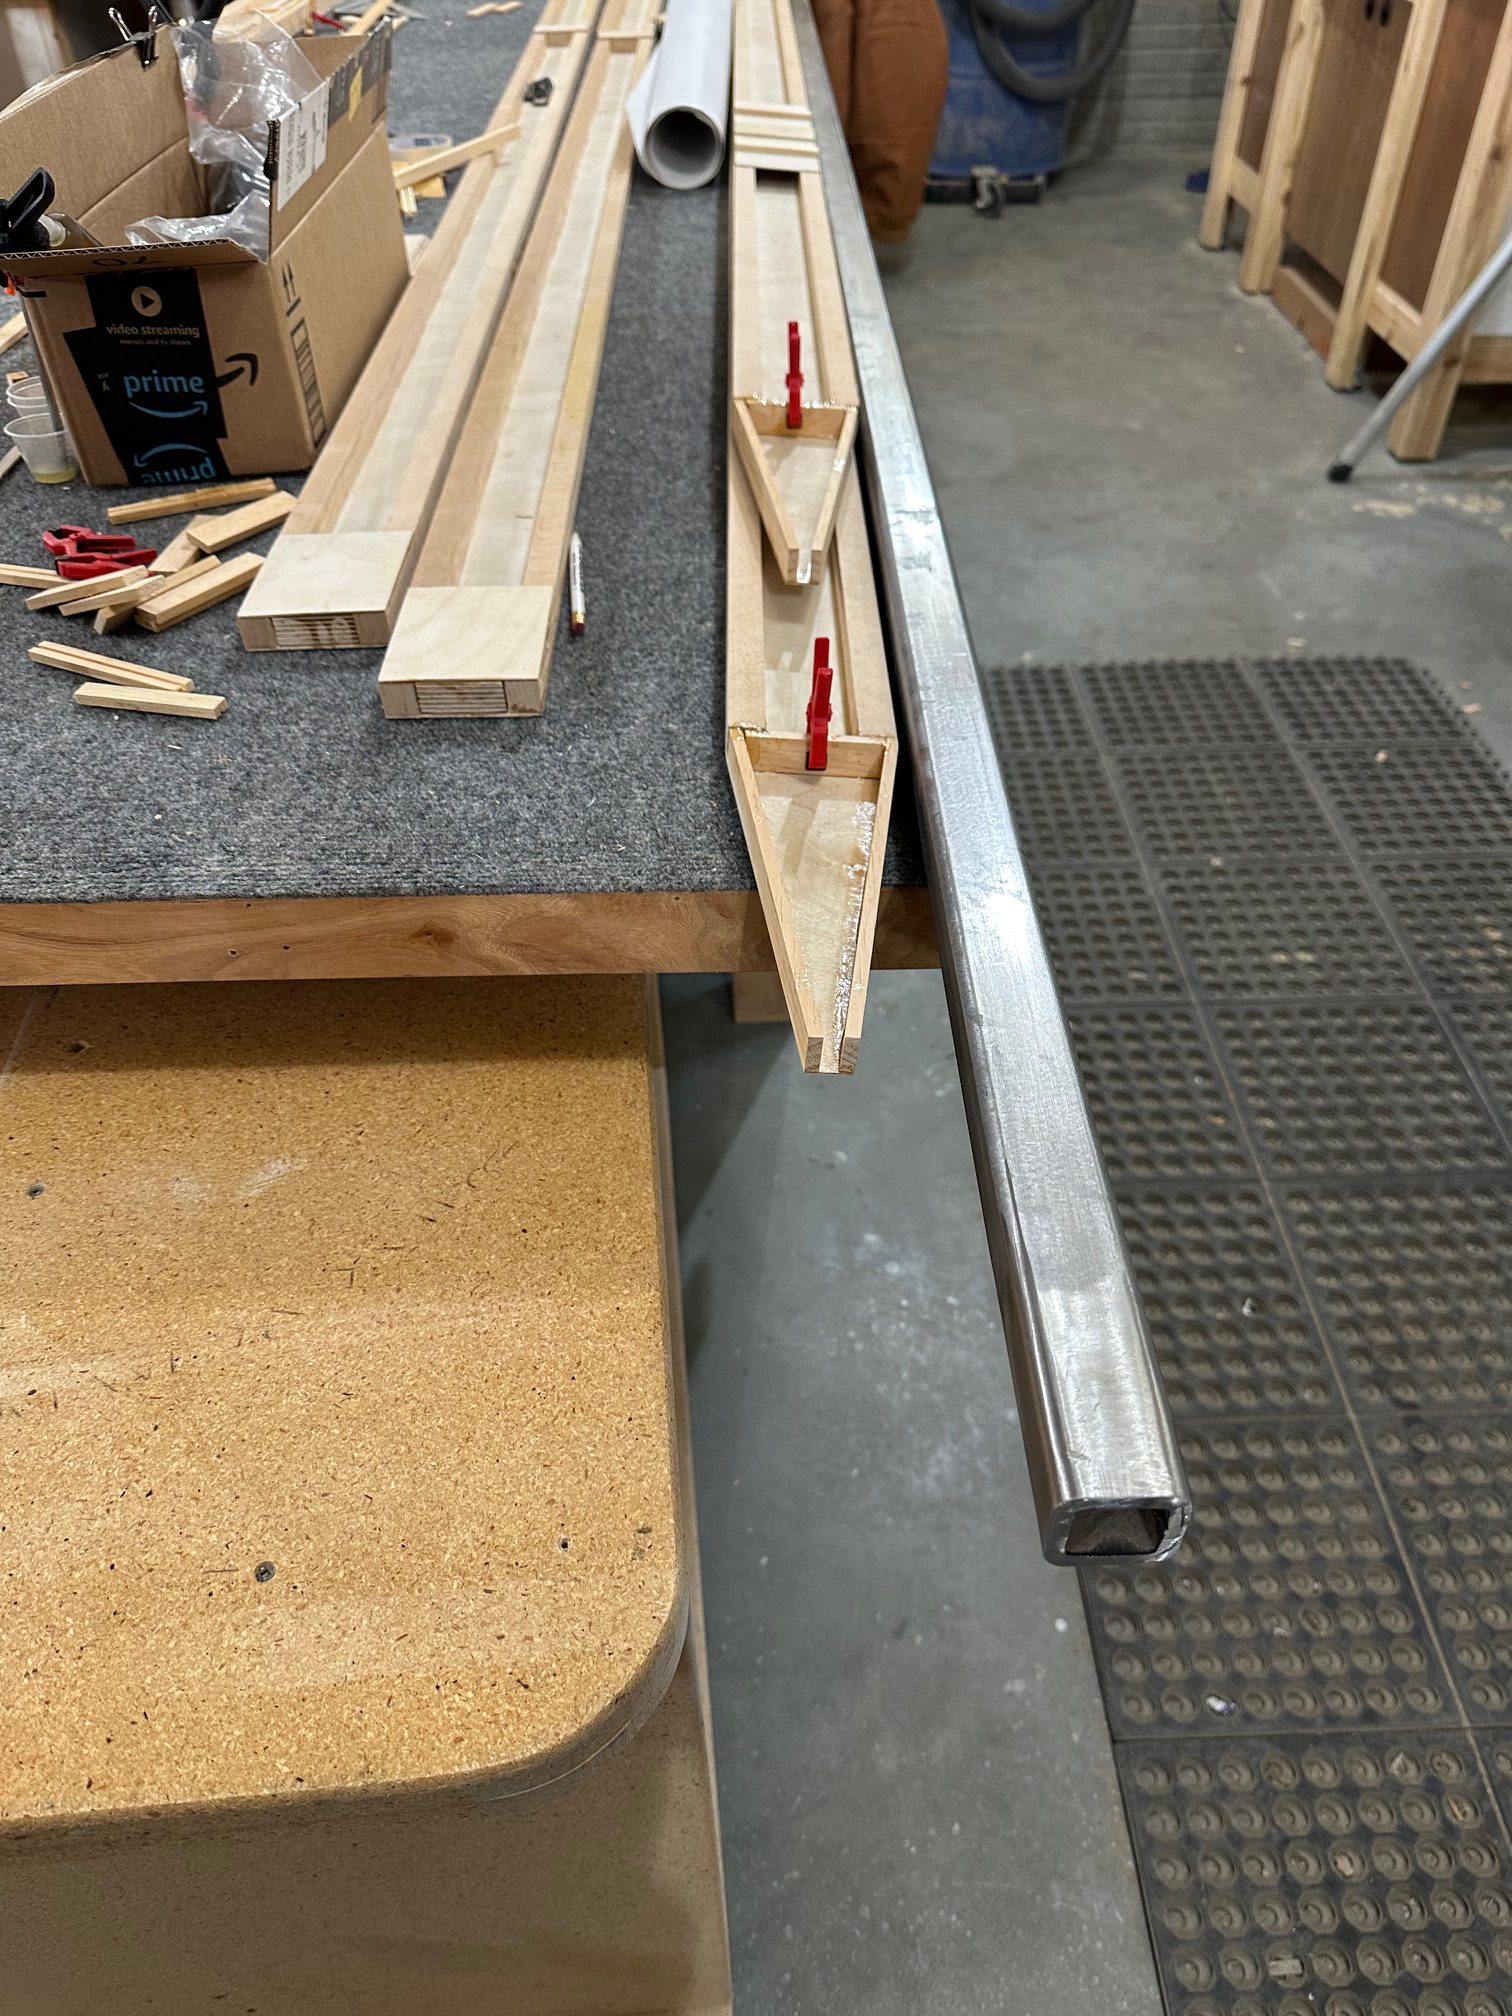
My casters and levelers also arrived Thursday afternoon, so on Friday I went over and installed those. I also cut the plywood for the lower shelf to fit, cut some corner blocks to keep the top square, and made the diagonal supports for the two extensions. Those are lengths of 2×4, notched on the lower end and with a double 45 cut on the upper end, that will brace between the lower shelf support and the top of the extension on either side.
The last thing to be done before final assembly is to flatten the top. As the bench was built with dimensional lumber on top of a workbench with a carpeted top, it’s “more or less” flat but the 2x4s aren’t perfect by any means. In a perfect world I’d have used a 6 foot jointer and a thickness plane to turn them into perfect boards before building, but I didn’t have access to a jointer. I know for sure one of the long edges of the table frame has a hump in it, and I want the top to be FLAT. I’ll evaluate how much needs to be done to make that a reality and see how I’ll make that happen.