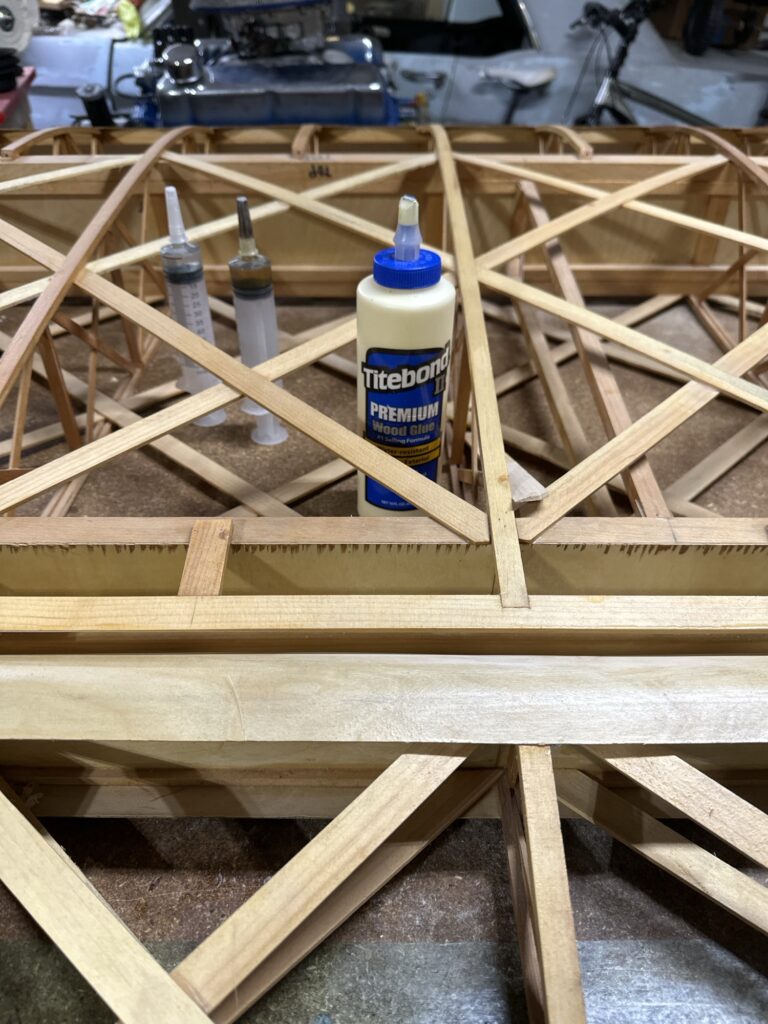
Today I actually broke out a bottle of Titebond wood glue. No, I’m not using it for something structural, or even cosmetic. I just wanted to make a little aileron control lock to keep the aileron in place while the wing is on the bench or being moved. I’m didn’t want to mix up a tiny amount of epoxy to do the job, nor did I want to wait for the next time I was mixing epoxy for something else. So… I used wood glue.
I ordered the Tosot mini-split heat pump a week ago. The main parts arrived Wednesday, but the mount for the outdoor unit didn’t get here until Saturday – quite frustrating. In the end, to make a long story short, I now have a heat pump in the garage that seems to do a decent job of keeping it tolerable to comfortable in there. We’ll see how well it does when the garage door gets opened and closed multiple times a day, but so far so good. As one might expect with a garage in Nebraska in the summer, humidity seems to be the biggest challenge.
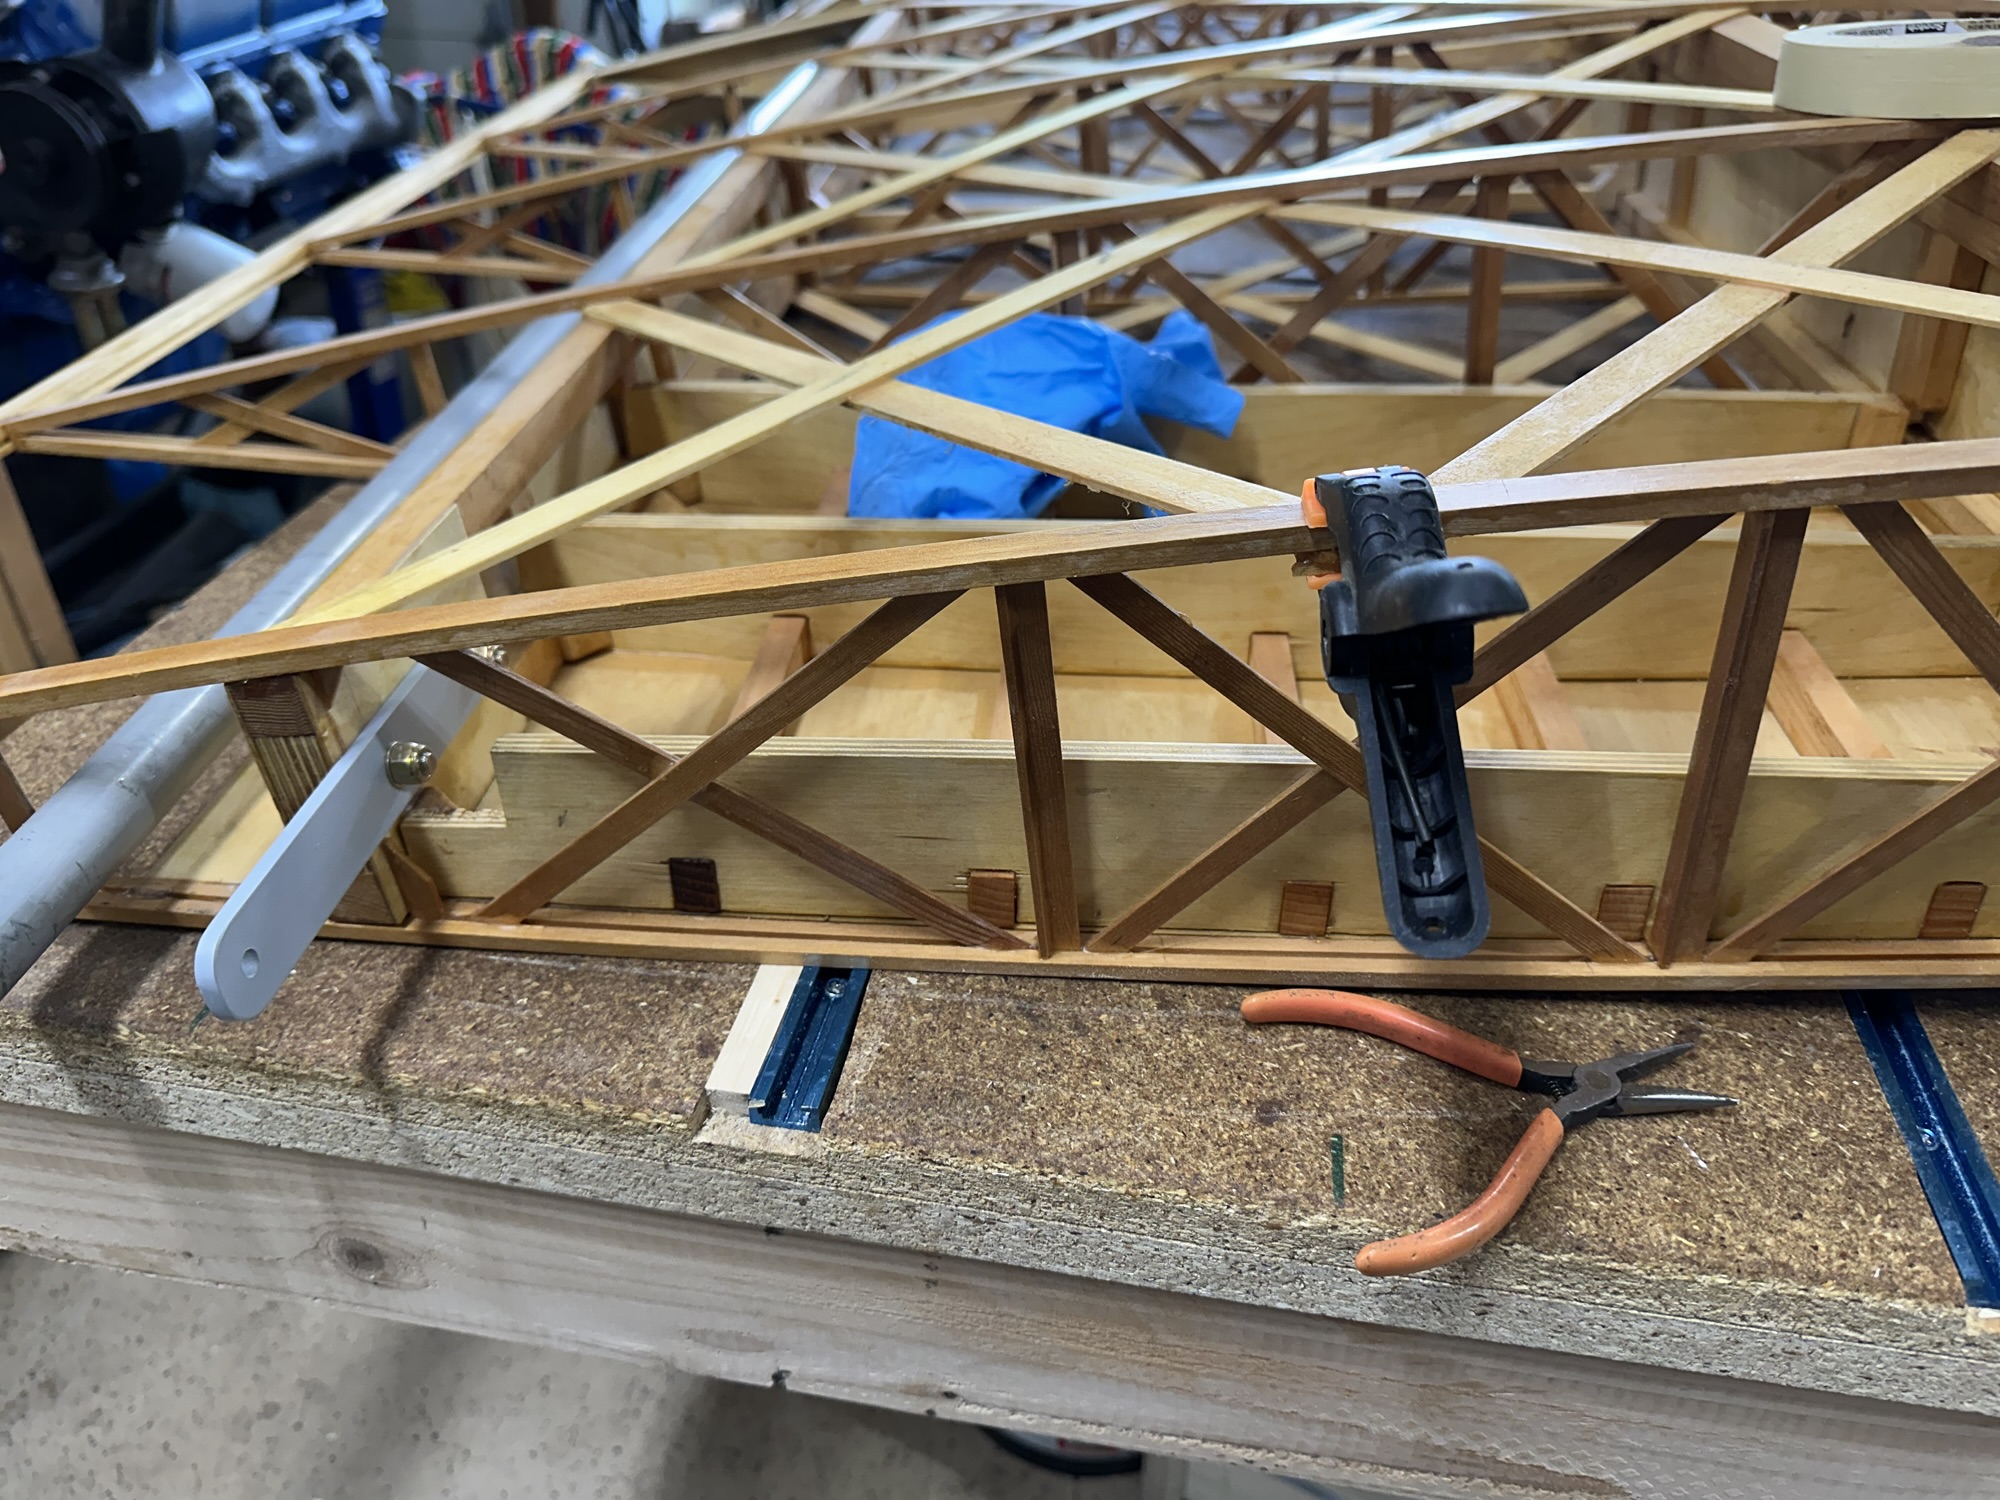
I also received my latest hardware order from Spruce on Saturday. I don’t know why I always seem to order something wrong (like AN970-4 fender washers instead of AN970-3) but it seems to be a particular talent of mine. Oh, well – The hardware store sells perfectly serviceable zinc-plated fender washers. I’ve just about got this wing ready to go to the hangar. This afternoon I glued up the one remaining loose bit from the last move, and got the hardware installed on the aileron coupling rod bracket.
My latest hardware order from Spruce should arrive tomorrow, so I can finish the bracket attachment and have the wing ready to go to the hangar so I can get the other one brought home.
It’s been oppressively hot and humid for the past several days. It’s just a fact of life in Nebraska, as is bitter cold in winter that leaves the garage too cold for epoxy to cure. I’ve been threatening to do this for a while now, but finally my new mini-split heat pump should arrive tomorrow. Unfortunately some of the other items won’t be here until Thursday and Friday, so I may or may not be able to get it installed and working before Friday. If you’re contemplating doing this, the only thing I’d change (thus far) would be to order the mounting bracket for the outdoor unit and the line set cover from Amazon instead of Tosot. Silly me, I figured that stuff would all ship together, or at least from the same place. The mount for the condenser, which I pretty much HAVE TO have before installation, is coming from California and will arrive a full two days later than the rest of the stuff coming from Houston. Dammit. I’d be lying if I said I hadn’t thought about just ordering one from Amazon and using it instead, but the only ones they can deliver tomorrow are far less robust than the one I paid more for… so I guess I’ll just wait.
It’s a 12,000 BTU unit from Tosot. According to the manufacturer it has a SEER of 24.5 for cooling and HSPF or 13 for heating, which is incredible. It’s supposed to cool with outside ambient temps as high as 122 F, and heat with outside temps down to -22. Let’s just say that I’ll believe those numbers when I see the performance and electric bills to match. Still, even if it doesn’t hit all of those numbers it should be pretty good, and the manufacturer (Gree) seems to have a good reputation. It also has an ERV, or Energy Recovery Ventilator, which will ventilate the garage with outside air while saving some of the energy that would normally be required. I figure since the garage is where the occasional pipeful of tobacco gets smoked (and my darling wife’s horrific cigarettes) that should be a nice addition.
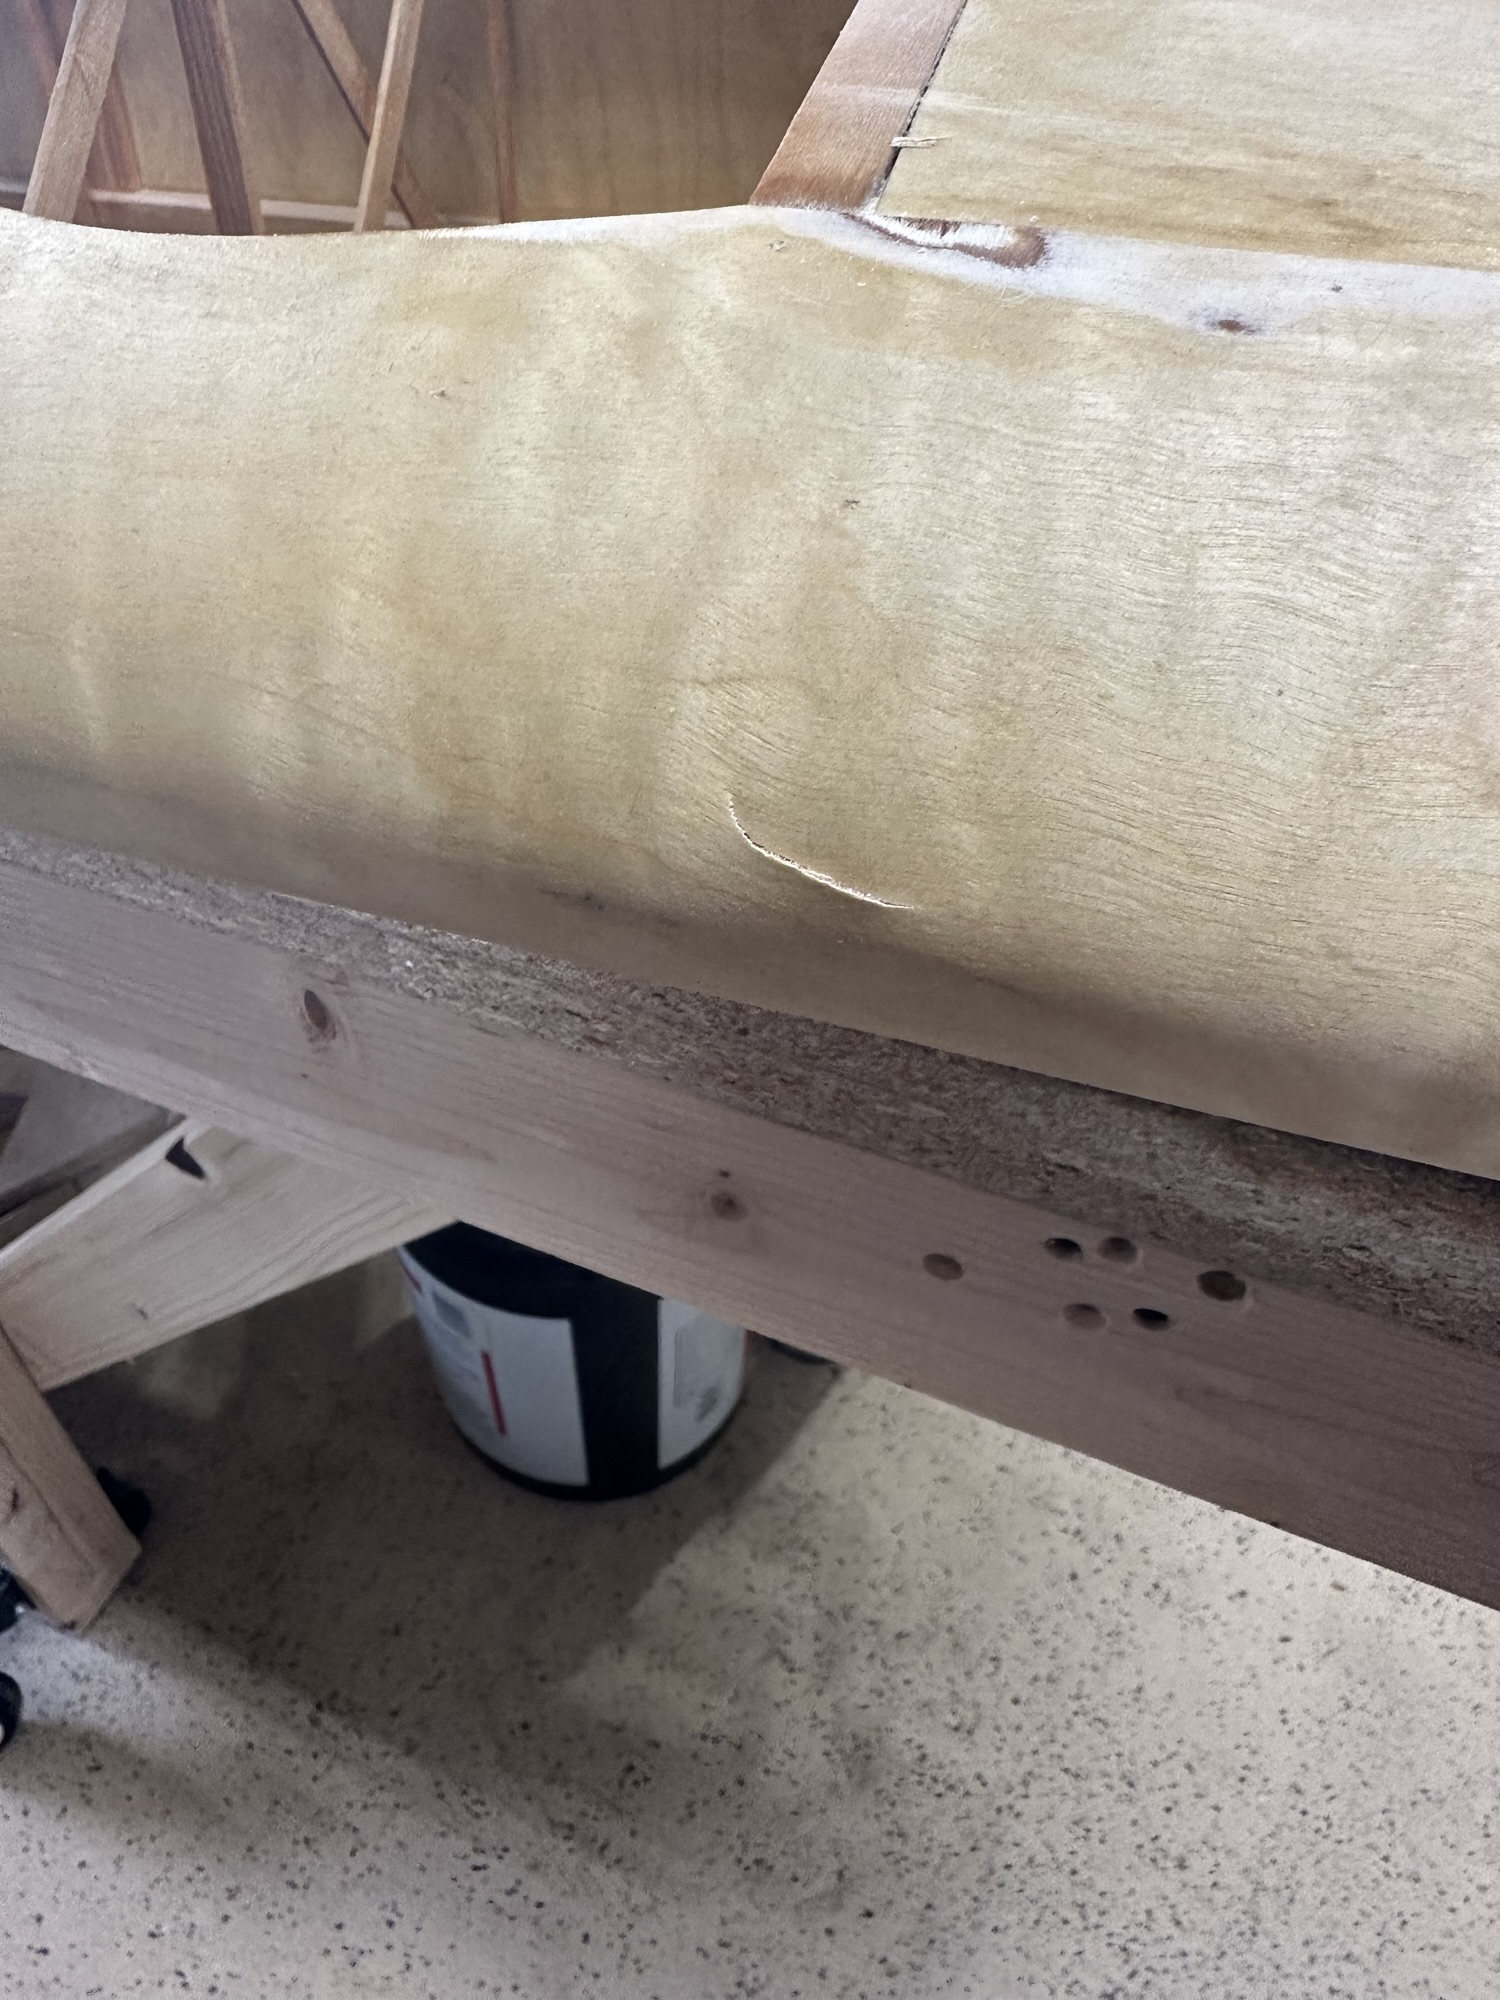
A few months back, I accidentally punched a hole in the aileron nose skin. I had glued a patch over the hole, but it needed a skim coat of epoxy and micro filler to smooth it out. I did that, and used the left over mix to fill in the gaps between the two plywood wing walk skins, and a little gap along the edge where the wing walk skin meets the root rib. Next step is to make the final torque tube bearings, I think, and wait for a hardware order from Aircraft Spruce to finish attaching the last of the brackets – then this wing is ready for storage and eventual covering.
The torque tube still had quite a bit of drag, due to it rubbing on the edges of the holes in the bay end panels. This morning I sanded the areas where the tube was contacting wood and re-installed the bearing blocks and aileron. Now the only control drag is from the bearing blocks themselves. The set I have installed are 3D printed mockups, and I don’t know how accurate the hole size is. Before I machine the final items from UHMW or whatever I end up using, I’ll have Stu mill me out one or two from some cheap scrap material like plywood or MDF just to check the fit on the tubing and see if I need to tweak the OpenSCAD file.
With that done, I used the Jorgensen bench plane to shave down the trailing edge to match the rest of the wing. I haven’t tried to change the taper yet, or reduce the thickness, I just basically whacked a quarter inch off the trailing edge of the aileron. I’ve used the planes a bit now, and every time I do I like them more. I like the little curled shavings, I like the feel of the blade precisely slicing off exactly as much as I set the plane for, I like the perfectly smooth edge it leaves. It’s so much nicer than using sanding blocks or power tools. I’m sure I don’t have the blades as sharp as they could be, but it’s still a joy to use them.
Having a QUIET shop vacuum and a dust separator is really nice as well. I want to put together some sort of cart or something to reduce the footprint – maybe put the dust separator on top of the vacuum. I’m still struggling with keeping the garage from getting cluttered and difficult to work in, but I can see a path to having a little more elbow room.
The recommended fix is to move the aileron torque tubs and the pivot point back 1/4″, then cut the trailing edge of the aileron and shave the rest to match the contour of the wing. I looked at numerous other approaches, but most would involve starting from the rib fabrication stage, or simply building all new ailerons. I had considered simply notching the aileron nose spar, but just wasn’t really comfortable with that idea.
I needed to enlarge the holes for the torque tubes in the plywood plates that close out the aileron bay. To do this I found a sanding drum for the spindle sander that, as luck would have it, slid snugly onto on the aileron tube itself. I was able to use this to oval out the holes enough to position the aileron where it needed to be. The most difficult part was holding the aileron perfectly in position forward/aft and up/down to align with the wing ribs. A bunch of clamps finally got that done, along with a pair of spacers to position the aileron the correct distance from the front of the aileron bay. With it securely clamped in place, I drilled the holes for the bearing blocks. I’m glad I didn’t sell off my right-angle air drill that I bought to build the RV-7; it was really the only way to get those holes drilled. A full size drill or chuck wouldn’t fit without hitting the adjacent rib and the torque tube.
Next up will be using a plane to shave a quarter inch off of the trailing edge and correct the taper to blend this with the rest of the wing. The nice thing is, I have the technique and the tools I need now to do the other wing, and it should only take half an hour or so instead of the few hours I spent on it today.
I also found a couple of areas where I had missed applying spar urethane, so I got those all painted this morning. There’s only a little work left to do on this wing before I will be able to move it to the airport and bring the other wing home.
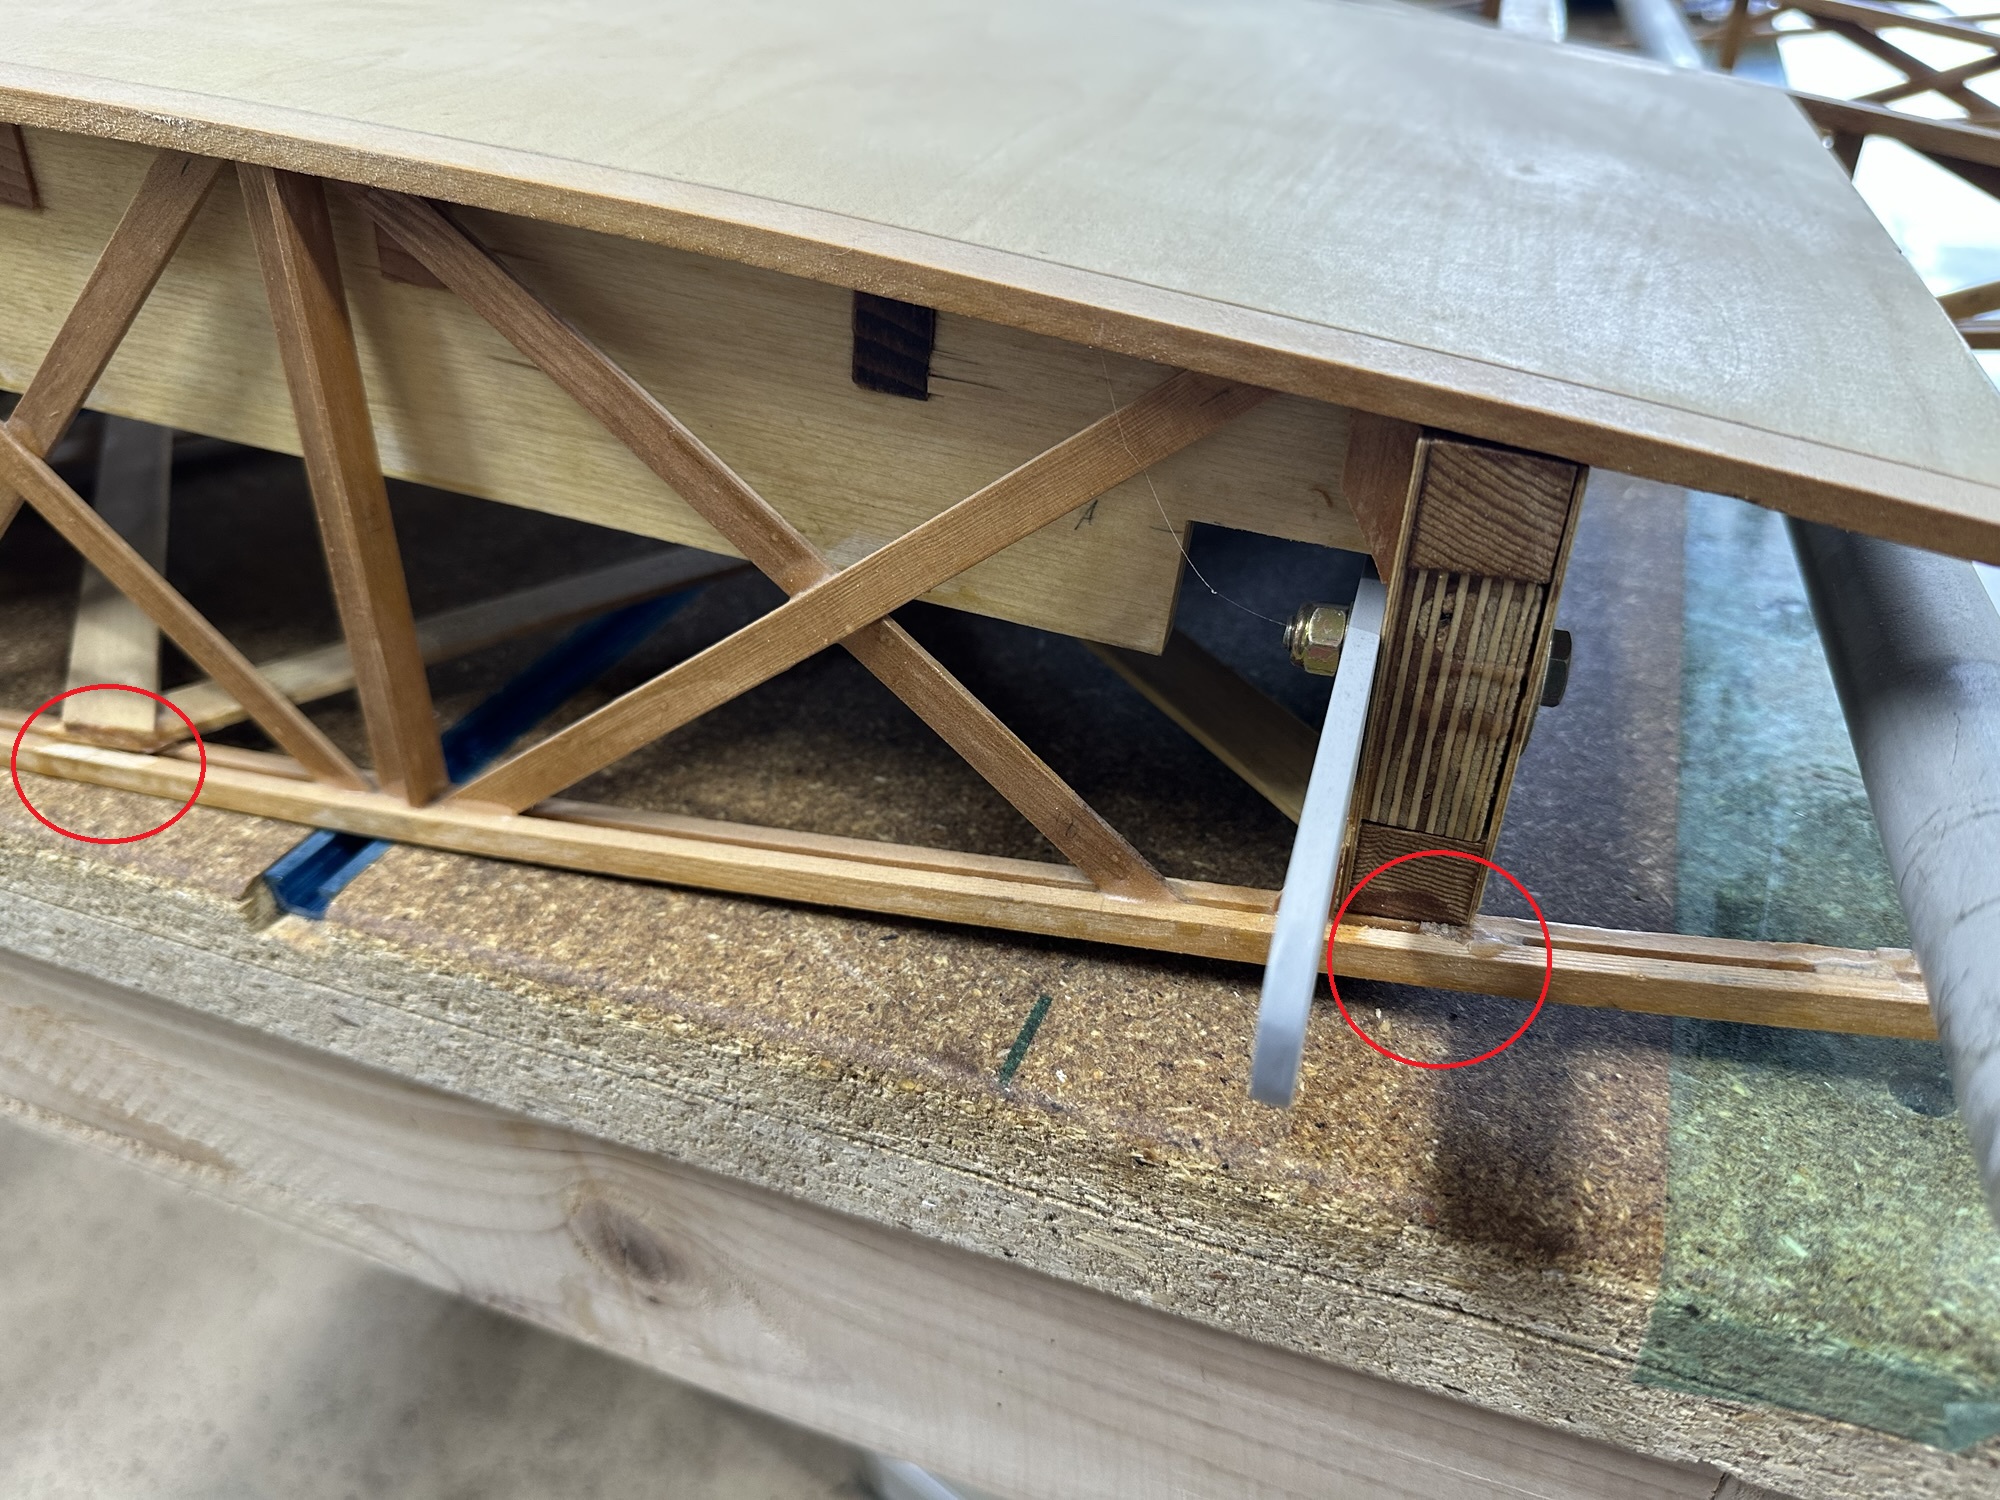
The offending bolt head and bracket, shown at the point in the aileron travel where it’s closest to the nose.
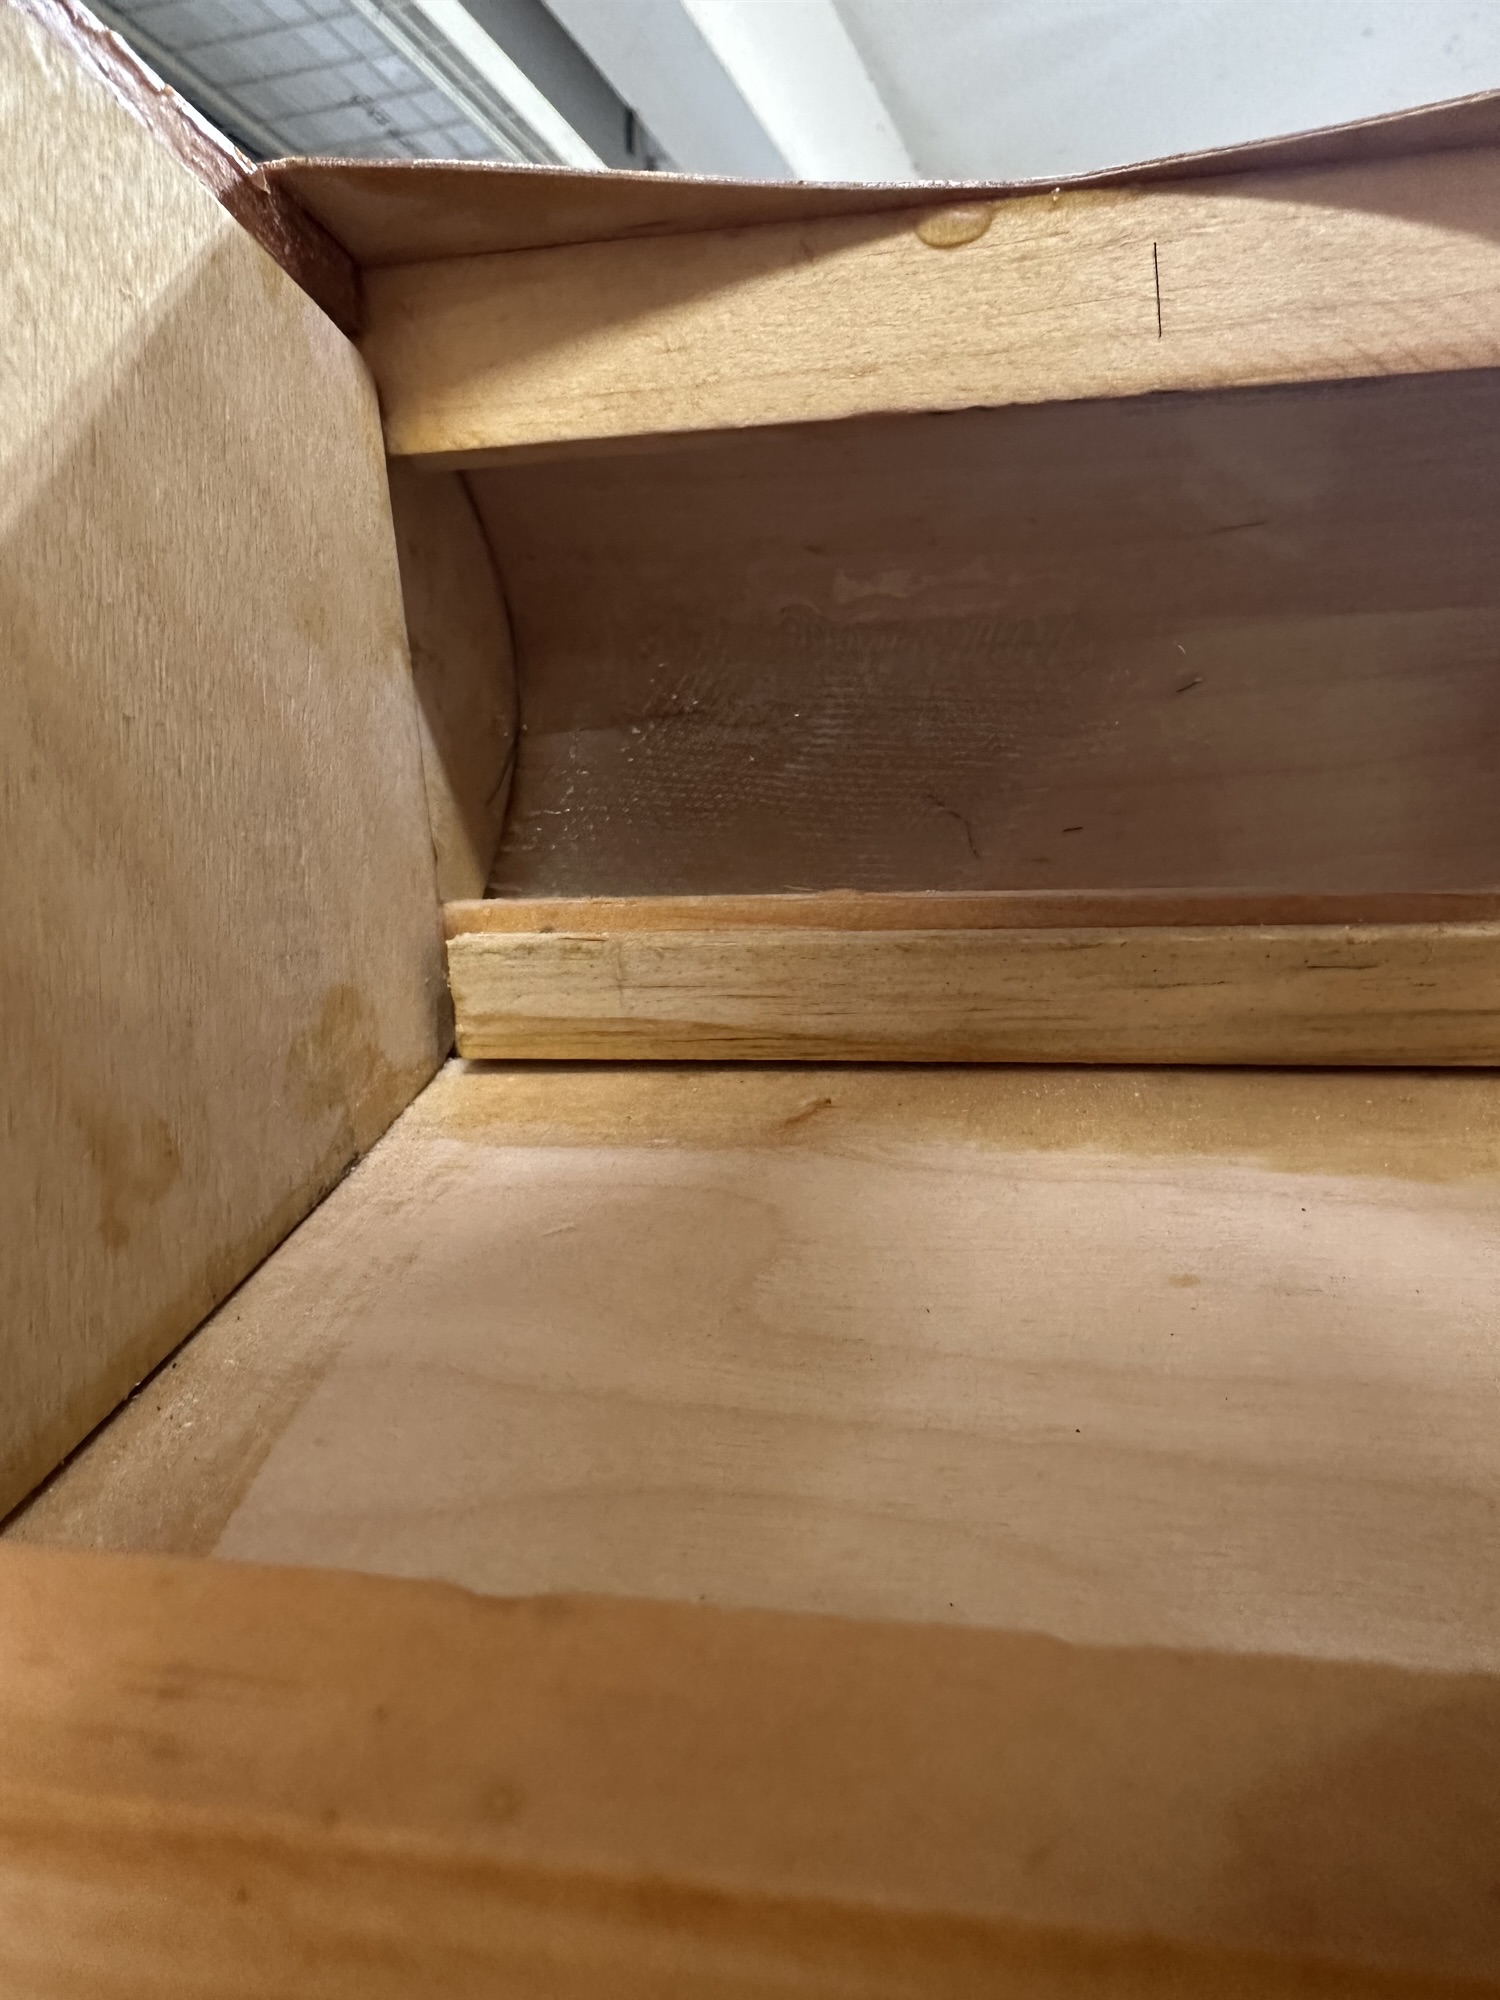
As we were moving the wing, I managed to snag the root rib on the corner of the workbench at Stu’s shop while we were getting it positioned to load into my pickup. This popped a couple of glue joints loose, both of which pulled the wood apart rather than just the epoxy breaking, so that’s as it should be.
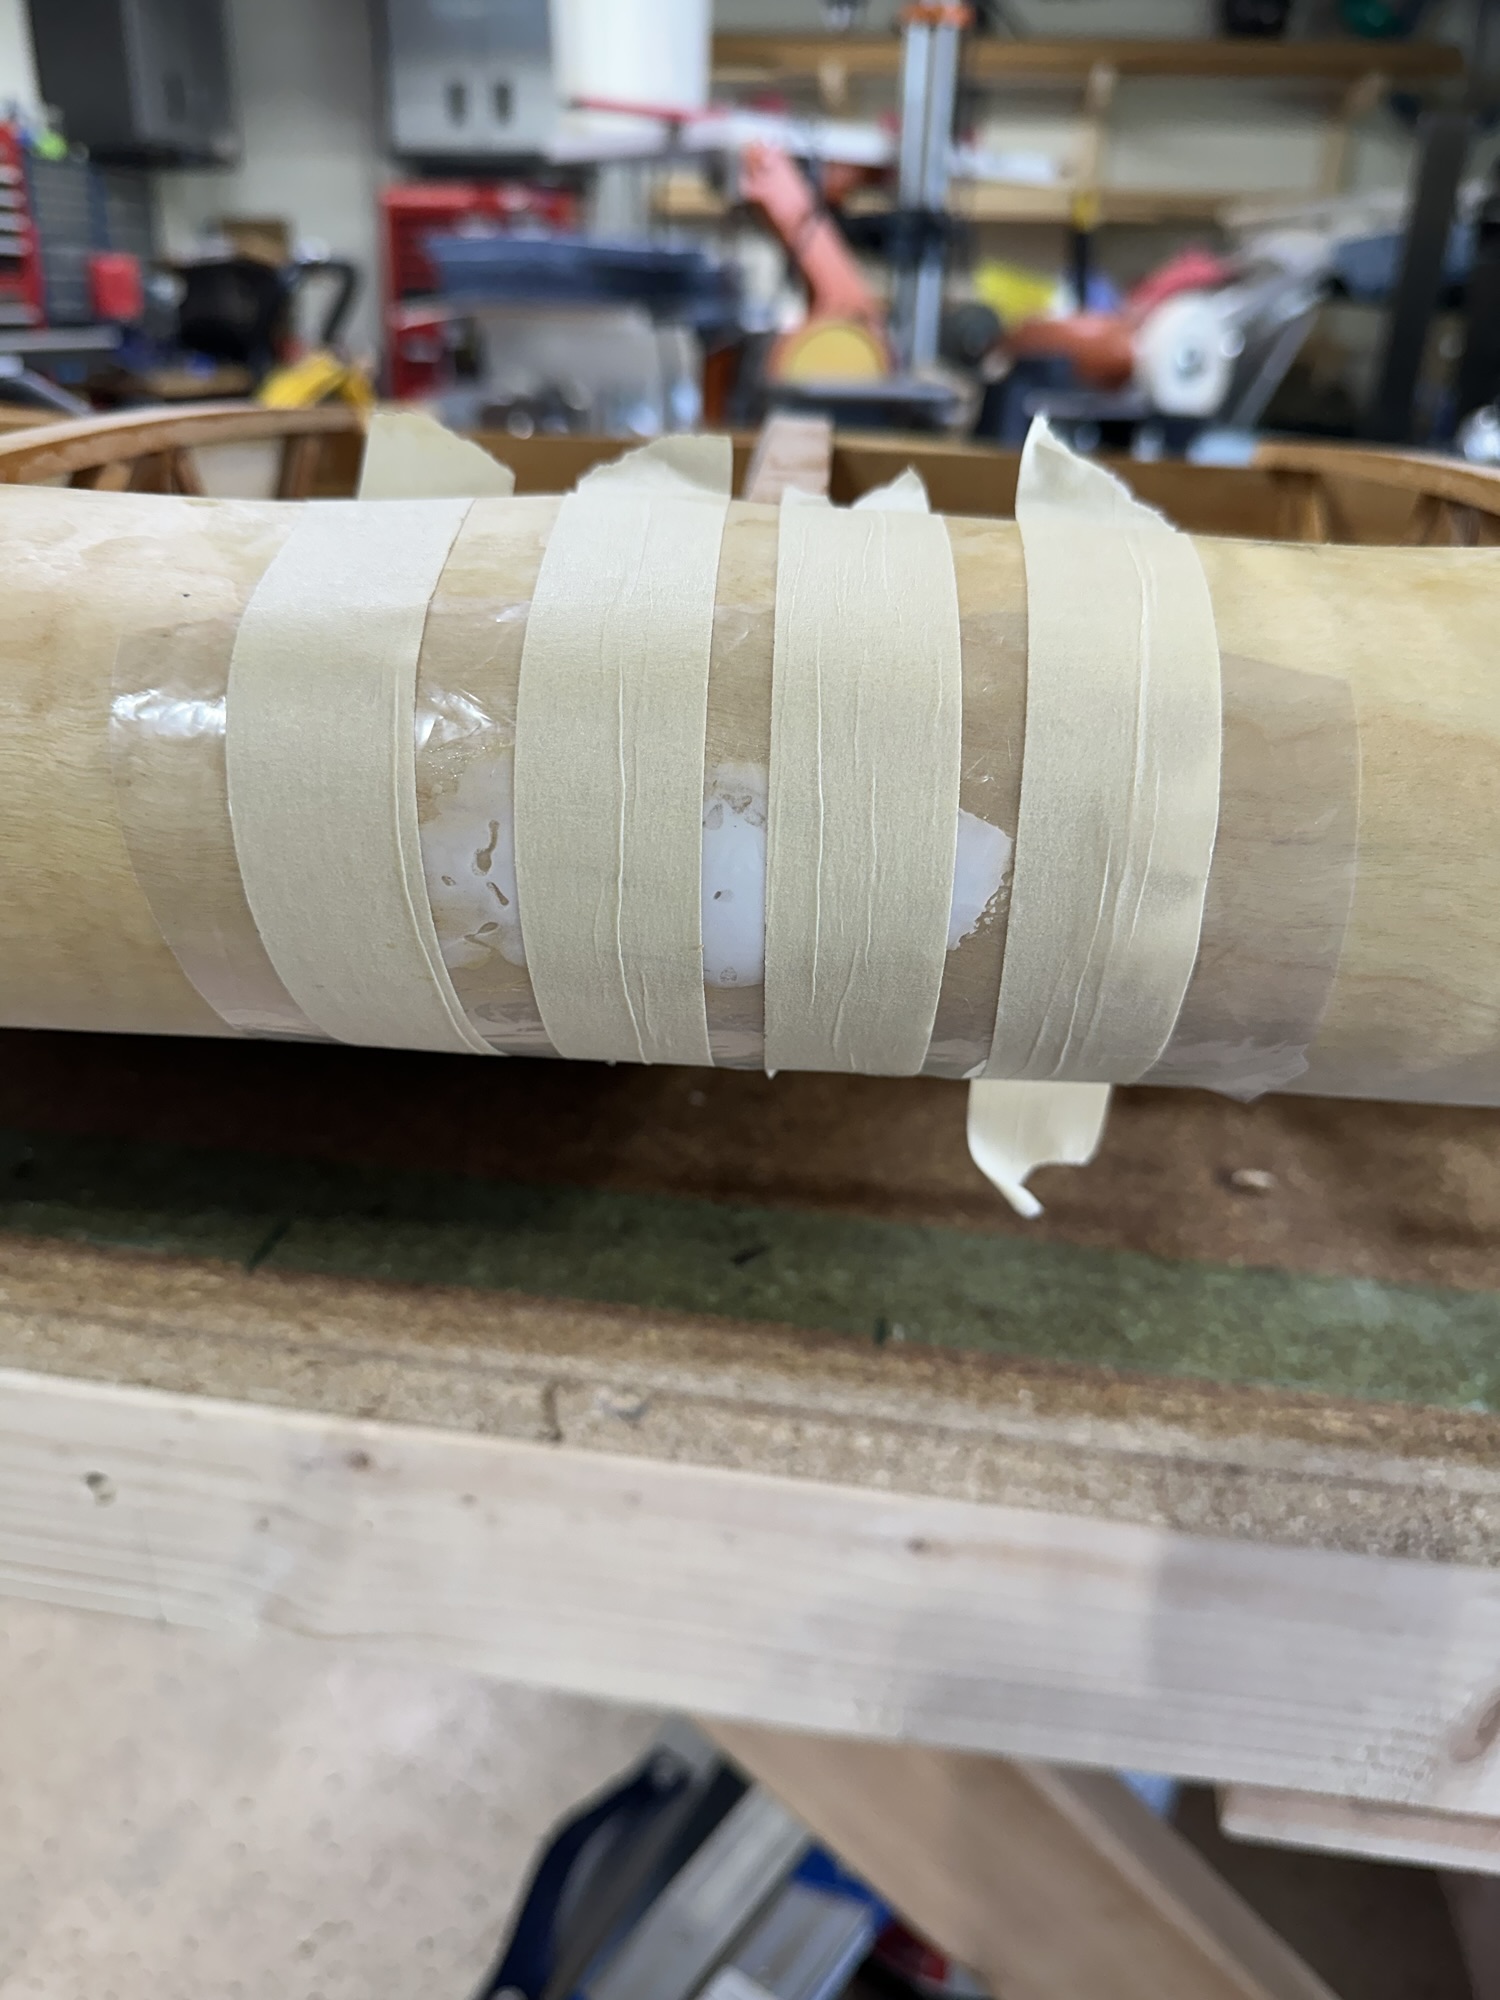
I also found an inch long crack in the leading edge plywood in the second rib bay, forward of the wing walk. I don’t know for certain if that happened during the move or at some time prior, when we were moving it off the bench. Doesn’t matter. Unfortunately it’s right on a curved part, and I was afraid I’d do more damage if I got too aggressive trying to pop the edges back together. I laid a layer of heavy fiberglass cloth on the inside of the leading edge. Once that was in place I buttered the outside with epoxy and micro balloons to make a filler, and taped plastic over it to keep it from sagging or dripping. I can sand it to the correct contour. I may add a second layer of glass underneath, I haven’t decided yet. What I did NOT do was remember that I had another place that needed a layer of micro (doh!) where I could have used the left-over I had. I didn’t realize this until the epoxy was well past the workable stage. Geez, I probably wasted two cents’ worth of material because of that!
It’s good to have the wing here; this all took less than half an hour but will take at least 8-12 hours to mostly cure. I can go back out this afternoon or evening and get more done.
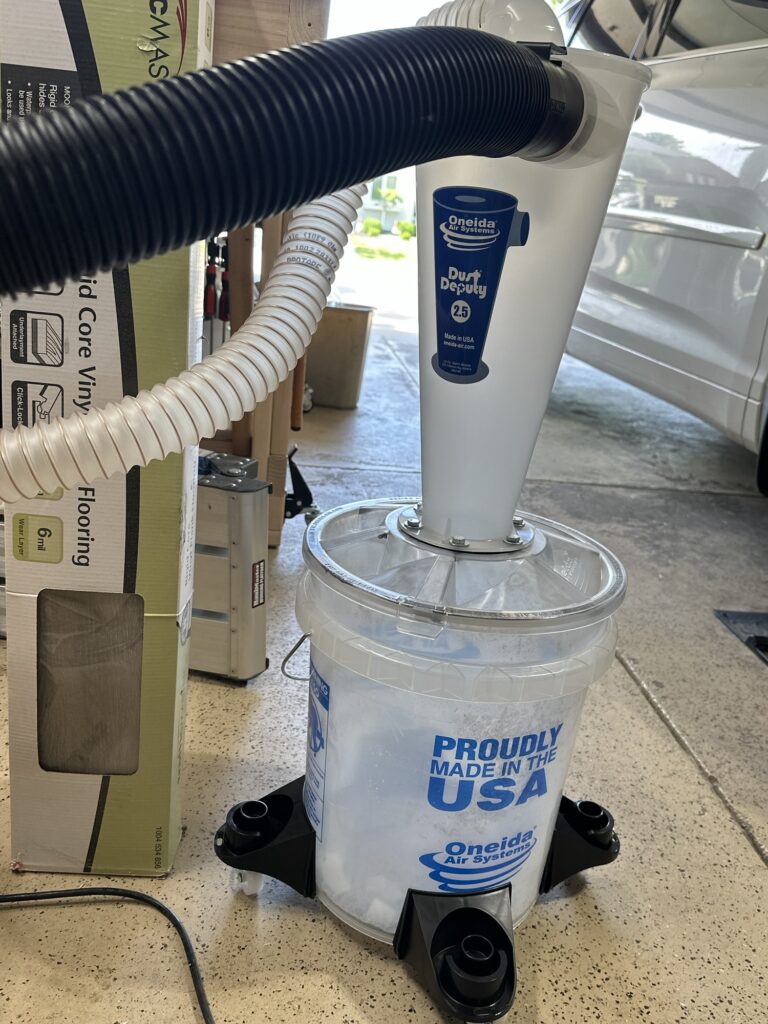
Also, yesterday I picked up a Dust Deputy cyclonic dust separator for the shop. It was brand new in the box, and I got it for about 1/3 price. A welcome addition to the workshop for sure.
The broken jointsCracked leading edgeGlued and clampedFiberglass insideFiller appliedNew dust separator
As often (always?) happens when a new large work table appears in a garage, it immediately got covered with a raft of postponed and opportunistic projects. Vegetable and tobacco seedling trays, a couple of 2-stroke implements that needed new carburetors, some engine work for the Mustang, a furniture project, and a bunch of random other stuff that just… collected, as these things so often do. I also routed grooves and installed a couple of T-tracks in each of the extension wings, just because it’s not uncommon for me to need to clamp something down to the bench. Now I can.
Today I got everything cleared off and wiped on one more coat of linseed oil just to try and keep the top of the bench from getting crumbly and maybe provide a little bit of paint/oil/glue resistance. Assuming the weather doesn’t turn nasty early tomorrow, I’m hoping to bring one of the wings home. I need to get the aileron interference issue fixed, the last of the strut brackets installed, and the second (right) wing varnished so it can go to the airport where the wing stand awaits it. Then I can bring the left wing home, fix that aileron and brackets, and get it to the airport as well – and finally start on the top wings.
For a while I’ve been pondering how to set up the new wings on my bench. He’s got a pair of 10′ long steel rails, made from square tubing with slotted brackets to bolt them to his bench. He had put those together to support a router sled for flattening slabs of wood. Early on I figured out that we could attach them to the bench to properly orient the wing ribs for attaching the trailing edge and spars. The trailing edge stock needs to be glued on so that the taper exactly matches the angle of the aft end of the wing ribs, and the easiest way to do that is to have a flat surface that aligns the bottom of the TE stock witht he bottom cap of the ribs.
The plans call for attaching a 2×4 on edge to the edge of the work table with a shim under one side. This tilts the top edge of the 2×4 to the correct angle, which I measured at bout 14 degrees, to establish the right pitch to align the trailing edge and ribs. I was concerned about finding a perfectly straight, flat 10′ long 2×4, as well as shimming it consistently. All in all, I was nervous about how to set up the new wings on this bench.
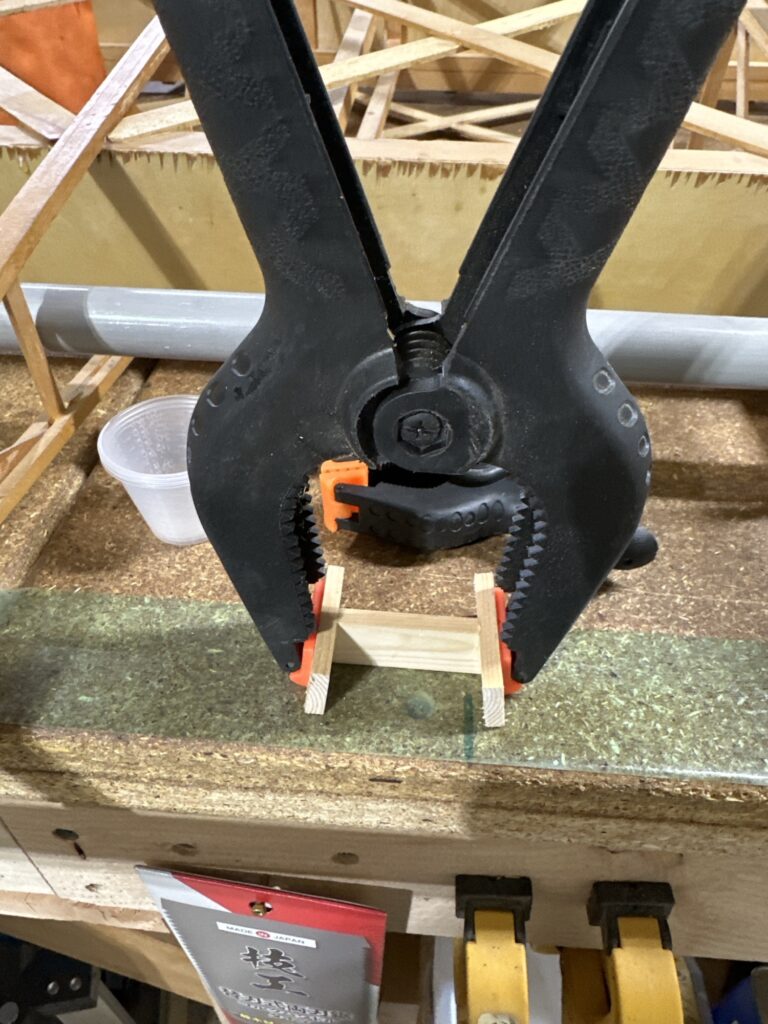
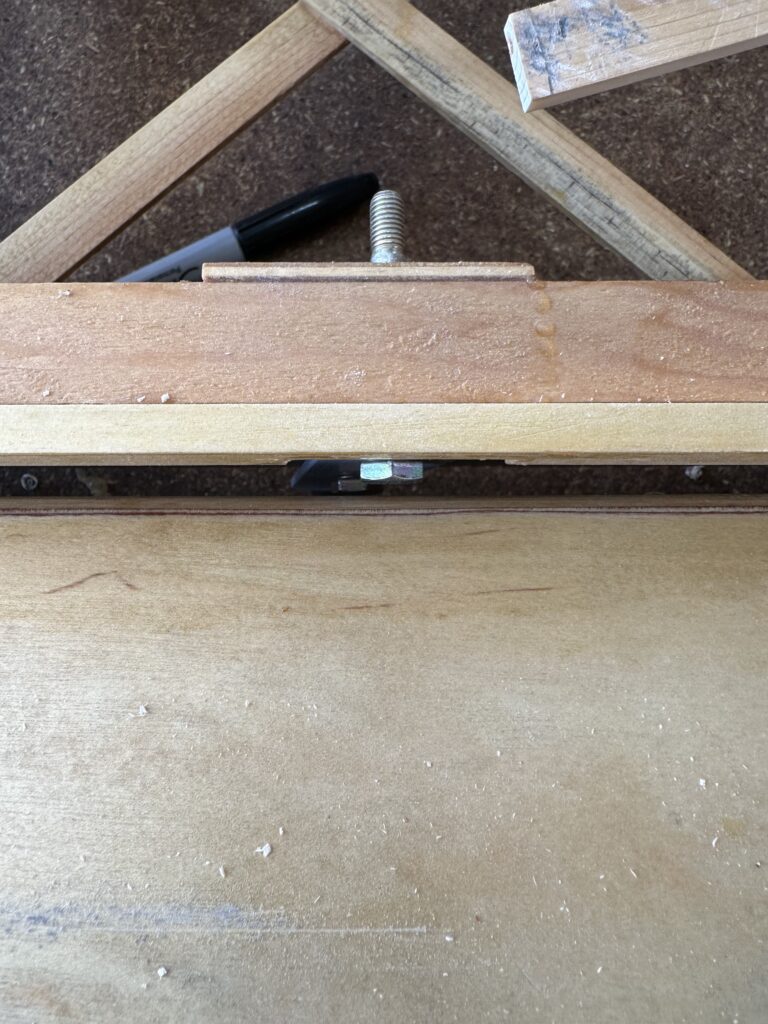
A few days ago, I grabbed one of the ribs I have here along with a short cut-off piece of trailing edge stock. I started exploring different ways I could jig up a wing on the bench, and came to a surprising (and happy) discovery. With the TE stock flat on the front edge of the bench and the rib inserted into the notch, a standard 2×4 on the opposite side of the bench will perfectly support the rib right under the main spar location. So, I could clamp the trailing edge down on some release tape or waxed paper (to keep the epoxy from sticking to the bench), support the other end with a 2×4 – or multiple shorter pieces of 2×4 – and assemble the wing that way. Sweet! I’ll test that configuration when I bring the lower left wing home, which is built but not varnished yet. I’ll need to apply the varnish before taking it to the hangar for storage, and I can check to make sure my jigging idea will work as well as I think it will.