Wing work through 2/26

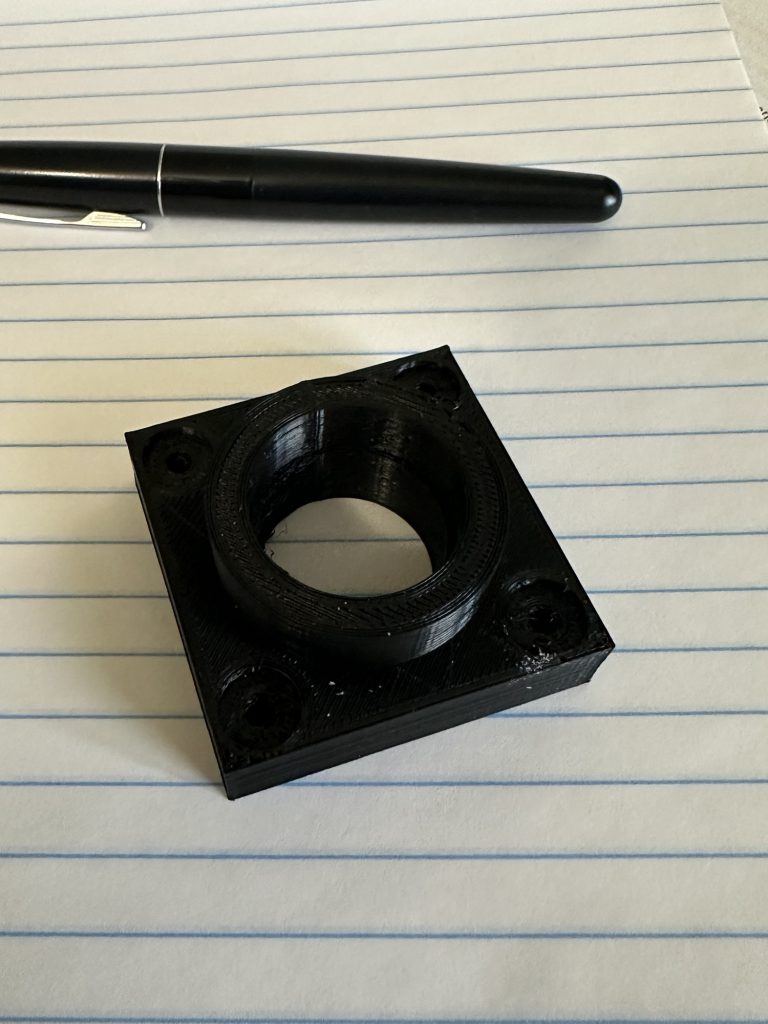
Mostly small things over the past week. I cut and installed some more corner blocking that I didn’t get done before, tested a couple new iterations of the bearing block/spacer, and fine tuned the aileron to the opening. Along the way I’ve noted a few new lessons learned…

  • Never trust the plans, or the supplemental sheets included with them. They’re often inaccurate. Like the AL bracket diagrams that call out 3/16″ holes when they will get 1/4″ AN4 bolts… and on and on.
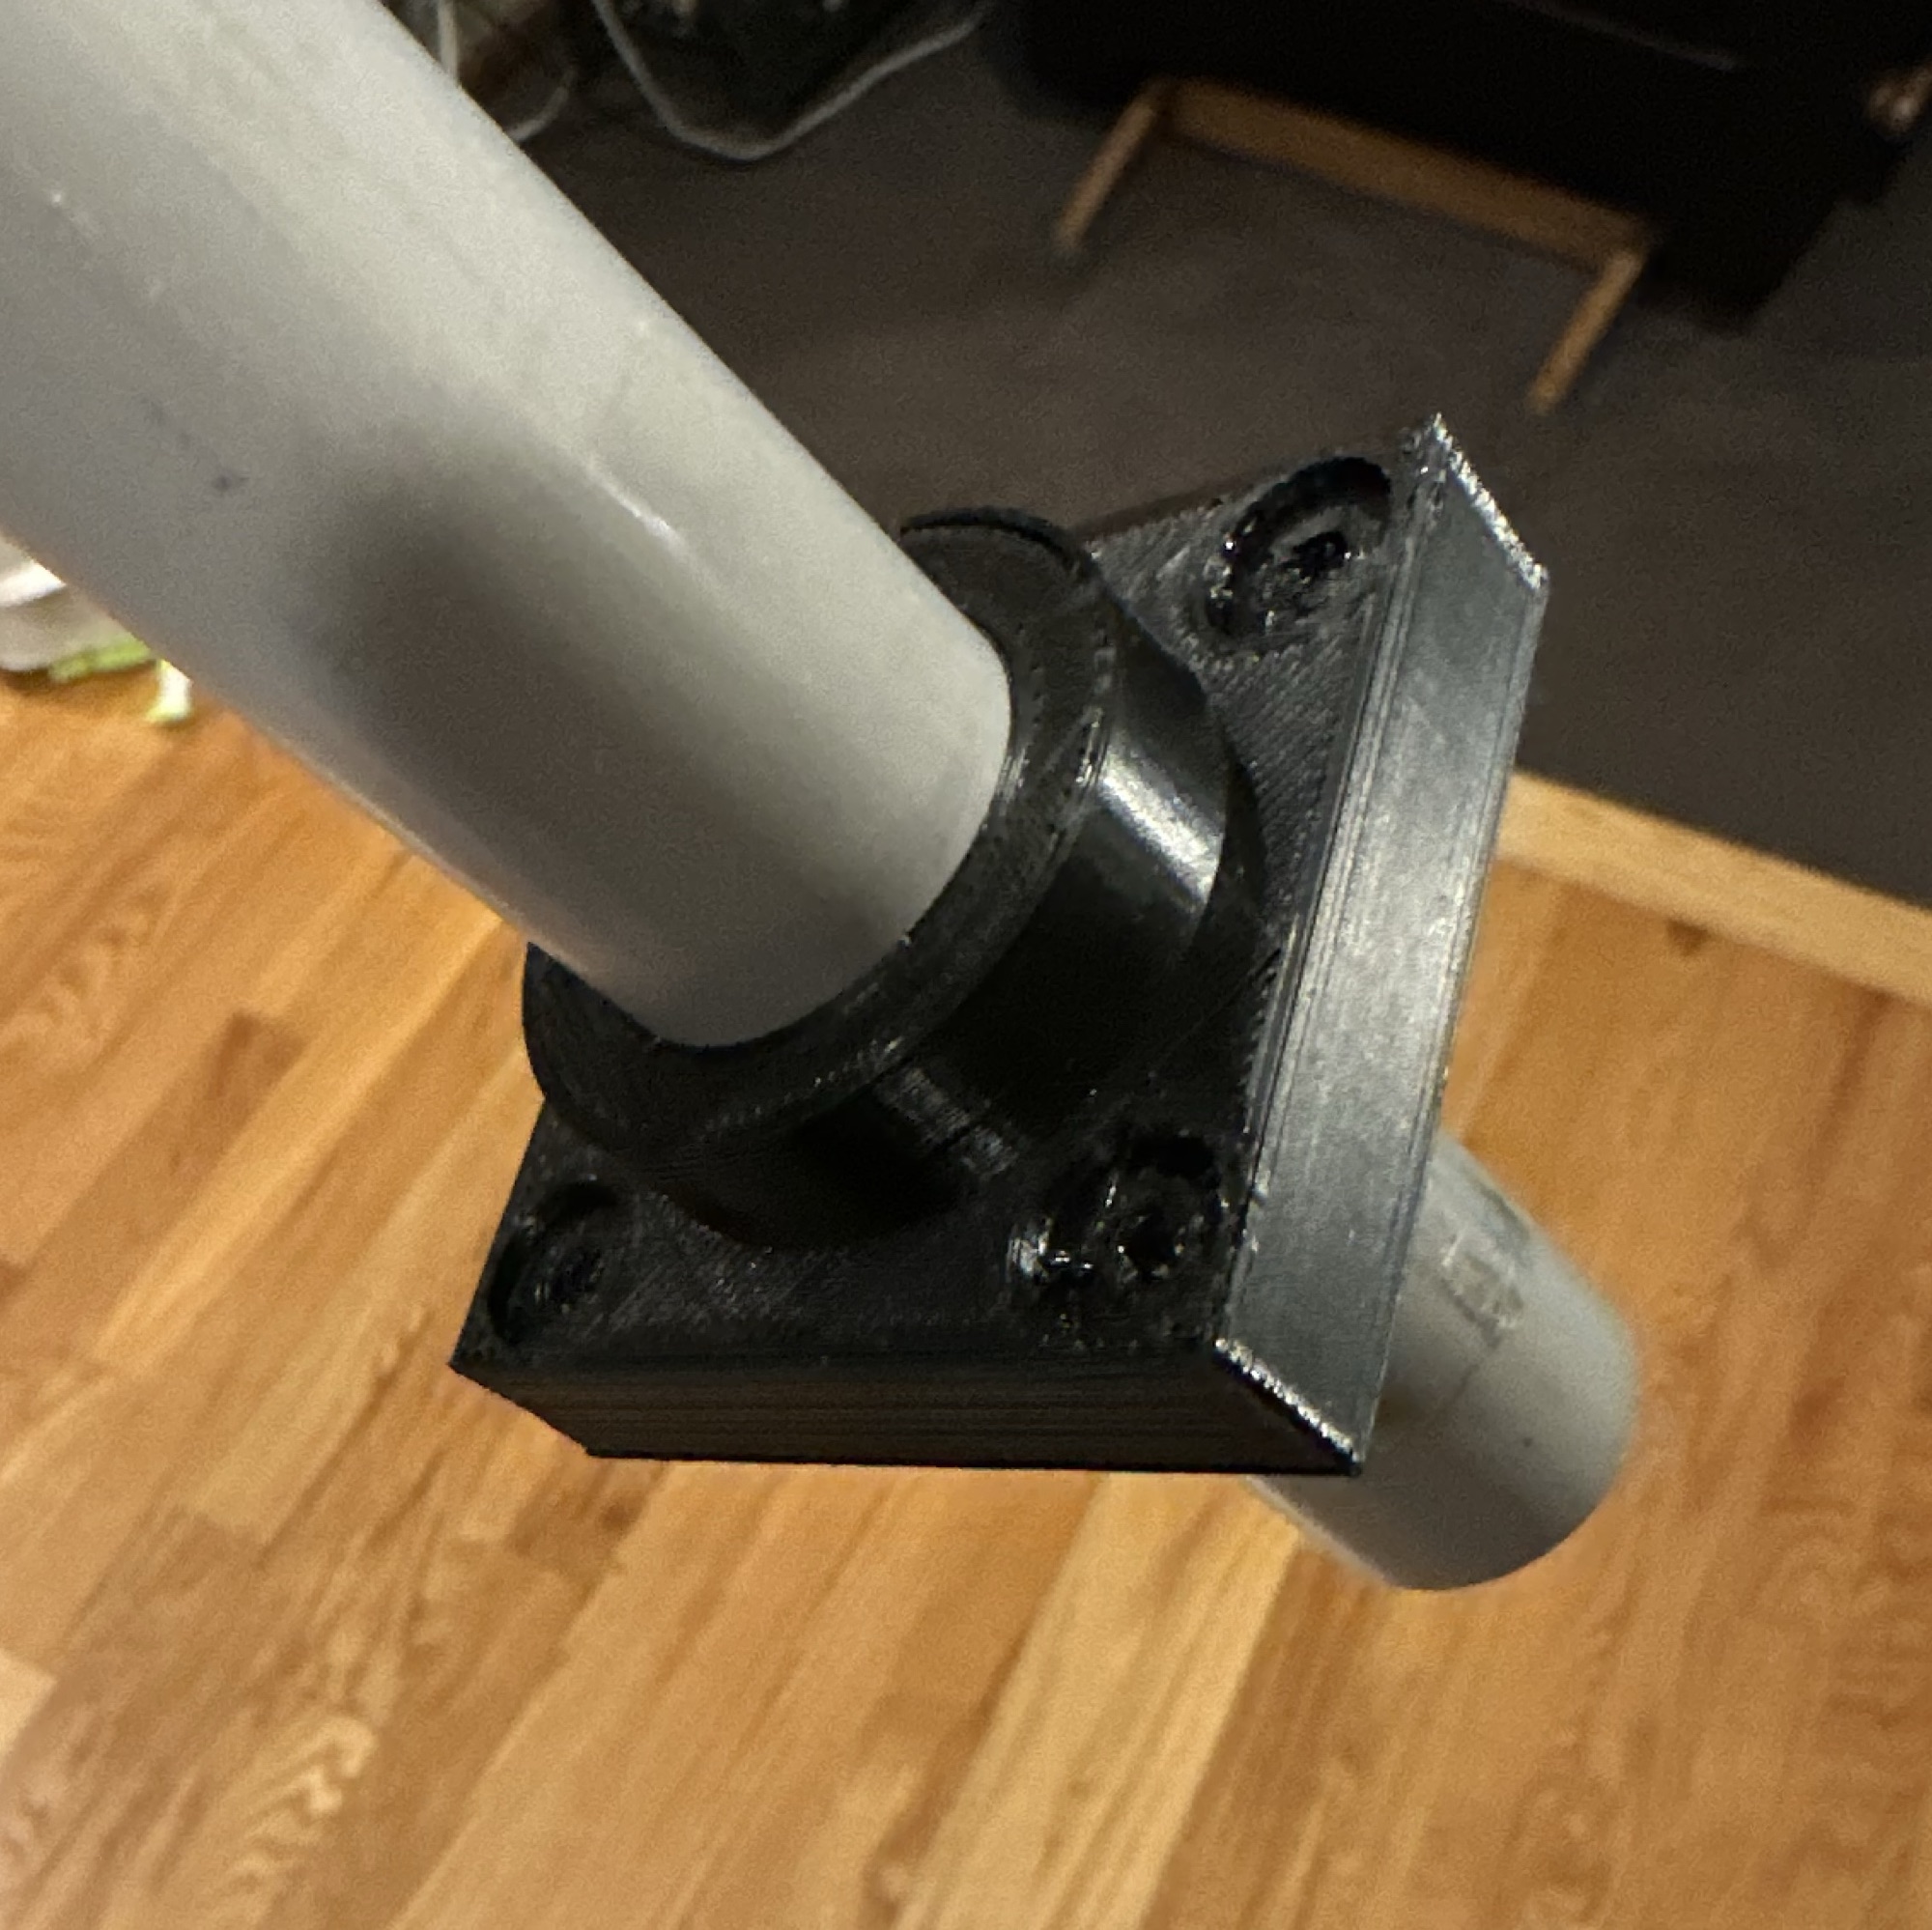
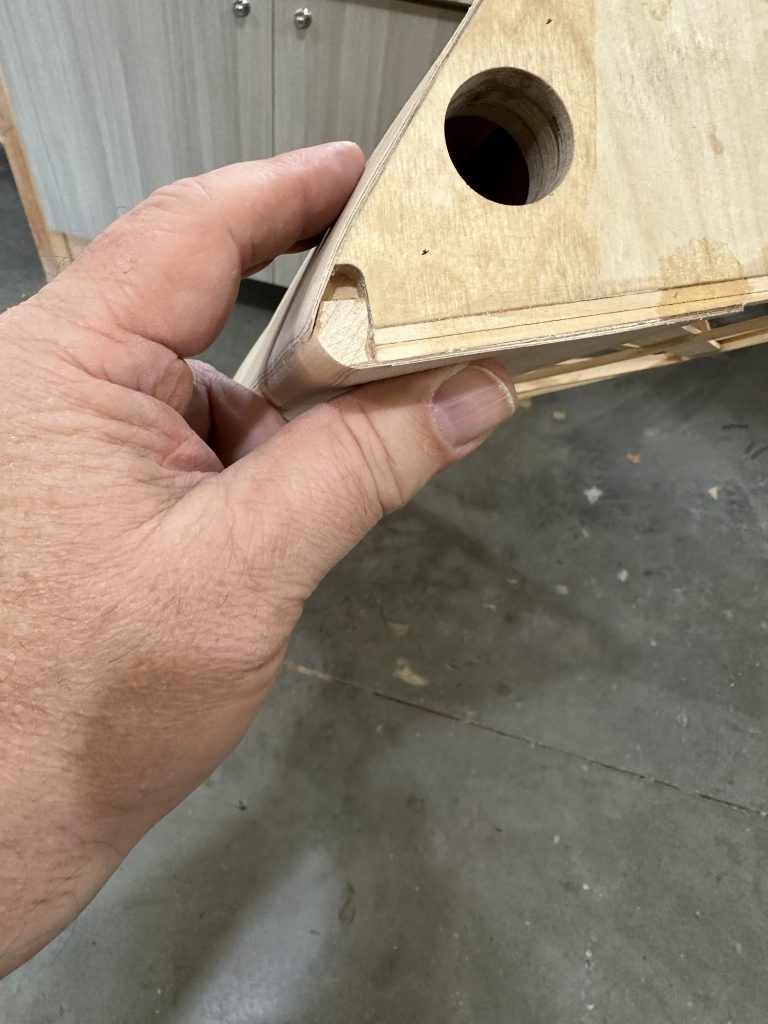
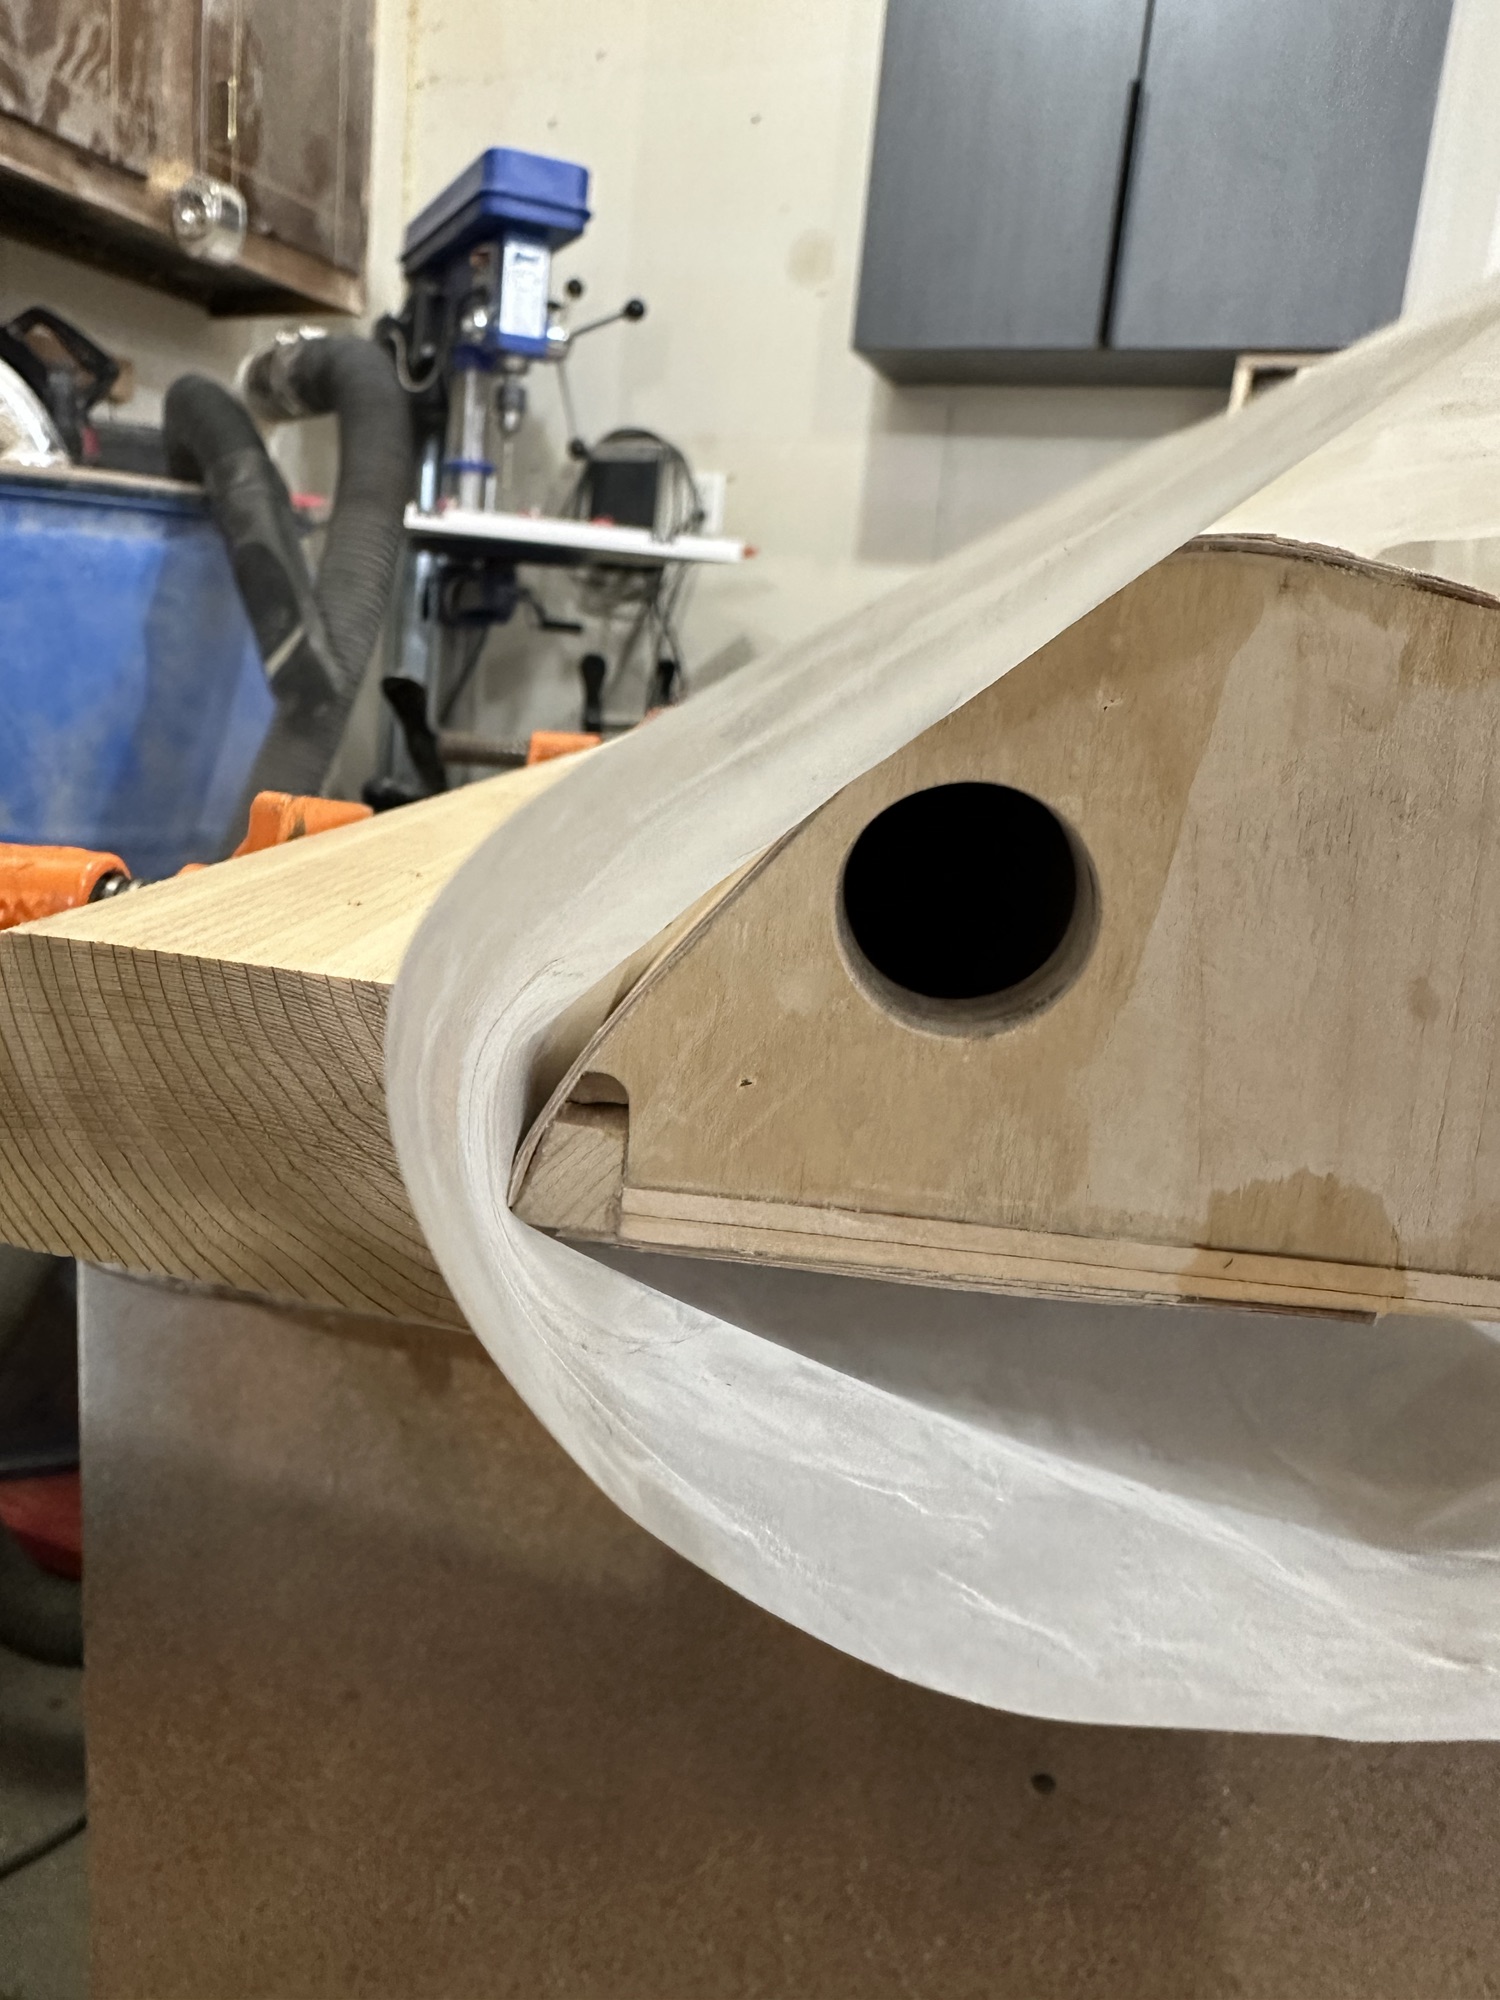
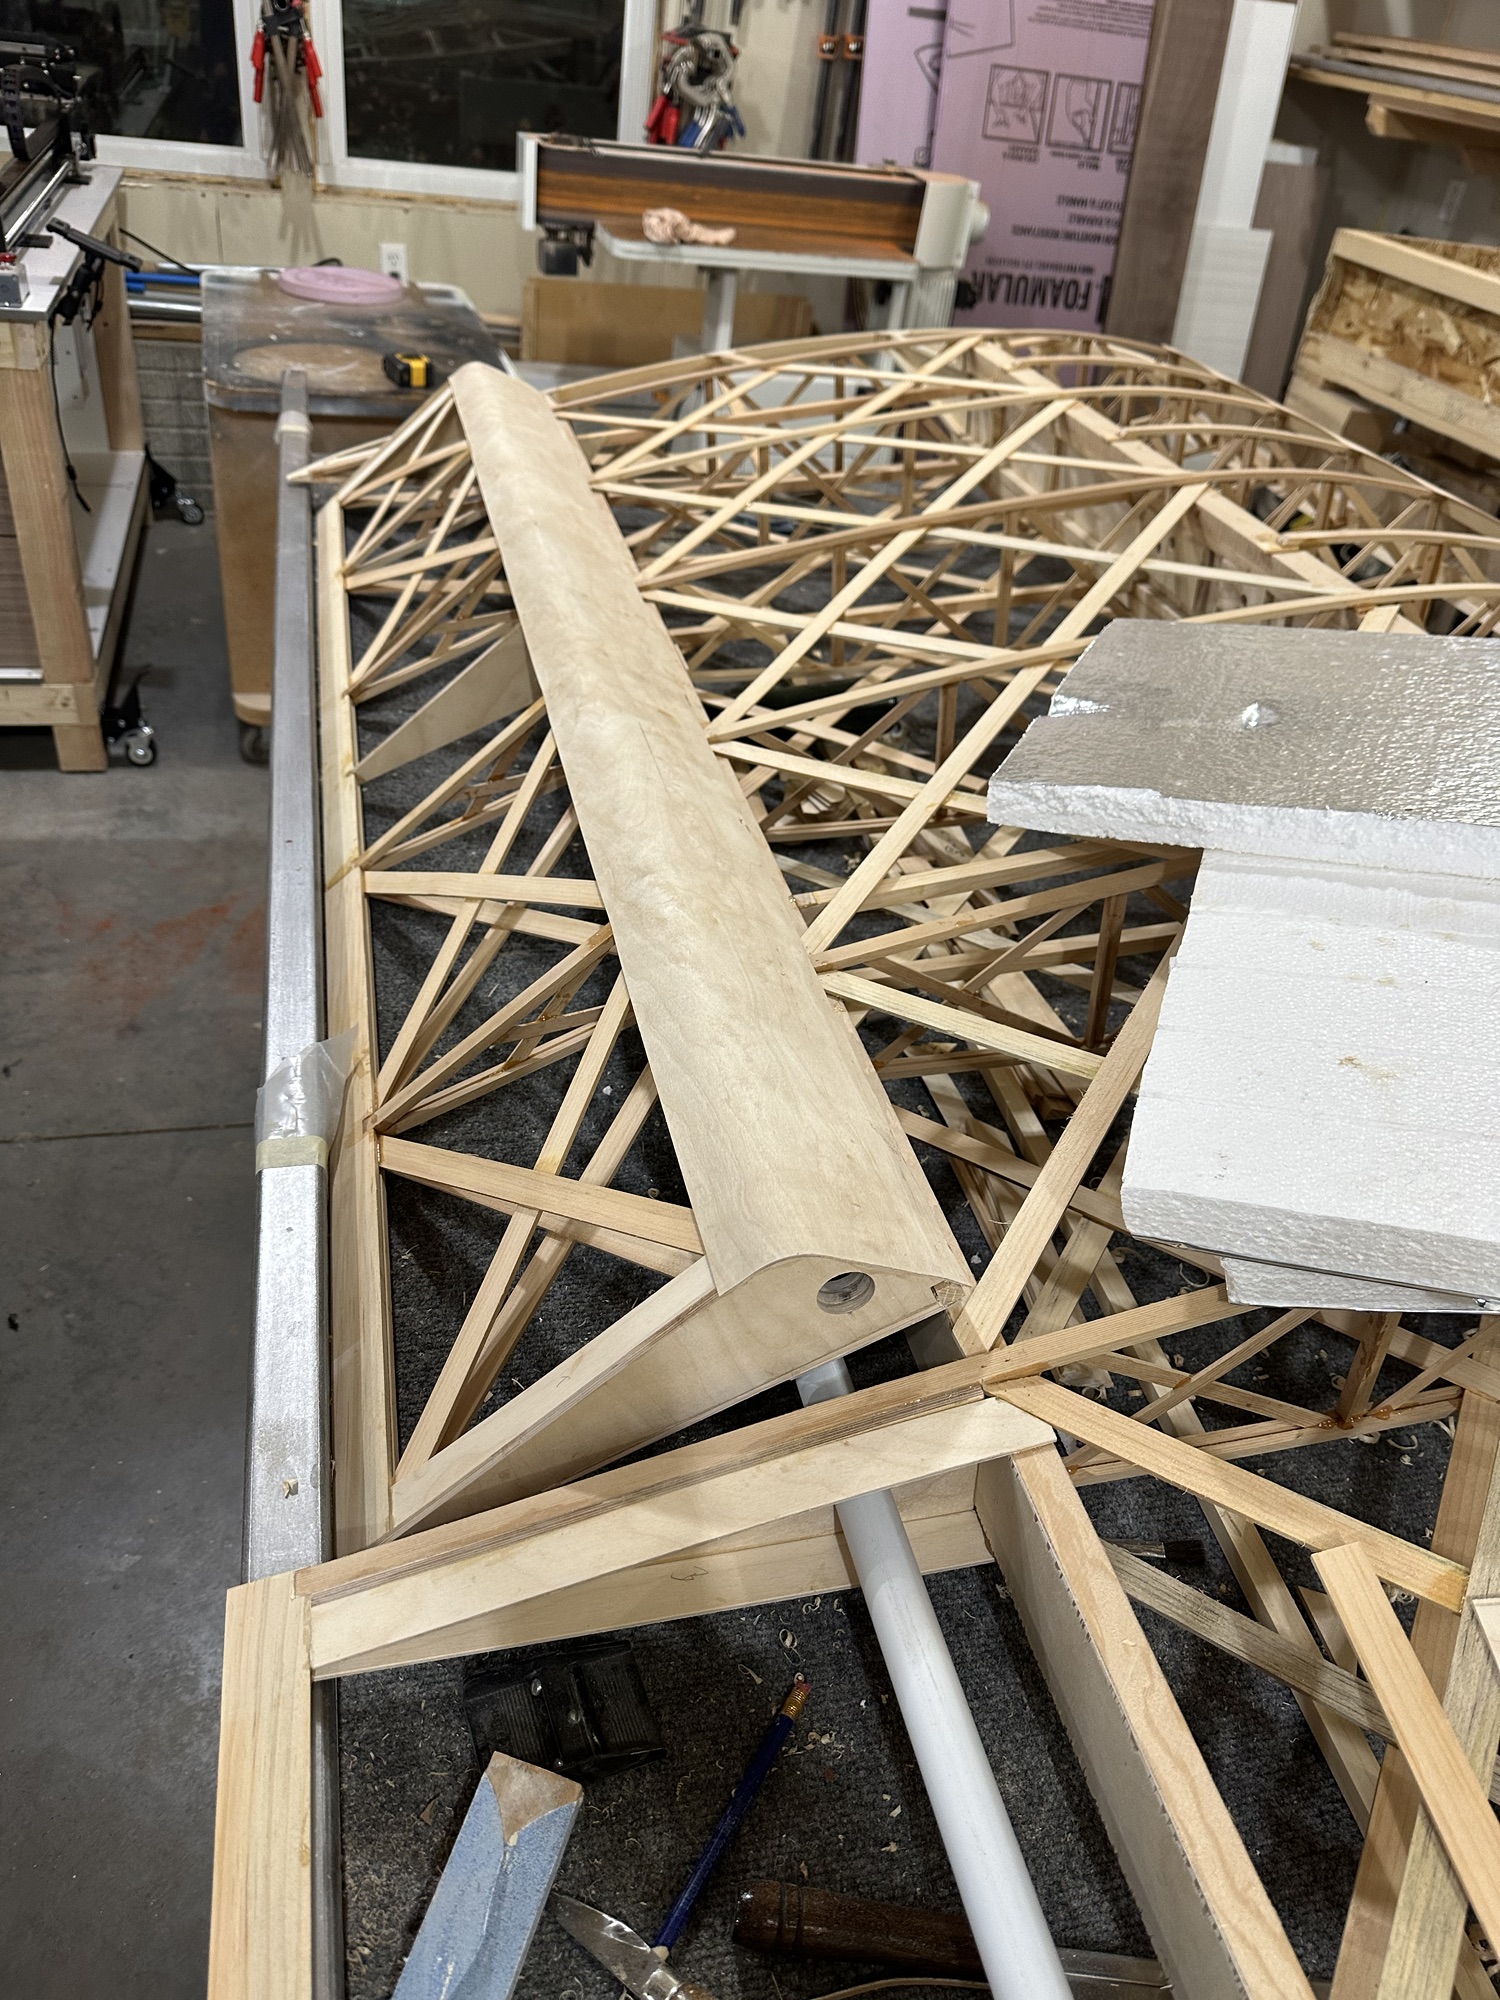
  • Get the torque tubes in place, holes moved or enlarged where needed, and bearing blocks in place and holes drilled before cutting the ailerons from the wing. Otherwise it’s just a bitch getting everything aligned after the fact to locate the bearing blocks. This of course goes along with correcting all of the many problems with the holes that are pre-drilled in those plywood parts.
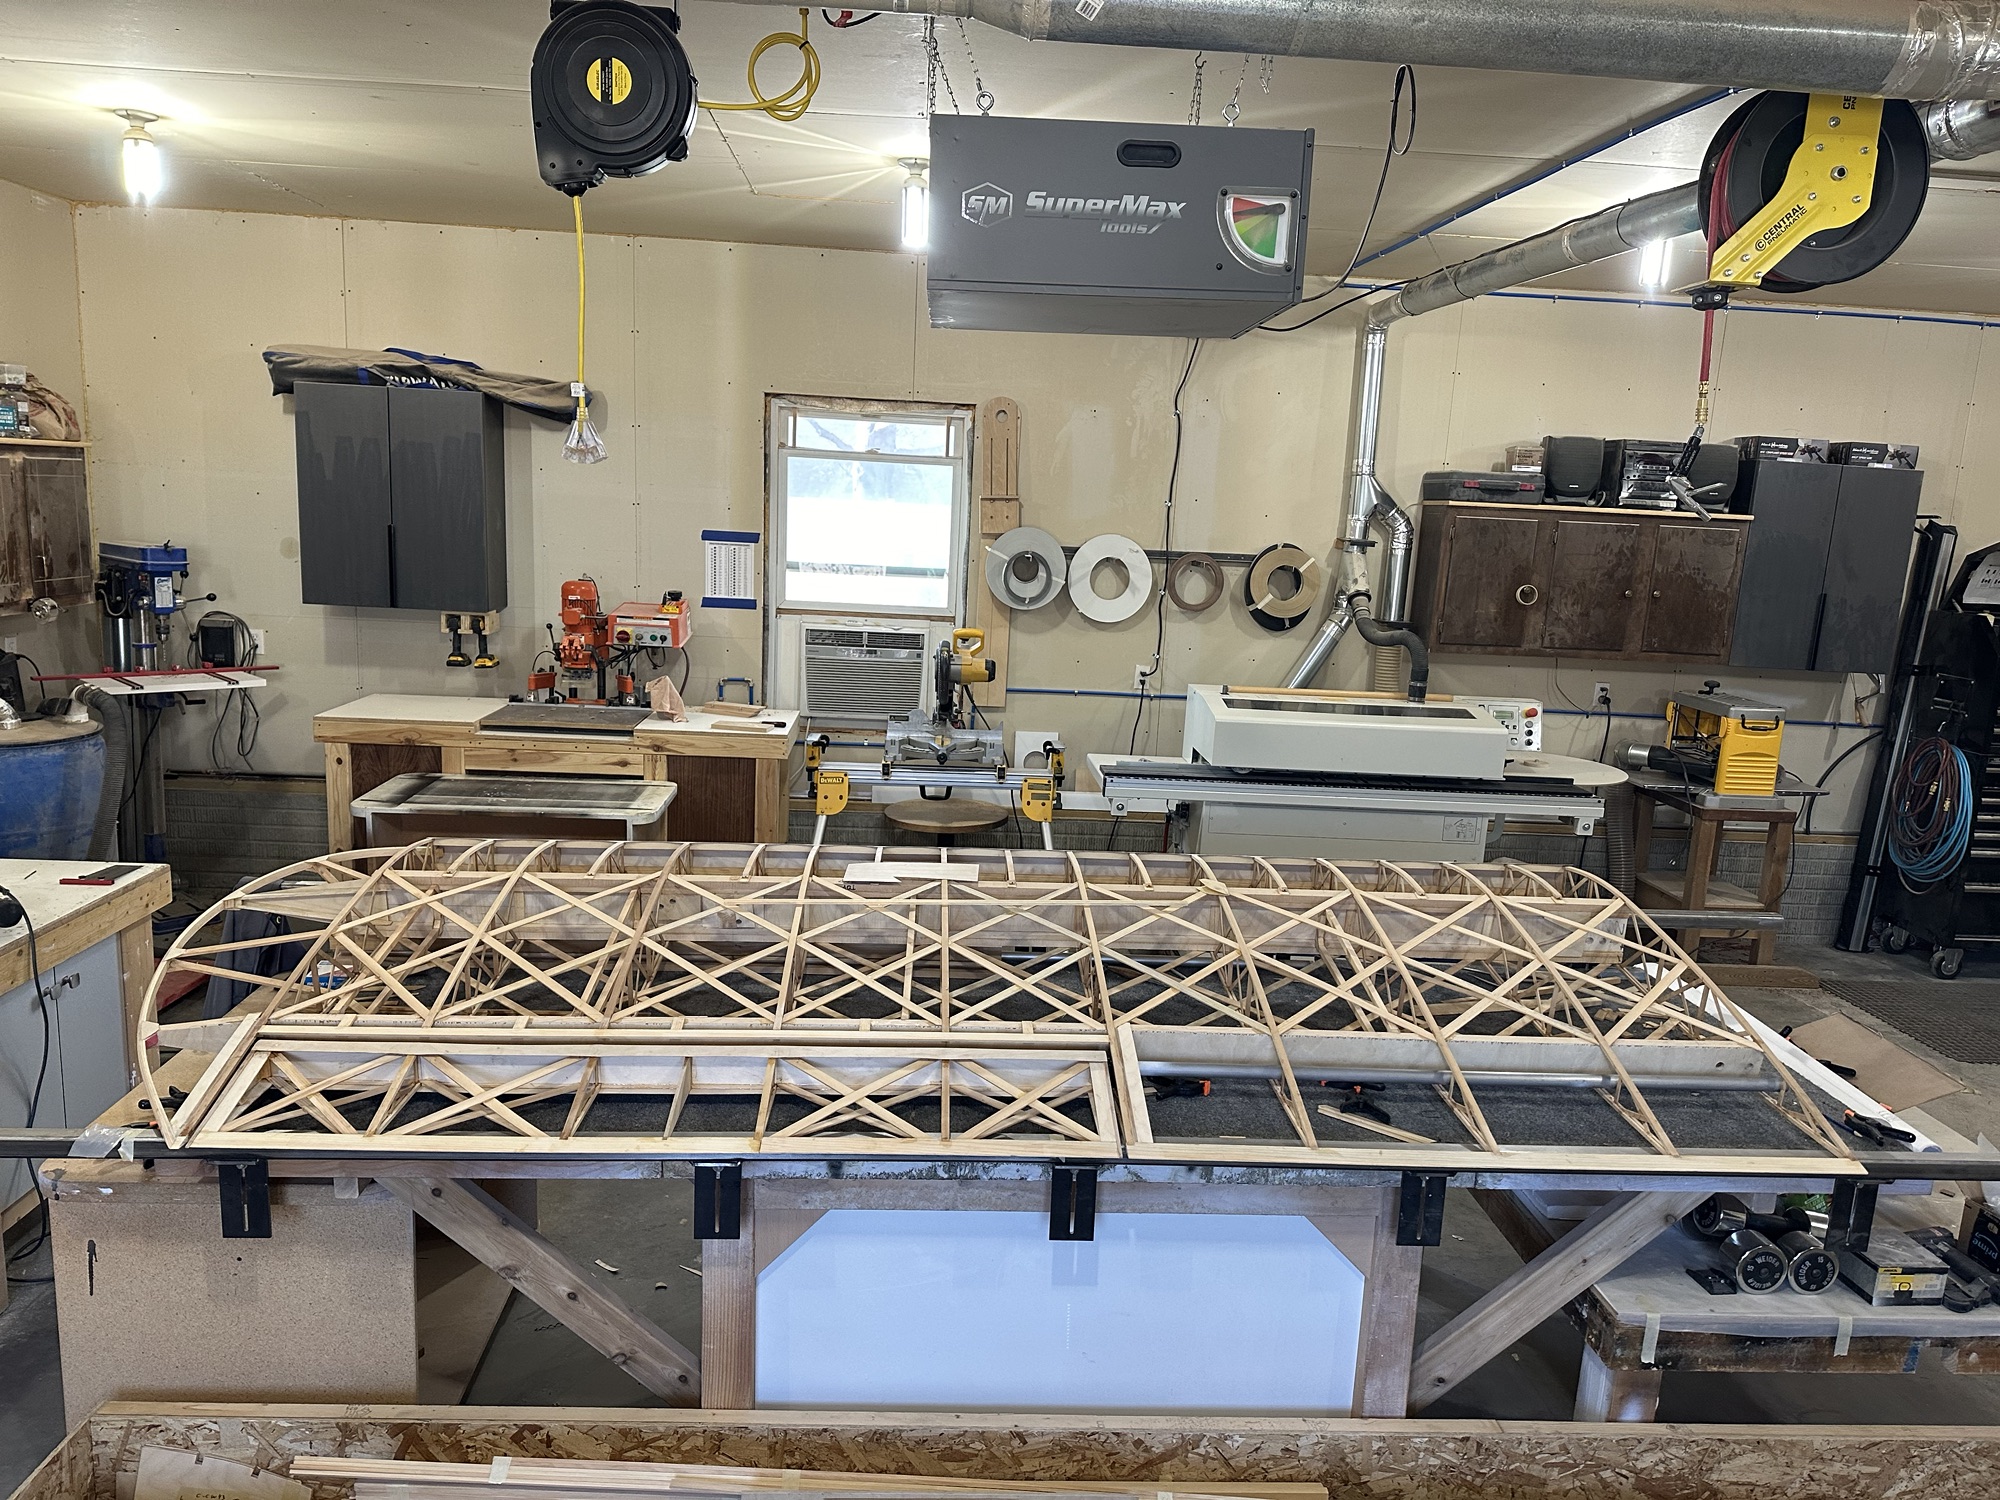
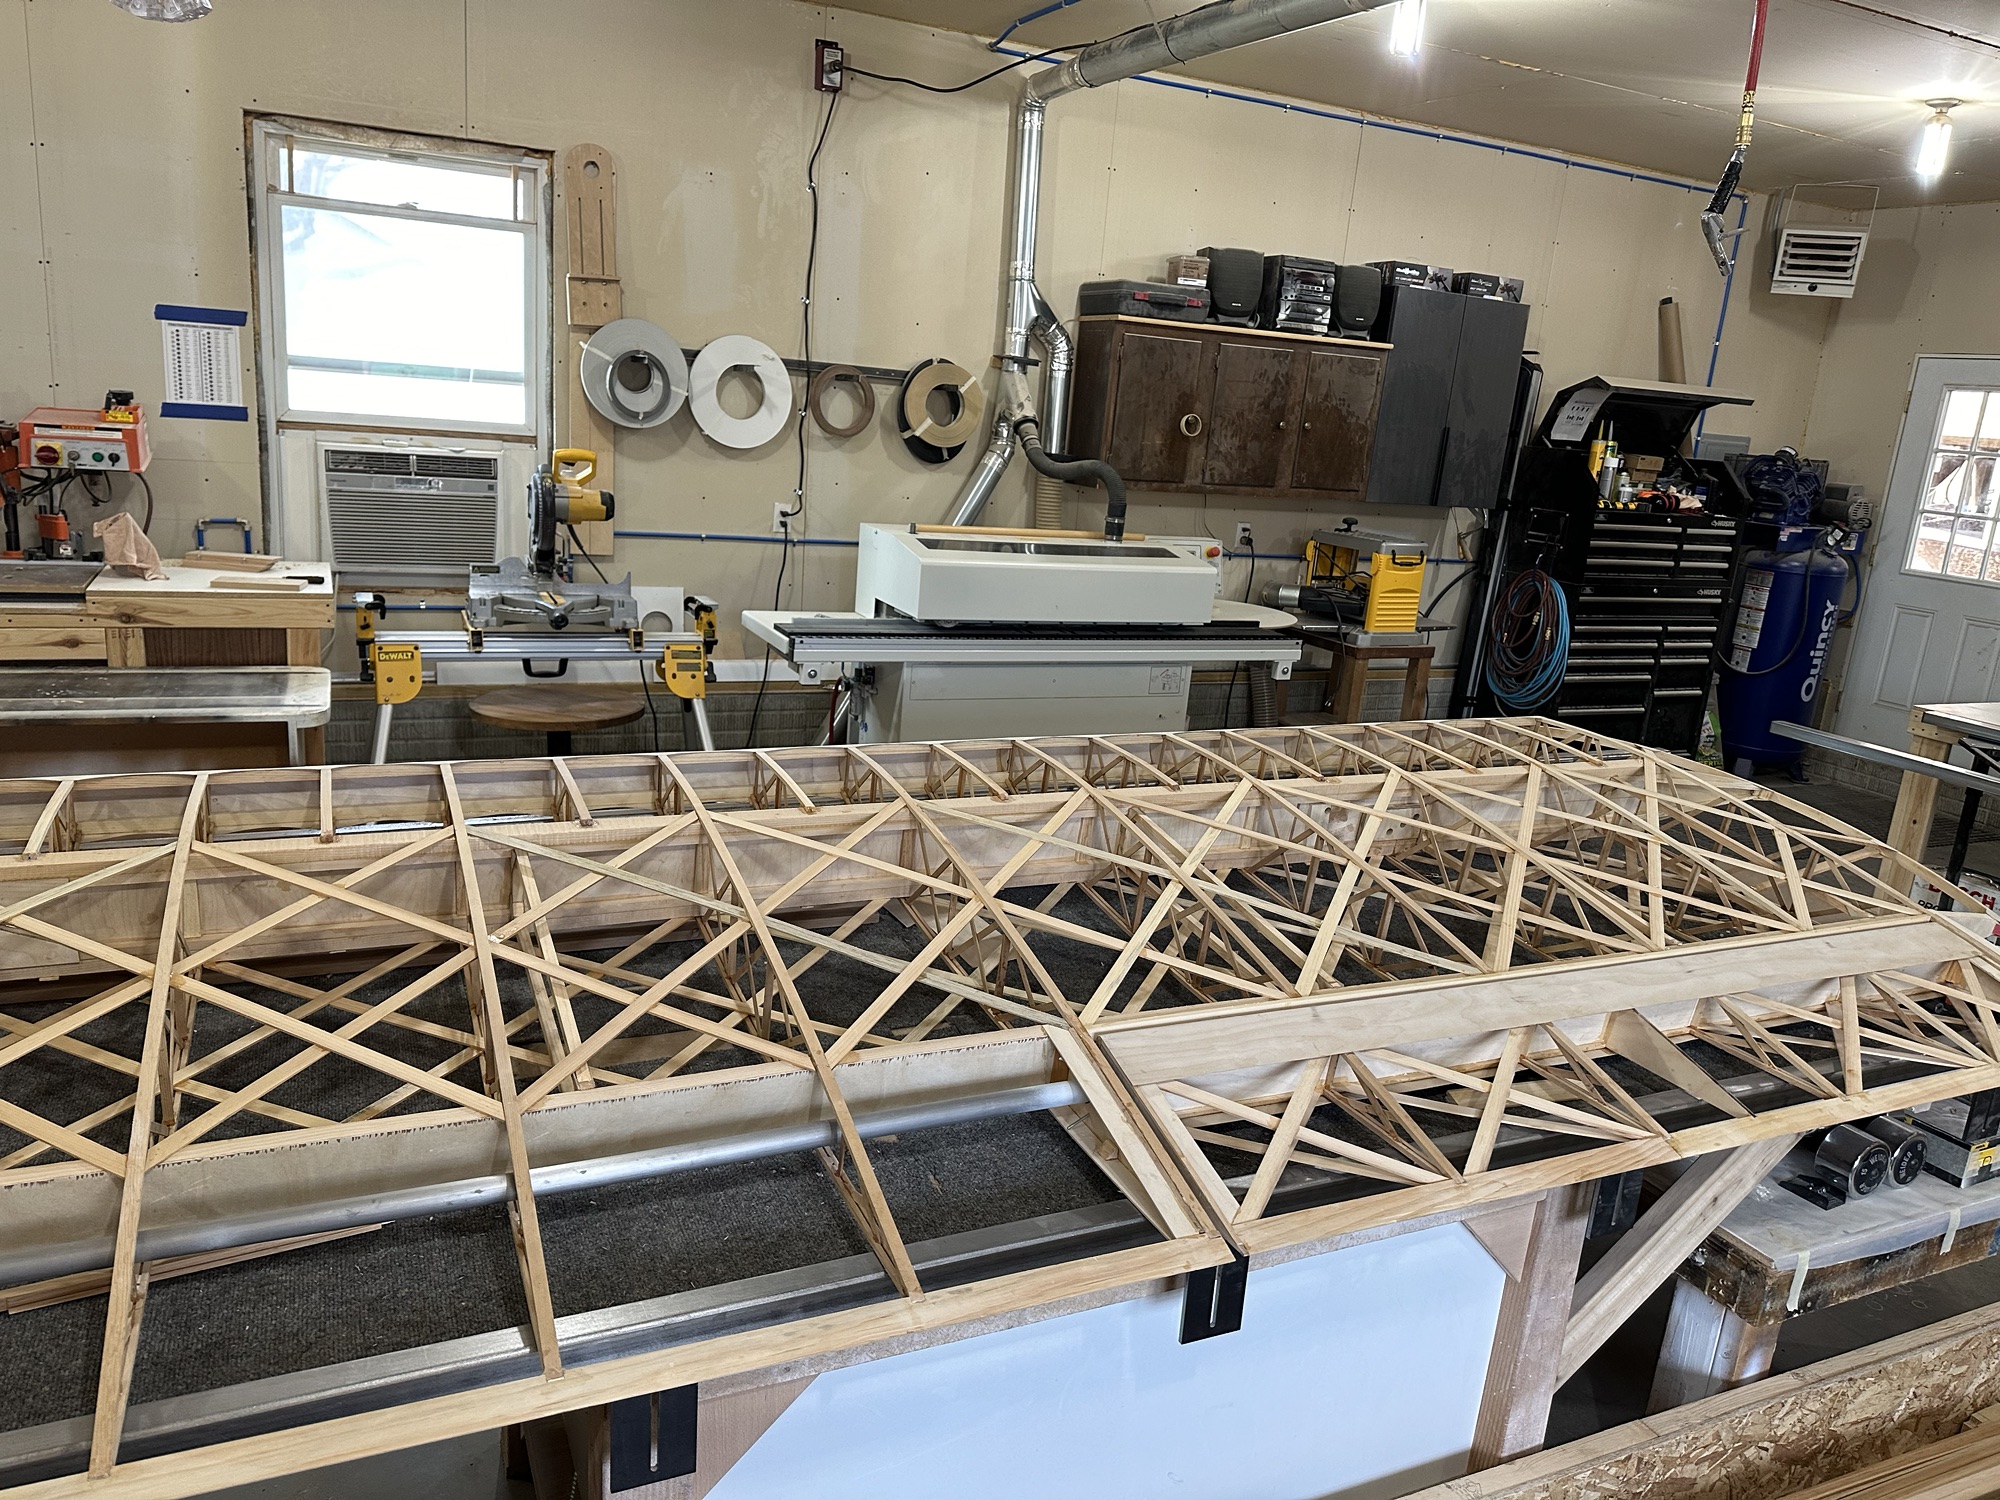
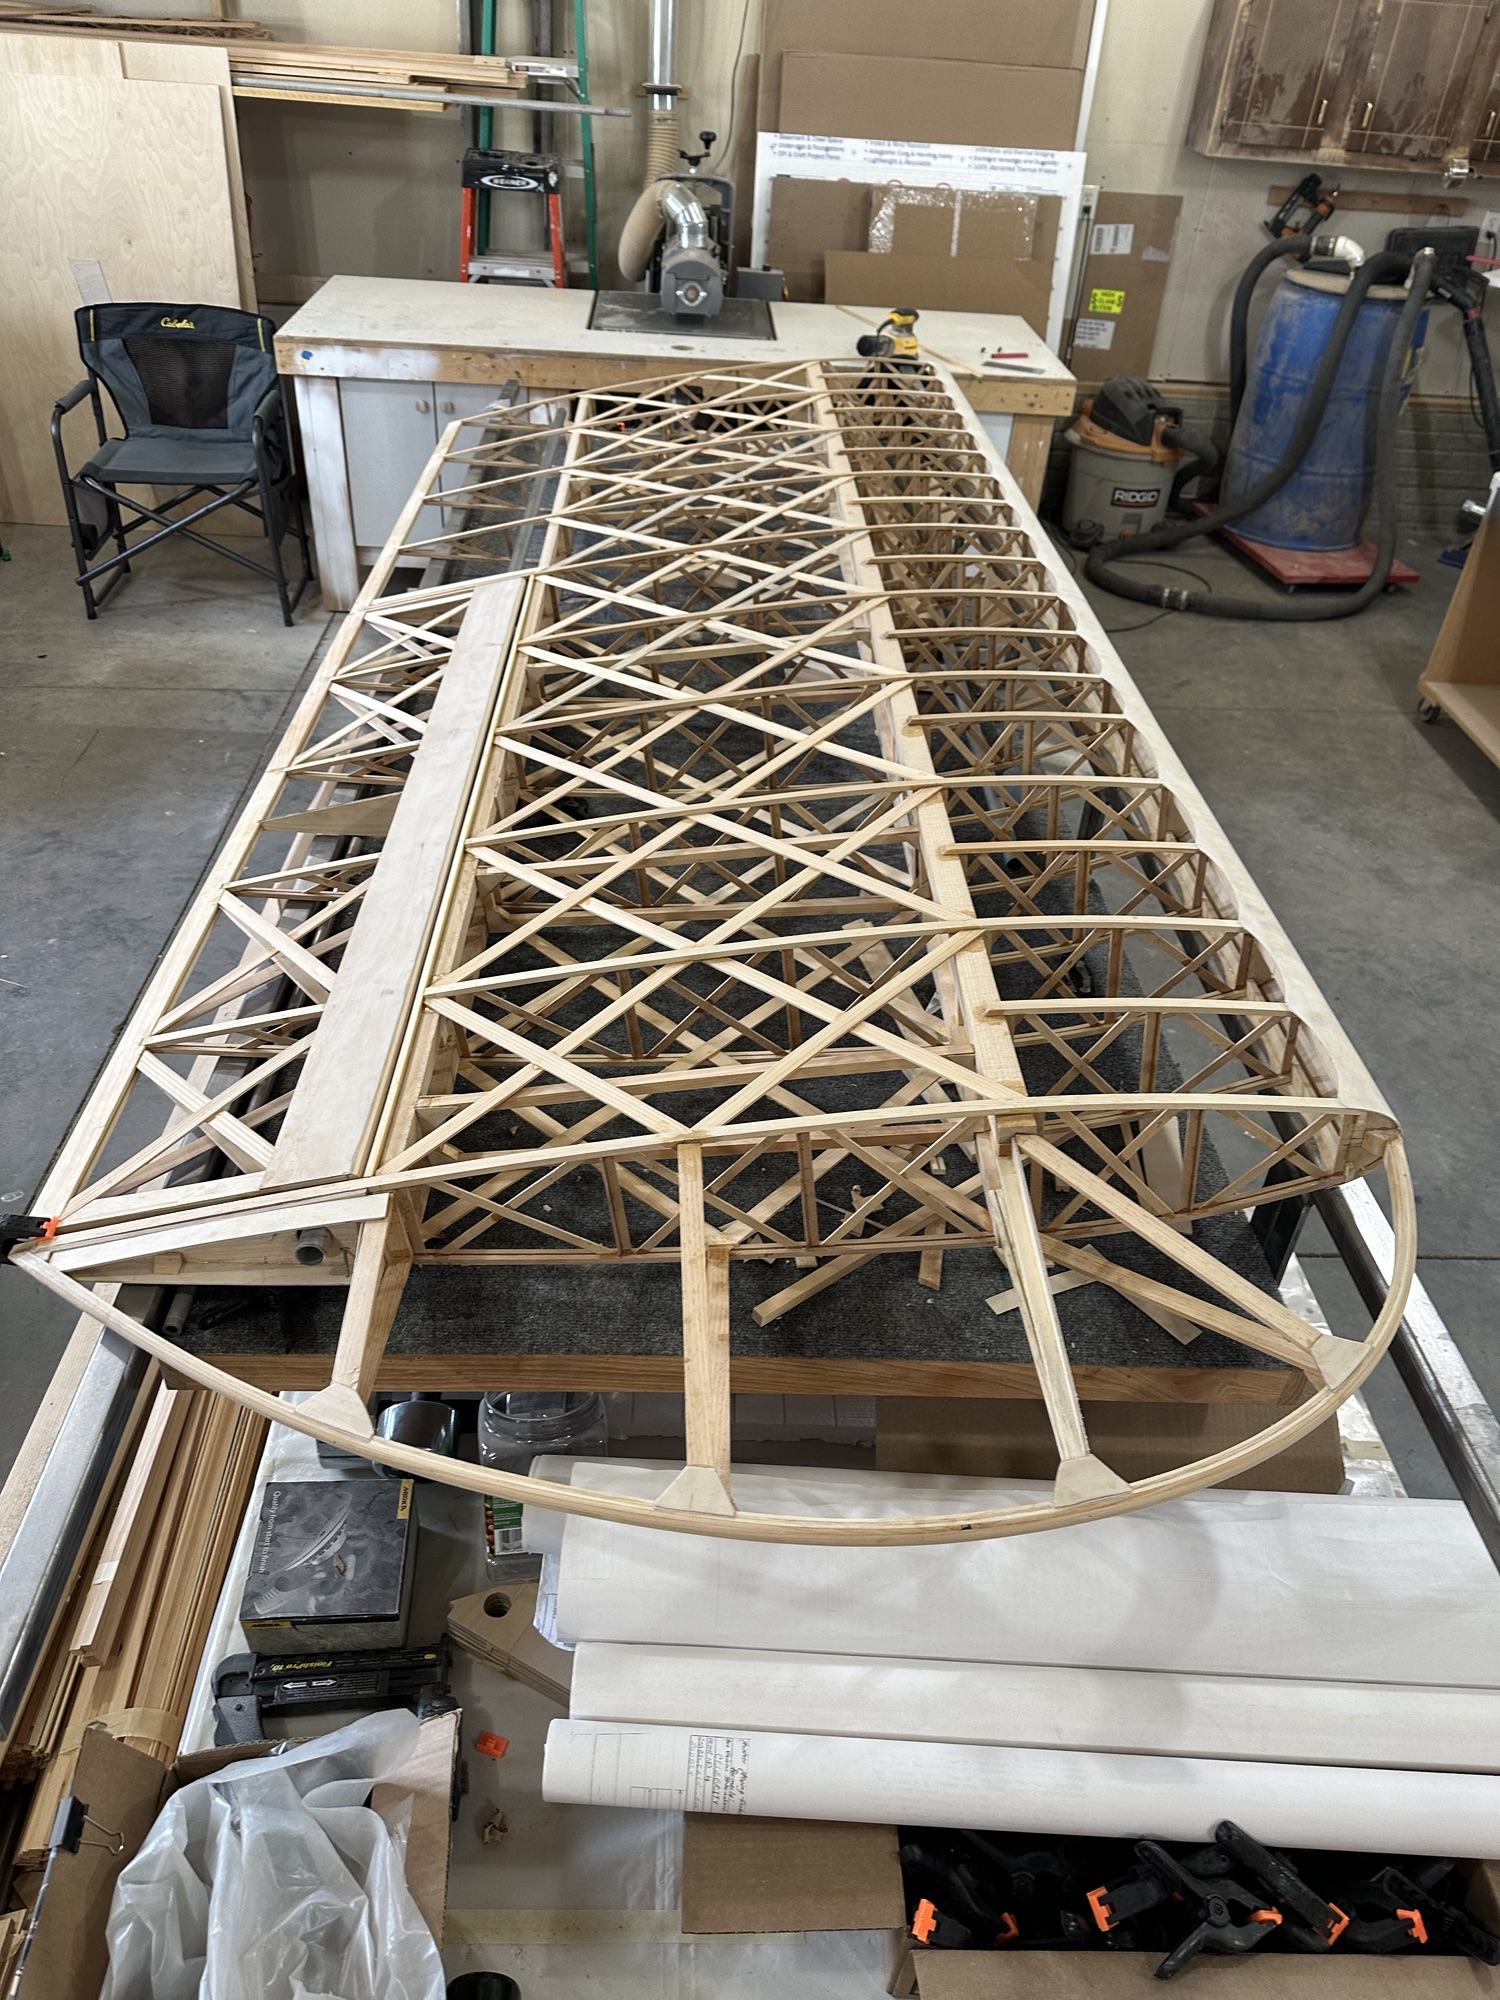
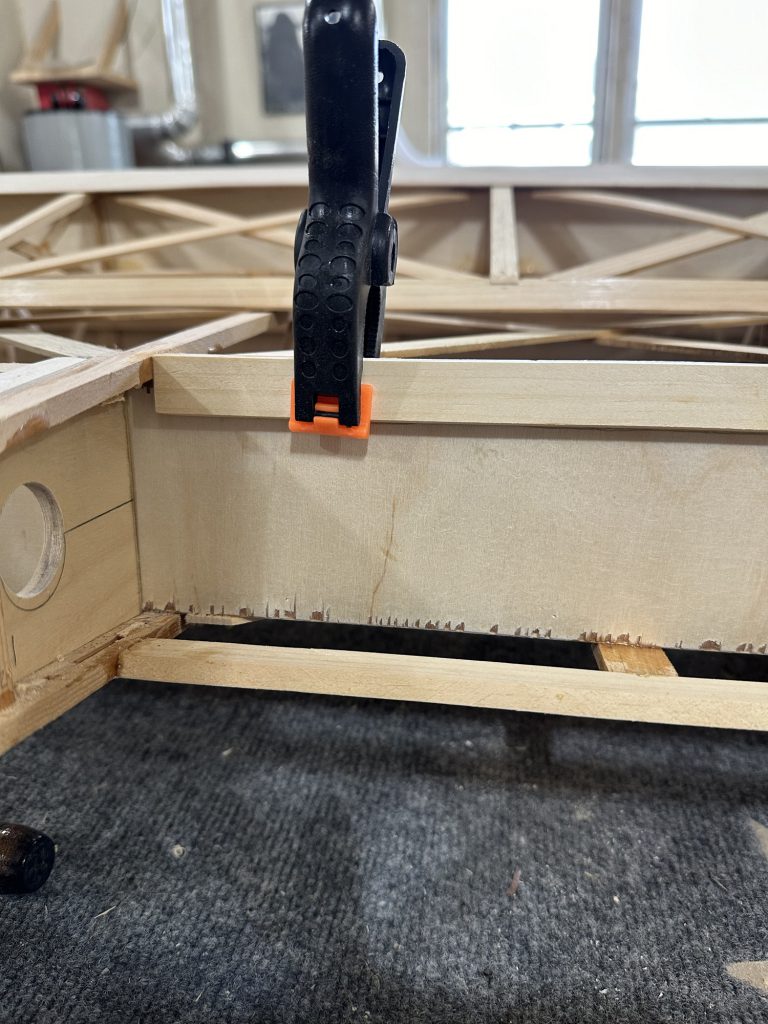
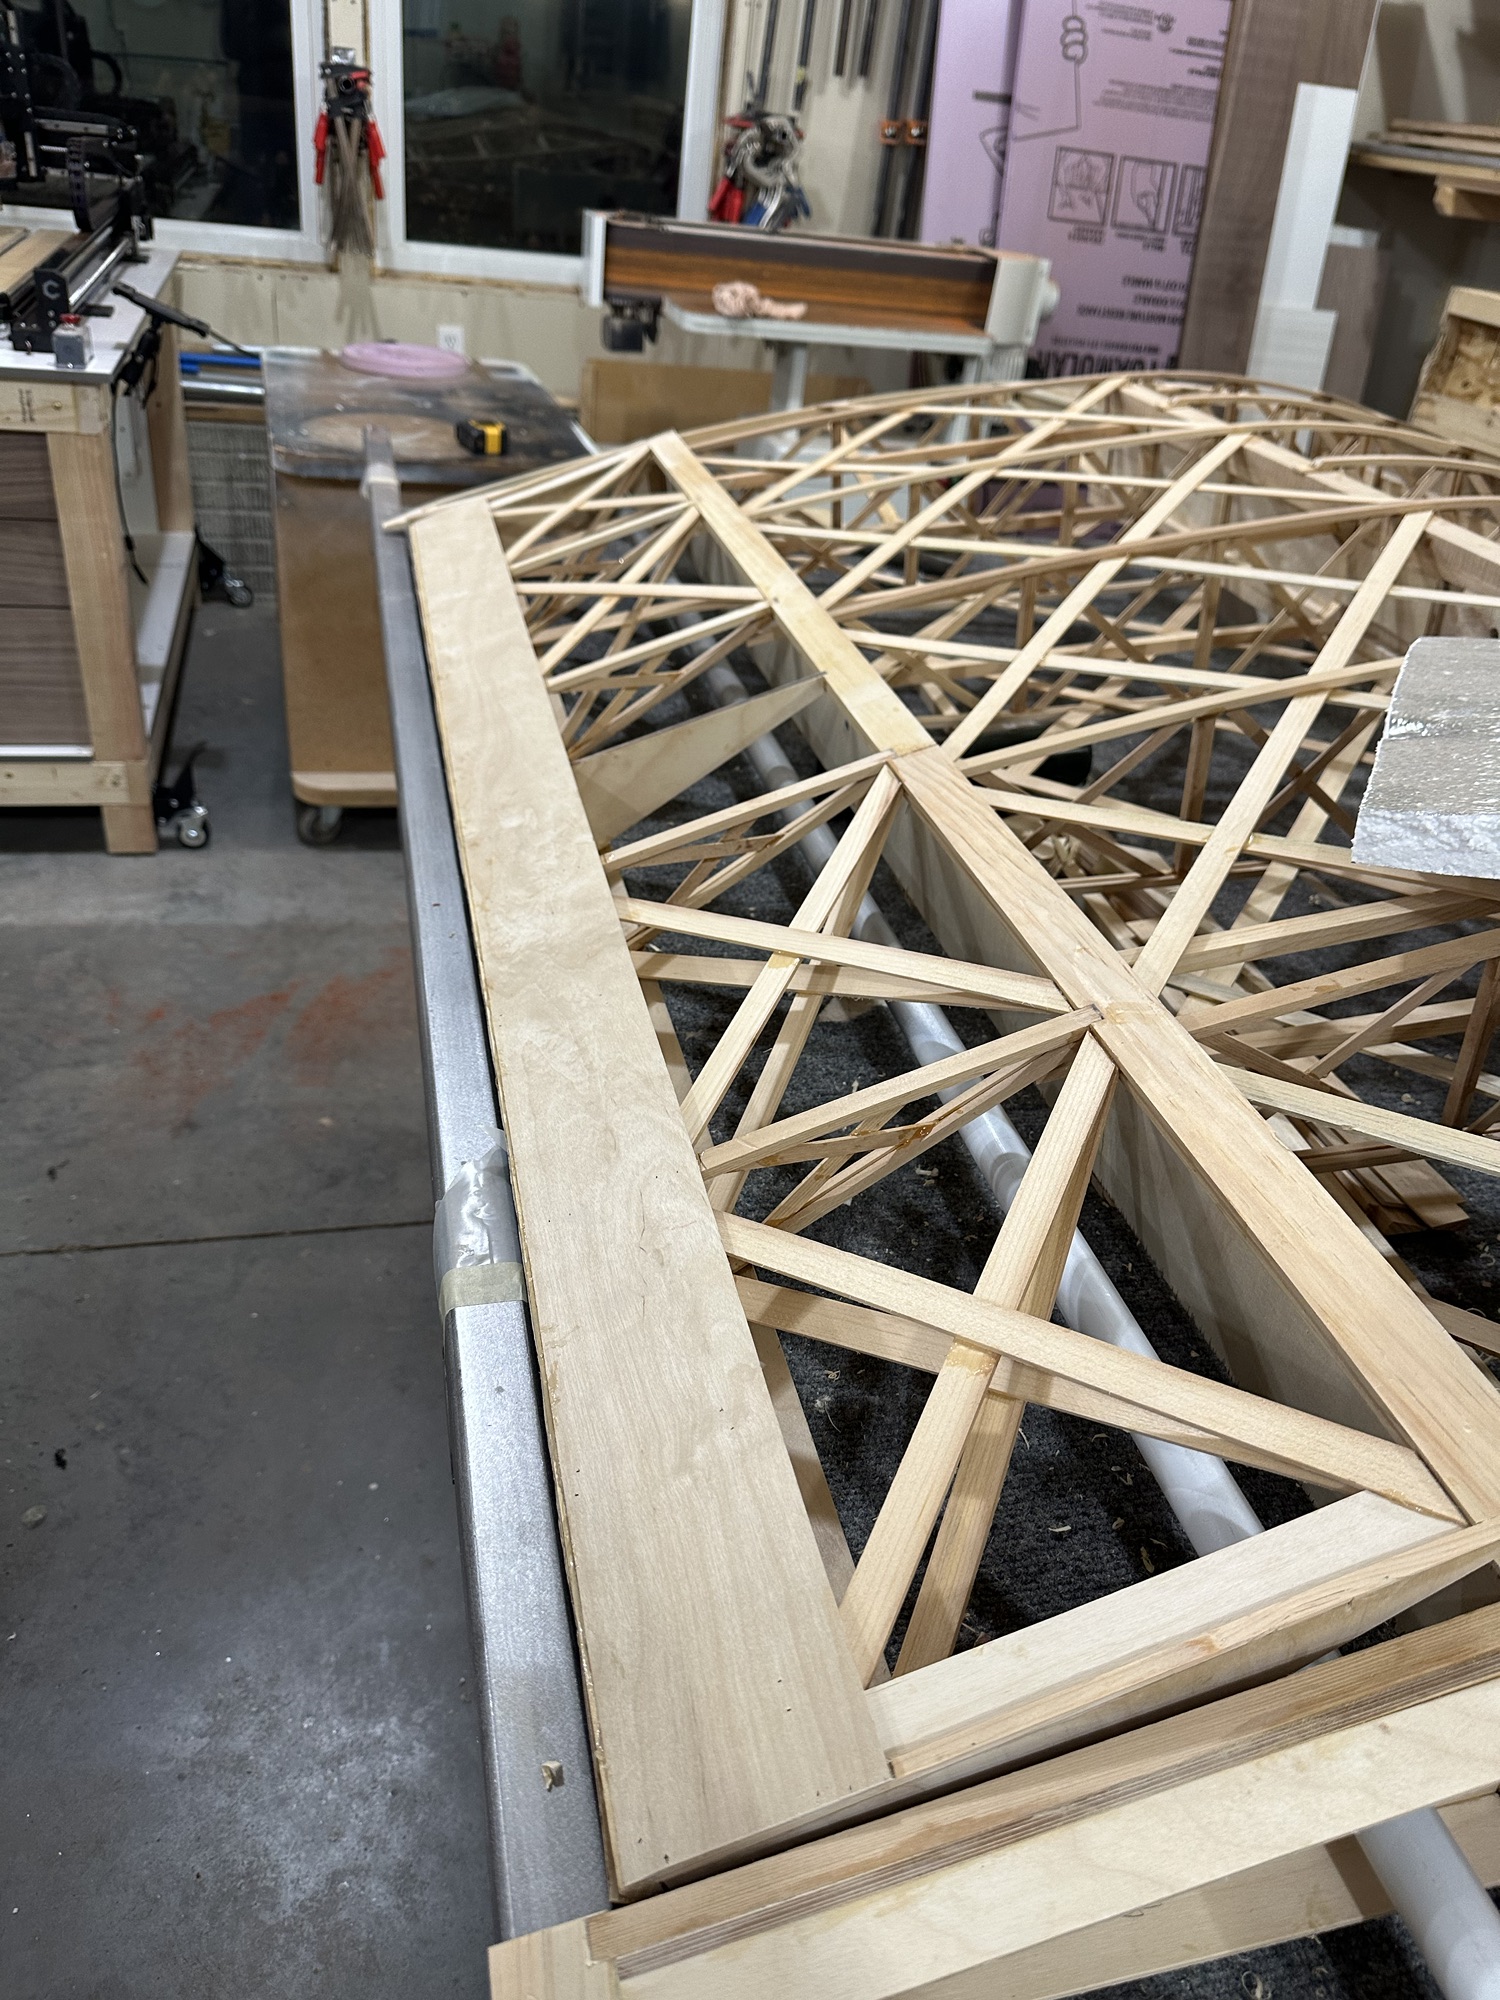
  • Make sure all of the corner blocking is installed around the aileron bay as early as possible, and certainly before installing the CW40 plywood stiffeners, aileron leading edge skin, and so on.
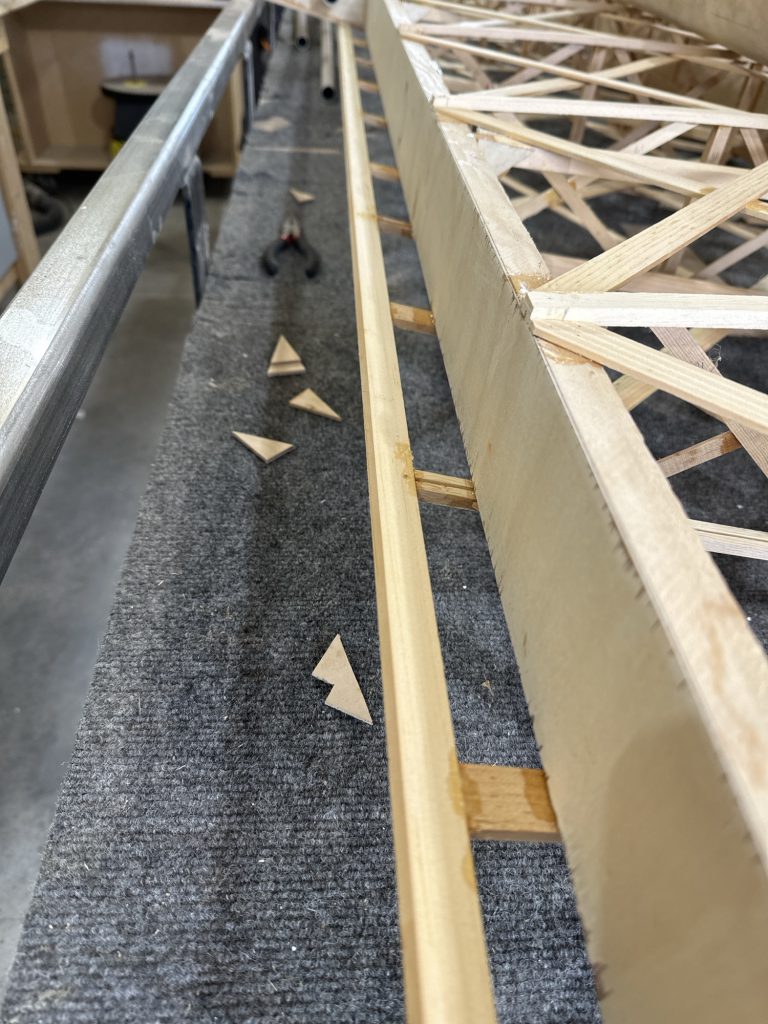
  • Go over the plan sheet more often and in greater detail to make sure I don’t miss anything that will be a pain to install later on… like corner blocking that would be much easier to plane or sand to shape than to try to cut to match odd angles.
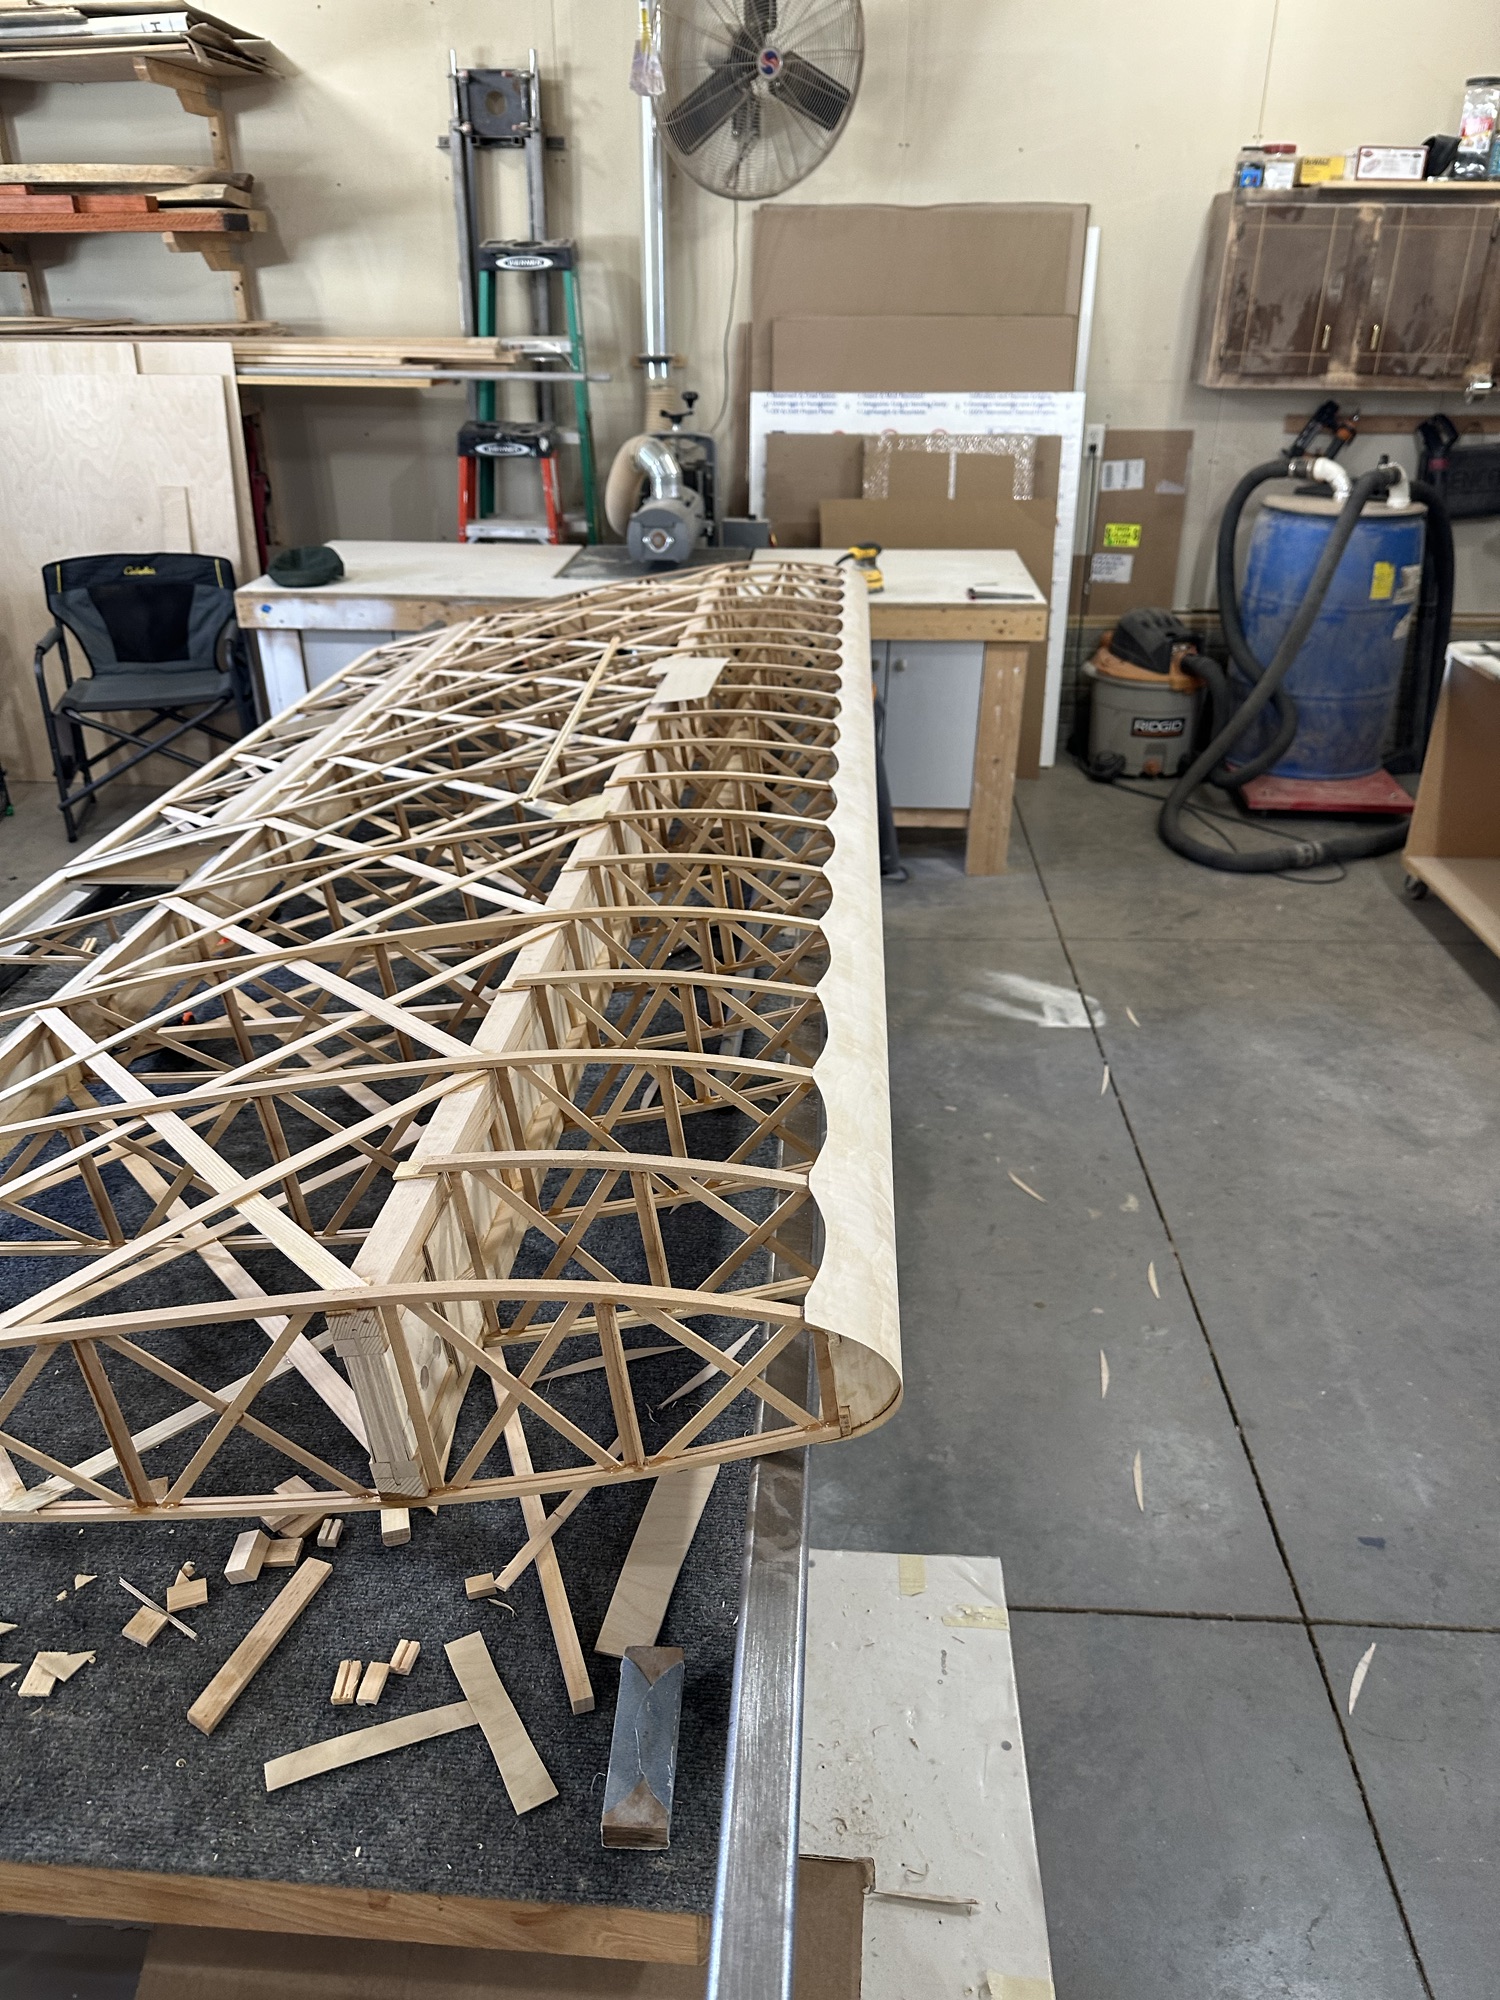
  • Install the compression struts before the geodetics! That cost a couple hours of added time working through tight openings.

Not necessarily a “lesson learned”, but something I’d like to explore. All of the ribs ended up needing a 1/8 shim between the top rib cap and the main spar. Rather than shim them with separate pieces, I want to see if I can maybe cut and install the geodetics at the same time the ribs are glued, or something. Or possibly just use temporary shims, and glue the top cap to the spar as the geodetics are installed. It could lead to neater and better construction.

Wing work thru 2/20

Top and bottom leading edge plywood has been scalloped. That wasn’t as big a chore as I thought it would be. We used a thin stainless scale to establish a curve between each pair of ribs, marked along it with a pencil, and cut the wood with a utility knife. Some cleanup with sandpaper and Bob’s your uncle.

I’ve made a few iterations of the bearing block. Today I’ll print a couple more test pieces and I think I’ll be done. They fit great, the aileron is very well located, all in all I think it’s a lot more precise than a piece of plywood and a chunk of PVC pipe.

I’ve been preparing some of the wing attachment fittings. I have one or two of each part drilled with 1/8 pilot holes; I’ll use those to match drill the rest, then enlarge the holes for the AN4 bolts. The biggest question was hot wo round off the ends. For that I drilled a 1/8 hole exactly 1/2 inch from the disk on my disc/belt sander. Now I can use the tail end of a drill bit as a pivot pin and put a nice radius on the end of the fitting. I’m glad I kept my gray Scotch-Brite wheel on the bench polisher; it makes quick work of cleaning up the ends of the AL bars.

Wing work – 2/16, and a better idea

Yesterday (2/16) I cut and glued in some corner blocking I had missed on each end of the aileron and the ends of the aileron bay. Lesson learned: that would have been a lot easier had I done it before the geodetic bits and plywood stiffeners had been installed.

I’m getting to the point where I kind of need the torque tube bearing blocks installed. Then there are the 3/8” spacers, which the plans call out as pieces of PVC pipe. I figure, since I’m going to CNC machine the bearing blocks anyway, why not just make those and the spacers one piece? I pulled up the design in OpenSCAD and added the spacer. I gave it a slightly larger ID than the bearing block so it doesn’t add drag to the aileron control. I 3D printed a couple samples to use for fit & function testing. If that goes as expected I’ll get a chunk of 1” UHMW and pass the design file to Stew for machining. I’d planned to use some 1/2” UHMW I have for the bearing blocks, but I’ll keep that for now and use it for something else.

3D printed test part. It’s difficult to see but there’s a step in the bore for the torque tube.

Wing work 2/15/24

Got the lower leading edge of the aileron rounded off, and the beveled strip glued to the bottom of the aileron bay. Once that glue had cured, I’ll be able to check the clearance on the down travel and see if any further rounding off is needed. We used a 3/8” radius bit in a router to cut to shape, then cleaned up the edges with a DA sander.

Radius on aileron leading edge

Wing work 2/10/24

This covers a couple days’ work. Yesterday we ripped the CW37 aileron bay TE stock down to 1/4” and I got that installed. Today I’ll glue in the triangular support pieces. And yes, I realized after cutting and gluing it all up that the CW37 piece is supposed to be notched for the rib caps. I’ll remember that for the next time.

I continue to be astonished at how light and strong this wing is. I can easily lift it off the bench and move it around; it can’t weigh more than 20-25# without the aileron installed.

The last thing that was really bugging me about the aileron was that the lower edge of the leading edge plywood still wasn’t glued down. I’ve got to find a better way on the next aileron, but this one had to be done so we can radius the lower edge.

Stew’s idea was to make a grooved board for the trailing edge and use that to clamp a board across the leading edge while the glue sets. He used a length of scrap cedar with a groove cut to match the angle of the TE, and we used four bar clamps to apply pressure. In hindsight – I honestly don’t know if just putting a radius on the front corner and wrapping plywood around it would be better or not. We’ll see how this works out.

In other news, Stew has his 4’ CNC machine in and working, and I’m going to put him to work cutting my torque tube bearing blocks out of some UHMWPE stock I have. Better than plywood, I think.

Aileron progress

It’s been an on-and-off couple of weeks. I’ve had a persistent cold/bronchitis that has kept me away from the shop for days at a time. On days I do feel like working, I’ve got a house cleanup project that’s been sucking time as well.

This evening I got over to have a look at the aileron. I’m not thrilled with the plywood, to be perfectly honest, but I believe it will be OK. I re-glued a couple of the geodetic braces and glued down a couple of corners of the thin plywood that were loos and/or slightly de-laminating. I think the fabric would probably have been sufficient, but I want to make things as close to perfect as practical. I’ve got a list of things to do differently on the next three ailerons.

I got a few corner blocks installed to make sure the plywood stiffeners don’t flex or bow. The pans don’t call for them, but I’ll feel better knowing they’re there. I also got the ends of the aileron nose plywood trimmed and sanded flush with the ends of the aileron. There’s one more round of gluing to do, then I can use a router to put a radius on the lower front edge and it will be done. I did check the aileron travel; 22 degrees up and down will not be a problem.

Returning to work

It’s been a bit since my last update here. In the past couple of weeks we took a nice cruise vacation, and I developed a pretty severe case of bronchitis. It’s possible these two things are not unrelated; one of the risks you take to get a little Caribbean sun and salt air in the middle of winter, I guess!

I’ve been working to get the leading edge of the aileron wrapped with plywood. Honestly, at this point I can understand how someone would make the decision to scrap an aileron and start from scratch. I don’t think I’ll go quite that far, but there have been challenges. I’m adding to my “lessons learned” for the next three ailerons, that’s for sure. Part of it is just developing a process to get the ply to wrap over the pretty sharply curved top surface. This part I solved with a couple pieces of Styrofoam and some dumbbells, to effectively clamp the aileron to the bench with the ply trapped underneath. That should hopefully take care of the upper portion. The bottom edge of the top piece of ply isn’t yet glued to the structure, so I’ll have to figure that out today.

I’m really looking forward to building the next wing. I’ve learned so much while building this one that I’m pretty sure the next will take a lot less time, although I’ll have to figure out the wing walk on the next one. I talked to a guy building an RS-80 Tiger Moth the other day. He told me about improvements he’s made to his wing walk to avoid seeing the wing deflect when someone steps onto it. I’m not sure how much I’ll be able to do on mine, but he’s using carbon fiber in a substantial number of places on his build. Honestly, the wing walk is one area where I was thinking I would need to beef things up a little anyway… if you’ve met me you’ll understand why.

But, of course the devil is in the details. Every time I think I’m almost finished with this wing I am reminded of all the detail work that has yet to be done. I need to cut and install all of the bushings for the bolts; finish cutting, shaping, and drilling the various aluminum mounting brackets; cut and finish the scallops in the leading edge plywood; figure out and build the transition from leading edge to wingtip bow (most likely foam)… there’s a lot of stuff left to do, but fortunately it’s really only a few days’ work.