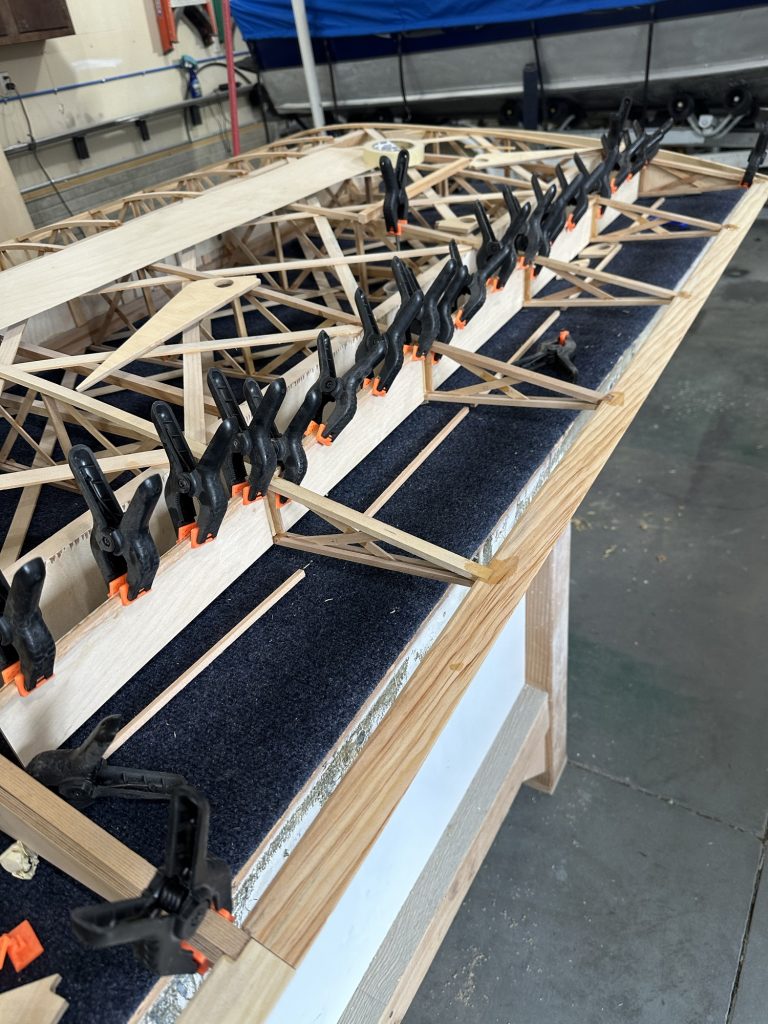
Today I got the aileron spar web cut and glued in, along with the top pieces of 1/4″ spar cap. I couldn’t get to the bottom side to clamp those pieces without some significant effort, so I left those for the next session. I also got the CW32 pieces cut and sanded to fit between the rib caps. I trimmed and clamped the CW36 and CW34 pieces in place to locate the aileron torque tube, then marked the CW32 pieces for the holes that will need to be drilled for the torque tube.

The wingtip is nice and solidly in place, so now I just need to sand the blocking and trailing edge flush so I can start installing the gussets and additional bracing.
This time around I plan to NOT screw up the same way I did the first aileron, by assuming that the holes in ANY of the parts are drilled in the proper place. As I did before, I’ll index everything off of the CW34 parts, using those to locate the torque tube, and drill or sand everything else to match them. And of course I’ve already 3D printed a pair of torque tube bearing blocks for this wing. The final parts will be milled out of UHMW or something similar, not 3D printed, but these are great for getting all the holes located without the risk of messing up a flight part.
The more I use it, the more I like my little razor plane. This thing was bought back in the 70s, I think, by my father for use on R/C airplanes that we (mostly he) built in our basement, usually from scratch. It’s a plastic body with a blade that resembled a heavy duty, oversized razor blade. The key thing I found was to use light passes, and hold the plane at an angle to the wood. It’s quite effective for shaving down spruce, plywood, and even the odd bit of end grain. It’s usually quicker than sanding.
