Aileron cleanup

The torque tube still had quite a bit of drag, due to it rubbing on the edges of the holes in the bay end panels. This morning I sanded the areas where the tube was contacting wood and re-installed the bearing blocks and aileron. Now the only control drag is from the bearing blocks themselves. The set I have installed are 3D printed mockups, and I don’t know how accurate the hole size is. Before I machine the final items from UHMW or whatever I end up using, I’ll have Stu mill me out one or two from some cheap scrap material like plywood or MDF just to check the fit on the tubing and see if I need to tweak the OpenSCAD file.

With that done, I used the Jorgensen bench plane to shave down the trailing edge to match the rest of the wing. I haven’t tried to change the taper yet, or reduce the thickness, I just basically whacked a quarter inch off the trailing edge of the aileron. I’ve used the planes a bit now, and every time I do I like them more. I like the little curled shavings, I like the feel of the blade precisely slicing off exactly as much as I set the plane for, I like the perfectly smooth edge it leaves. It’s so much nicer than using sanding blocks or power tools. I’m sure I don’t have the blades as sharp as they could be, but it’s still a joy to use them.

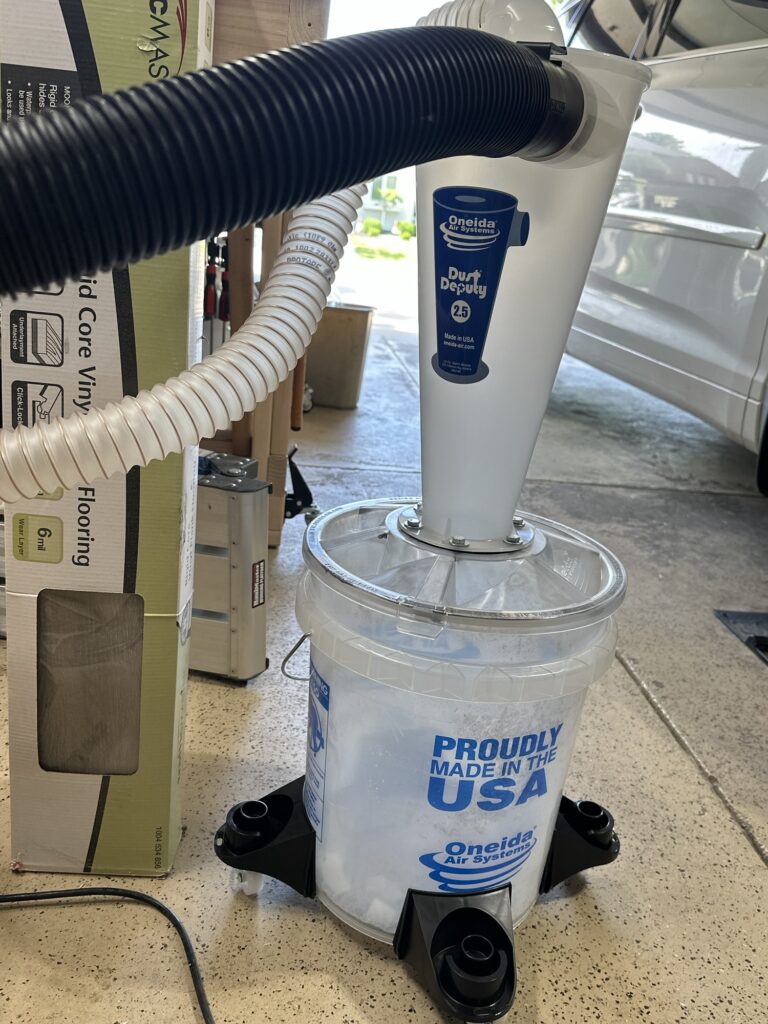
Having a QUIET shop vacuum and a dust separator is really nice as well. I want to put together some sort of cart or something to reduce the footprint – maybe put the dust separator on top of the vacuum. I’m still struggling with keeping the garage from getting cluttered and difficult to work in, but I can see a path to having a little more elbow room.

Right lower aileron fixed

The recommended fix is to move the aileron torque tubs and the pivot point back 1/4″, then cut the trailing edge of the aileron and shave the rest to match the contour of the wing. I looked at numerous other approaches, but most would involve starting from the rib fabrication stage, or simply building all new ailerons. I had considered simply notching the aileron nose spar, but just wasn’t really comfortable with that idea.

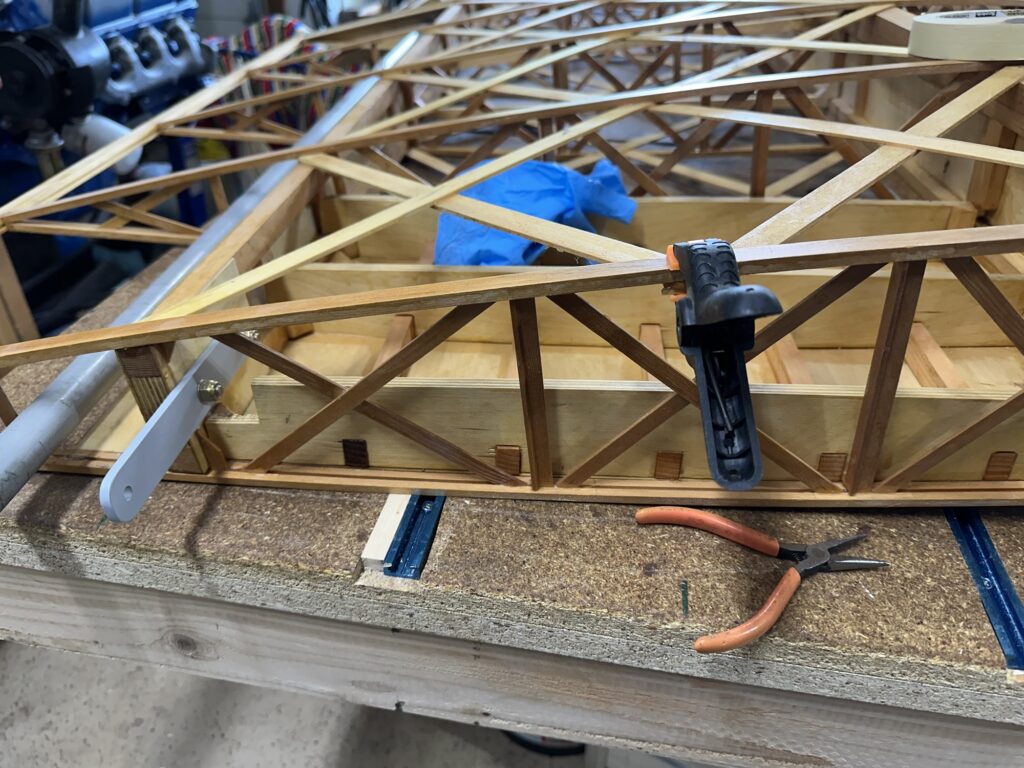
I needed to enlarge the holes for the torque tubes in the plywood plates that close out the aileron bay. To do this I found a sanding drum for the spindle sander that, as luck would have it, slid snugly onto on the aileron tube itself. I was able to use this to oval out the holes enough to position the aileron where it needed to be. The most difficult part was holding the aileron perfectly in position forward/aft and up/down to align with the wing ribs. A bunch of clamps finally got that done, along with a pair of spacers to position the aileron the correct distance from the front of the aileron bay. With it securely clamped in place, I drilled the holes for the bearing blocks. I’m glad I didn’t sell off my right-angle air drill that I bought to build the RV-7; it was really the only way to get those holes drilled. A full size drill or chuck wouldn’t fit without hitting the adjacent rib and the torque tube.

Next up will be using a plane to shave a quarter inch off of the trailing edge and correct the taper to blend this with the rest of the wing. The nice thing is, I have the technique and the tools I need now to do the other wing, and it should only take half an hour or so instead of the few hours I spent on it today.

I also found a couple of areas where I had missed applying spar urethane, so I got those all painted this morning. There’s only a little work left to do on this wing before I will be able to move it to the airport and bring the other wing home.

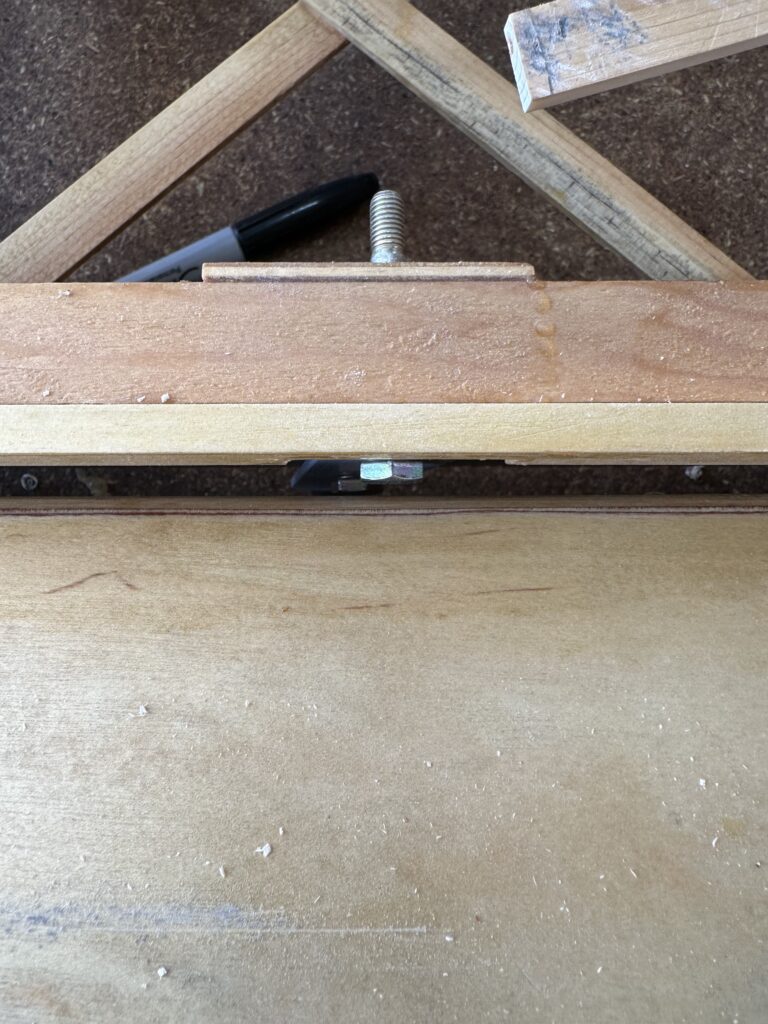
The offending bolt head and bracket, shown at the point in the aileron travel where it’s closest to the nose.

Fixing transit damage

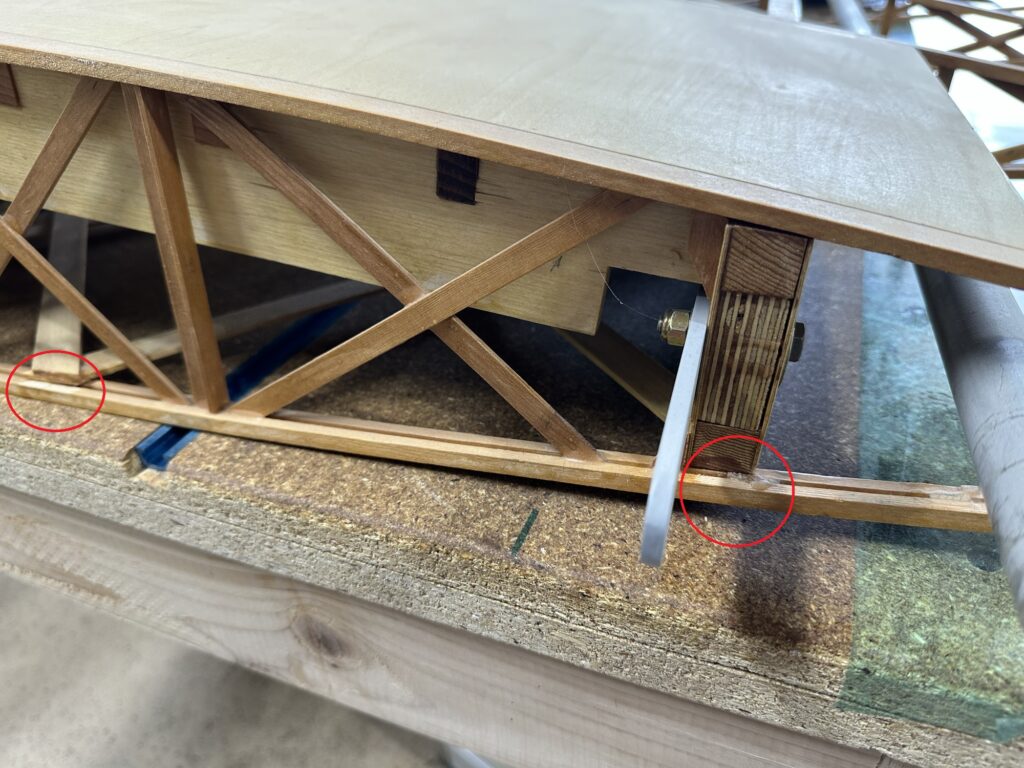
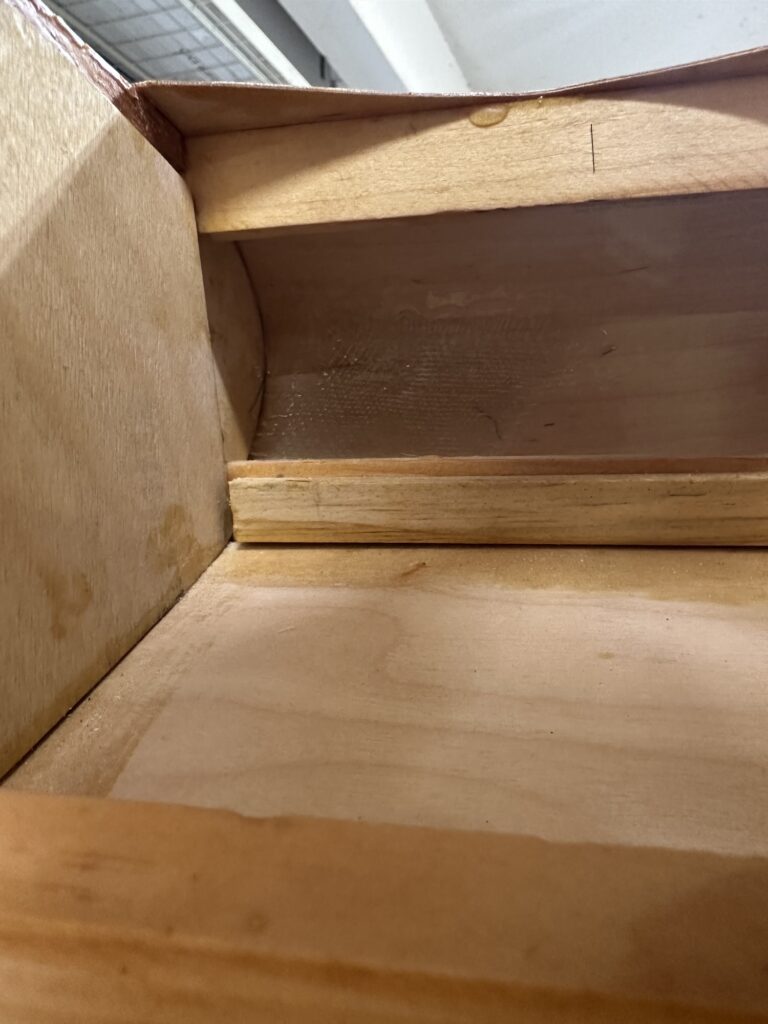
As we were moving the wing, I managed to snag the root rib on the corner of the workbench at Stu’s shop while we were getting it positioned to load into my pickup. This popped a couple of glue joints loose, both of which pulled the wood apart rather than just the epoxy breaking, so that’s as it should be.

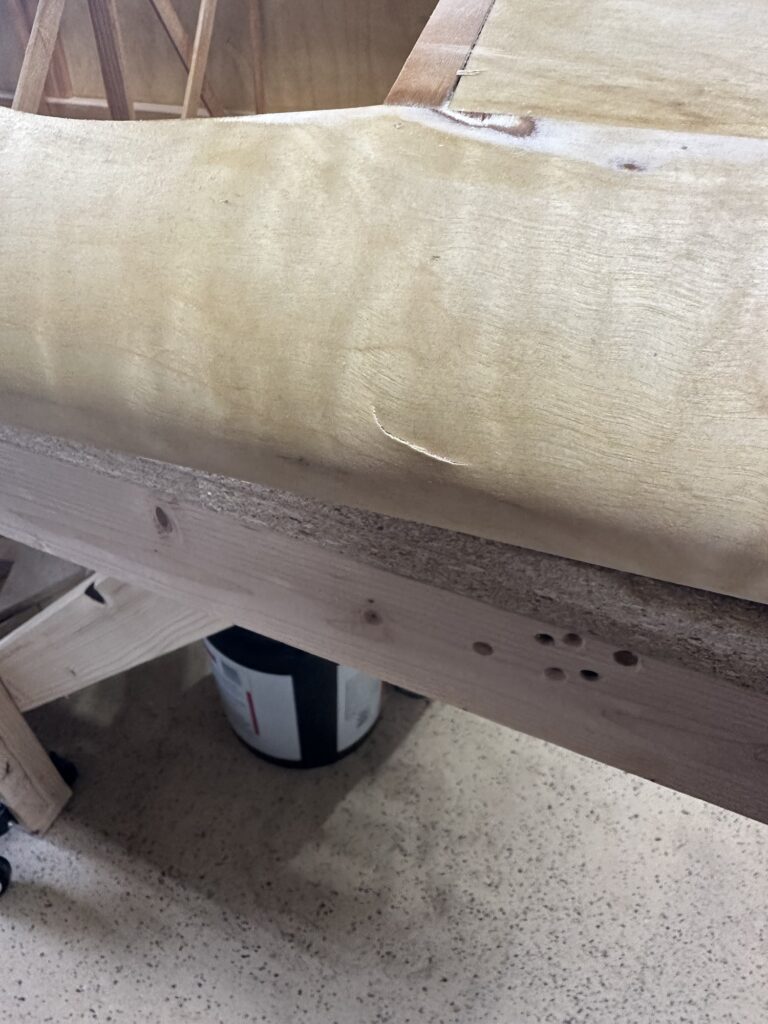
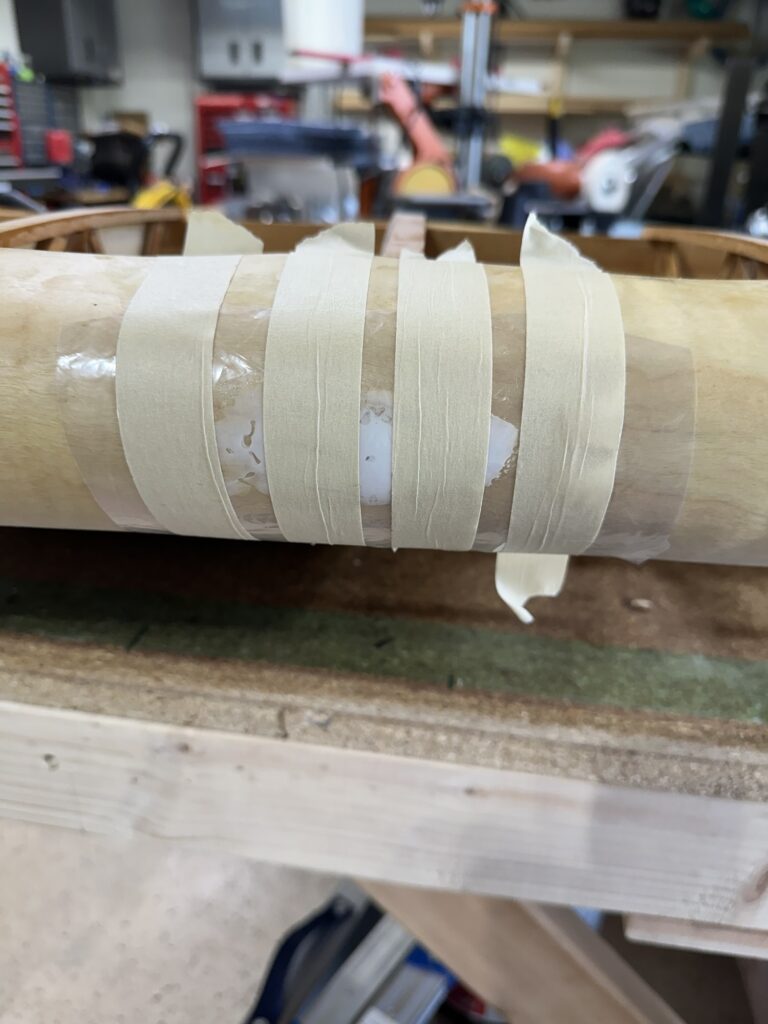
I also found an inch long crack in the leading edge plywood in the second rib bay, forward of the wing walk. I don’t know for certain if that happened during the move or at some time prior, when we were moving it off the bench. Doesn’t matter. Unfortunately it’s right on a curved part, and I was afraid I’d do more damage if I got too aggressive trying to pop the edges back together. I laid a layer of heavy fiberglass cloth on the inside of the leading edge. Once that was in place I buttered the outside with epoxy and micro balloons to make a filler, and taped plastic over it to keep it from sagging or dripping. I can sand it to the correct contour. I may add a second layer of glass underneath, I haven’t decided yet. What I did NOT do was remember that I had another place that needed a layer of micro (doh!) where I could have used the left-over I had. I didn’t realize this until the epoxy was well past the workable stage. Geez, I probably wasted two cents’ worth of material because of that!

It’s good to have the wing here; this all took less than half an hour but will take at least 8-12 hours to mostly cure. I can go back out this afternoon or evening and get more done.

Also, yesterday I picked up a Dust Deputy cyclonic dust separator for the shop. It was brand new in the box, and I got it for about 1/3 price. A welcome addition to the workshop for sure.