The State of the Wing address

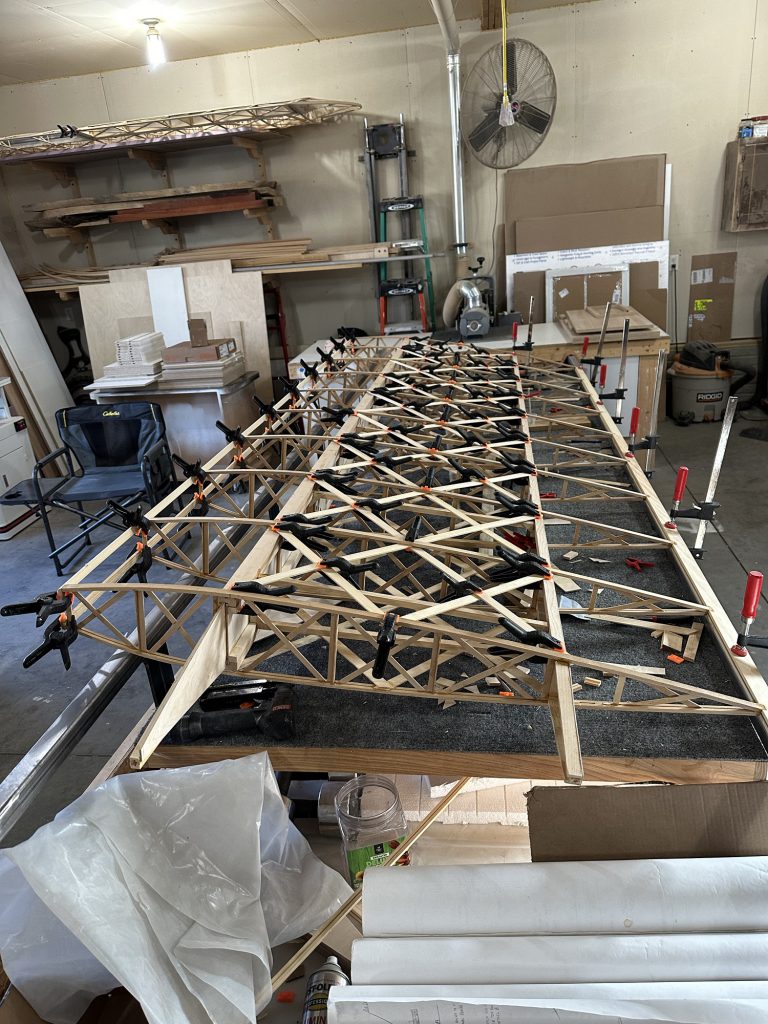
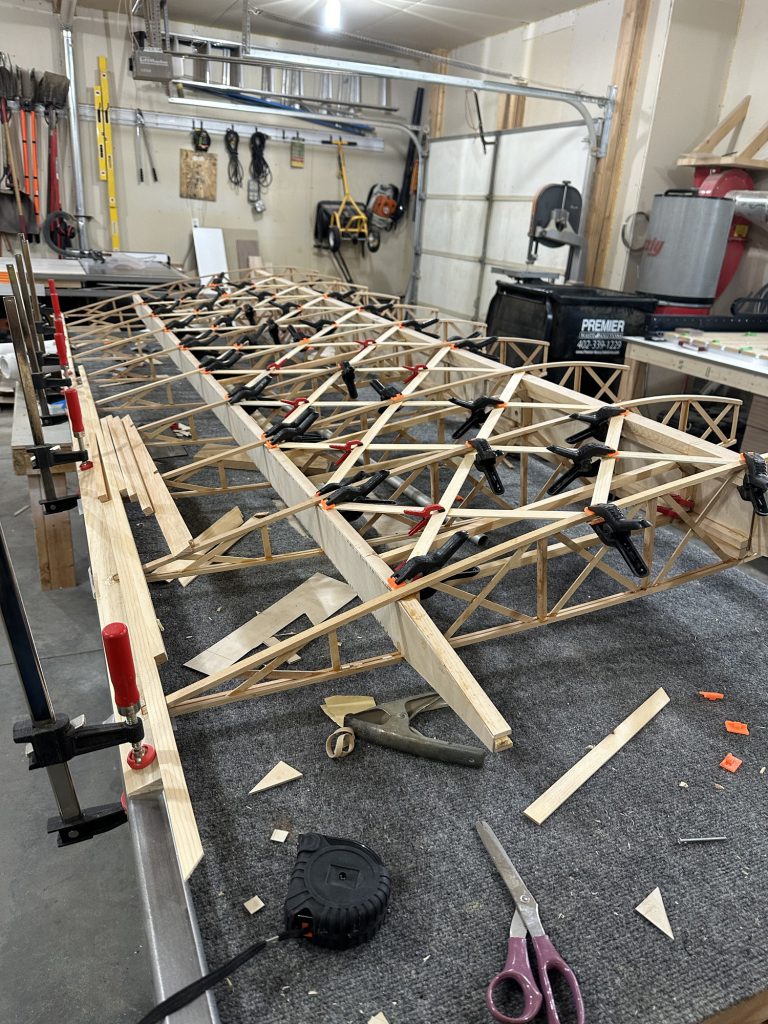
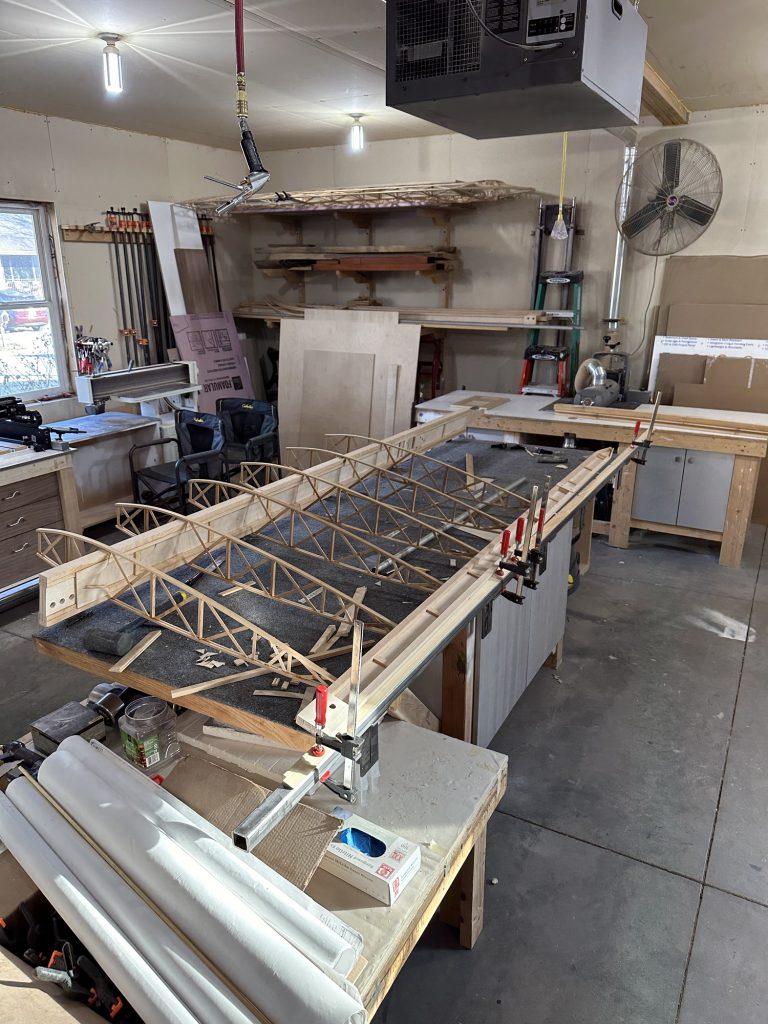
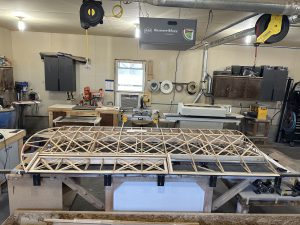
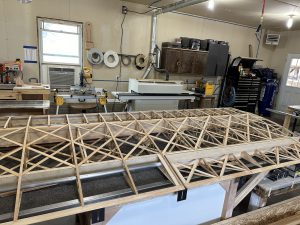
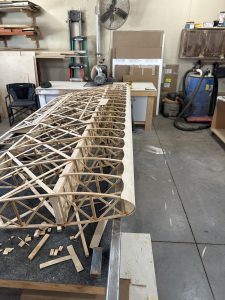
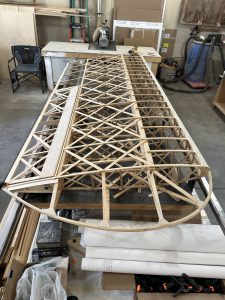
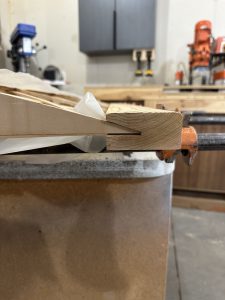
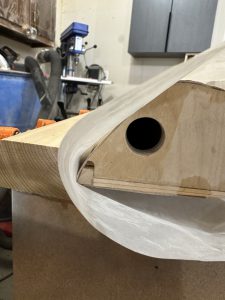
The main and rear spars are in place, and half the ribs are glued to them. It’s tedious and intense work, so I’ll finish them up tomorrow.

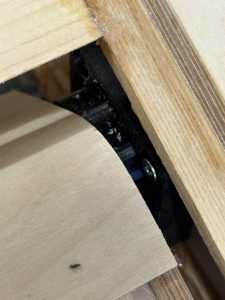
I dug the CW42 and CW43 plywood pieces for the wing walk out of the crate and tried test fitting them. As with many of the kit pieces, they simply don’t fit. At all. The nose reinforcing pieces will be usable, with some trimming. The rear pieces… not so much. Once the ribs are fully secured I’ll see if they can be used at all, or if I’ll need to order some new plywood and cut new ones. At the very least, the notches for the cross braces are rounded at the bottom from being cut out with a router with a fairly large bit. I can clean those up with a band saw, but the ends are also not right by a long shot. It will take some work to figure out how or if I can use these.

All in all I’m just happy I didn’t pay full price for this “kit”. I’ve found an awful lot of pieces that, quite frankly, I’d have probably been better off making myself. But at least now I know what to expect.

New month, new wing

Yesterday I made the call to stop work on the lower left wing and start on the lower right. The remaining things to do on the first wing are all attachment hardware and pre-fabric finishing. Some of those things, like attaching the N strut and landing wire brackets, would make it more difficult to store. I think it will be better to build the other lower wing, then varnish and add the attach brackets to both at the same time.

So, we put the wing on a storage rack in a corner of the shop, and I started laying out the parts for the right wing. We figured out the trailing edge pieces and got them clamped to the bench rail, then slotted in the five ribs I had over there and slid the main spar into place. I’ll need to take over another batch of ribs and get them modified as I did the other wing to clear the torque tube. I spent the better part of six months on the first wing, if you count the time spent on spars and wingtip bows. If you count just the wing assembly time, it was more like four months. A lot of that time was spent on the leading edge wrapping and aileron construction. I’m hoping I can speed that up quite a bit and have this one done quicker, even though this one will include the wing walk.

Mocked up, nothing glued yet. Need to take more ribs over!

Wing work through 2/26

Mostly small things over the past week. I cut and installed some more corner blocking that I didn’t get done before, tested a couple new iterations of the bearing block/spacer, and fine tuned the aileron to the opening. Along the way I’ve noted a few new lessons learned…

  • Never trust the plans, or the supplemental sheets included with them. They’re often inaccurate. Like the AL bracket diagrams that call out 3/16″ holes when they will get 1/4″ AN4 bolts… and on and on.
  • Get the torque tubes in place, holes moved or enlarged where needed, and bearing blocks in place and holes drilled before cutting the ailerons from the wing. Otherwise it’s just a bitch getting everything aligned after the fact to locate the bearing blocks. This of course goes along with correcting all of the many problems with the holes that are pre-drilled in those plywood parts.
  • Make sure all of the corner blocking is installed around the aileron bay as early as possible, and certainly before installing the CW40 plywood stiffeners, aileron leading edge skin, and so on.
  • Go over the plan sheet more often and in greater detail to make sure I don’t miss anything that will be a pain to install later on… like corner blocking that would be much easier to plane or sand to shape than to try to cut to match odd angles.
  • Install the compression struts before the geodetics! That cost a couple hours of added time working through tight openings.

Not necessarily a “lesson learned”, but something I’d like to explore. All of the ribs ended up needing a 1/8 shim between the top rib cap and the main spar. Rather than shim them with separate pieces, I want to see if I can maybe cut and install the geodetics at the same time the ribs are glued, or something. Or possibly just use temporary shims, and glue the top cap to the spar as the geodetics are installed. It could lead to neater and better construction.

Wing work thru 2/20

Top and bottom leading edge plywood has been scalloped. That wasn’t as big a chore as I thought it would be. We used a thin stainless scale to establish a curve between each pair of ribs, marked along it with a pencil, and cut the wood with a utility knife. Some cleanup with sandpaper and Bob’s your uncle.

I’ve made a few iterations of the bearing block. Today I’ll print a couple more test pieces and I think I’ll be done. They fit great, the aileron is very well located, all in all I think it’s a lot more precise than a piece of plywood and a chunk of PVC pipe.

I’ve been preparing some of the wing attachment fittings. I have one or two of each part drilled with 1/8 pilot holes; I’ll use those to match drill the rest, then enlarge the holes for the AN4 bolts. The biggest question was hot wo round off the ends. For that I drilled a 1/8 hole exactly 1/2 inch from the disk on my disc/belt sander. Now I can use the tail end of a drill bit as a pivot pin and put a nice radius on the end of the fitting. I’m glad I kept my gray Scotch-Brite wheel on the bench polisher; it makes quick work of cleaning up the ends of the AL bars.

Wing work – 2/16, and a better idea

Yesterday (2/16) I cut and glued in some corner blocking I had missed on each end of the aileron and the ends of the aileron bay. Lesson learned: that would have been a lot easier had I done it before the geodetic bits and plywood stiffeners had been installed.

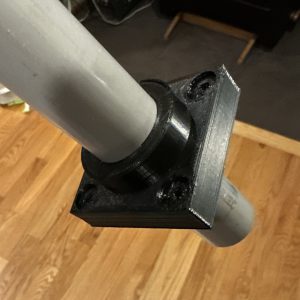
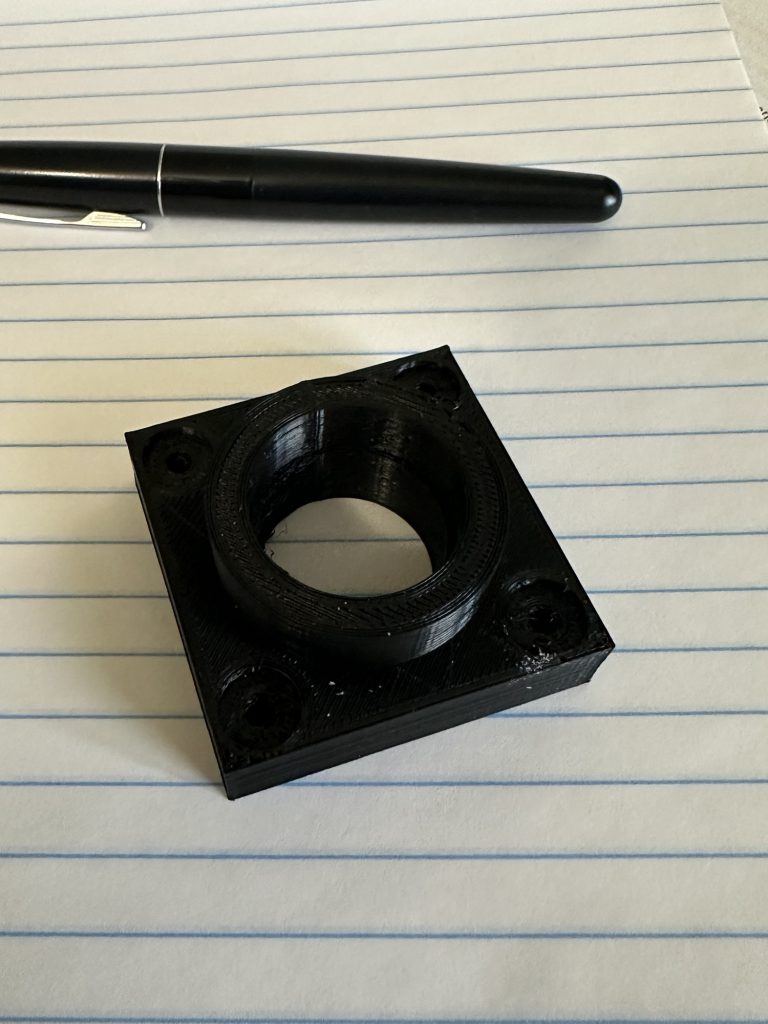
I’m getting to the point where I kind of need the torque tube bearing blocks installed. Then there are the 3/8” spacers, which the plans call out as pieces of PVC pipe. I figure, since I’m going to CNC machine the bearing blocks anyway, why not just make those and the spacers one piece? I pulled up the design in OpenSCAD and added the spacer. I gave it a slightly larger ID than the bearing block so it doesn’t add drag to the aileron control. I 3D printed a couple samples to use for fit & function testing. If that goes as expected I’ll get a chunk of 1” UHMW and pass the design file to Stew for machining. I’d planned to use some 1/2” UHMW I have for the bearing blocks, but I’ll keep that for now and use it for something else.

3D printed test part. It’s difficult to see but there’s a step in the bore for the torque tube.

Wing work 2/15/24

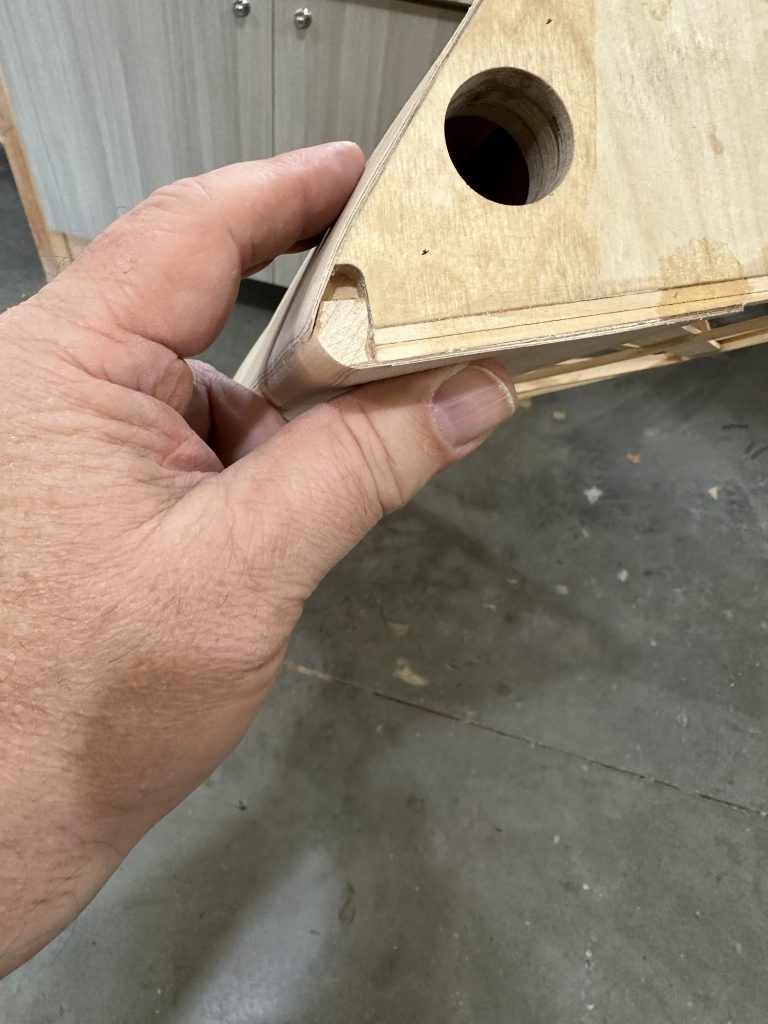
Got the lower leading edge of the aileron rounded off, and the beveled strip glued to the bottom of the aileron bay. Once that glue had cured, I’ll be able to check the clearance on the down travel and see if any further rounding off is needed. We used a 3/8” radius bit in a router to cut to shape, then cleaned up the edges with a DA sander.

Radius on aileron leading edge

Wing work 2/10/24

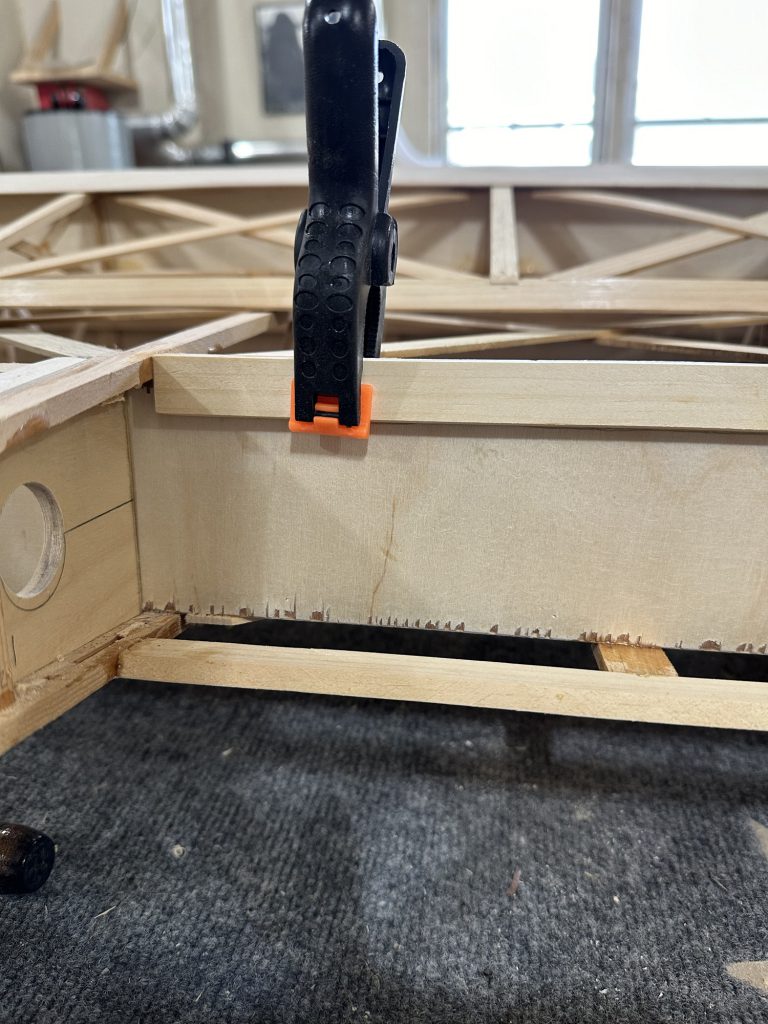
This covers a couple days’ work. Yesterday we ripped the CW37 aileron bay TE stock down to 1/4” and I got that installed. Today I’ll glue in the triangular support pieces. And yes, I realized after cutting and gluing it all up that the CW37 piece is supposed to be notched for the rib caps. I’ll remember that for the next time.

I continue to be astonished at how light and strong this wing is. I can easily lift it off the bench and move it around; it can’t weigh more than 20-25# without the aileron installed.

The last thing that was really bugging me about the aileron was that the lower edge of the leading edge plywood still wasn’t glued down. I’ve got to find a better way on the next aileron, but this one had to be done so we can radius the lower edge.

Stew’s idea was to make a grooved board for the trailing edge and use that to clamp a board across the leading edge while the glue sets. He used a length of scrap cedar with a groove cut to match the angle of the TE, and we used four bar clamps to apply pressure. In hindsight – I honestly don’t know if just putting a radius on the front corner and wrapping plywood around it would be better or not. We’ll see how this works out.

In other news, Stew has his 4’ CNC machine in and working, and I’m going to put him to work cutting my torque tube bearing blocks out of some UHMWPE stock I have. Better than plywood, I think.

Aileron progress

It’s been an on-and-off couple of weeks. I’ve had a persistent cold/bronchitis that has kept me away from the shop for days at a time. On days I do feel like working, I’ve got a house cleanup project that’s been sucking time as well.

This evening I got over to have a look at the aileron. I’m not thrilled with the plywood, to be perfectly honest, but I believe it will be OK. I re-glued a couple of the geodetic braces and glued down a couple of corners of the thin plywood that were loos and/or slightly de-laminating. I think the fabric would probably have been sufficient, but I want to make things as close to perfect as practical. I’ve got a list of things to do differently on the next three ailerons.

I got a few corner blocks installed to make sure the plywood stiffeners don’t flex or bow. The pans don’t call for them, but I’ll feel better knowing they’re there. I also got the ends of the aileron nose plywood trimmed and sanded flush with the ends of the aileron. There’s one more round of gluing to do, then I can use a router to put a radius on the lower front edge and it will be done. I did check the aileron travel; 22 degrees up and down will not be a problem.

Returning to work

It’s been a bit since my last update here. In the past couple of weeks we took a nice cruise vacation, and I developed a pretty severe case of bronchitis. It’s possible these two things are not unrelated; one of the risks you take to get a little Caribbean sun and salt air in the middle of winter, I guess!

I’ve been working to get the leading edge of the aileron wrapped with plywood. Honestly, at this point I can understand how someone would make the decision to scrap an aileron and start from scratch. I don’t think I’ll go quite that far, but there have been challenges. I’m adding to my “lessons learned” for the next three ailerons, that’s for sure. Part of it is just developing a process to get the ply to wrap over the pretty sharply curved top surface. This part I solved with a couple pieces of Styrofoam and some dumbbells, to effectively clamp the aileron to the bench with the ply trapped underneath. That should hopefully take care of the upper portion. The bottom edge of the top piece of ply isn’t yet glued to the structure, so I’ll have to figure that out today.

I’m really looking forward to building the next wing. I’ve learned so much while building this one that I’m pretty sure the next will take a lot less time, although I’ll have to figure out the wing walk on the next one. I talked to a guy building an RS-80 Tiger Moth the other day. He told me about improvements he’s made to his wing walk to avoid seeing the wing deflect when someone steps onto it. I’m not sure how much I’ll be able to do on mine, but he’s using carbon fiber in a substantial number of places on his build. Honestly, the wing walk is one area where I was thinking I would need to beef things up a little anyway… if you’ve met me you’ll understand why.

But, of course the devil is in the details. Every time I think I’m almost finished with this wing I am reminded of all the detail work that has yet to be done. I need to cut and install all of the bushings for the bolts; finish cutting, shaping, and drilling the various aluminum mounting brackets; cut and finish the scallops in the leading edge plywood; figure out and build the transition from leading edge to wingtip bow (most likely foam)… there’s a lot of stuff left to do, but fortunately it’s really only a few days’ work.

Cold weather musings

Haven’t done much on the plane for a few days now. We have been in the grips of a winter storm, followed by a cold snap. We got several inches of snow; anywhere from a couple inches in the front yard to maybe 2′ drifts closer in to the house. The temps throughout the 3-day weekend never got above -7, and the wind was blowing. This is not weather conducive to going outside for anything non-essential.

During the last build session, I tried cutting a few of the bushings needed for the wing. The results were not great. While a chop saw will go through and make a beautiful clean cut, it will also randomly launch the cut-off piece somewhere in the shop, often with a nice big chunk out of the end. Not what I was after! I did get one bushing cut successfully, and another done after much filing to get it down to its final size.

After doing some research, I believe I’ll end up building a band saw sled to cut the bushings. I can make it with a nice end stop to cut the tubing to consistent lengths, and it should make it relatively easy to get an acceptably square cut. I’m hoping the cut ends turn out clean enough to dress with a brief time with some sandpaper.

The bloody compass is still very slowly seeping fluid. I suspect the face plate is not perfectly flat. I think for now I’ll leave it, but at some point I’ll need to drain, disassemble, and maybe use a thin coating of Aviation Form-A-Gasket on the black rubber seal. At least everything works well, it looks great, and the LED light is quite effective. I have no idea why I’ve invested so much work into a mag compass, to be perfectly honest… but it’s been an entertaining project. I just like restoring old things.

I’ve had no success at all getting answers out of “CKD.aero” regarding the pricing and availability of parts and subkits for the Celebrity. I’ve been trying to get pricing for the wing tanks so I know whether to plan on using them or not. It just feels like Fisher got bought by people who have no clue what to do with it. The website has been stripped of any pricing or availability information. It took me weeks to get anyone to even respond to an email, and despite a couple of promises I have yet to get a useful response from anyone. I guess I’m on my own. It’s a shame, but I did decide to build from plans; I think I’ll be able to muddle through.