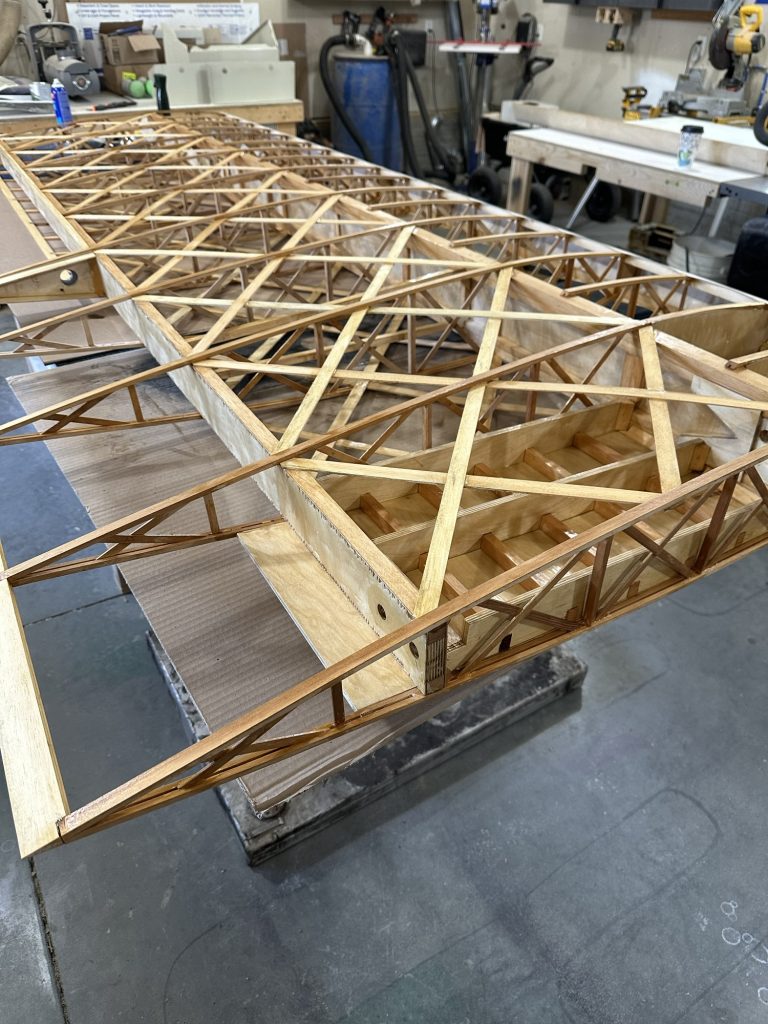
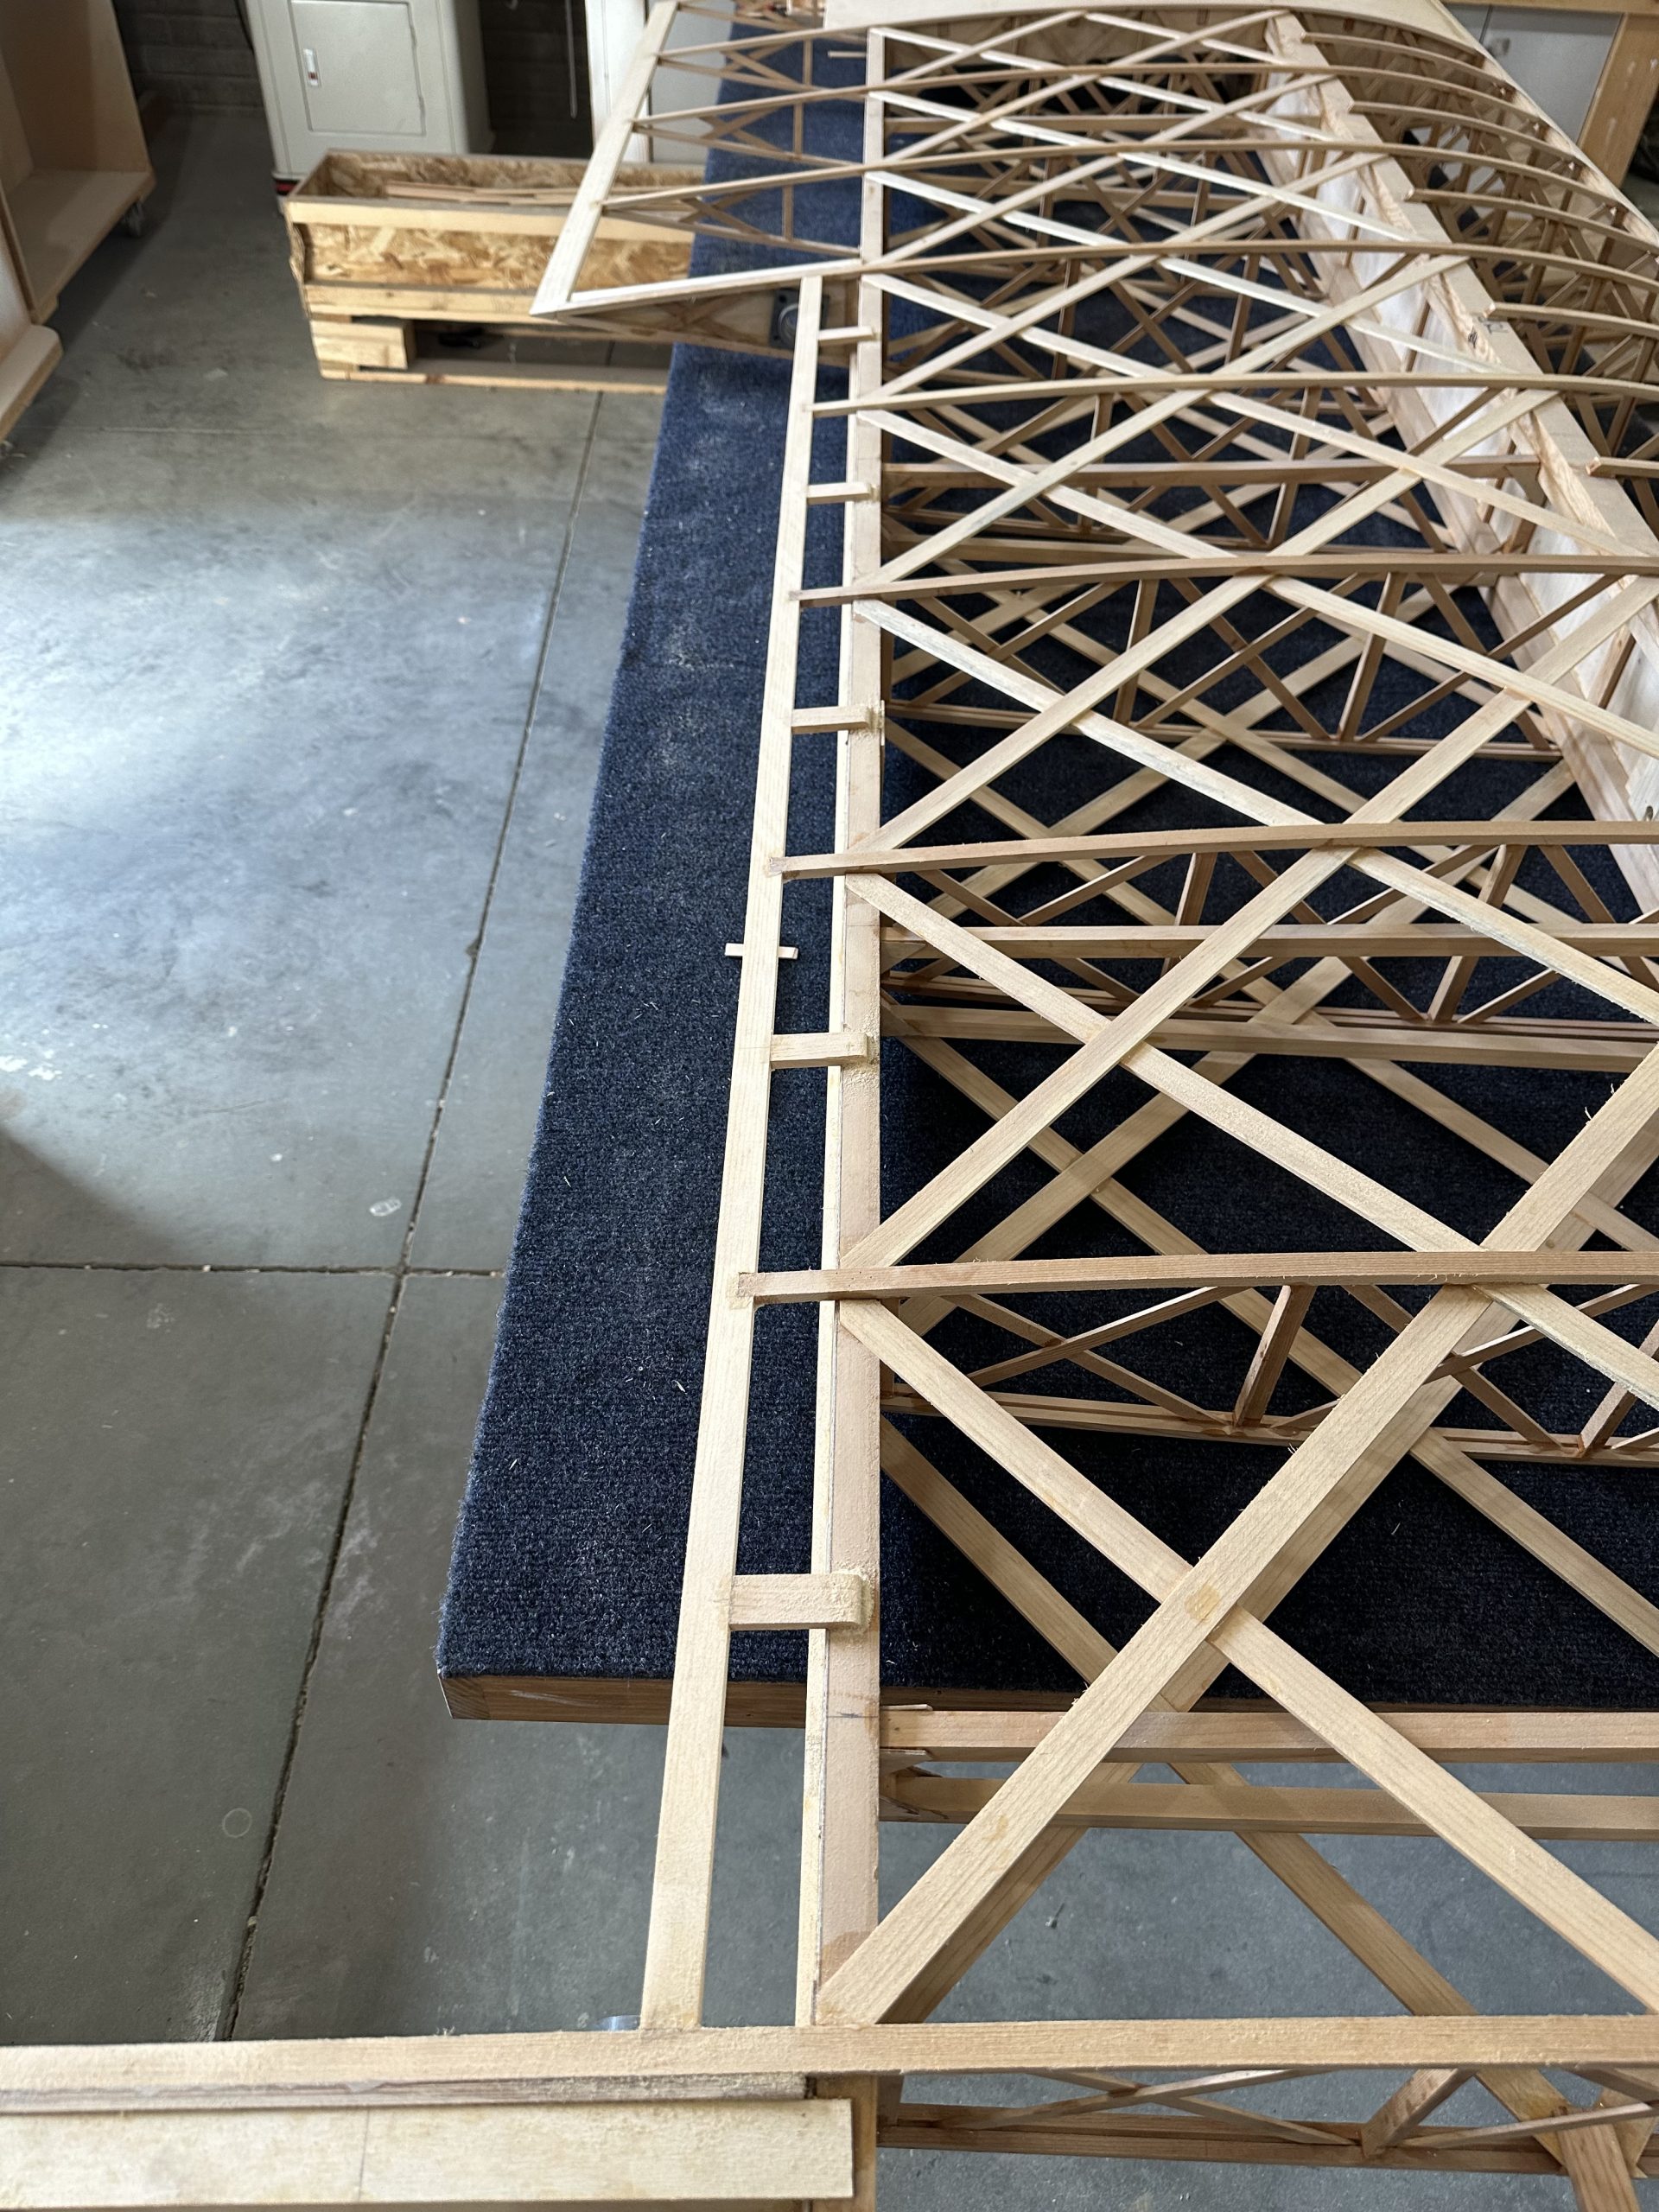
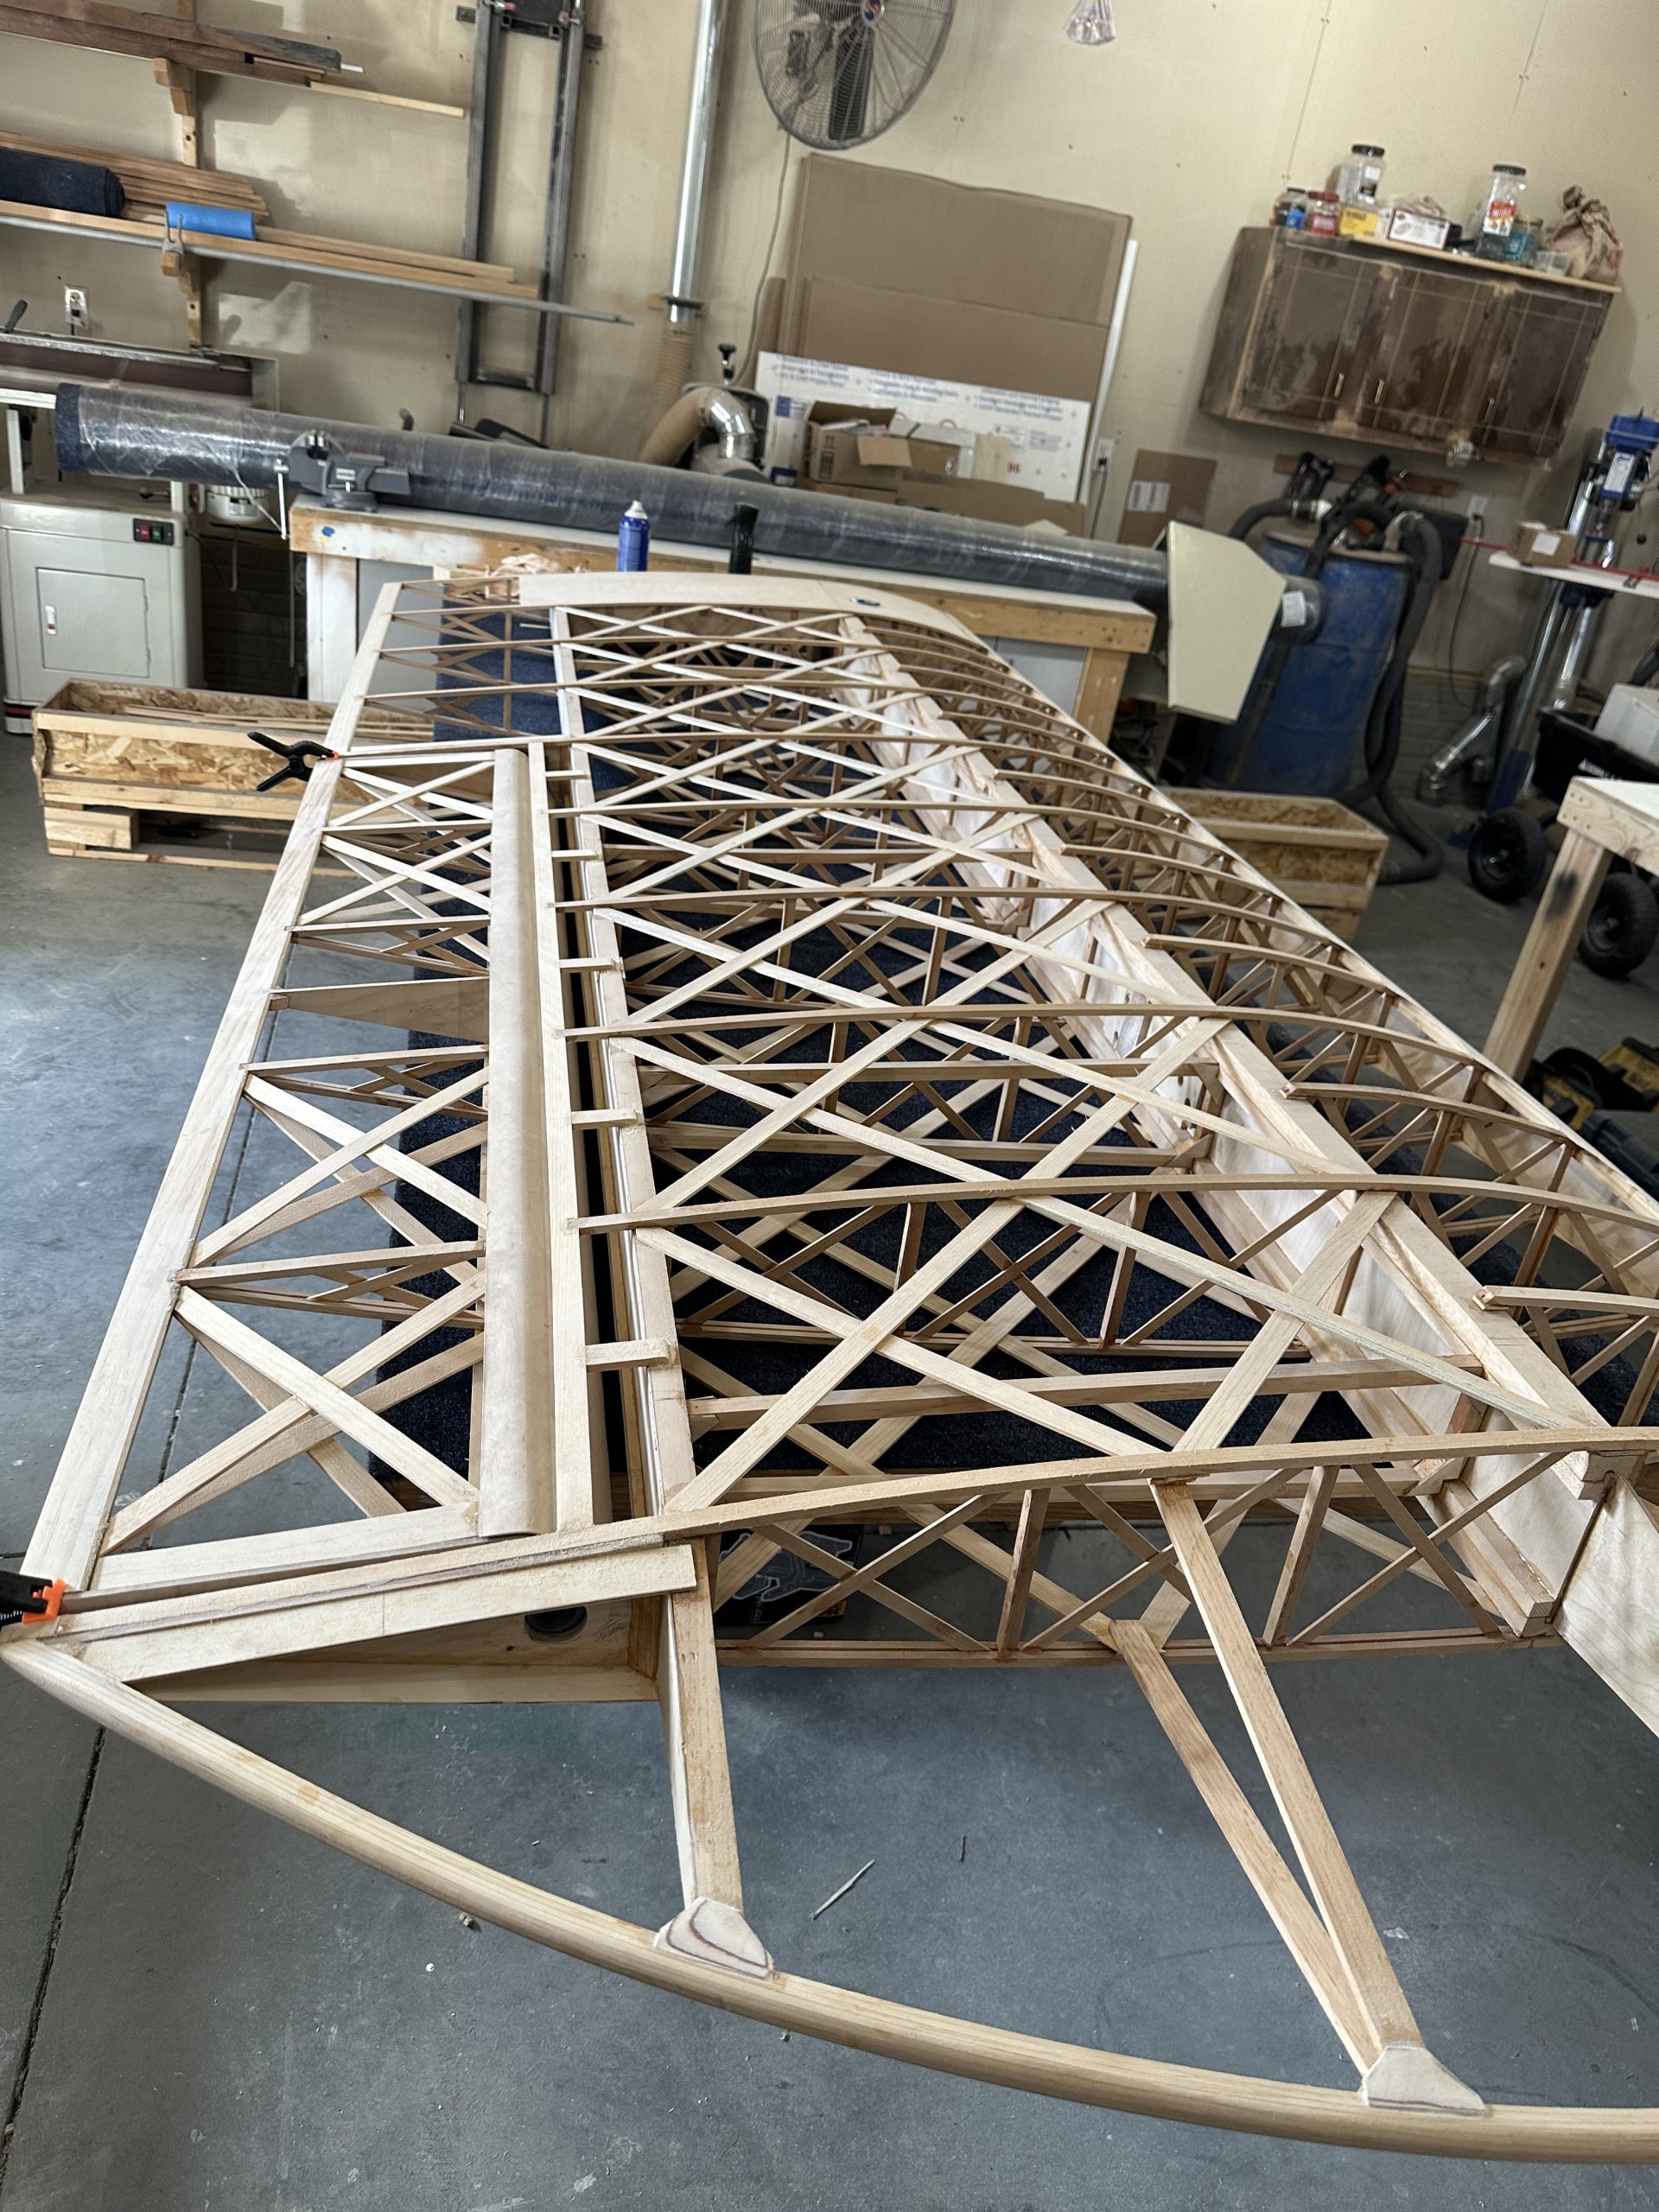
Man this stuff stinks. I got the wing about 2/3 done, I think. I brushed varnish on everything that I won’t be able to reach after I turn it right side up. Once that’s dry I’ll install the root brackets and flip the wing to finish it up.

A Fisher Celebrity build project
Man this stuff stinks. I got the wing about 2/3 done, I think. I brushed varnish on everything that I won’t be able to reach after I turn it right side up. Once that’s dry I’ll install the root brackets and flip the wing to finish it up.
Picked up a gallon can of Varathane Ultimate Spar Urethane this afternoon. A gallon can is about the same price as two one-quart cans, and I figure between the wings, fuselage, and tail I’ll probably use most of it. I gave the holes for the bushings and the wood where they will go a coat this afternoon before heading home — it was a busy day cleaning out the garage and ferrying grandkids around. Tomorrow I’ll pick up some primer and hopefully get a start on varnishing the rest of the wing. I’d like to have it assembled and ready to rack by the weekend, if I can. Then I’ll need to pull down the left wing and finish it up – bushings, varnish, brackets.
Today I took the wing brackets over to the shop, sorted them all out, and re-marked them so I could tell one part from the other. There are seven (I think) different bracket types. The acid etch solution had removed all of the markings, along with other stuff.
I sorted out which brackets are needed for the right lower wing that’s on the bench, and checked all of the bolt sizes for proper fit. All are acceptable, if not perfect. I have AN4-24A bolts (1-15/16″ grip length) for the main spar root attachment brackets; I could have used AN4-23A (1-13/16″ grip length). It’s not a problem; a couple of AN960 washers do the trick and are a perfectly acceptable solution. On the rear spar N-strut (outer end) brackets, the AN4-16A bolts are a tad long; I could have used -15A. Two AN960 and one AN960L are fine. As a mental exercise I calculated the weight savings if I ordered the shorter bolts. The shorter bolts would weigh about half an ounce less (total per wing); the washers would bring that up to just a smidge over half an ounce — .53 ounce, or about 15 grams per wing. I can live with that.
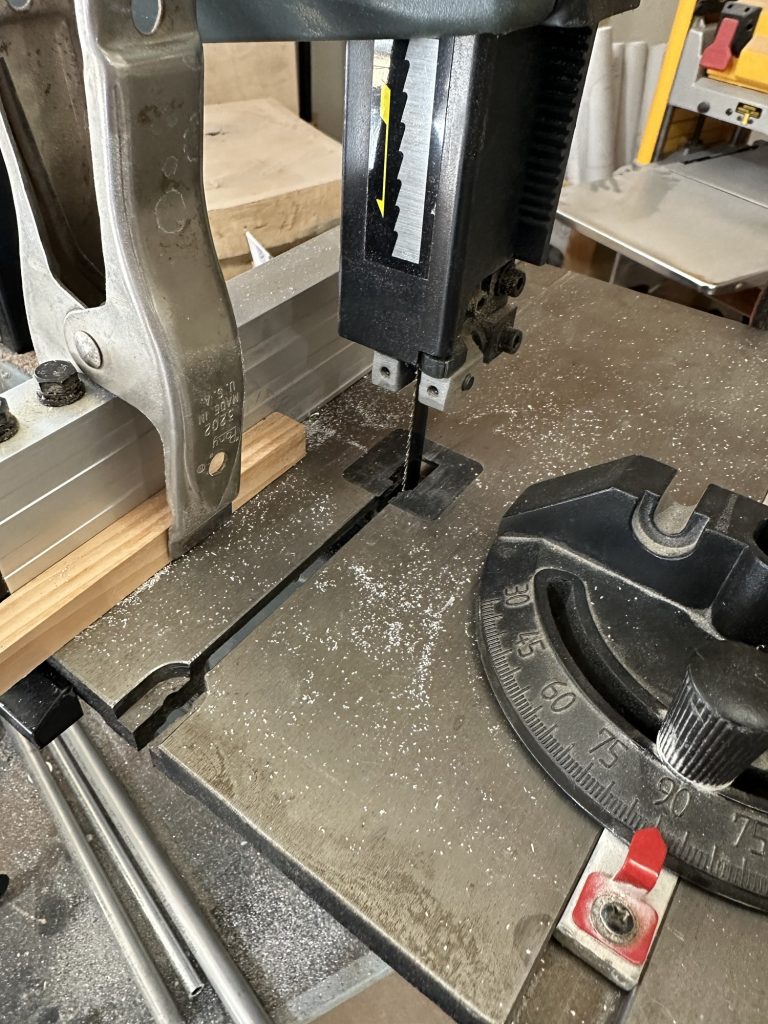
But I digress. I got all the remaining bushings cut. Once I wrapped my head around that fact that the bushings do not need to be cosmetically and dimensionally perfect, but just need to be “flush or slightly below” the face of the wood per the plans, things went a little quicker. I pulled the 24 tooth per inch metal blade from my bandsaw and replaced it with a 10 TPI wood blade, which is fine for thin wall AL tubing like this. I set up the miter gauge and fence for the length I wanted. The tubing cut-off end was snagging the blade teeth; Stu suggested a spacer on the rip fence that extends just shy of the blade. That did the trick! Now the cut-offs roll out of the way. I cut one piece and tested for fit in the hole; once that was verified I was able to set the fence once and cut as many pieces of each diameter tube as I needed. Easy peasy. That will save hours of build time.
Now I need some etching primer for the brackets, and spar urethane for the wood, and I can get everything installed and call this wing done.
Oh, after I cut the bracket for the aileron connecting rod.
And get the bearing block holes drilled.
And… whatever else I’ve forgotten.
Today I got my bag of bolts, washers, and nuts from Aircraft Spruce. Wanting to make sure I had all the correct lengths and all, I headed over to the shop to try them out. As you might guess — especially if you know me — all of the brackets were at home, so no joy there.
I did order a 14 TPI bi-metal bandsaw blade, it should arrive tomorrow. The 24 TPI metal blade is just way too fine for cutting this tubing. Stu says the 10 TPI wood blade I have would do fine — but I want something I can use on the 2024 stock without worry.
Once back at home, I treated all of the brackets with Alumiprep (now known as “Bonderite C-IC33 Aero”). It’s a phosphoric acid etching cleaner, does a bang-up job of cleaning up and etching aluminum parts prior to conversion coating or painting. Well, as it turns out, my Alodine is no good any more. No surprise, really. I left a set of brackets in the bath for an hour and could barely see a tinge of tan or gold color, not enough. Too bad, I was really hoping to use that. I’ll need to pick up some good self-etching primer instead, I’m not spending close to $100 for a quart of Alodine that I’ll then have to dispose of later on.
On Wednesday I went over and tried cutting some of the bushings used for the bolts that hold the brackets to the wing.
I’ve cut a couple with a chop saw, but one got away and ruined a saw blade and almost took my thumb off. I think I could fix that problem, but after ruining one nice Freud carbide blade I’m not really inclined to pursue that method again. I’ve been using my small (9″) band saw with a metal cutting blade, and it’s been a bit of a struggle. I’ve had no success getting the miter slot aligned to the blade, so I made a custom miter gauge with a slight angle to get straight cuts. I wrapped masking tape around one end and made test cuts until I got a square cut. After cutting, I typically need to take a few thousandths off with sandpaper before I get the correct length.
Until now I’ve been scribing a line with a micrometer and following that with the blade. I think I’m going to switch to clamping a fence down on the table and using that for repeatability. I have three sizes of tubing — 5/8, 1/2, and 3/8 OD. Bushings are made with one, two, or three pieces of tubing nested together, so I need to cut identical length pieces. The 1/2 and 5/8 tubing is a snug enough fit that I can cut them together, but the 3/8 OD is not a snug fit, so I end up having to cut that separately or it spins and moves out of position. I’m going to just try a different approach, as making these bushings is taking forever.
I’ve been using a 1/2″ wide, 24 TPI metal cutting blade on the saw. I think it’s too fine for the AL tubing; I’m going to try a different blade. Of course I’ll have to order it. I have the 24 TPI, as well as 6 and 10 TPI wood cutting blades. I think I want to try 14 TPI.
Over the past couple of days I’ve been collecting, drilling, and prepping the aluminum wing attachment parts. These are a collection of pieces cut from 6061 and 2024 AL bar stock. They will be used to attach the wing spars to the fuselage, attach flying and landing wires, and attach the N struts, and connect the upper and lower ailerons. Each one must be cut from the raw bar stock, drilled for bolts, and some of the ends rounded. I’ll do some sort of finish to prevent corrosion. I have some Alodine left over from when I was building the RV-12; if it’s still usable I’ll use it. If not, I’ll most likely buy some.
More than once the instructions have caused a little bit of panic. For example: Yesterday I drilled all of the holes in the attachment brackets to their final quarter inch (0.250) size. I remember that I’m short some pieces, but didn’t remember which ones or how many. I’m also unsure of which ends of which brackets need to be cut and sanded round. This morning I looked at the plan revision sheets that show the drawings for the parts… and saw that the drawings call out all of the holes to be 0.1875″. Panic!! Holy moly, did I just ruin all of those parts and waste all of that work? Oh, wait. I’d made little 3D printed pieces to help mark the ends for cutting… and those have 1/4″ bosses to fit the holes, so I planned 1/4″ holes before. And a 3/16 hole would fit an AN3 bolt. I’m pretty sure the plans call for AN4 bolts everywhere, and there’s no way in hell I’d be comfortable with wings held on with AN3 bolts…
Back to the wing spar plans… Yep. AN4 bolts and 1/4″ ID bushings everywhere. The supplemental drawings are incorrect or out of date, no big surprise. Back to work.
I did manage to badly mis-drill one of the CAW9 brackets, so that’s scrap — but it really doesn’t matter in the long run. I came up a little short on the 3/16″ 2024 stock needed for some of the parts, so I’ll need to buy another 12′ length anyway. It’s an odd size that is difficult to find on line, but fortunately my local supplier can get it for me even in single piece quantity. Even they don’t list it in their catalog. Most places only carry 2024 in 1/4″ thickness or more.
After inventorying my parts I need another 60″ or so of 2024 stock, and I only have about 3′ if that. Fortunately the parts I have on hand are enough for the two lower wings, so I can cut the bushings, buy hardware, and attach all the pieces on the two wings I have built and get them finished before moving on to the upper wings.
I got over to the shop to make sure the bolt lengths called out in the plans were OK. I’m glad I did. IN each case I decided to bump the bolt up one number to get the next longer grip length; the exception was the three bolts on each wing that attach the CAW-4 landing wire brackets. Those were specified nearly half an inch short; I had to go from AN4-20A to AN4-24A to get the right grip length. I’m glad I checked. I also ordered a couple dozen standard and half-thickness AN960 washers to get everything done up right. The hardware is ordered, now I just need to get the bracket ends done and get them prepped for installation.
Today I had Stu help me mark the leading edge for the scallops, and got those cut. After getting home, I spent an hour or so rounding up and drilling all of the aluminum wing brackets I have cut so far, which is most of them — all but a couple, I think. I seem to recall I ran out of 2024 with one or two left to go. Anyway, I figure I should get them all done up. I’ll need to cut bushings, mount these, and get the fabric stiffeners cut and fitted — along with varnishing the wings — before calling these two wings “done”. Oh, and I’ll need to get the final torque tube bushings milled out and mounted.
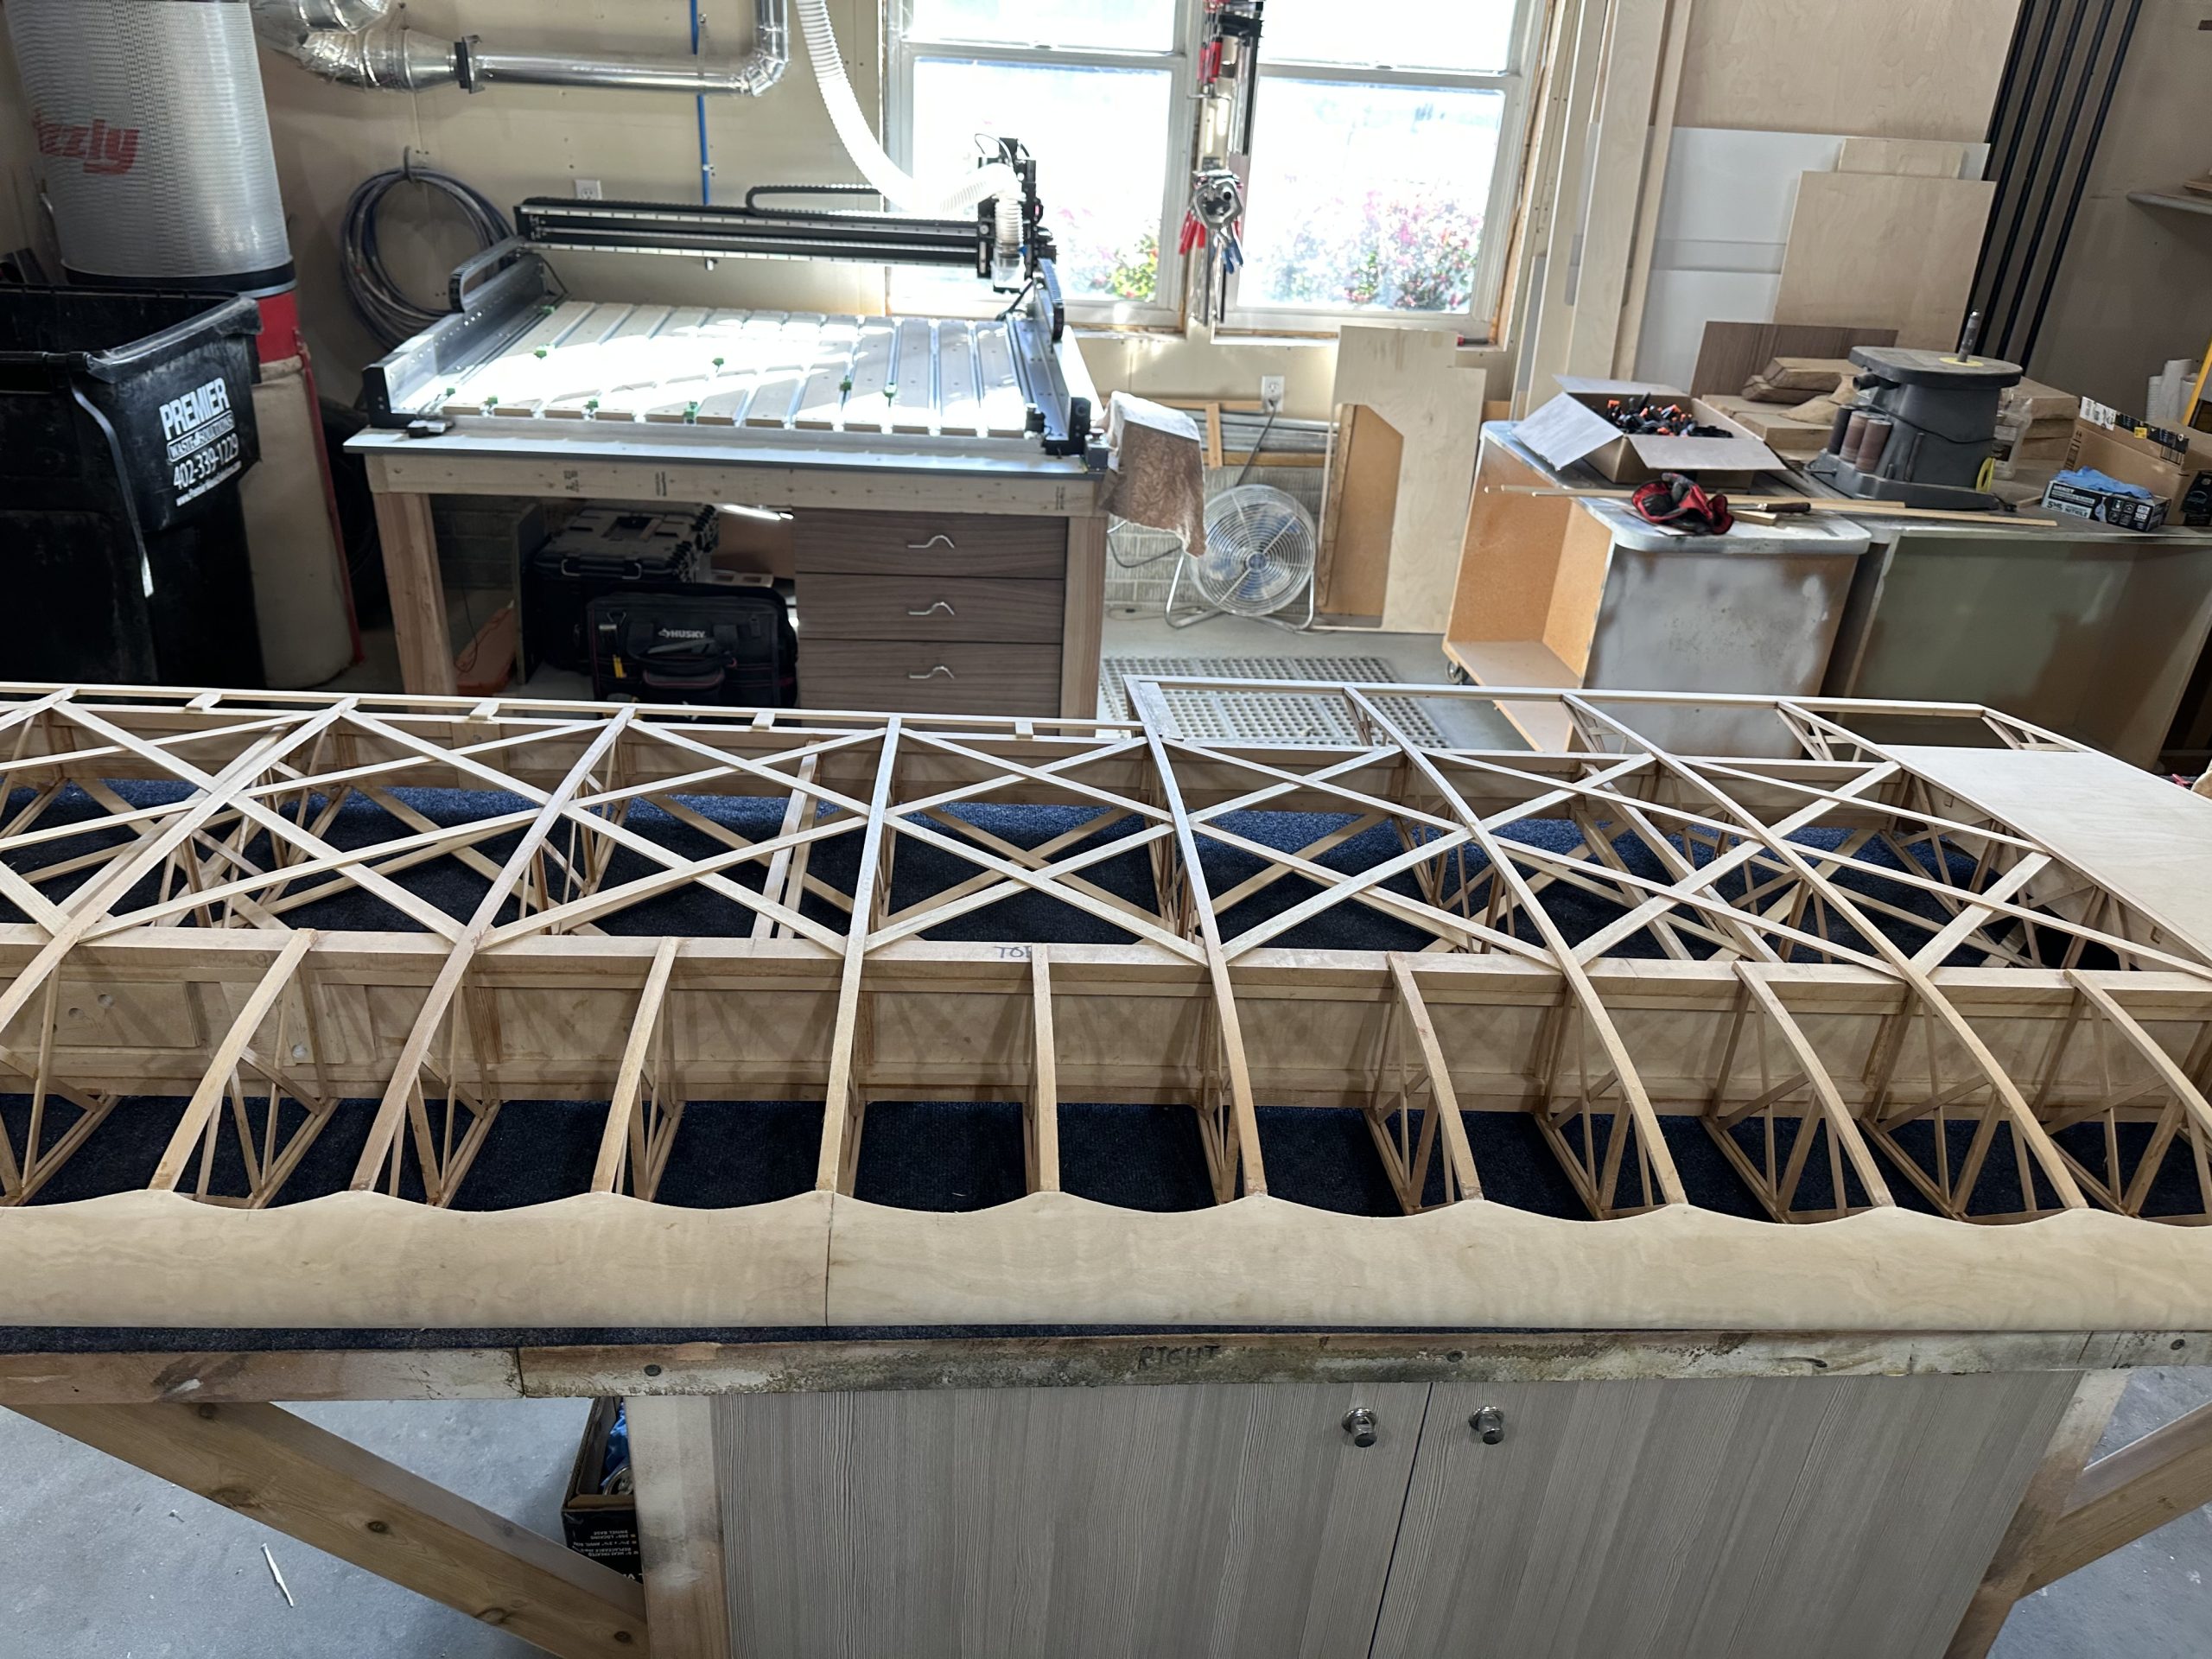
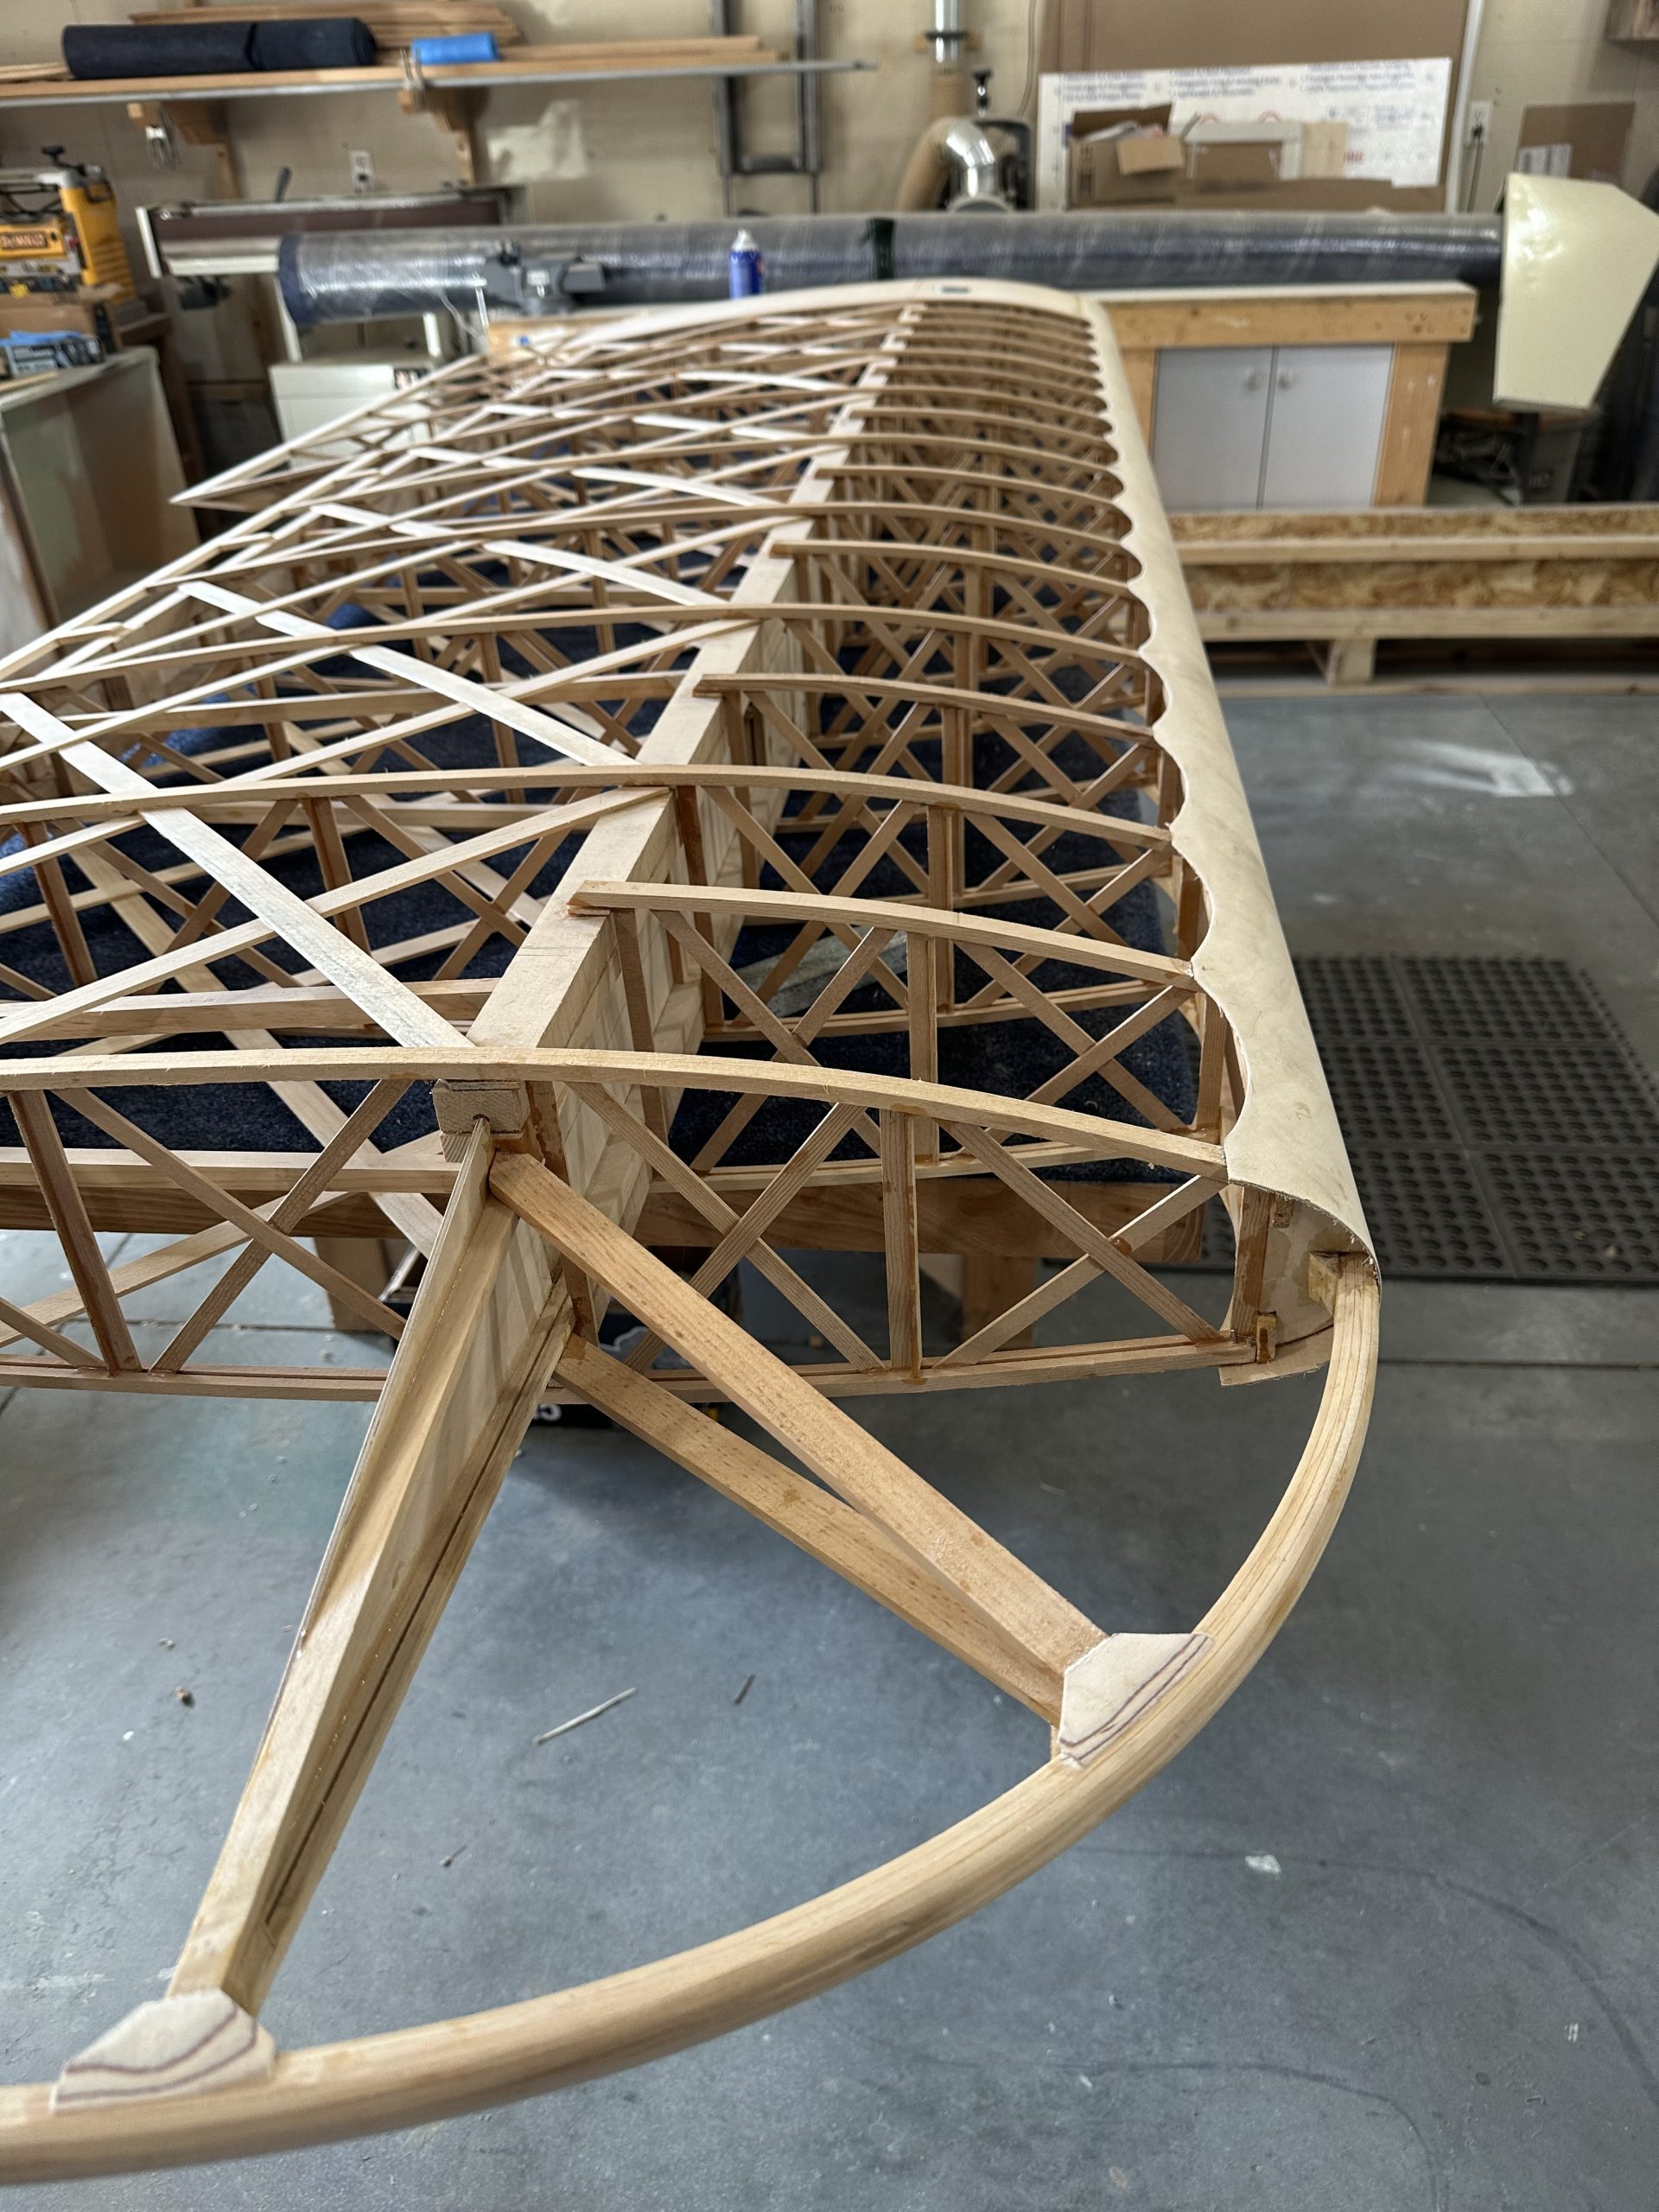
So many little things left to do. Today I made a little jig to mark the leading edge plywood for the depth of the scallops that need to be cut, and marked the center of each bay. I did some sanding on the wing walk to bring the rib caps down flush with the plywood skin — it’s not much to remove, just a few thousandths, but I want it smooth. I glued the LE plywood to the wing walk plywood, since that hadn’t gotten clamped well enough and the edge was loose. I’ll sand a tapered transition on that later.
I’ve got a dozen or two micro pins that I tried to use to stick down some 1/8 spruce to hold down the leading edge plywood. That failed, leaving the pins sticking out, They need to be driven in so they’re below the surface, so I got a few of those done with a center punch. I have a small pin punch I’ll use to do the rest tomorrow when I get back at it.
Last session I cut and sanded everything to get the top of the aileron bay closed out. Well, not everything; after gluing in the CW37 piece I realized that there were some additional supports I hadn’t cut. As I was running short on time, though, I had to leave them for another day.
The fun part (and it actually was kind of fun) was cutting notches in CW37 for the ends of the rib caps. After marking the location of both sides of each rib. I cut a shallow slot with he razor saw, then used an X-Acto knife to gradually fit the depth of the notch to fit. In the end I got it in and clamped, then had to leave.
Over the past couple/few days I’ve glued the bottom skin on the aileron, then attacked the top nose skin. Trying to get the lower and rear edges of the skin glued down at the same time is, I have concluded, a fool’s errand. I ended up gluing it to the flat front portion, then doing the top edge separately using a long piece of flat board to clamp it to the tops of the ribs and the aileron spar. The front edge I’ll do separately as there’s not a good way to clamp it in place.