Haven’t done much on the plane for a few days now. We have been in the grips of a winter storm, followed by a cold snap. We got several inches of snow; anywhere from a couple inches in the front yard to maybe 2′ drifts closer in to the house. The temps throughout the 3-day weekend never got above -7, and the wind was blowing. This is not weather conducive to going outside for anything non-essential.
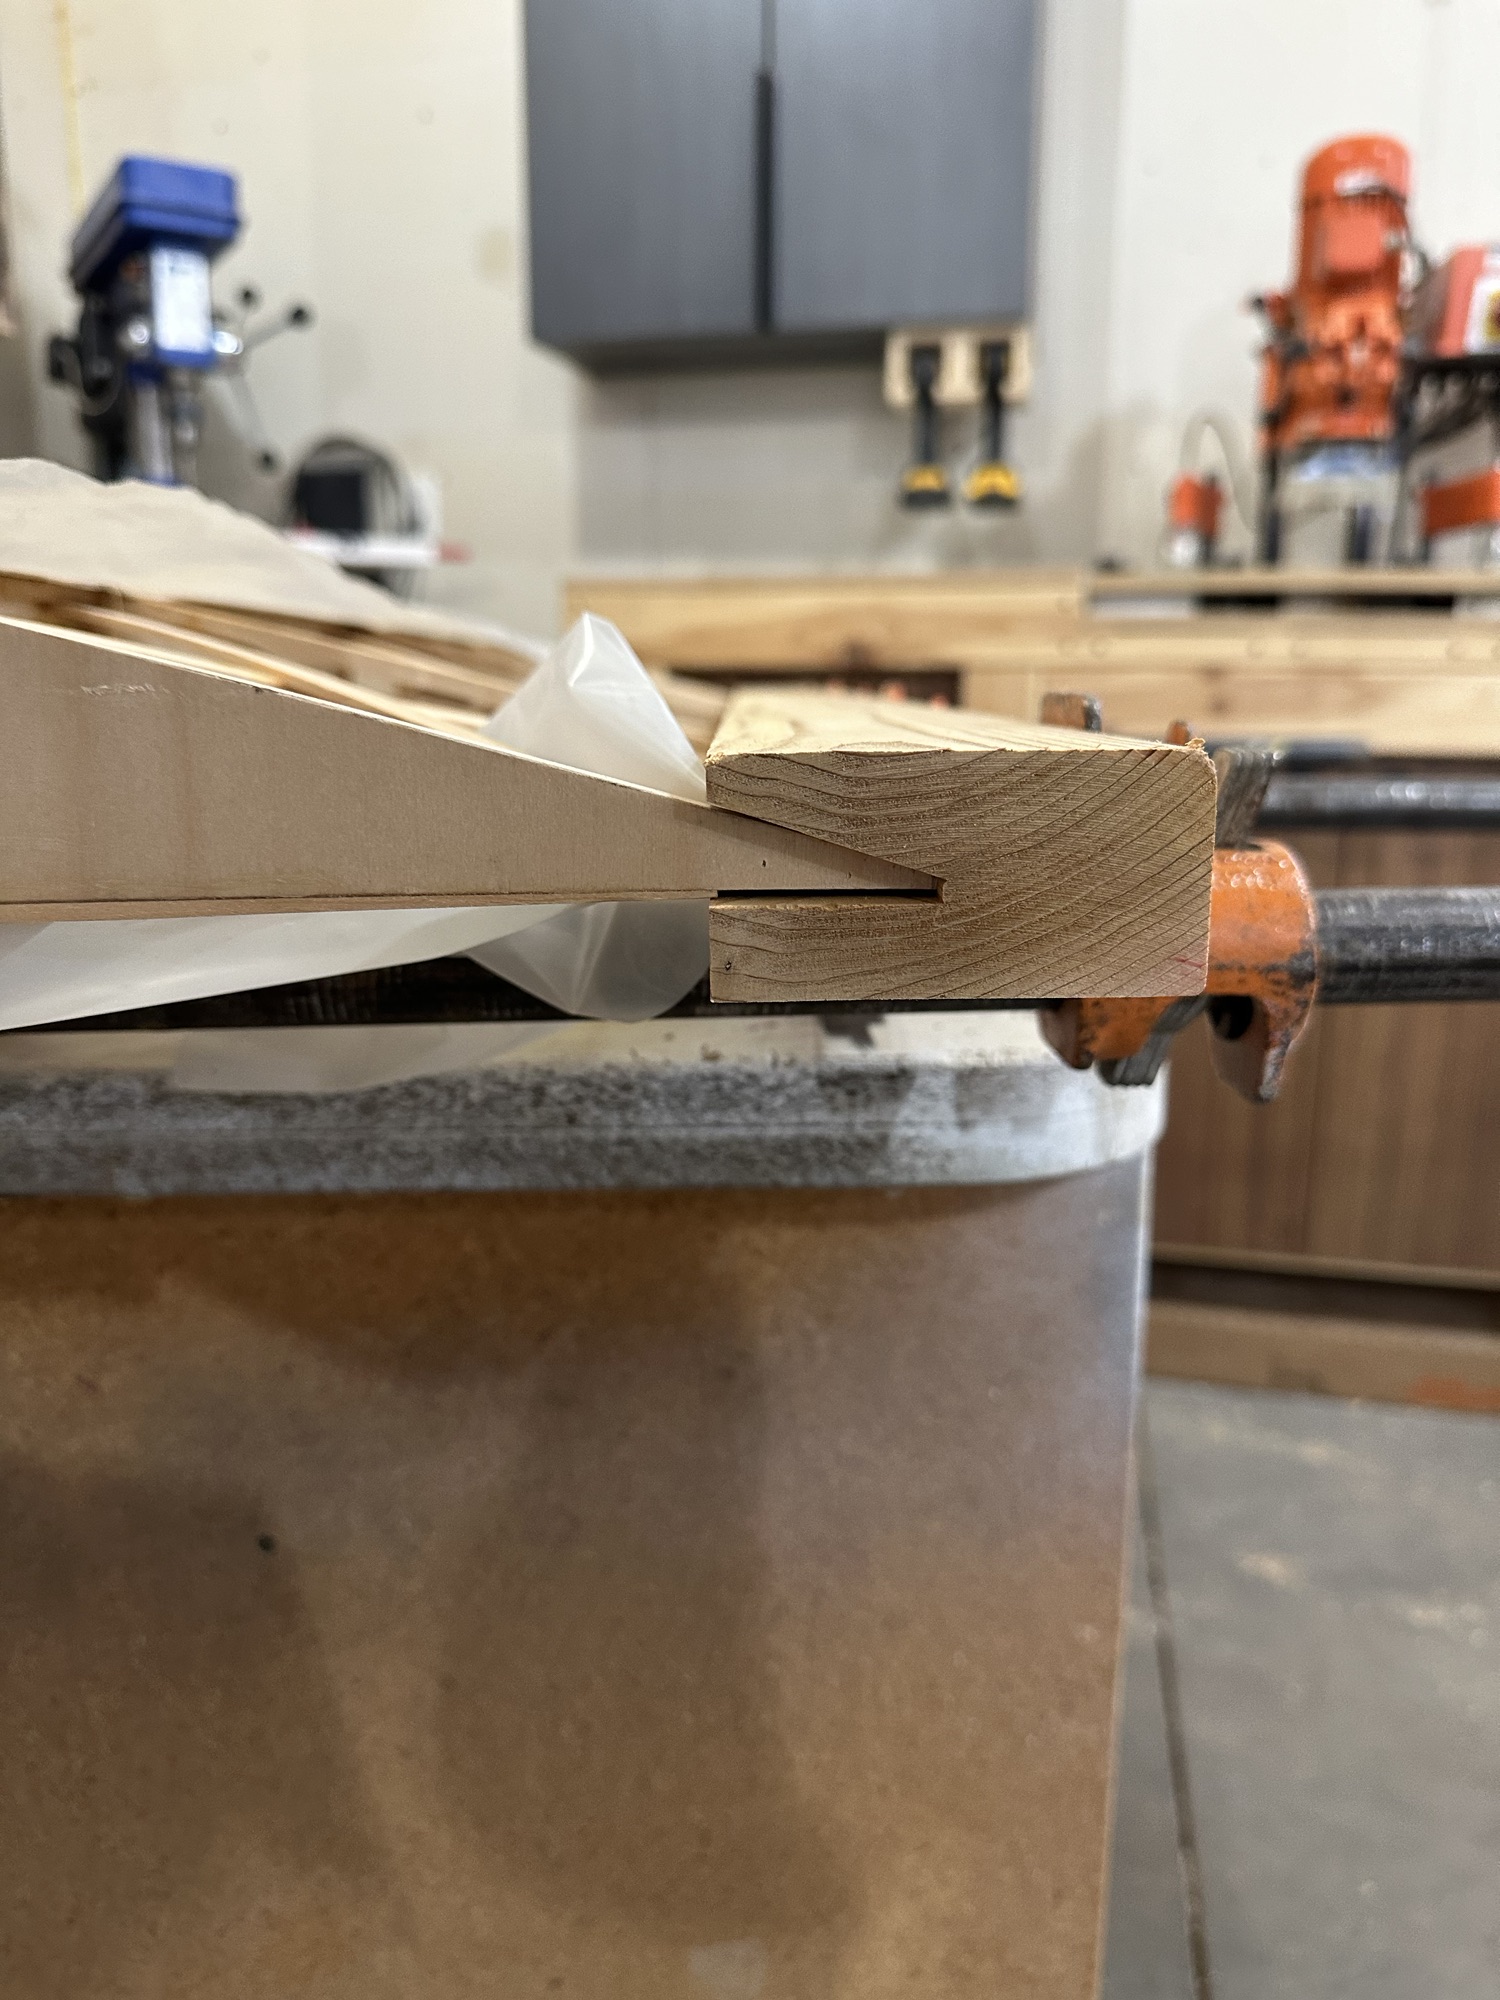
During the last build session, I tried cutting a few of the bushings needed for the wing. The results were not great. While a chop saw will go through and make a beautiful clean cut, it will also randomly launch the cut-off piece somewhere in the shop, often with a nice big chunk out of the end. Not what I was after! I did get one bushing cut successfully, and another done after much filing to get it down to its final size.
After doing some research, I believe I’ll end up building a band saw sled to cut the bushings. I can make it with a nice end stop to cut the tubing to consistent lengths, and it should make it relatively easy to get an acceptably square cut. I’m hoping the cut ends turn out clean enough to dress with a brief time with some sandpaper.
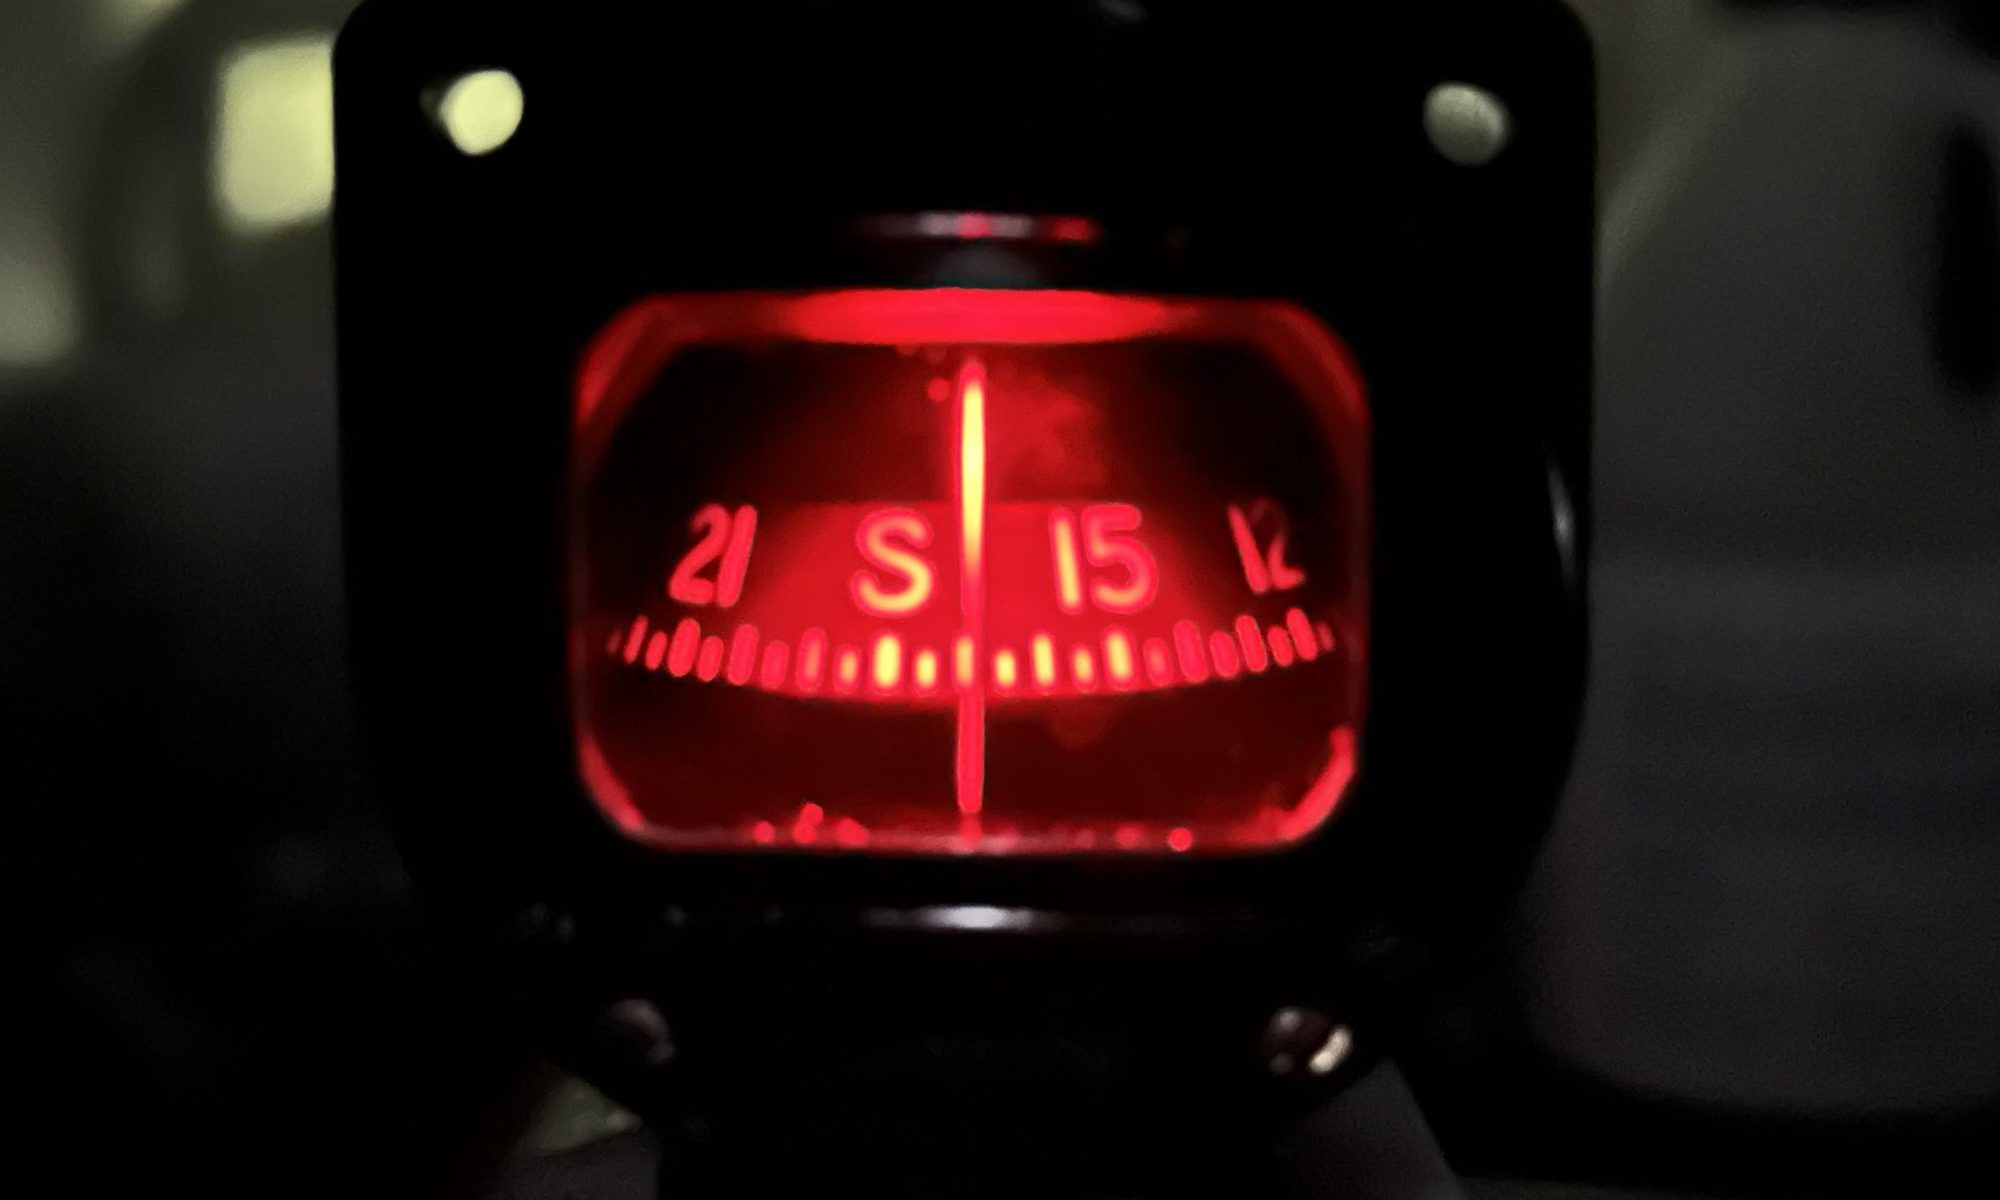
The bloody compass is still very slowly seeping fluid. I suspect the face plate is not perfectly flat. I think for now I’ll leave it, but at some point I’ll need to drain, disassemble, and maybe use a thin coating of Aviation Form-A-Gasket on the black rubber seal. At least everything works well, it looks great, and the LED light is quite effective. I have no idea why I’ve invested so much work into a mag compass, to be perfectly honest… but it’s been an entertaining project. I just like restoring old things.
I’ve had no success at all getting answers out of “CKD.aero” regarding the pricing and availability of parts and subkits for the Celebrity. I’ve been trying to get pricing for the wing tanks so I know whether to plan on using them or not. It just feels like Fisher got bought by people who have no clue what to do with it. The website has been stripped of any pricing or availability information. It took me weeks to get anyone to even respond to an email, and despite a couple of promises I have yet to get a useful response from anyone. I guess I’m on my own. It’s a shame, but I did decide to build from plans; I think I’ll be able to muddle through.