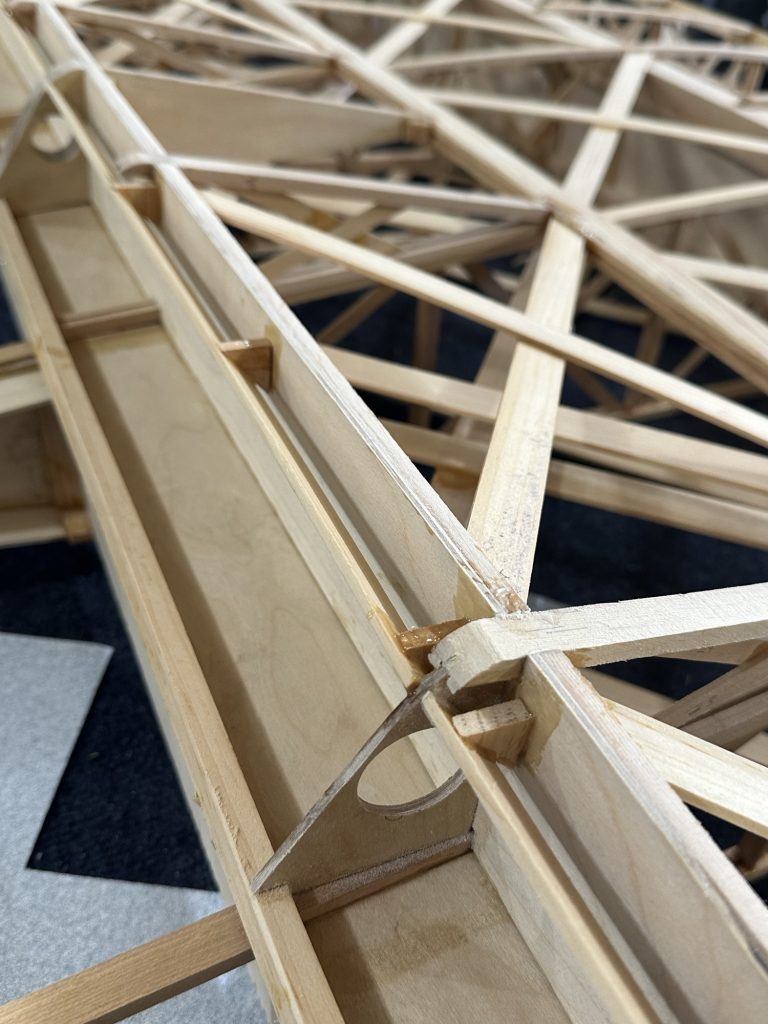
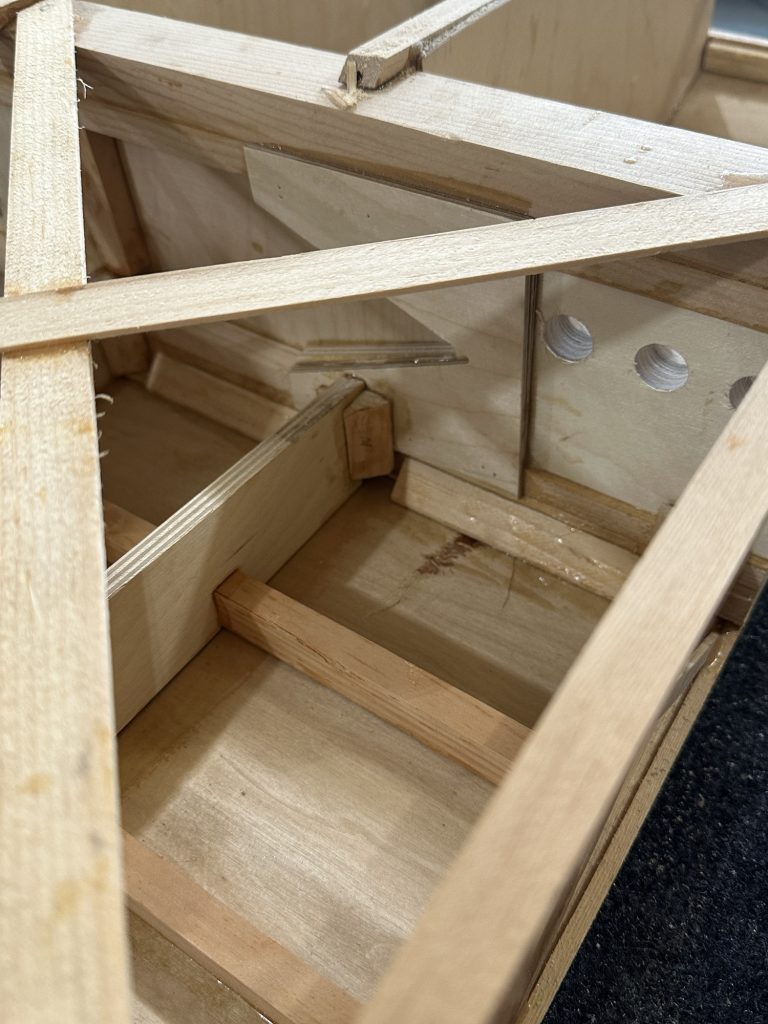
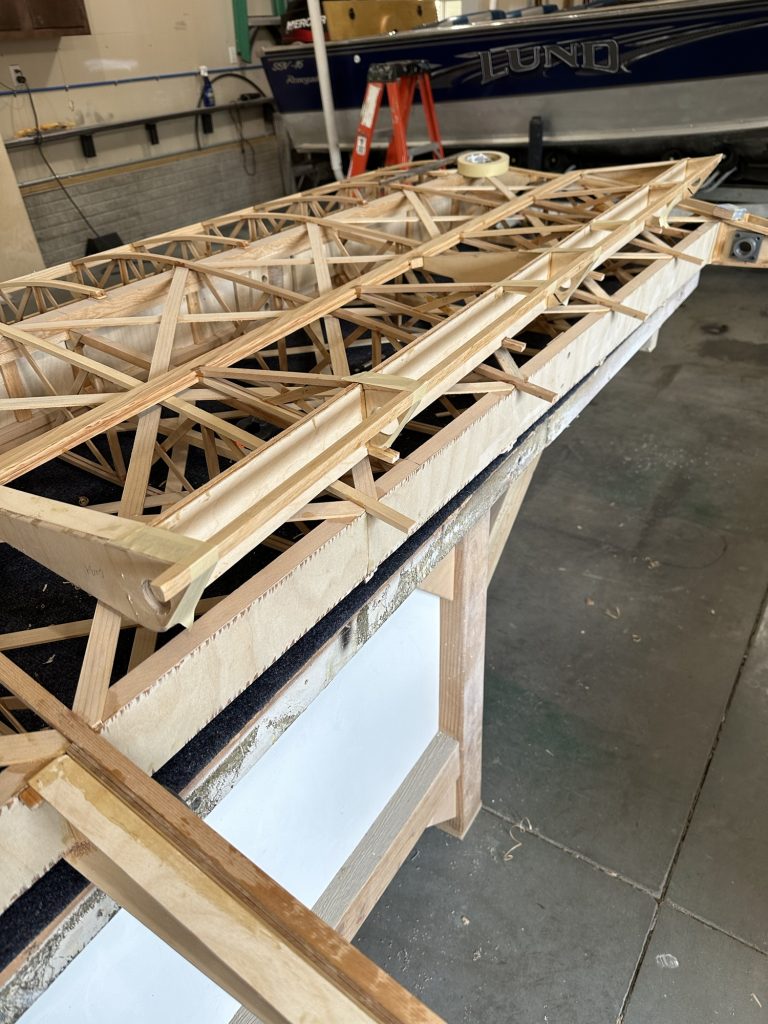
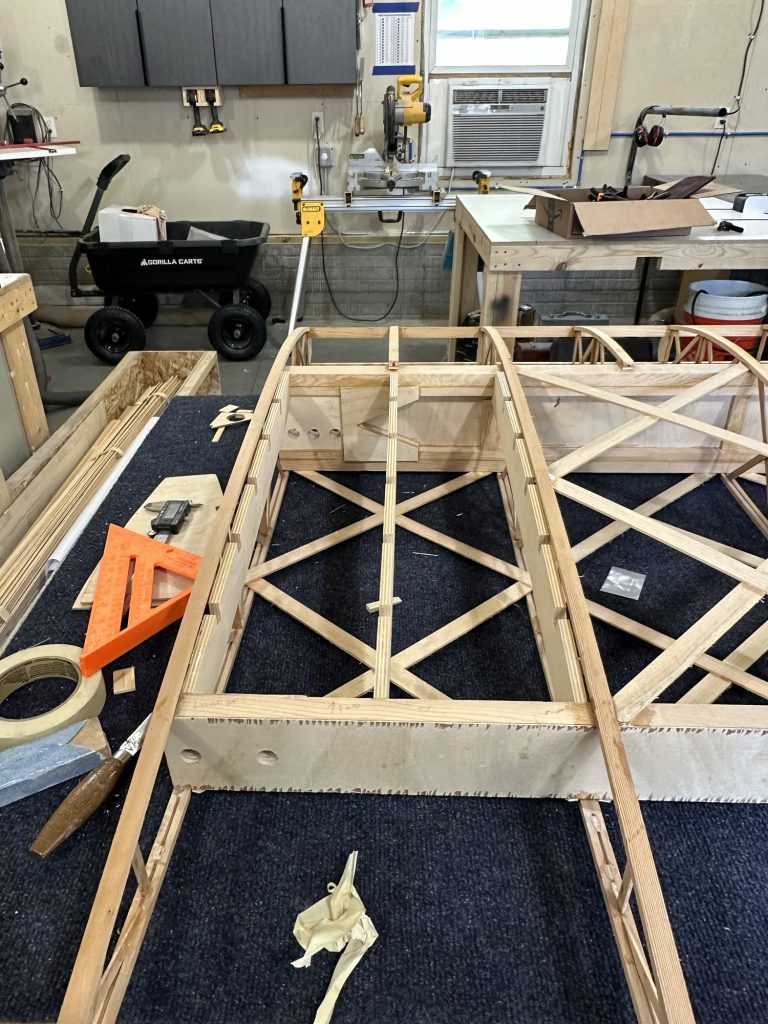
Saturday: Ripped the CW37 parts down to the proper 1/4″ thickness. These are the strips with one beveled edge that go in the top and bottom of the aileron bay. The parts I got are 1/2″ thick, which won’t work anywhere. Ripped them all down to 1/4″ so I don’t have to do that again for the other two wings. With them cut to the right thickness, I cut one to length and glued it into the bottom of the aileron bay.
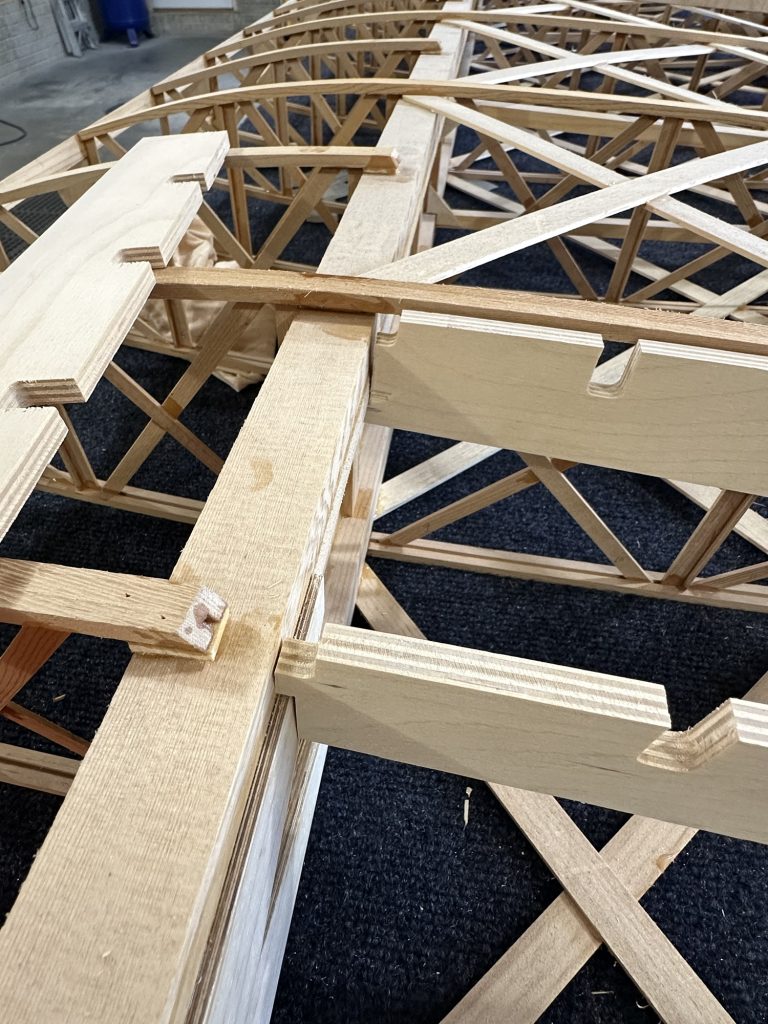
Then I discovered (or confirmed) that I’m an idiot… there were a couple of missing aileron pieces that I found in the bottom of the parts crate. Had I installed them in the first place, the little triangular braces would not have been needed. It’s no big deal; I was able to slot the nose skin support spar and get them glued in.
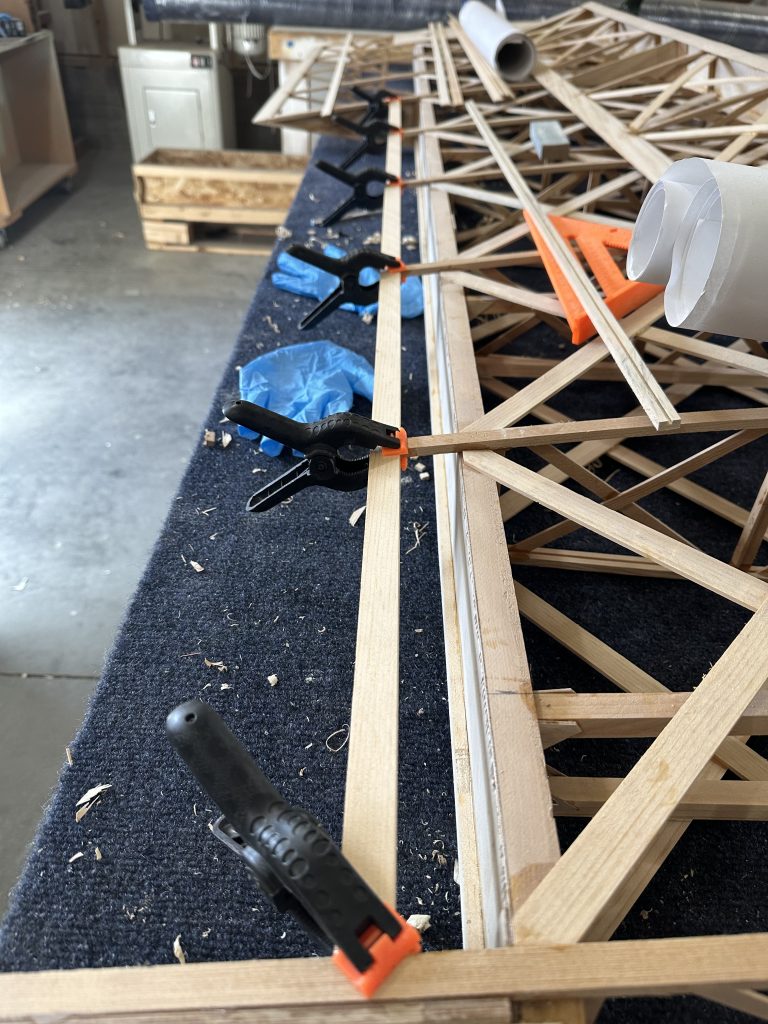
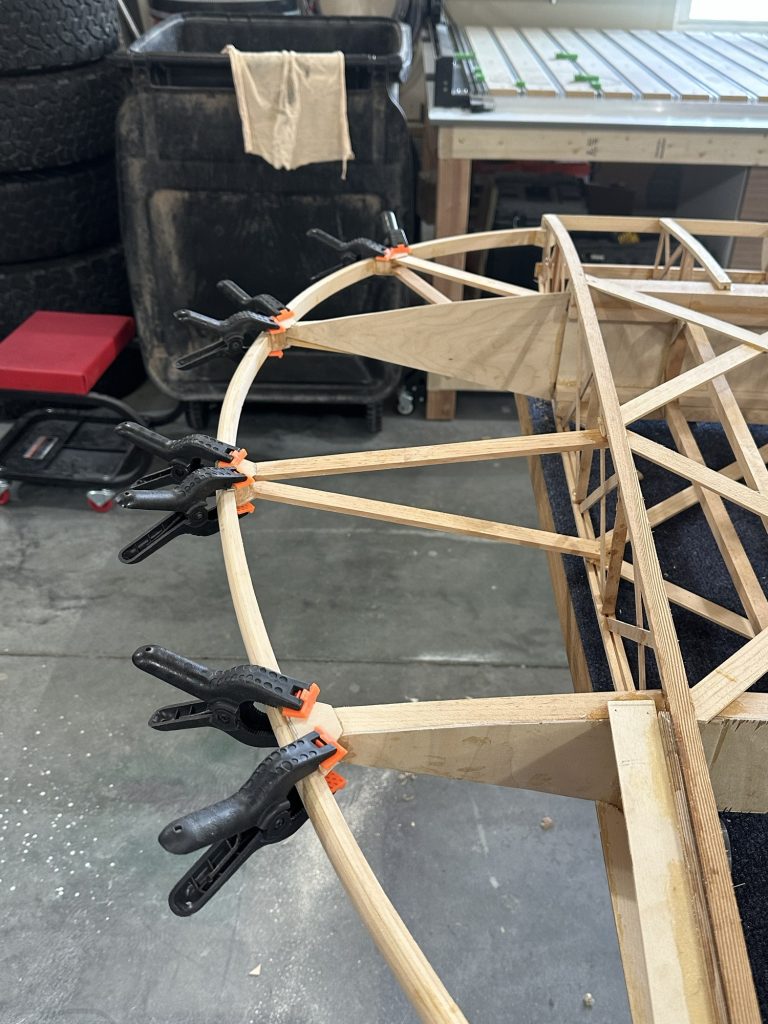
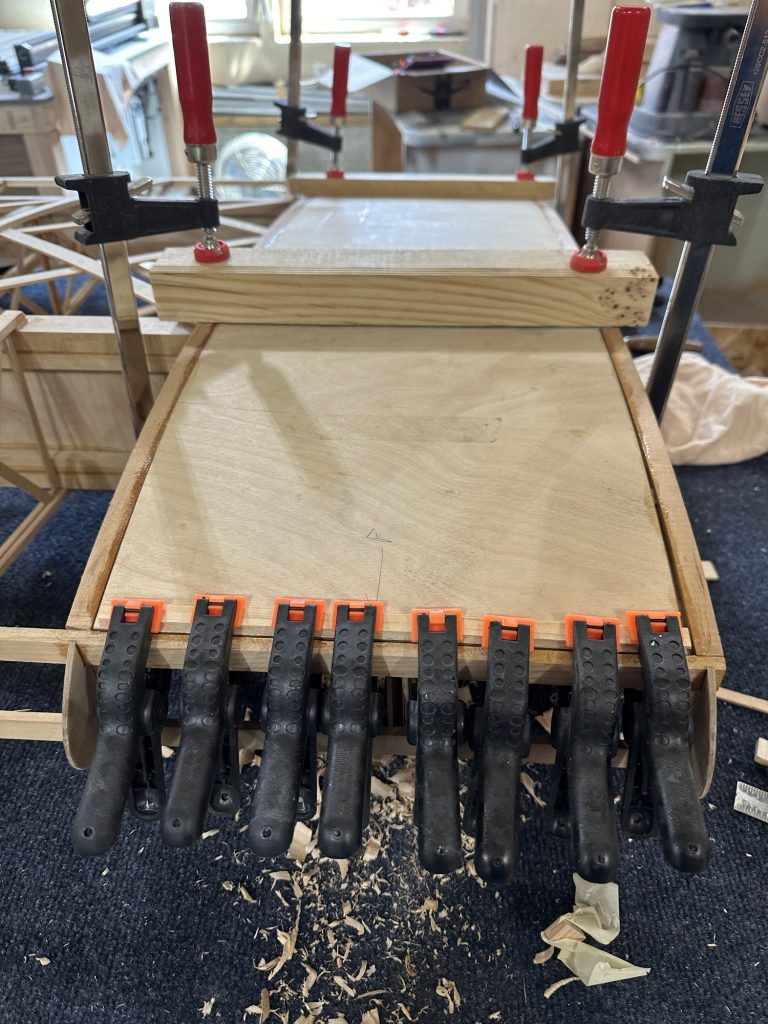
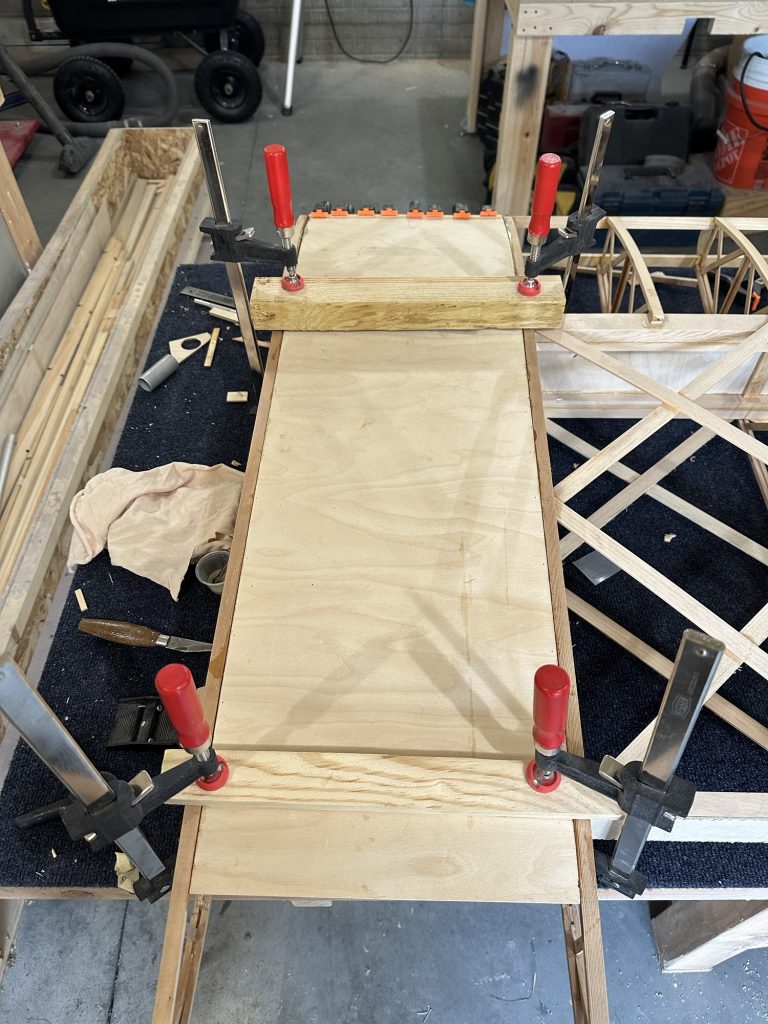
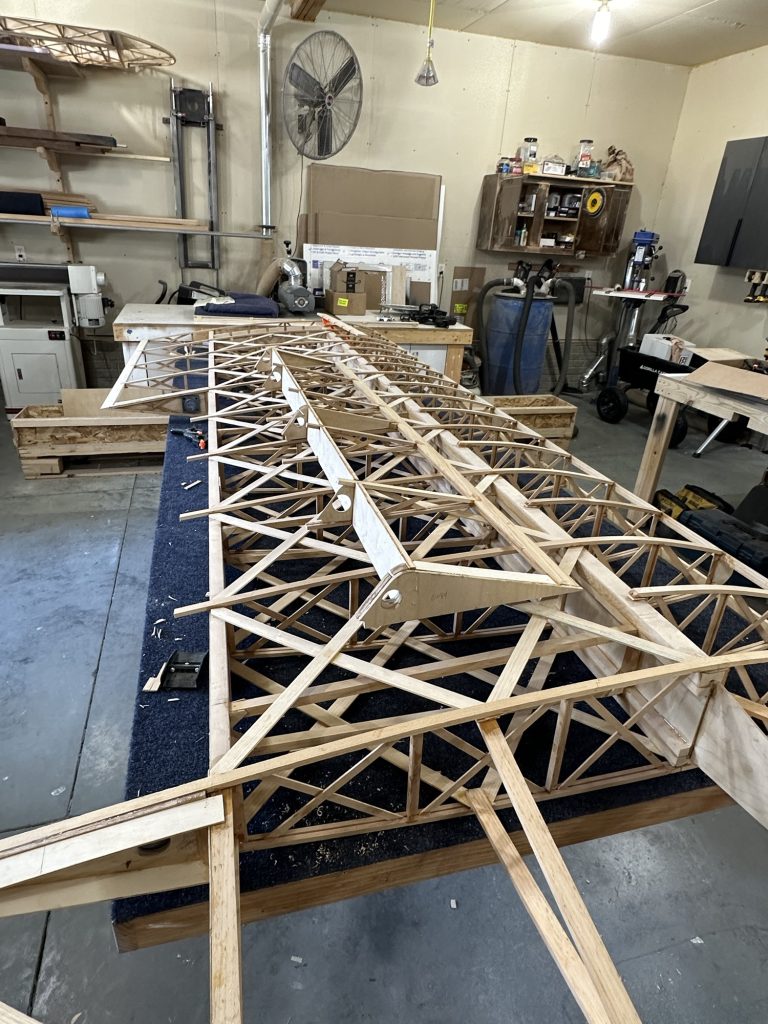
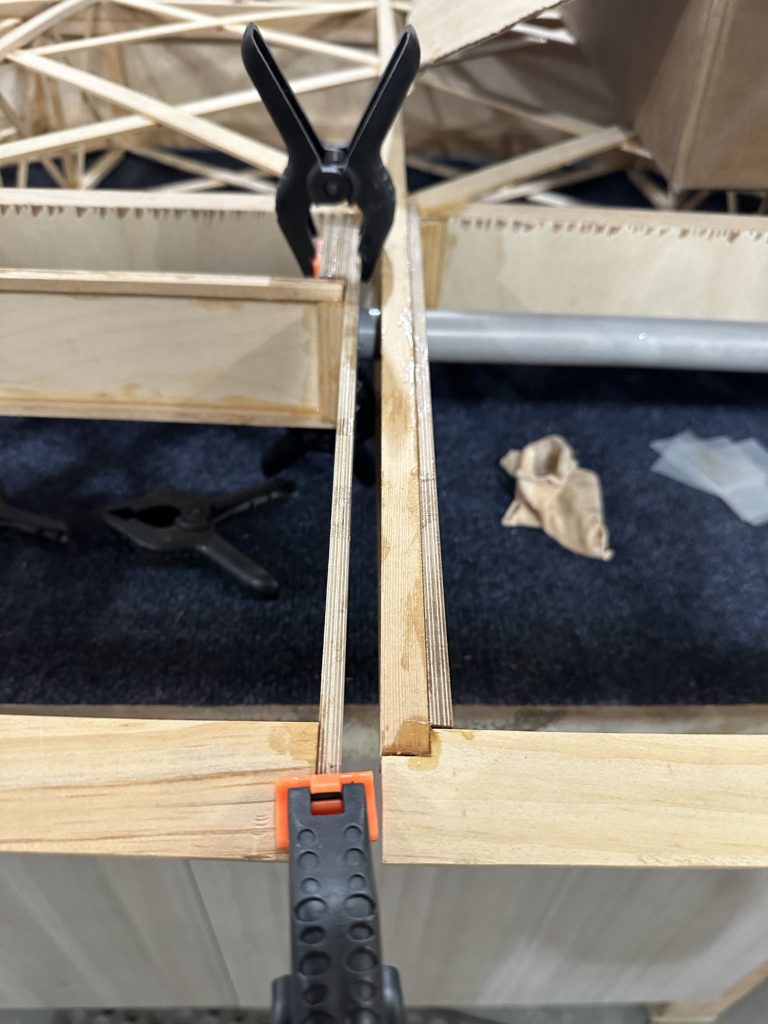
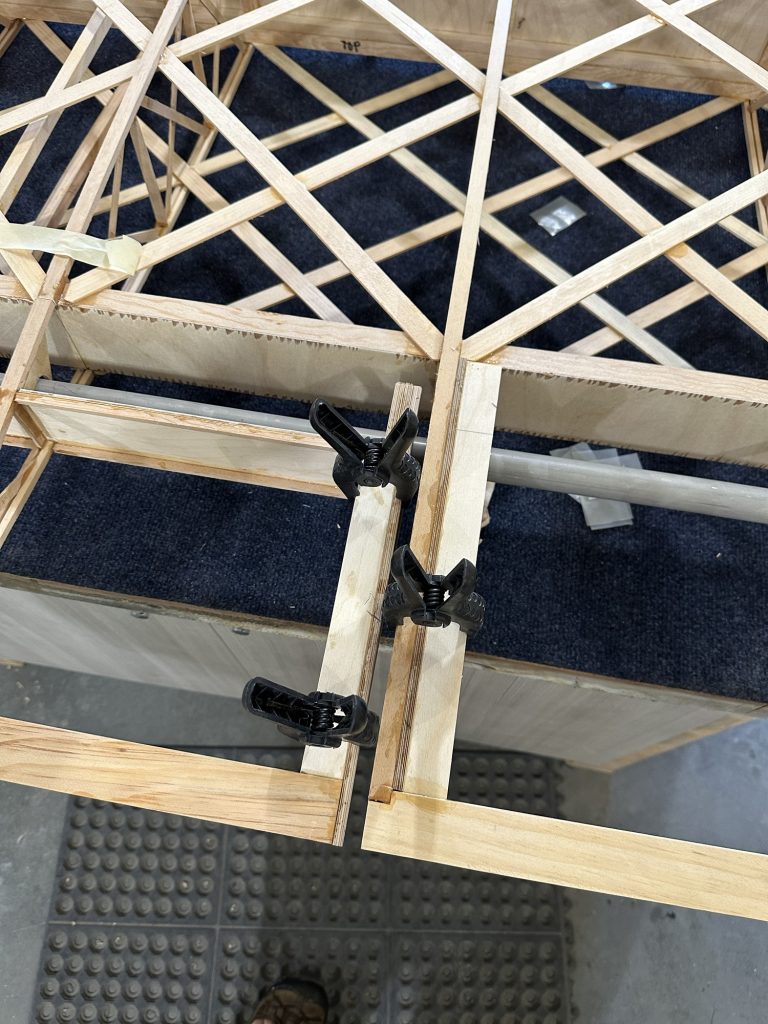
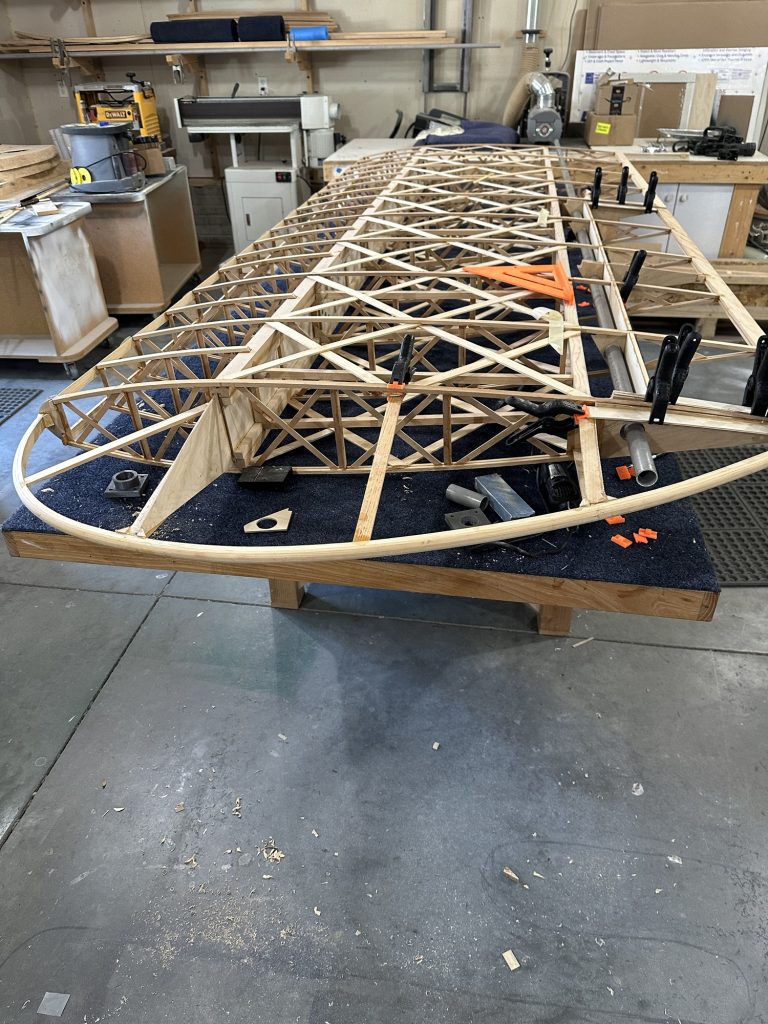
Today: Got the nose skin plywood glued onto the front of the wing. I think there are now about 70 or more clamps on the wing. I had planned to glue the top aileron nose skin in place, but that’s going to take some more work. I see no way to get that ply to stay attached all the way around without some sort of clamping jig. Stu and I figured out a good arrangement, but I’ll need to get some MDF, ply, or pine scrap to cut them out of. I need seven sets of clamping blocks for the nose and trailing edge, then I can use bar clamps to hold everything in place.
I also found that a few batches of glue I mixed up over the past week or two were probably not the greatest. My T88 had started getting cloudy — a sign that the resin is starting to crystallize. Some of my test pieces failed at the glue joint, albeit with a lot of force required, instead of the wood failing before the joint. I’m not really concerned about this. All of the affected glue was used for either the wing walk or adding corner blocking and gussets to the wingtip bow. The wing walk pieces are fully supported and there will be no bending, twisting, or pulling loads applied. The glue is strong, just not AS strong as what I’ve used everywhere else.
I have since tossed the syringe of clouded resin, warmed the rest of my resin supply until it’s crystal clear, and verified that test pieces now all break well into the wood rather than at the glue line. I’ve tried spruce to spruce, which tore apart well into the wood, and spruce to plywood which ripped the plywood apart.