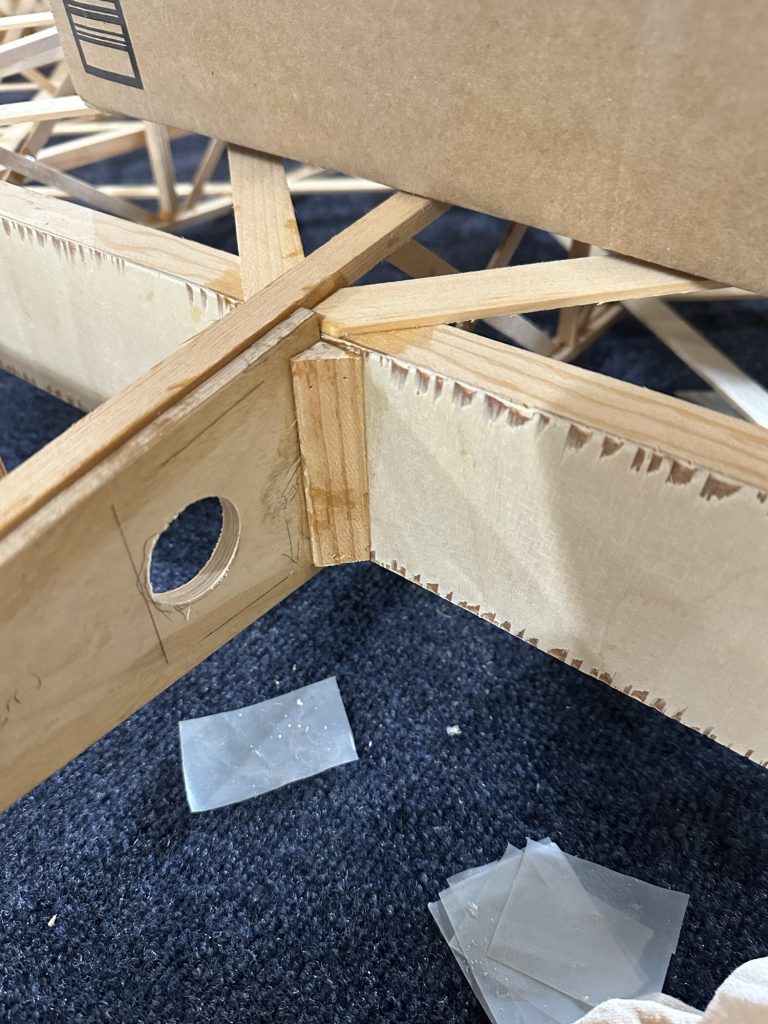
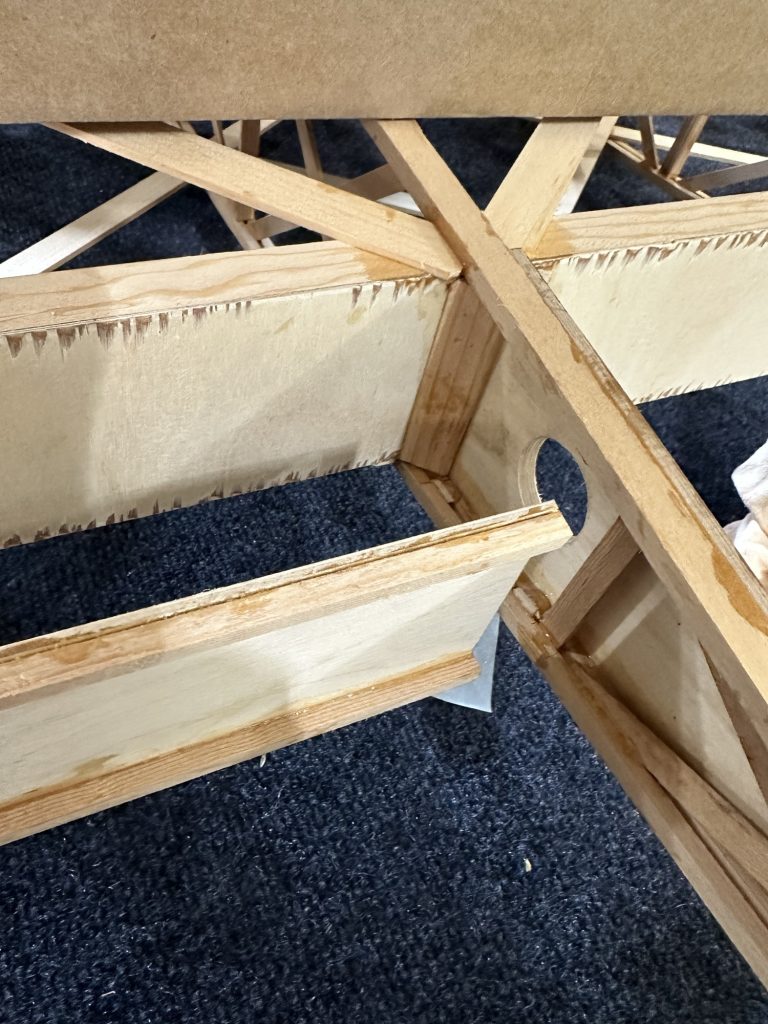
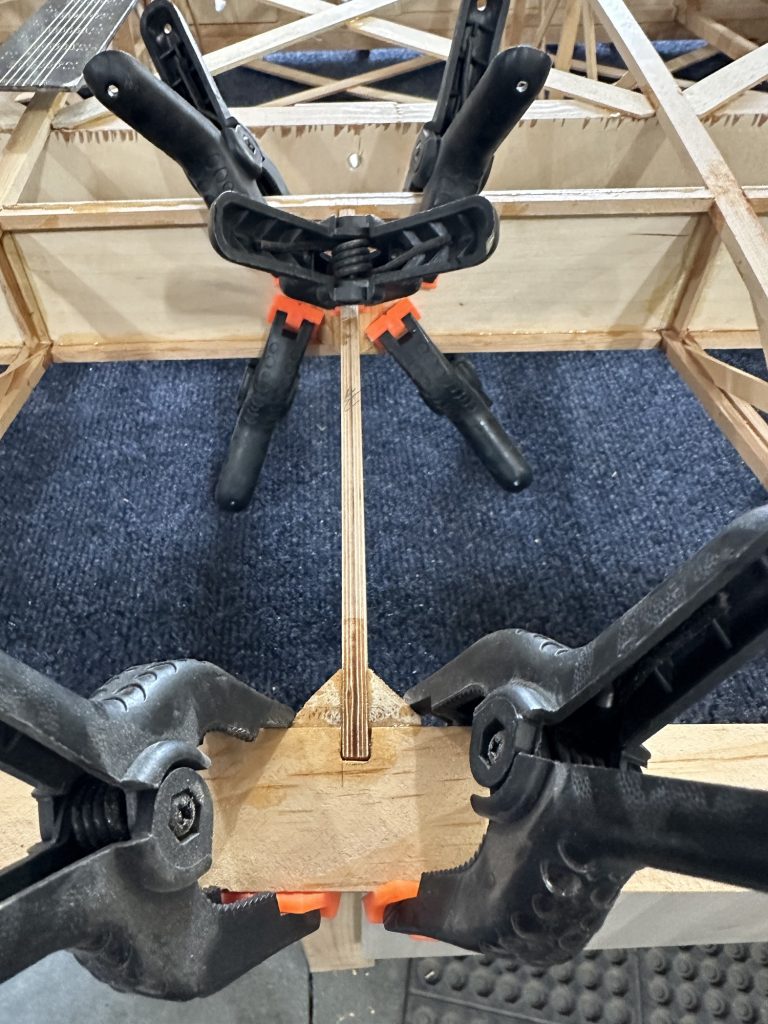
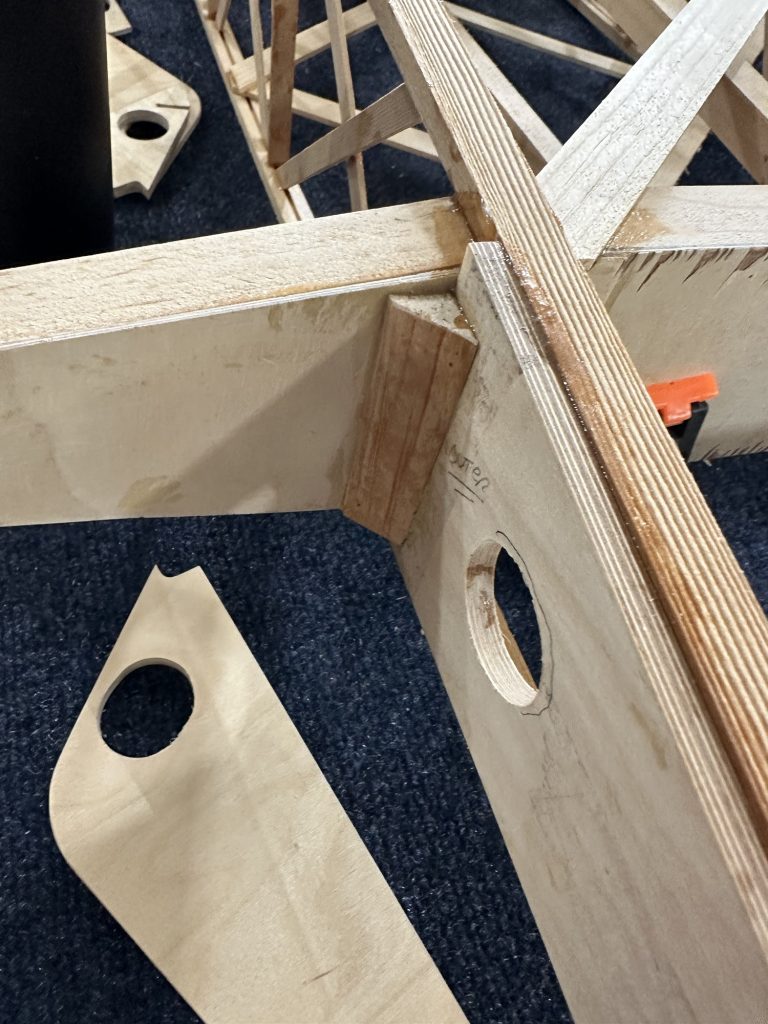
Got the nose ribs glued in place, clamped, and taped to keep them stable. As I write this, I remember my earlier idea to cut another nose rib from slightly thicker plywood to use in the center of the span where the 1/32 plywood will have a butt joint. Oh well. I don’t think I did that on the other wing, so I’ll just have to get a look at that to see what I did there.
I did take a quick look at what I’d need to do to get started on the aileron, but didn’t really have time to spread the plans out and re-familiarize myself with that area. I’m kind of debating the order in which I’ll do the steps to complete this wing. I’m itching to tackle the aileron, but the more I think about it the more I think that would best be done later on. I think probably the best idea will be to wrap the nose with plywood and finish out that in order to protect the nose ribs. Once that’s done I think I’ll move on to mounting the wingtip, as it will be better to get that in and completely blocked in and reinforced before cutting out the aileron. Then there’s the wing walk to deal with. The plywood wing walk support pieces FFP packed in this kit are nowhere near correct, so I’ll probably just end up making new ones — unless I take a page from a guy who’s building a Tiger Moth and just make a new cantilevered wing walk from a sandwich of wood and carbon fiber.


