Bracing and gusseting

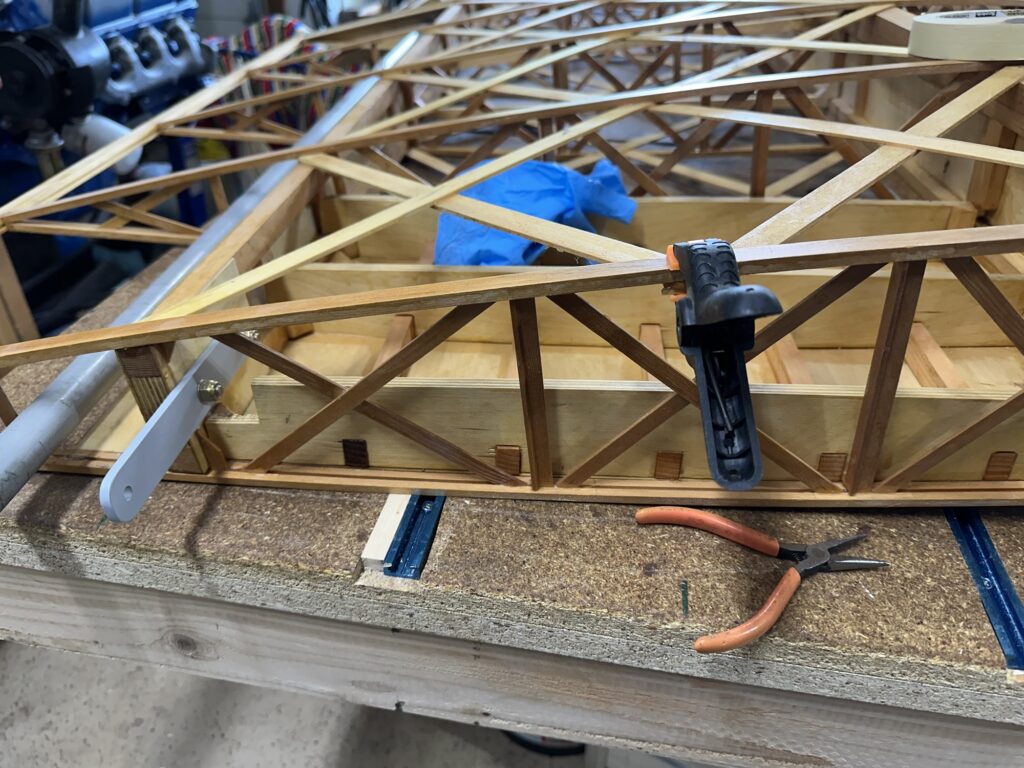
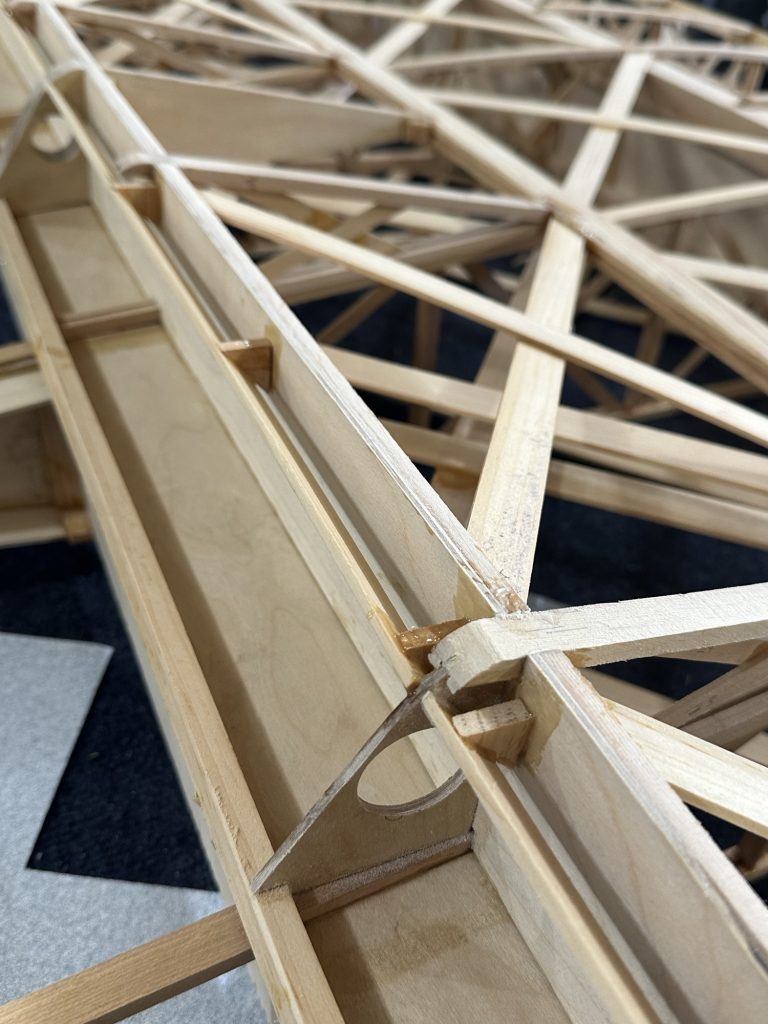
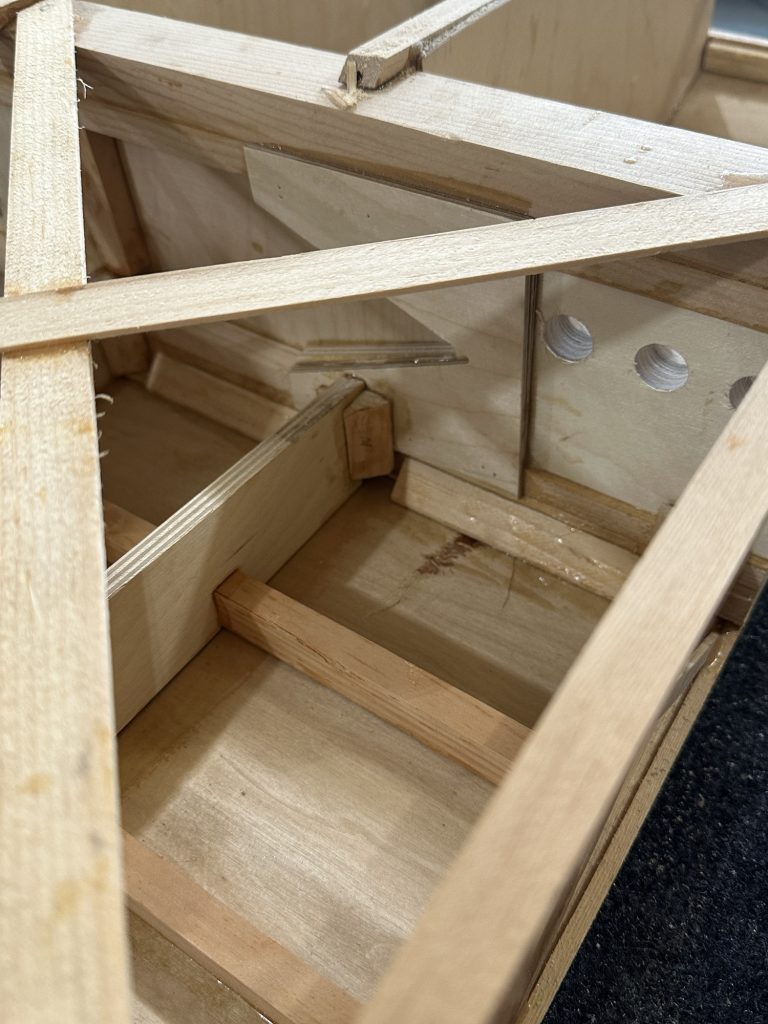
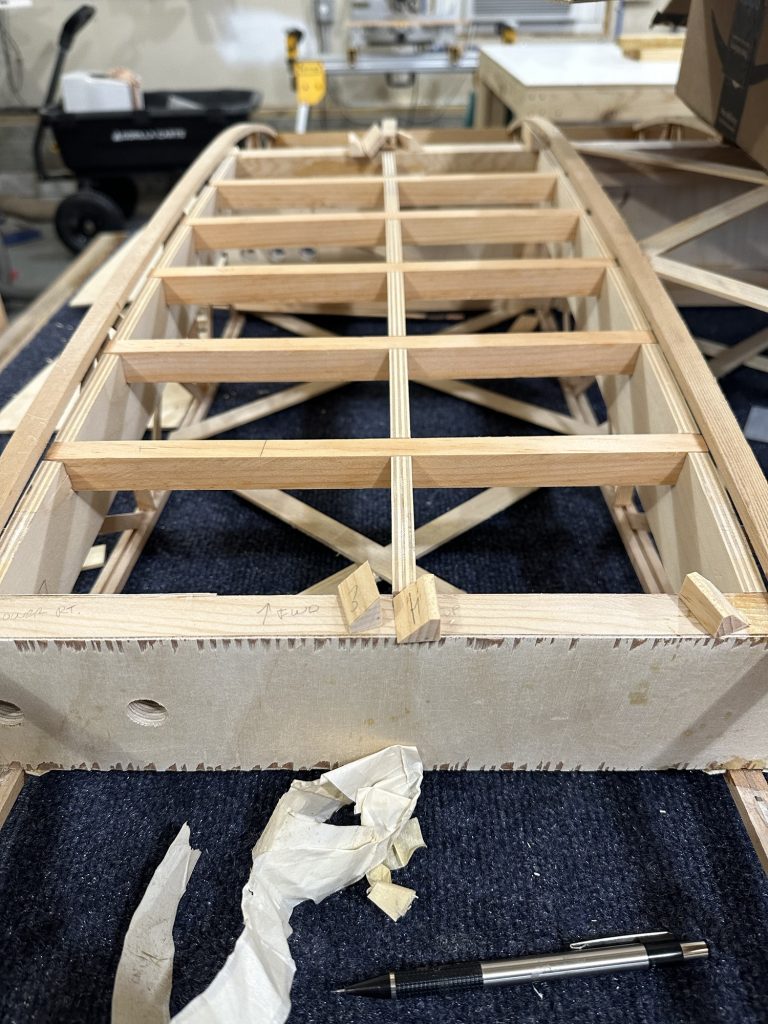
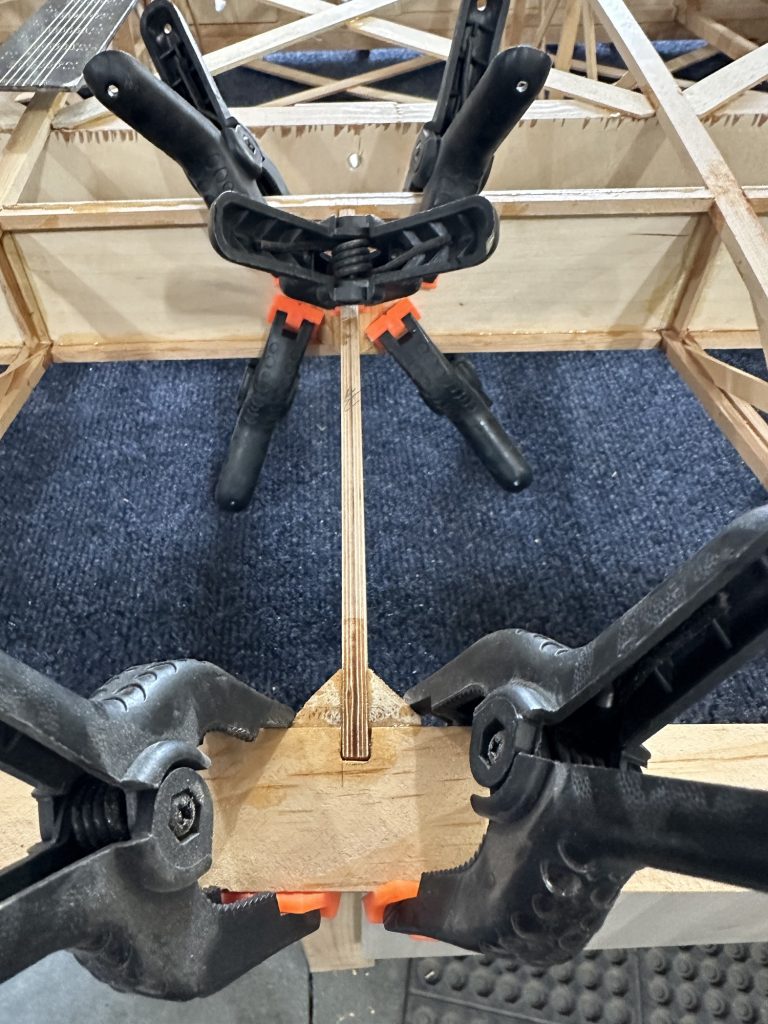
I got all the clamps off of the aileron this afternoon. Everything looks pretty good. Due to the way I had to cut the thin nose skin spar, I felt it best to install some bracing for it. These are just little half inch right triangles that I glued in to keep it straight.

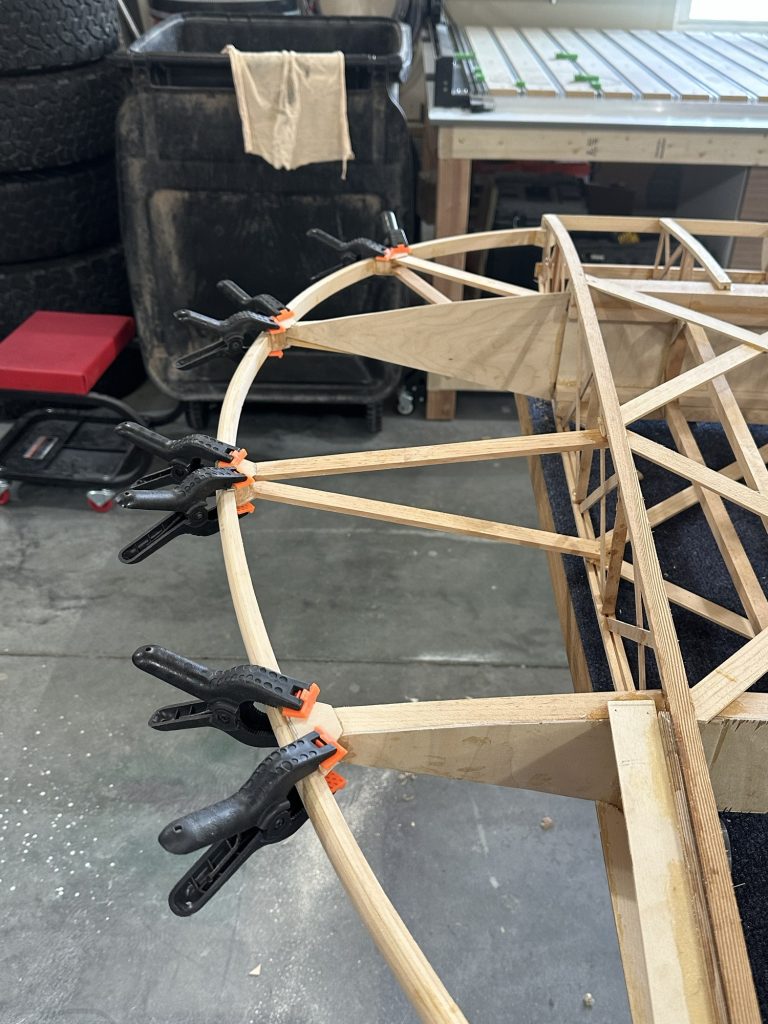
With that done, I removed the clamps from the wingtip bow and sanded down the gussets I’d installed last time. I won’t know if they require any “fine tuning” until I have a chance to get some fabric on it, but I think they’re good to go.

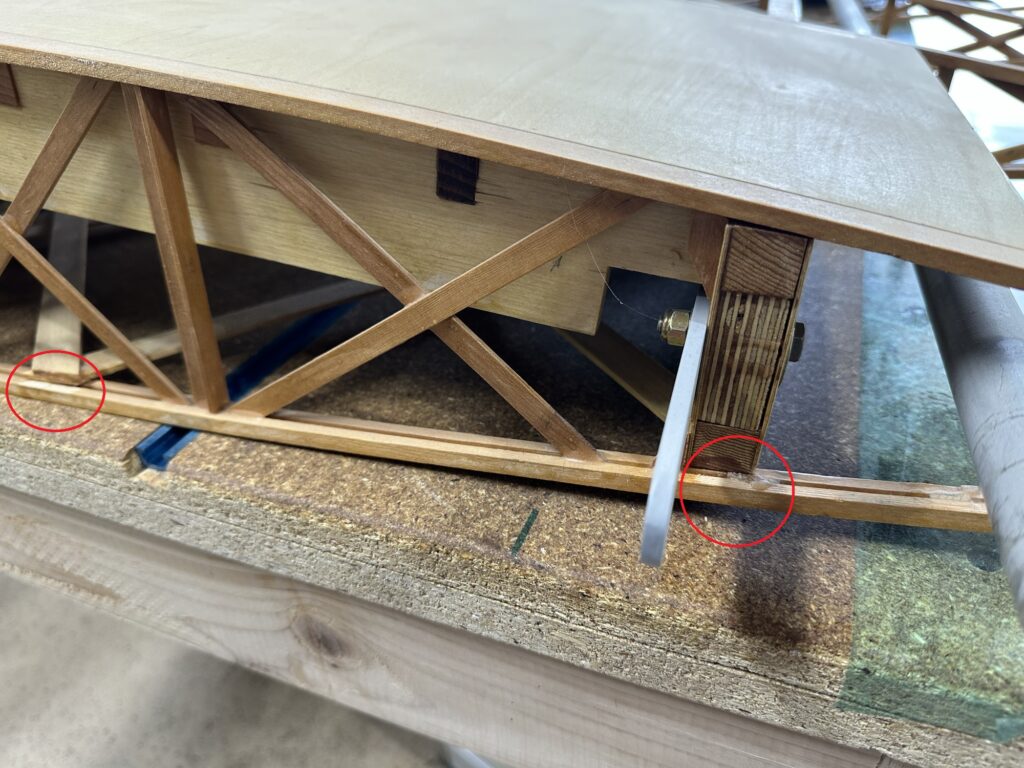
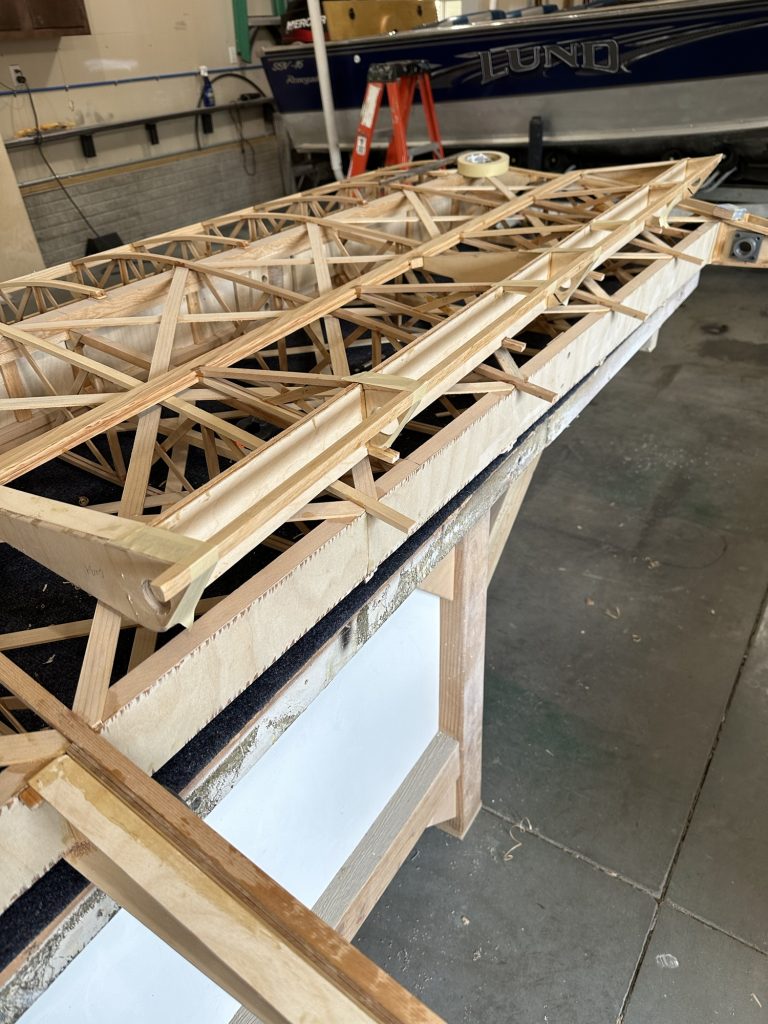
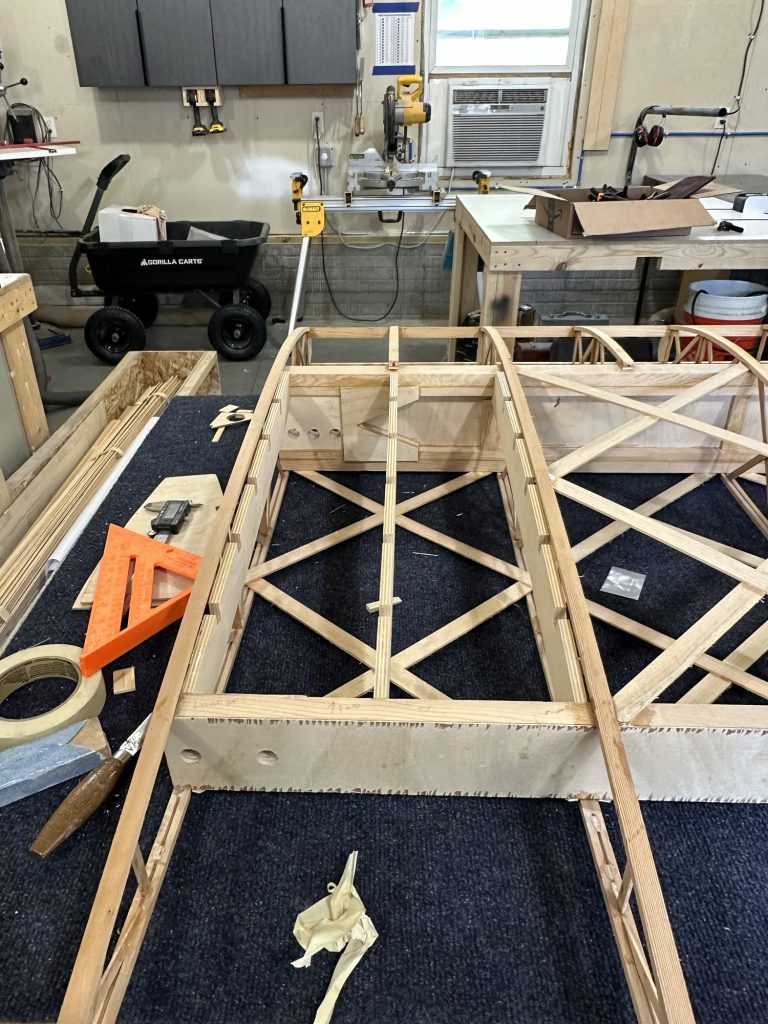
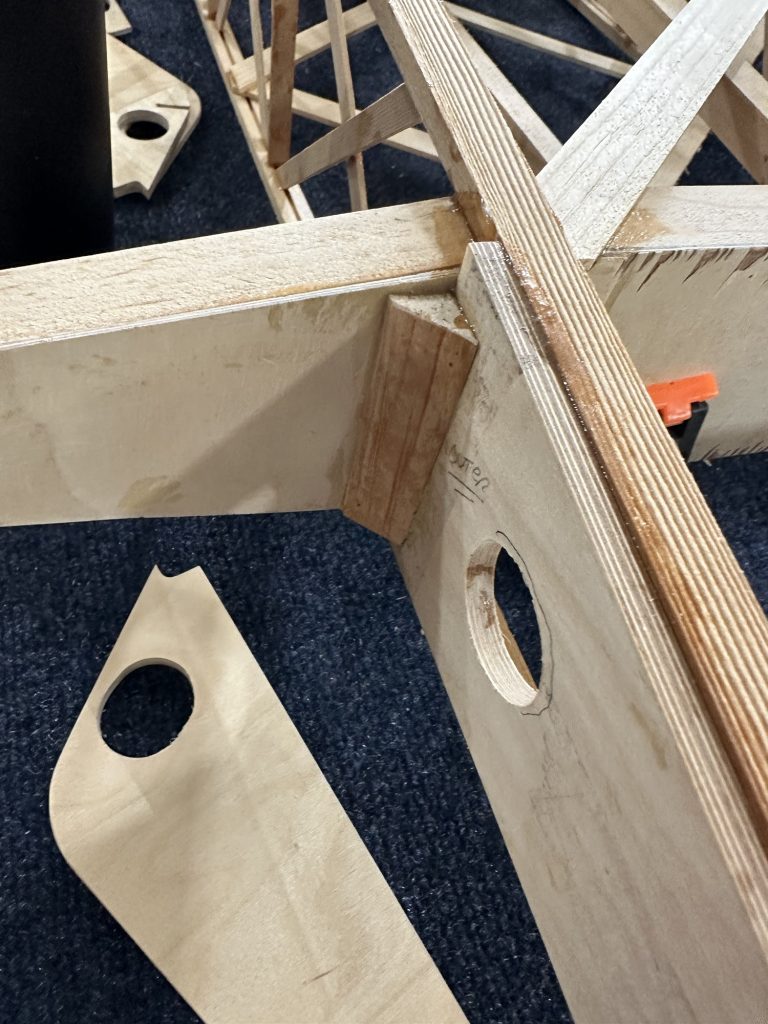
I flipped the wing on its top surface and added some more blocking under the ends of the wing walk. These are just regular corner block stock to tie the plywood to the spar caps. I think everything looks pretty sturdy there now.

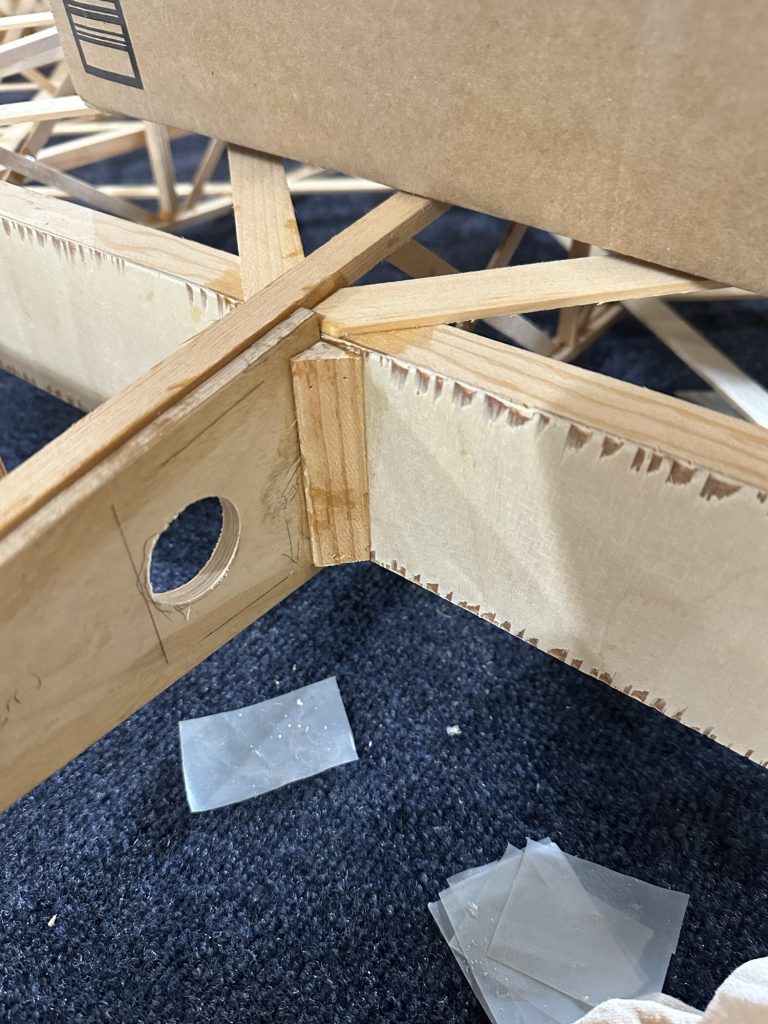
With some time and glue left, I sanded down the corner blocks on the underside of the wingtip bow supports. I cut, glued, and clamped the gussets in place and called it a day.

On a roll!

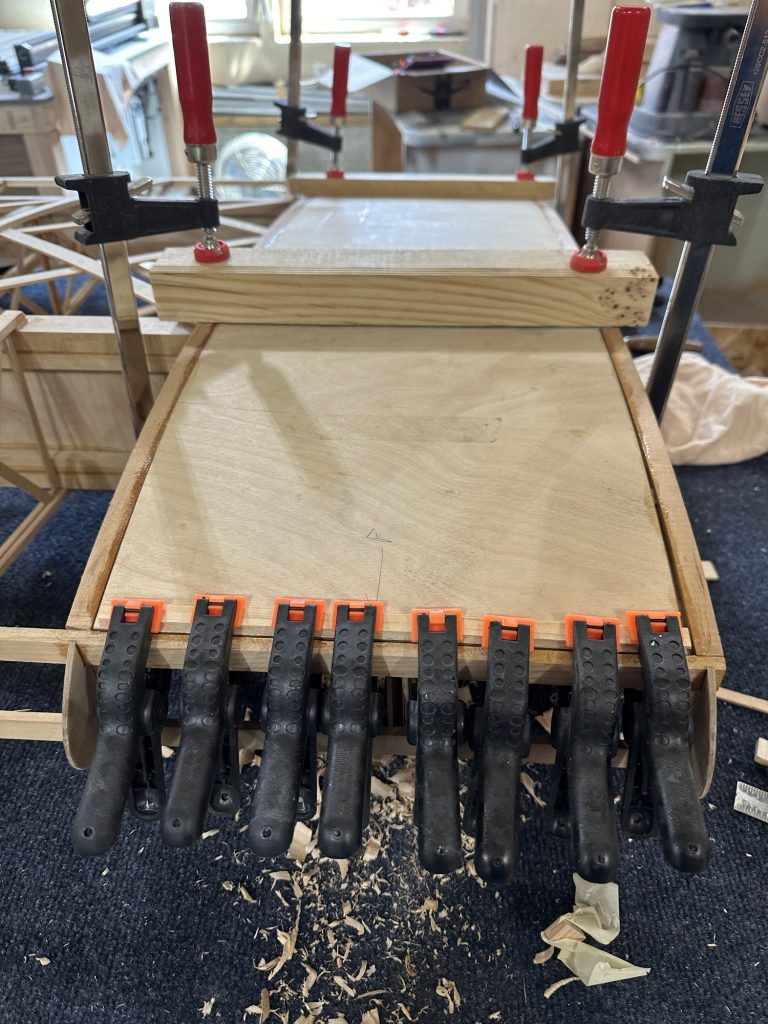
Today I did some work with the razor plane and a new sanding block to get the aileron spar and other bits to their final dimensions. I got the top side geodetic braces cut and glued in place on the aileron. Then I glued the lower aileron nose skin in place – the aileron now has, I think, the maximum possible number of clamps on it.

With that done, I got the blocking sanded down on the wingtip bow supports, and cut and glued the top gussets in place. Only eight clamps there, but I think it’s still feeling the love.

And if you’re a Star Trek: Voyager fan, this makes Seven of Nine days in September that I’ve worked on the plane.

Wing walk skins down

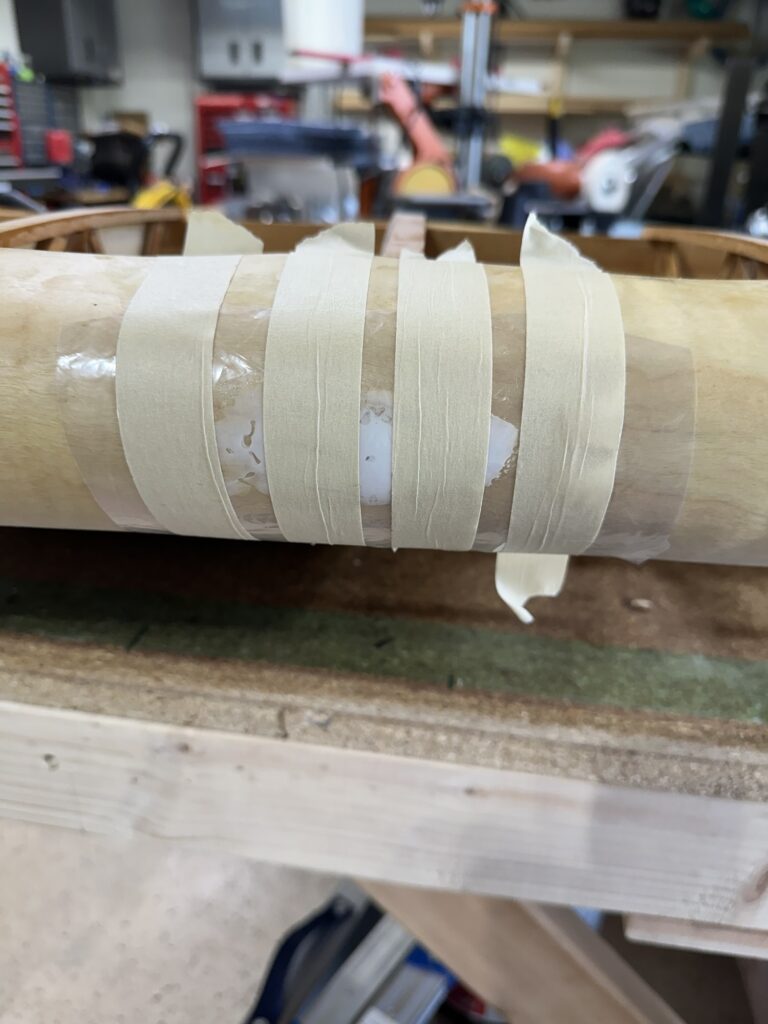
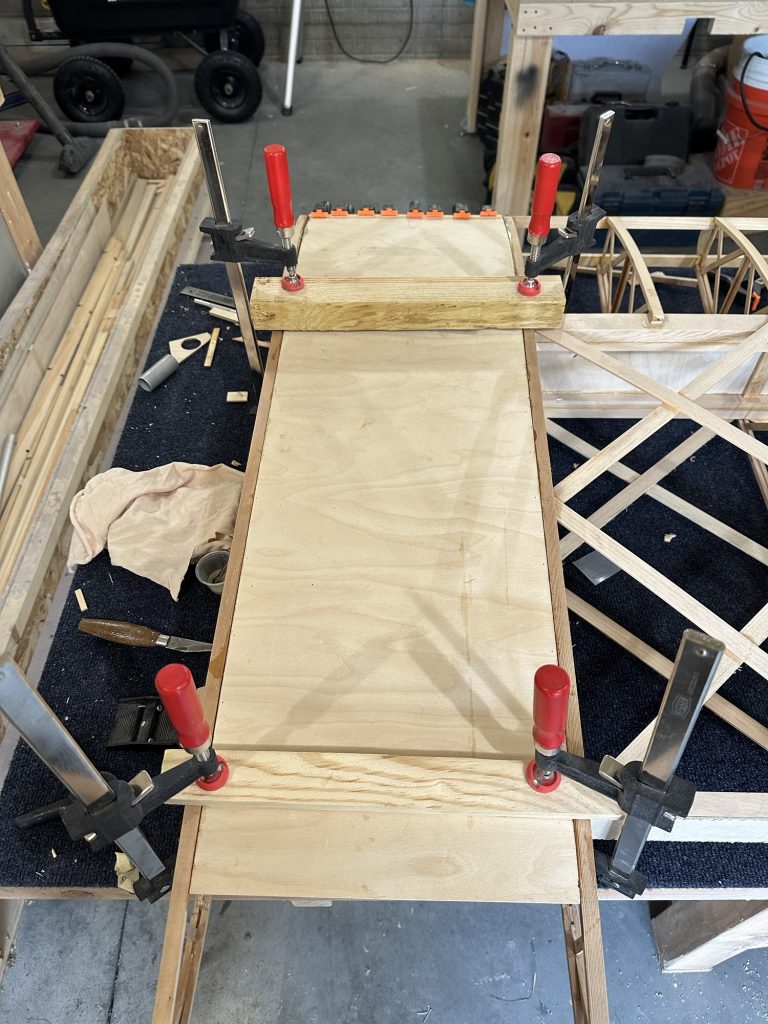
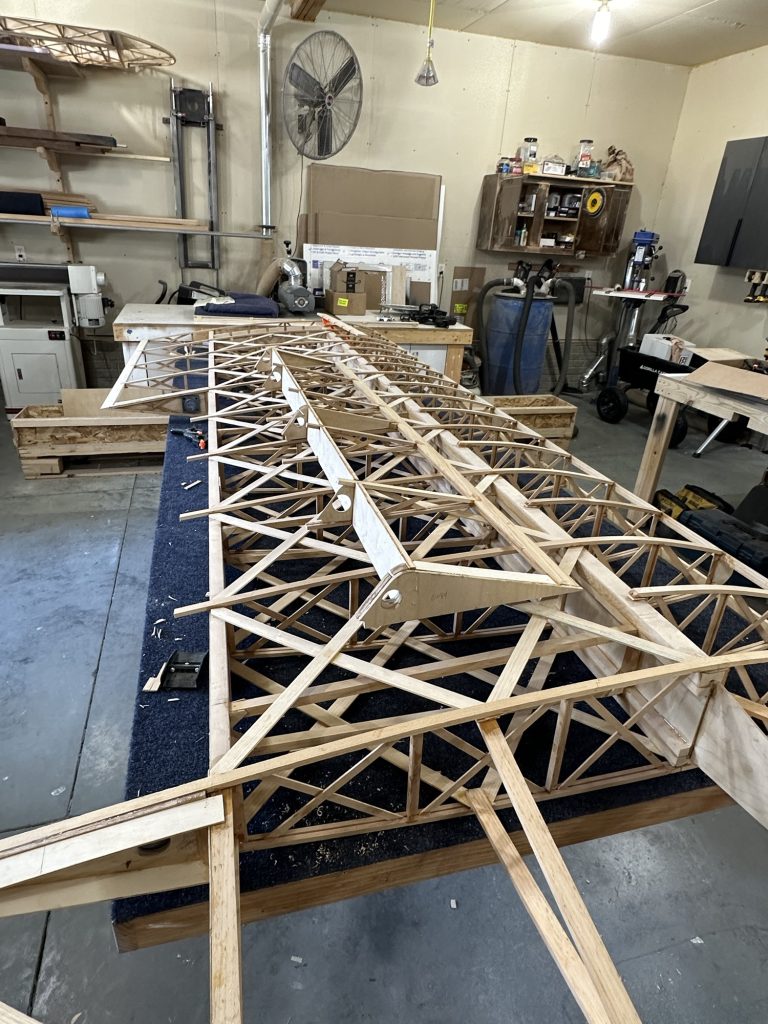
Today I went through more epoxy than I have since gluing the spar caps. After some sanding and test fitting, I pre-glued the wing wall structure and the two plywood skins. Then Stu helped me clamp the edges down, and pinned down any spots that weren’t firmly in place.

As planned, I used some scrap lumber to make clamping bars. I used strips of geodetic material between them and the skins to ensure good pressure and clamped everything together with bar clamps.

With some epoxy left over, I glued the nose spar onto the aileron and did a little more corner blocking on the wingtip bow supports. With all that clamped, pinned, and taped in place it was time for lunch!

Aileron freedom – and wing walk work

Today I located and temporarily screwed the bearing blocks in, and cut the aileron free from the wing.

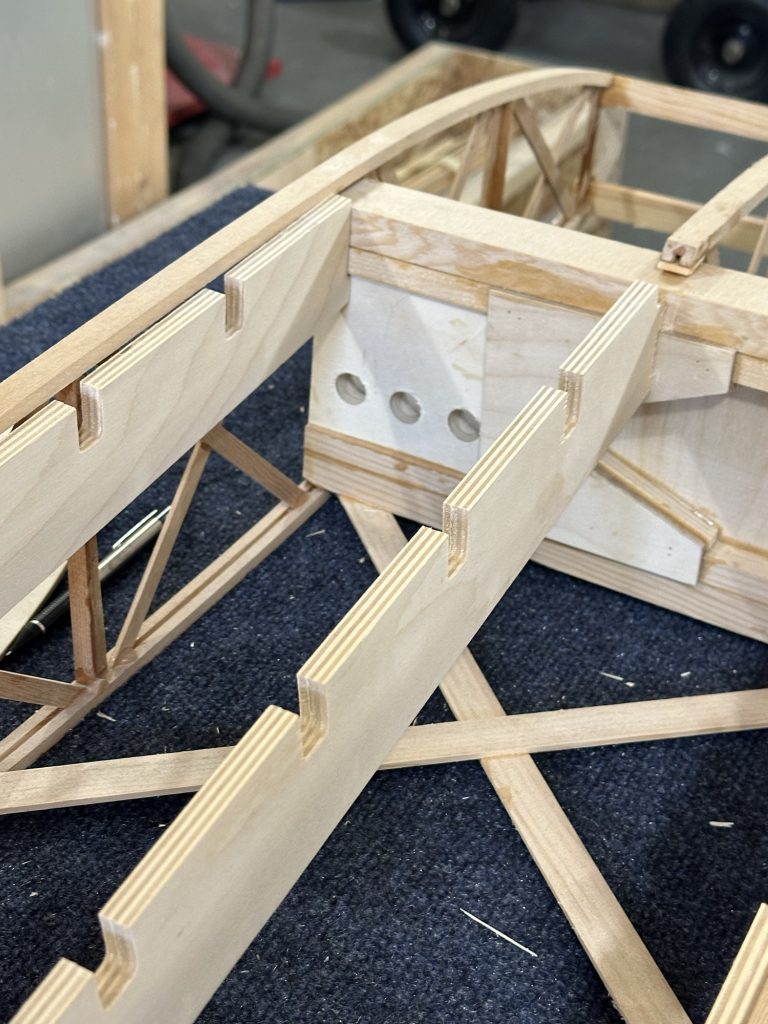
With that done, I decided to have another look at the wing walk situation. I don’t know why the support bits were the way they were, but I decided to just get on with making them work. When I look at the plans, especially the oblique view, indicate that the parts may have been cut in an attempt to match a much earlier version of the wing without much of the reinforcement at the main spar root. Anyway… Two of them had the aft end cut well enough to work at the rear spar. The inboard support needed to be trimmed at both ends. All had to be modified to fit the main spar.

In the end I got all three to fit, though I’m not terribly thrilled with the lack of good options for supporting and blocking the ends.

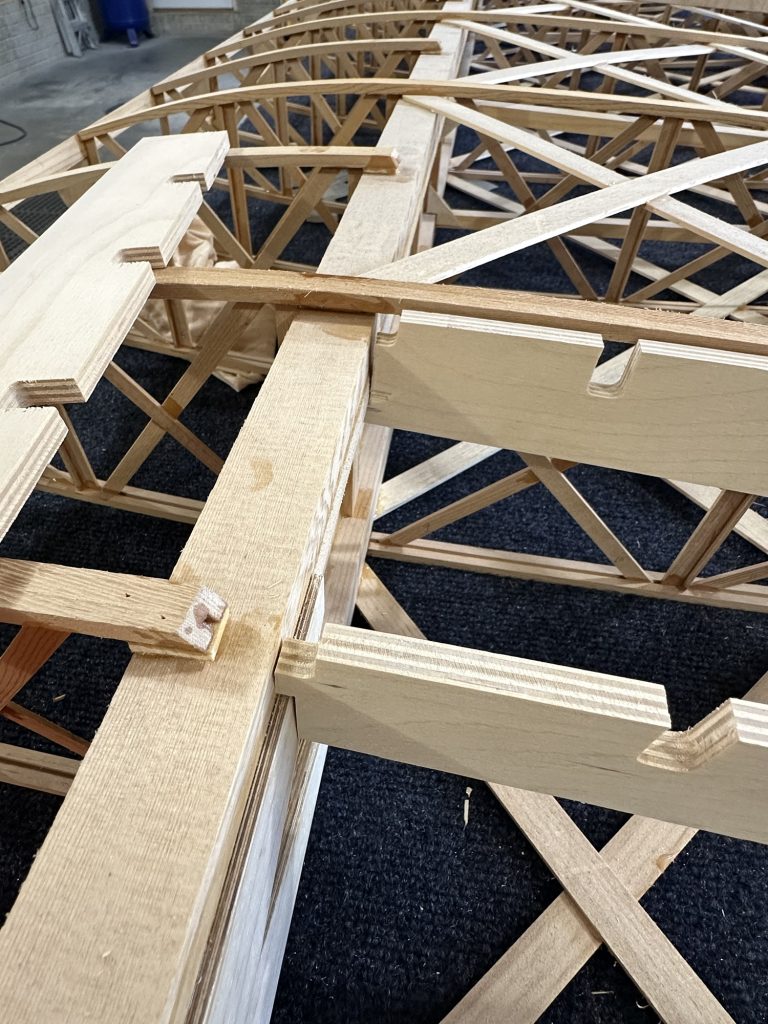
Next up were the notches for the cross braces. Most were too shallow and look to have been cut out with an end mill or router; the corners were rounded. I used a file to square up the corners and deepen the notches to fit the 1/2 x 3/4 pieces.

I figure I’ve got another hour or so of work to get all of the blocking and support in place before mixing epoxy. Probably more; I still haven’t figured out what I’m going to do about the extension of the walk forward of the main spar. If I build it to plans I’ll need to remove or hack up the first false rib. And of course the plywood pieces require significant modification.

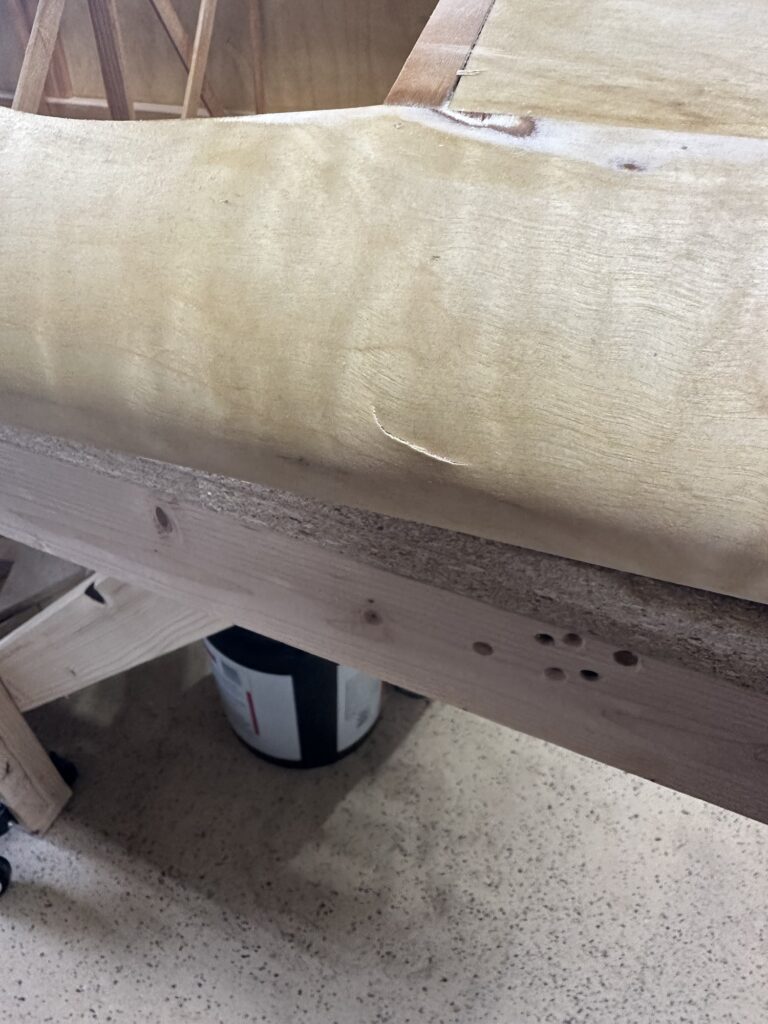
On the bright side, the plywood skin for the wing walk curves nicely and won’t be a problem to get glued down. I’d been worried about that, and had visions of needing to make my own laminated piece there, but it’s fine.

Corner blocking

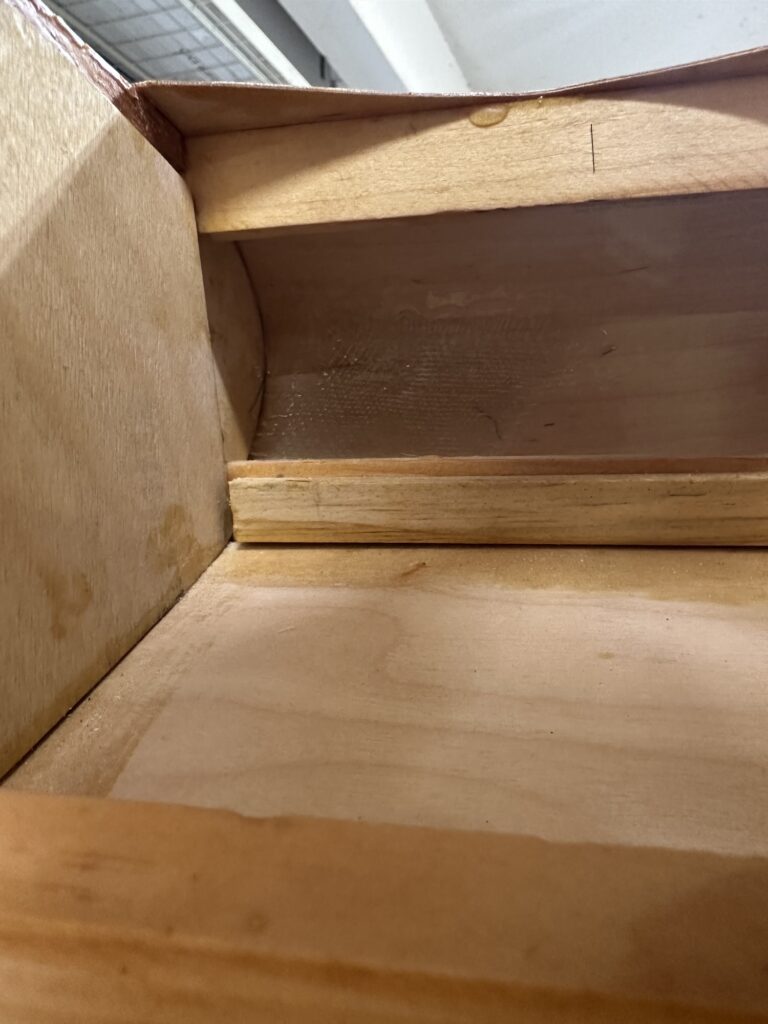
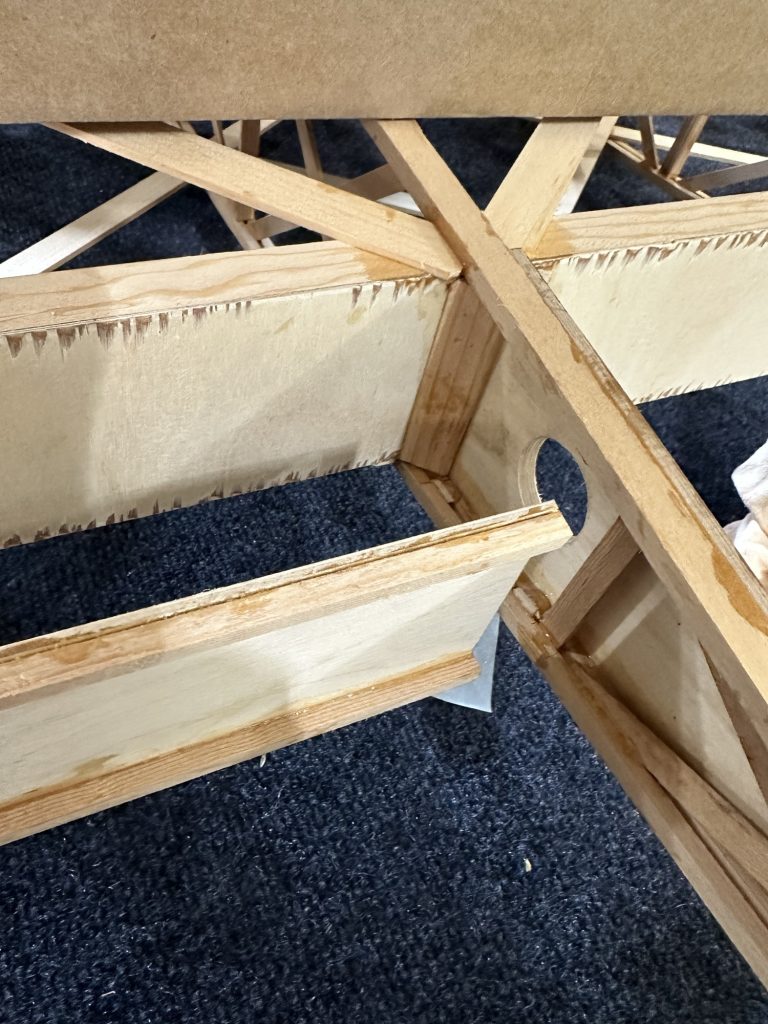
On the first wing I built, I had the aileron pretty much finished before realizing that I’d left out a bunch of corner blocking. It was a real PITA to add it in after the fact! So this time I paid more attention. Today I cut and glued in all (I think) of the corner blocking for the parts I have done. MUCH easier this way!!

Wing work – 2/16, and a better idea

Yesterday (2/16) I cut and glued in some corner blocking I had missed on each end of the aileron and the ends of the aileron bay. Lesson learned: that would have been a lot easier had I done it before the geodetic bits and plywood stiffeners had been installed.

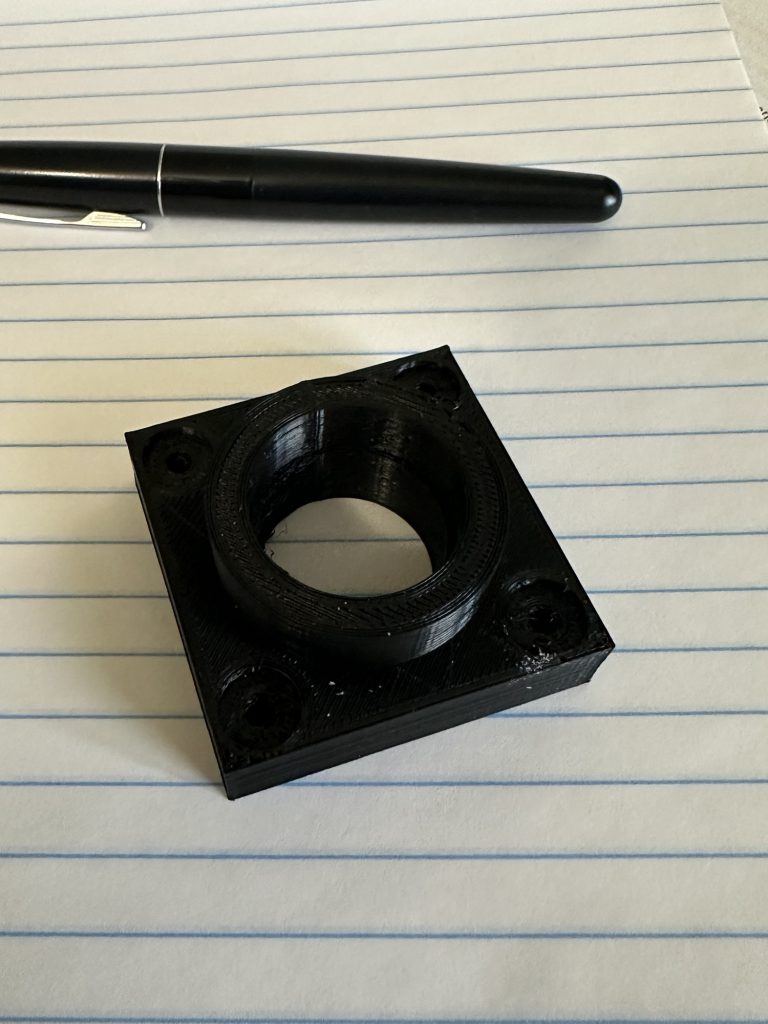
I’m getting to the point where I kind of need the torque tube bearing blocks installed. Then there are the 3/8” spacers, which the plans call out as pieces of PVC pipe. I figure, since I’m going to CNC machine the bearing blocks anyway, why not just make those and the spacers one piece? I pulled up the design in OpenSCAD and added the spacer. I gave it a slightly larger ID than the bearing block so it doesn’t add drag to the aileron control. I 3D printed a couple samples to use for fit & function testing. If that goes as expected I’ll get a chunk of 1” UHMW and pass the design file to Stu for machining. I’d planned to use some 1/2” UHMW I have for the bearing blocks, but I’ll keep that for now and use it for something else.

3D printed test part. It’s difficult to see but there’s a step in the bore for the torque tube.