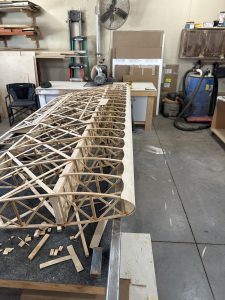
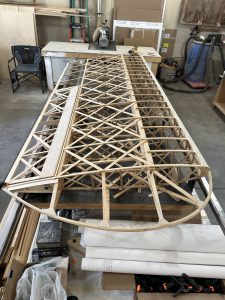
Aggravating complication

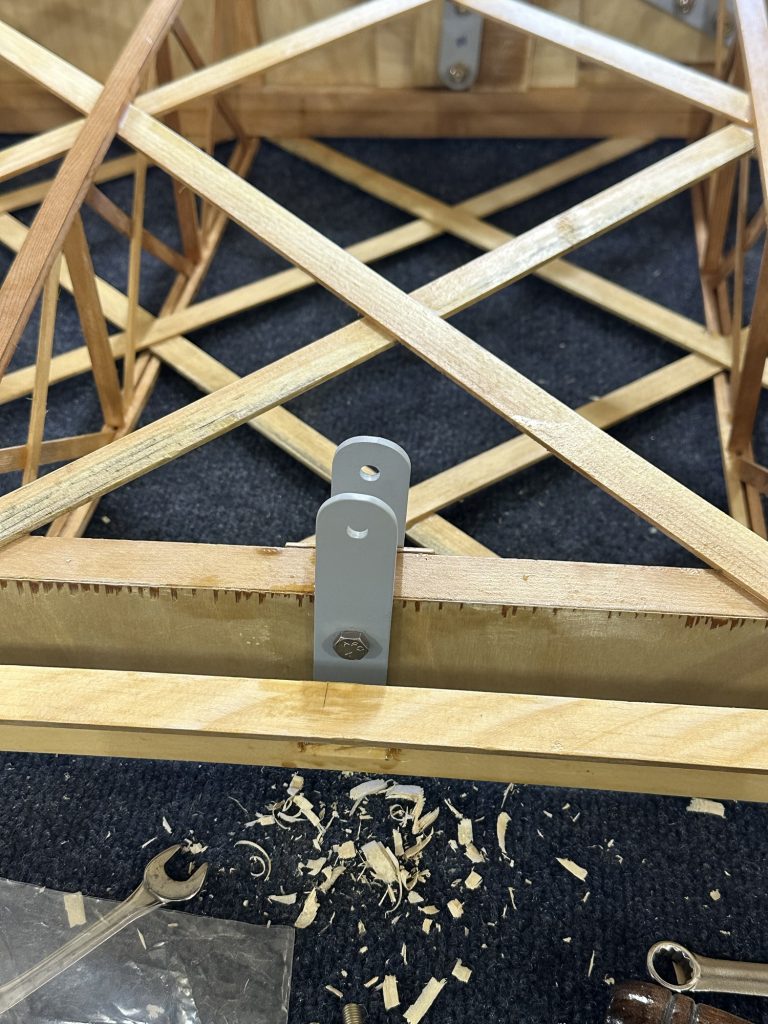
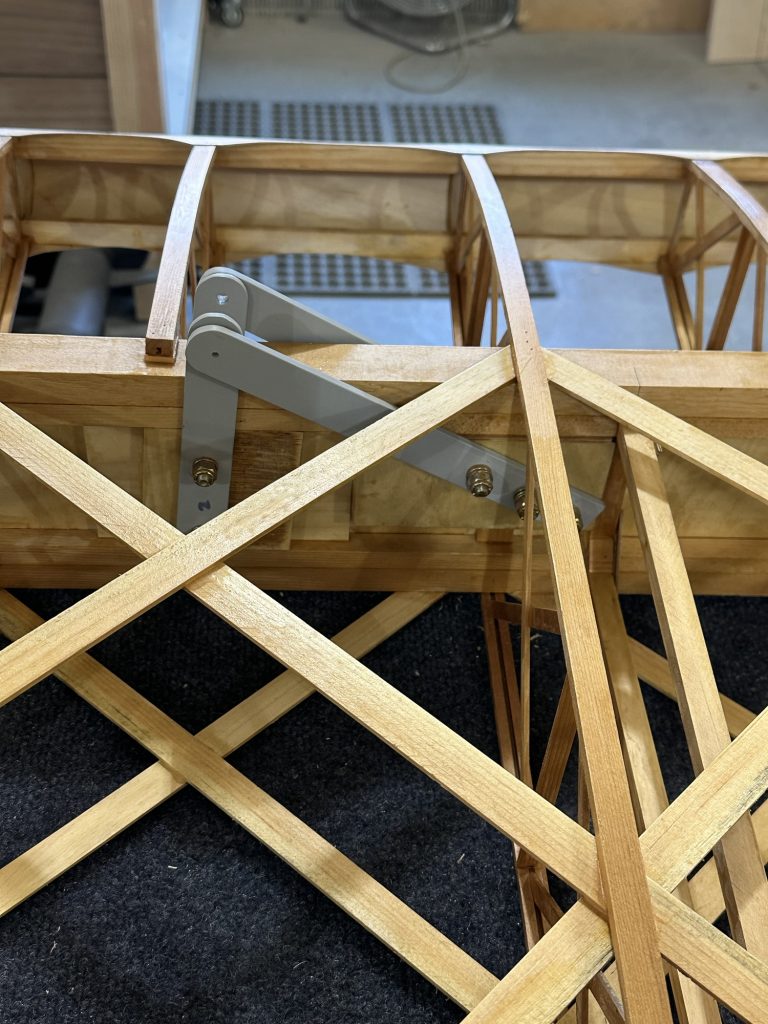
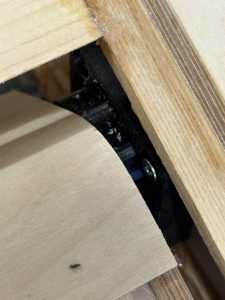
So, I found the plan supplement that talks about the aileron interference. Written in 2010 — seven years before I bought my plans — it notes that the rear spar was changed at some unknown point in the past, by someone, but never really documented, and the “updated plans will be sent out as they are available”. Which, apparently, they never were and probably still aren’t. Then it talks about plans delivered electronically (which they weren’t, and to my knowledge weren’t offered) having an updated sheet with new dimensions for the ailerons. It also says that this is only an issue with the upper ailerons hitting the CAW9 bracket. Uh, no. The lower aileron hits the head of the bolt holding the CAW3 bracket. There is one sheet that seems to show an upper aileron, with no dimensions to be seen anywhere. Wonderful.

So what’s their brilliant solution for fixing an already built aileron? Simply move it rearward to clear the bracket – this means take a hole saw to the wing to move the torque tube back in order to move the aileron. Then just cut off the trailing edge to match the rest of the wing, and sand all of the aileron ribs to match the contour of wing at the new location. Oh, and that’s probably going to remove enough rib cap material that extra bracing will be required… How many ways can this be wrong?

I get the impression that whoever wrote all of that has never actually built a Celebrity wing with 3/4″ rear spar caps. Meaning, whoever it was hadn’t built a Celebrity wing to check this stuff out since 2010. Come on.

I’m currently evaluating whether notching the lower leading edge of the aileron is an option. The actual aileron spar wouldn’t be affected, and the torque tube runs the entire length of the aileron, so it’s not like it could fold up and depart the aircraft. Still, I don’t want to weaken the thing and take the risk of cracking or anything, especially since this structure will all be under fabric and not easily inspected. Stu seems to think it wouldn’t weaken the structure, but he’s a carpenter and cabinet guy, not an engineer (and neither am I).

I’m going to have an actual engineer look at this and give me his opinion. I could always add a layer of 1/32 or even thicker ply if needed, but my gut feeling is that it’s not going to weaken anything enough to matter. In the mean time, I’ll keep pushing on, but this is kind of a kick in the nuts, to be honest. I’m sure a year from now I’ll look back and marvel at how little it actually mattered. I would feel sorry for anyone buying a set of plans now at over $3K and probably still not updated… I hope the new owners of the Fisher IP take the time to fix this kind of stuff.

Nearly there…

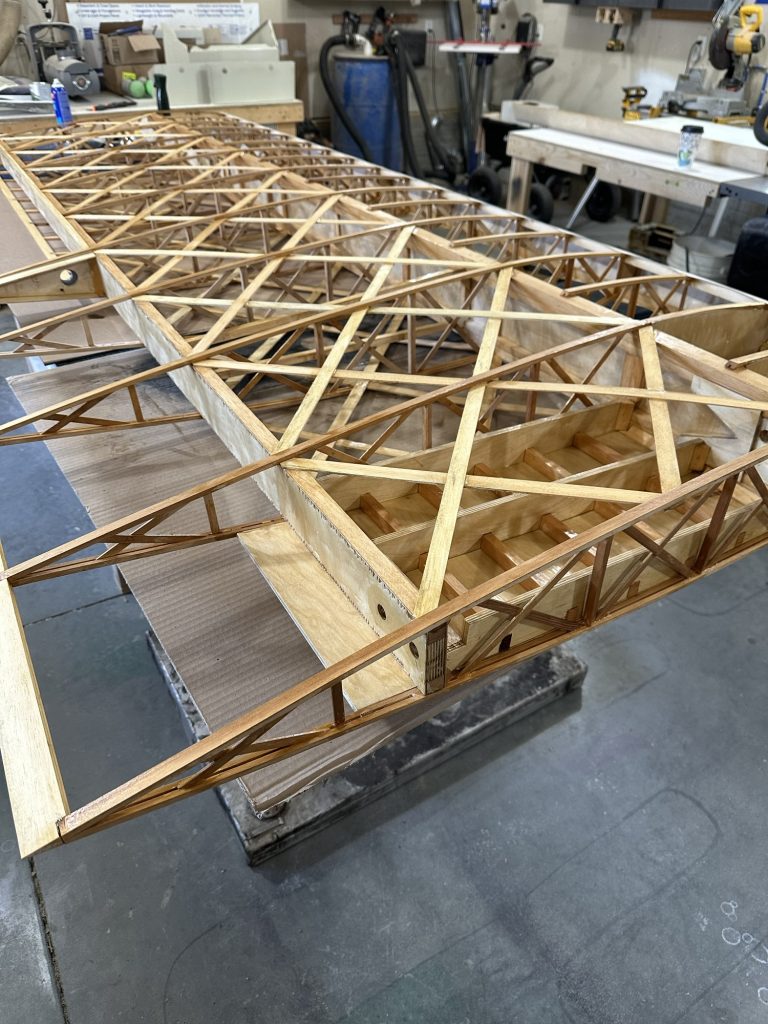
I keep finding little things that still need to be done on this wing. At least it won’t take as long to do the next one. I’ve been getting over there nearly every day, but the little bits of work here and there didn’t seem worthy of a complete build log post. But since the last update:

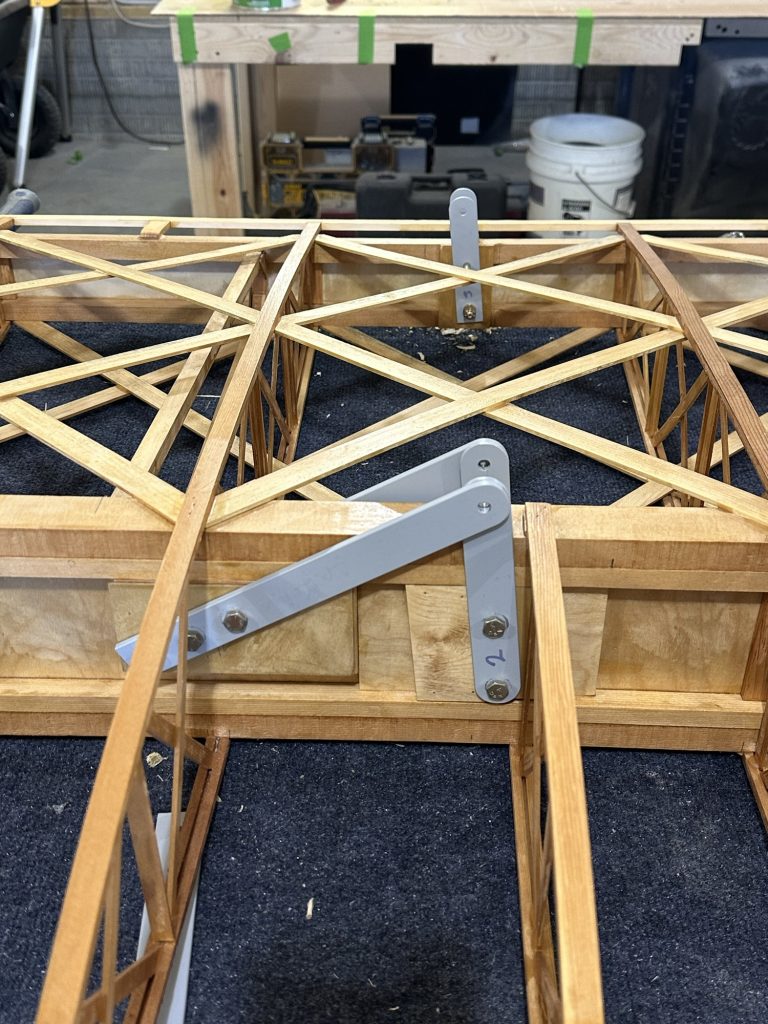
  • Cleaned, primed, and drilled the fittings for the upper/lower aileron pushrods
  • Located and drilled holes for the aileron bearing block screws
  • Managed to punch a hole in the aileron LE skin, and glued a patch over that (will need to smooth it out with some micro)
  • Worked to trim the upper aileron bay piece to get full UP travel on the aileron

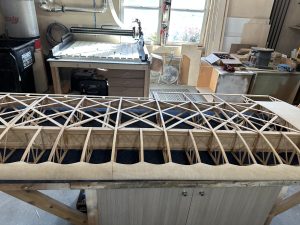
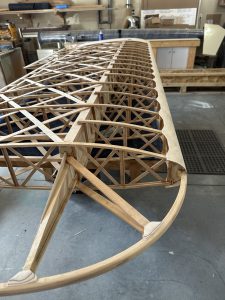
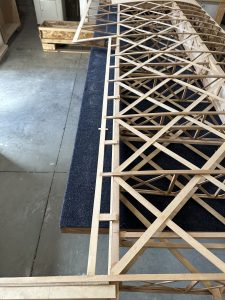
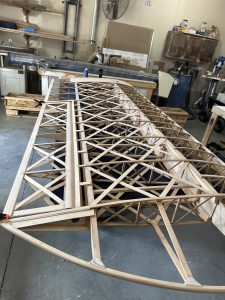
I also found that the aileron DOWN travel is restricted by one of the bolts for a fitting on the rear spar. I recall reading that the rear spar thickness was changed from 1/2″ to 3/4″ at some point, and that causes interference. The aileron should have 22 degrees travel in both directions; I get about 15 – 17 degrees down right now. It would be less if the aileron and wing were covered. I need to dig though the plan supplements and find the section that talks about that and see how to fix it. The obvious choice would be to notch the lower front corner of the aileron leading edge to clear the bolt head, but I’d really prefer some other solution… it sure would have been nice for whoever did the plan changes along the way to have properly documented this stuff on the drawings themselves, rather than just tacking on random pages with these “Oh, by the way…” notes (which are themselves occasionally wrong).

Brackets in place

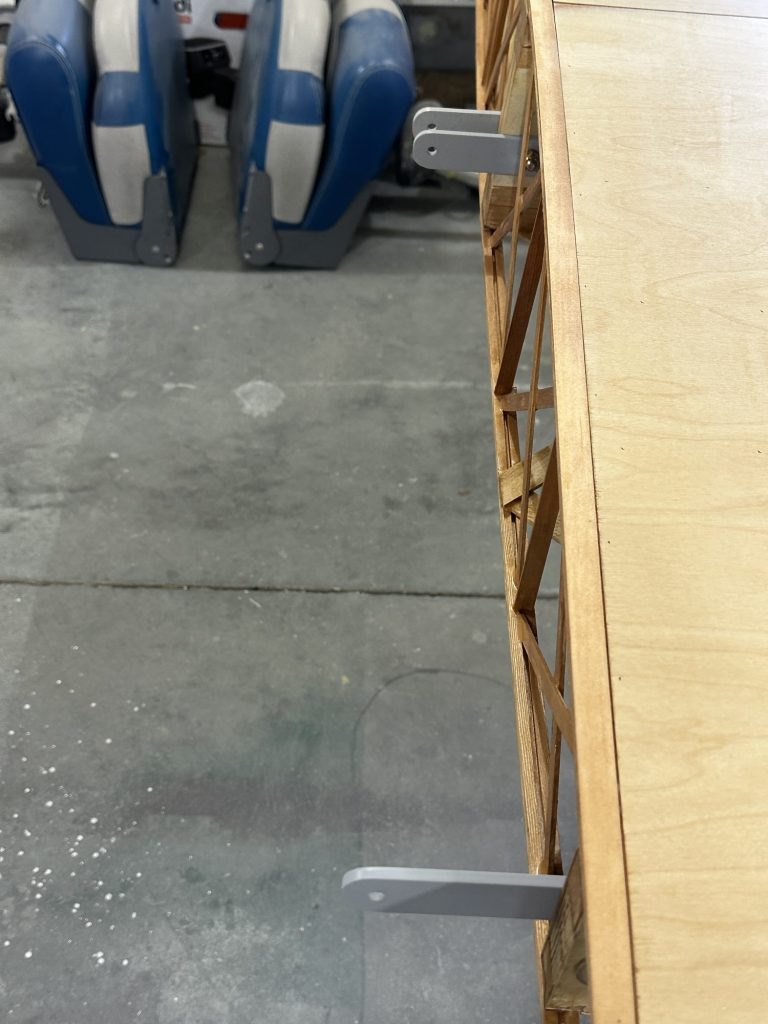
What I thought would be an hour’s worth of work this morning turned into 3-1/2 hours, but I’m feeling good about the end result. I went over to tighten up the bolts on the wing root brackets and install the brackets on the outer portion of the wing, for the N struts and landing wires.

Snugging up the bolts at the wing root went fine. They’re not torqued to spec, I’ll torque all of the bolts during the initial assembly and mark them all with Torque-Seal or some other witness marking paint. With those done, I moved on to the other brackets. I found that with the very slight variations in hole locations, some of the brackets needed a hole adjusted slightly to get everything lined up properly. It was also a real bear getting the bushings back into their holes after varnishing. Let’s just say there’s no play there… they’re fitted nice and tight.

In the end, I got all of them installed and everything lines up the way it should. I need to find one more AN4-16A bolt, but I think I may have one at the hangar. Next step, I think, will be to cut and fit the cover plates for the brackets where the fabric will be glued down where the brackets come through.

Catching up

I’ve missed a couple of updates to work done on the plane over the past week or so. I got the second coat of varnish on the wing, including the aileron. I got all of the bushings in place, and started to attach the various attaching brackets… oops! No torque wrench. And, I can only find one CAW9 bracket. I think I ran out of 3/16″ x 1″ 2024 flat bar stock before I got them all made; I need to go hunting and gathering again. Once that’s done I can finish off the aileron (the lower leading edge needs a pass through the router for its radius) and move on to varnishing the other wing.

More varnish

Man this stuff stinks. I got the wing about 2/3 done, I think. I brushed varnish on everything that I won’t be able to reach after I turn it right side up. Once that’s dry I’ll install the root brackets and flip the wing to finish it up.

Scallops and metal work

Today I had Stu help me mark the leading edge for the scallops, and got those cut. After getting home, I spent an hour or so rounding up and drilling all of the aluminum wing brackets I have cut so far, which is most of them — all but a couple, I think. I seem to recall I ran out of 2024 with one or two left to go. Anyway, I figure I should get them all done up. I’ll need to cut bushings, mount these, and get the fabric stiffeners cut and fitted — along with varnishing the wings — before calling these two wings “done”. Oh, and I’ll need to get the final torque tube bushings milled out and mounted.

Wing work thru 2/20

Top and bottom leading edge plywood has been scalloped. That wasn’t as big a chore as I thought it would be. We used a thin stainless scale to establish a curve between each pair of ribs, marked along it with a pencil, and cut the wood with a utility knife. Some cleanup with sandpaper and Bob’s your uncle.

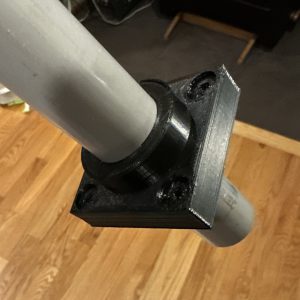
I’ve made a few iterations of the bearing block. Today I’ll print a couple more test pieces and I think I’ll be done. They fit great, the aileron is very well located, all in all I think it’s a lot more precise than a piece of plywood and a chunk of PVC pipe.

I’ve been preparing some of the wing attachment fittings. I have one or two of each part drilled with 1/8 pilot holes; I’ll use those to match drill the rest, then enlarge the holes for the AN4 bolts. The biggest question was hot wo round off the ends. For that I drilled a 1/8 hole exactly 1/2 inch from the disk on my disc/belt sander. Now I can use the tail end of a drill bit as a pivot pin and put a nice radius on the end of the fitting. I’m glad I kept my gray Scotch-Brite wheel on the bench polisher; it makes quick work of cleaning up the ends of the AL bars.