Stacking them up

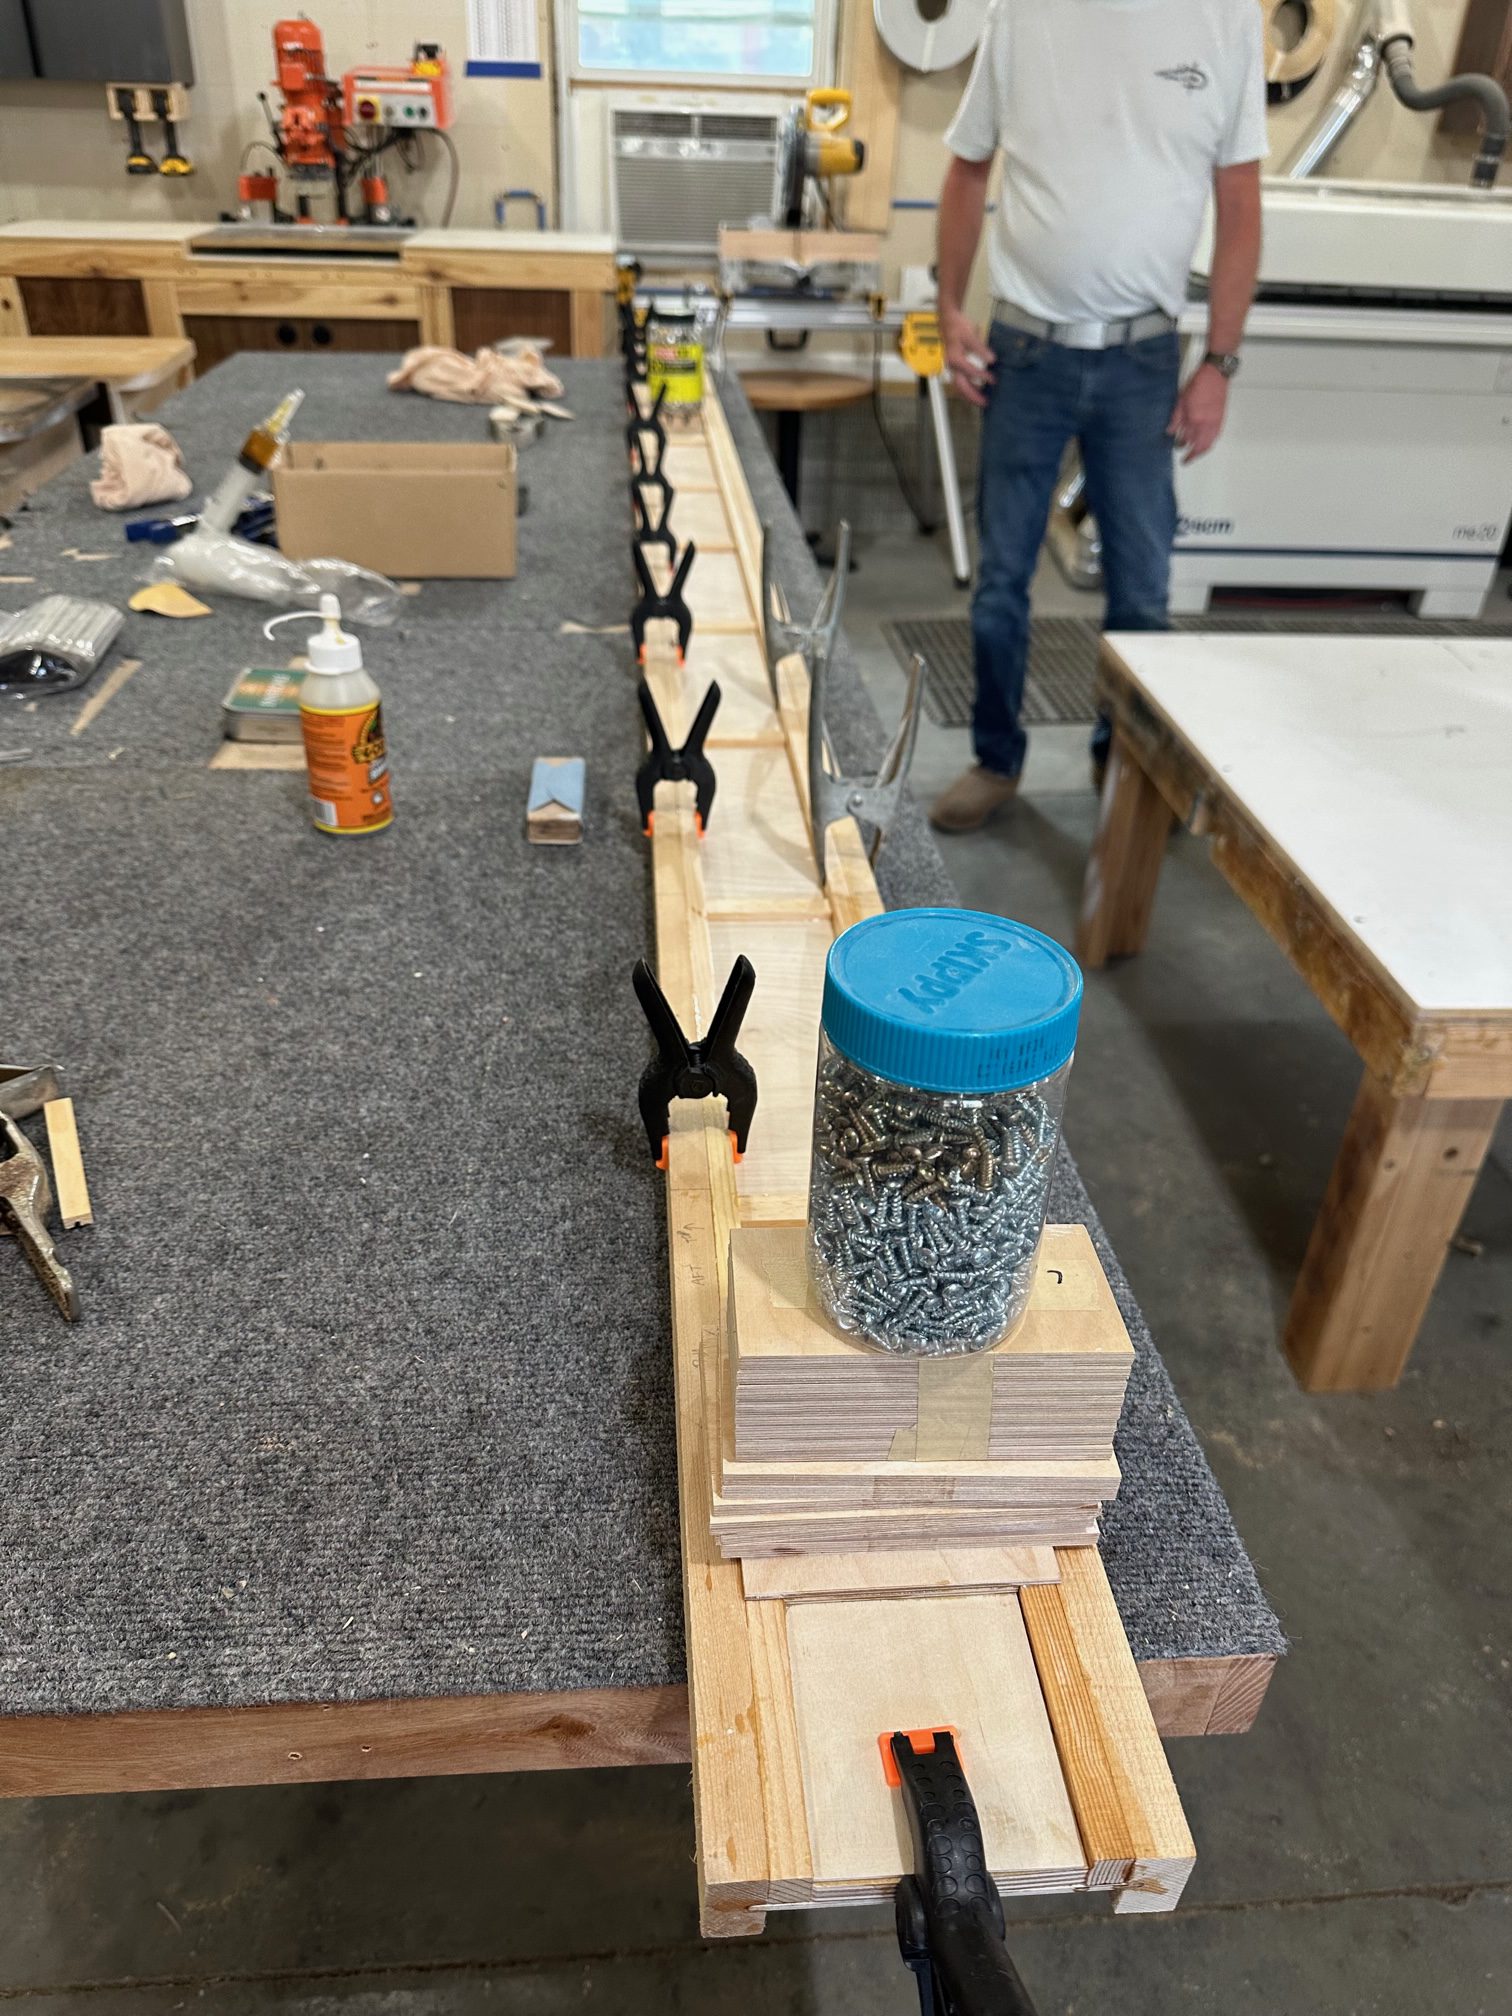
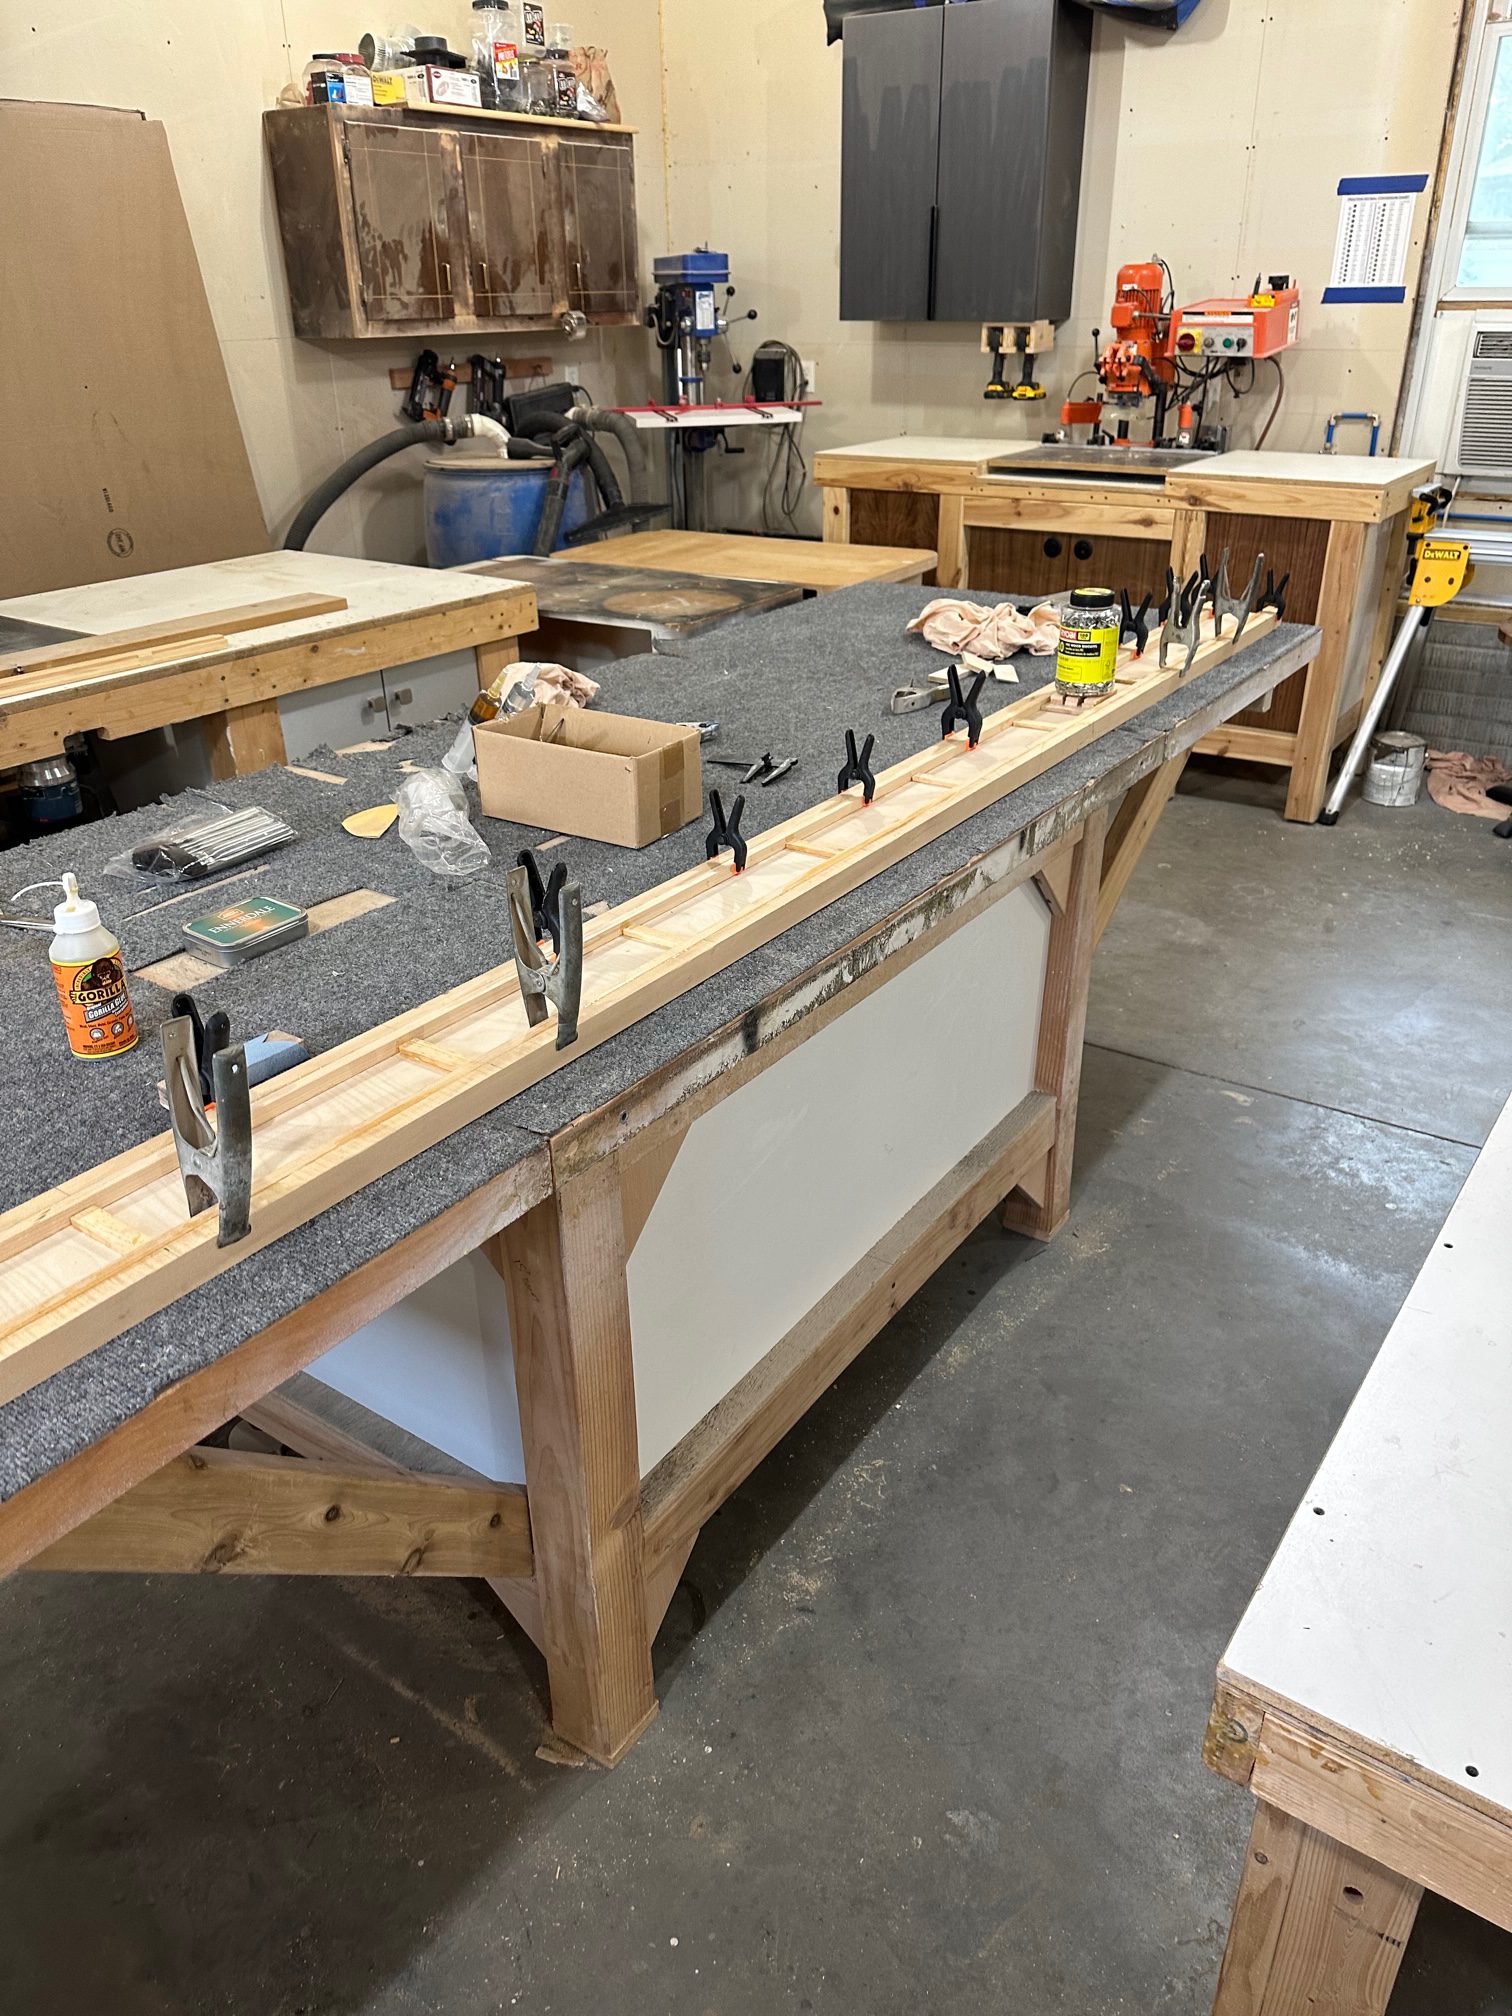
Nothing new, but last night I gathered up all 47 full ribs and stacked them up, carefully aligning the cross pieces for the main spar, aft spar, and nose spar.  I was a little concerned about the amount of variation I might find, considering the ribs came out of two jigs over a period of 20 months.  I was very happy to see that there’s no more variation than could be attributed to wood thickness.  Less than 1/64″, probably under .025″ anywhere along any of the ribs.  Then I stacked up the dozen false ribs I have done so far, same story. 

Wait – 47 full ribs?  Yes, it seems somewhere along the line I must have lost count and built one extra aileron rib.  I’ll either keep it around as a wall hanger/test piece, or maybe stick it under the wing walk for a little extra support.  I’m not sweating it.

This exercise has also reinforced my idea to build a sled for the table saw to lop off the ends of the ribs for the leading and trailing edge pieces.  They are very highly consistent, as they should be, so I think that will save time and make subsequent assembly steps easier.

The bad news is — my T88 epoxy is junk.  I refilled the dispensing syringes and the resin looked a little “off”, not perfectly smooth and clear as it usually is.  Maybe a little cloudy and with a different texture.  I mixed up a small amount and glued up some test pieces.  Where I glued the flat sides two sticks of capstrip together, the joint held well and pulled apart well into the wood.  However, where I had glued a couple pieces of geodetic brace into the slots, the glue joints failed allowing the braces to pop out without breaking.  The glue also was not clear and hard, as it should be, but had an almost grainy or mealy texture to it.  I don’t have any trust in the remaining glue in those bottles.  I’m certainly not going to risk using substandard adhesive to save about $20 worth of epoxy!  Into the trash it goes.  I have two new bottles here, and half a dozen new 60cc syringes on the way from Amazon.


Back to working in pairs

I finally went out and got the second rib jig from the garage and brought it down to the basement.  Ribs 24 & 25 are now curing, they will be ready to pull tomorrow evening.  My new routine:

  • Put the first jig on the bench.  Cut all the pieces fro one rib and set the geodetic pieces above and below the rib caps, ready to glue.
  • Stack the second jig on top of the first, cut all the pieces for it.
  • Mix up enough glue for both ribs (14cc seems about right)
  • Glue up the rib in the top jig and set it aside.
  • Glue up the rib in the bottom jig.

Double the completion rate.  I’m out of pre-cut geodetic pieces, so now I”m marking and cutting them individually with a razor saw.  It doesn’t take much longer, really, and each one is cut exactly to fit.

I’m almost out of pre-curved top capstrips.  The comments on the plans say you can bend the spruce dry and glue the ribs.  I don’t like the idea of having that much tension on the wood.  The nice thing about working indoors, though, is that I can keep hot water hot longer.  When I run out of pre-bent pieces, I’ll try the hot water bend method again.  In the garage the water cooled off far too quickly.  In the basement, I can get REALLY hot water in a capped length of PVC, and keep it hot long enough to soften the capstrip.  System 3 says T-88 works fine on damp wood…  I’ll try that and see how it goes.

Another rib

Just so I could feel like I’m not totally stalled, I built rib #15 this weekend.  6cc of glue turned out to be just about right, with no skimping and very little excess.  The new method of mixing and applying the epoxy with an acid brush worked out well.  I think I will go back to an earlier idea I had, of pre-wetting the groove with glue before putting the top and bottom capstrips into the jig.  It will be easy to do with the brush, and will save some assembly time.  I have a template with pencil marks defining where the glue should go; I think I’ll mark the glue lines along the bottom and top of the jigs to make it easier to apply the glue.

Mixing epoxy

I’ve been mixing epoxy in the little plastic medicine cups using “craft sticks” (think Popsicle stick).  I thought I was doing a pretty good job of stirring, spending some time scraping the sides and swiping along the bottom corners of the cup to ensure everything was mixed up.

Last night I mixed up about 2 cc of epoxy, mostly just to try out my new syringe dispensers.  I let it sit in the cup with the stick propped up in the center.  Today I popped the slug of glue out of the cup.  Lo and behold, there are sticky spots around the edge!  Nearly all of the glue is perfectly hard and cured, but there is just a tiny little bit of uncured epoxy right around the bottom edge.  Apparently the stir stick is not a good tool for making sure ALL of the material gets mixed together.

In light of that discovery, today I did another 2 cc sample.  This time I did the mixing with an acid brush with the bristles trimmed down to about 1/4″ to 3/8″.  After mixing I cleaned the brush out with a little MEK, just to see if that would be worth doing or not.  We’ll see how that one turns out after the epoxy has had a chance to cure.  Acid brushes are pretty cheap, so even if the MEK cleanup doesn’t work out it’s not a big deal.  You can buy the brushes by the gross for around $0.12 to $0.15 each.  But what will I do with about 950 craft sticks?  Good thing I have grandkids.


Prep work

I’ve been away from building for a while dealing with a remodeling project, the annual condition inspection on the RV-12, Oshkosh and few other odds & ends.  At Oshkosh I discovered that the wood shop guys had actually saved my miniature wing rib from last year (2016).  I brought it home with me, of course.  Last night I pulled the staples, cleaned it up and sanded it, and gave it a coat of clear polyurethane.  I figure it will make a nice wall decoration for my office.

Last night I also started cleaning up some of the enormous mess in the garage so I can get back to building.  I’m not quite there yet, but tools are slowly making their way back into drawers and onto pegs.  It may take a few more days, but it will be nice to get back out to a garage that’s not a complete disaster.  There are 14 wing ribs hanging on the wall, and the guy on the Biplane Forum is catching up with 11 finished.  He can work faster, since he can pull his ribs out of the jigs as soon as they are stapled.  I need to step up my game!

I did pick up a good idea from that discussion — using cut down acid brushes to mix & apply the epoxy.  They’re cheap, and it looks like I might be able to get more precise application of the glue where it’s needed, in the amount needed, with good penetration into the wood grain.  I’m anxious to try that, I have a handful of brushes here.  And, I got some of the epoxy  into 60 cc syringes so I can dispense exactly the same amount of each component.  I know it’s not terribly critical with T-88, but I still want to be as accurate as I can.

Bending more capstrip, and glue efficiency

Last night I tested out the upgraded steam box door with an hour of steam.  While that was going on I grabbed a chunk of scrap 2×4 and cut a second bending form.  I wasn’t happy with only being about to bend three lengths per run of the steam box.  I really need a better blade for that band saw…  this one is cheap, and while it will claw its way through a 2×4 it’s not something I would want to do regularly.

But — I have two bending forms, which means I can now do six lengths of capstrip at a time, so I won’t run out as often.  The steamer seems to work pretty well.  It’s not quite as perfect as if I had attacked it with a planer, jointer and an attitude of complete professionalism…  but I don’t have a jointer or planer, and even if I did what that steam would do to cheap flat sawn boards would be a real downer.  It works.

On the last several ribs I’ve been taking a different approach to gluing.  Early on I found that trying to glue up two ribs in one night meant working with epoxy that was starting to get a little stiffer than I would have liked.  I was using a popsicle stick to carefully spread glue in the groove, then on the braces, and assembling.  I was also having to fit each brace piece as I went along.  Each rib seemed to want about 10cc of glue, but I was getting a fair amount of it running down onto the plastic on the jig.

Now I pre-fit all the braces and mark them with their location.  I mix up the glue, dip the ends in the glue and put them in place.  I can work a lot faster and make less mess.  I’ve been seeing more left-over glue than I would like, as much as half what I mixed up.  I think about 7.5cc of glue per rib is more than enough.  I mixed 15cc for one pair of ribs and only had a little left over.  I’ve also been more careful about the glue mixing.  I had the ratios close enough to work well, since T-88 is not too critical.  Still, the darker B component was getting used faster than the A, and that tells me I’m not getting it completely right.  The stuff is pretty viscous, B much more so than A, and it takes a while to level out in the mixing cup.  Now I’ve been squeezing the B part into the mixing cup and walking away for a few minutes while it levels out.  Then I add the A component, walk away again, check back in a couple of minutes.  I can get it dead on 50/50 that way.  I may see about building a 100:83 balance scale to get it even closer.
 

Fixing up the steamer

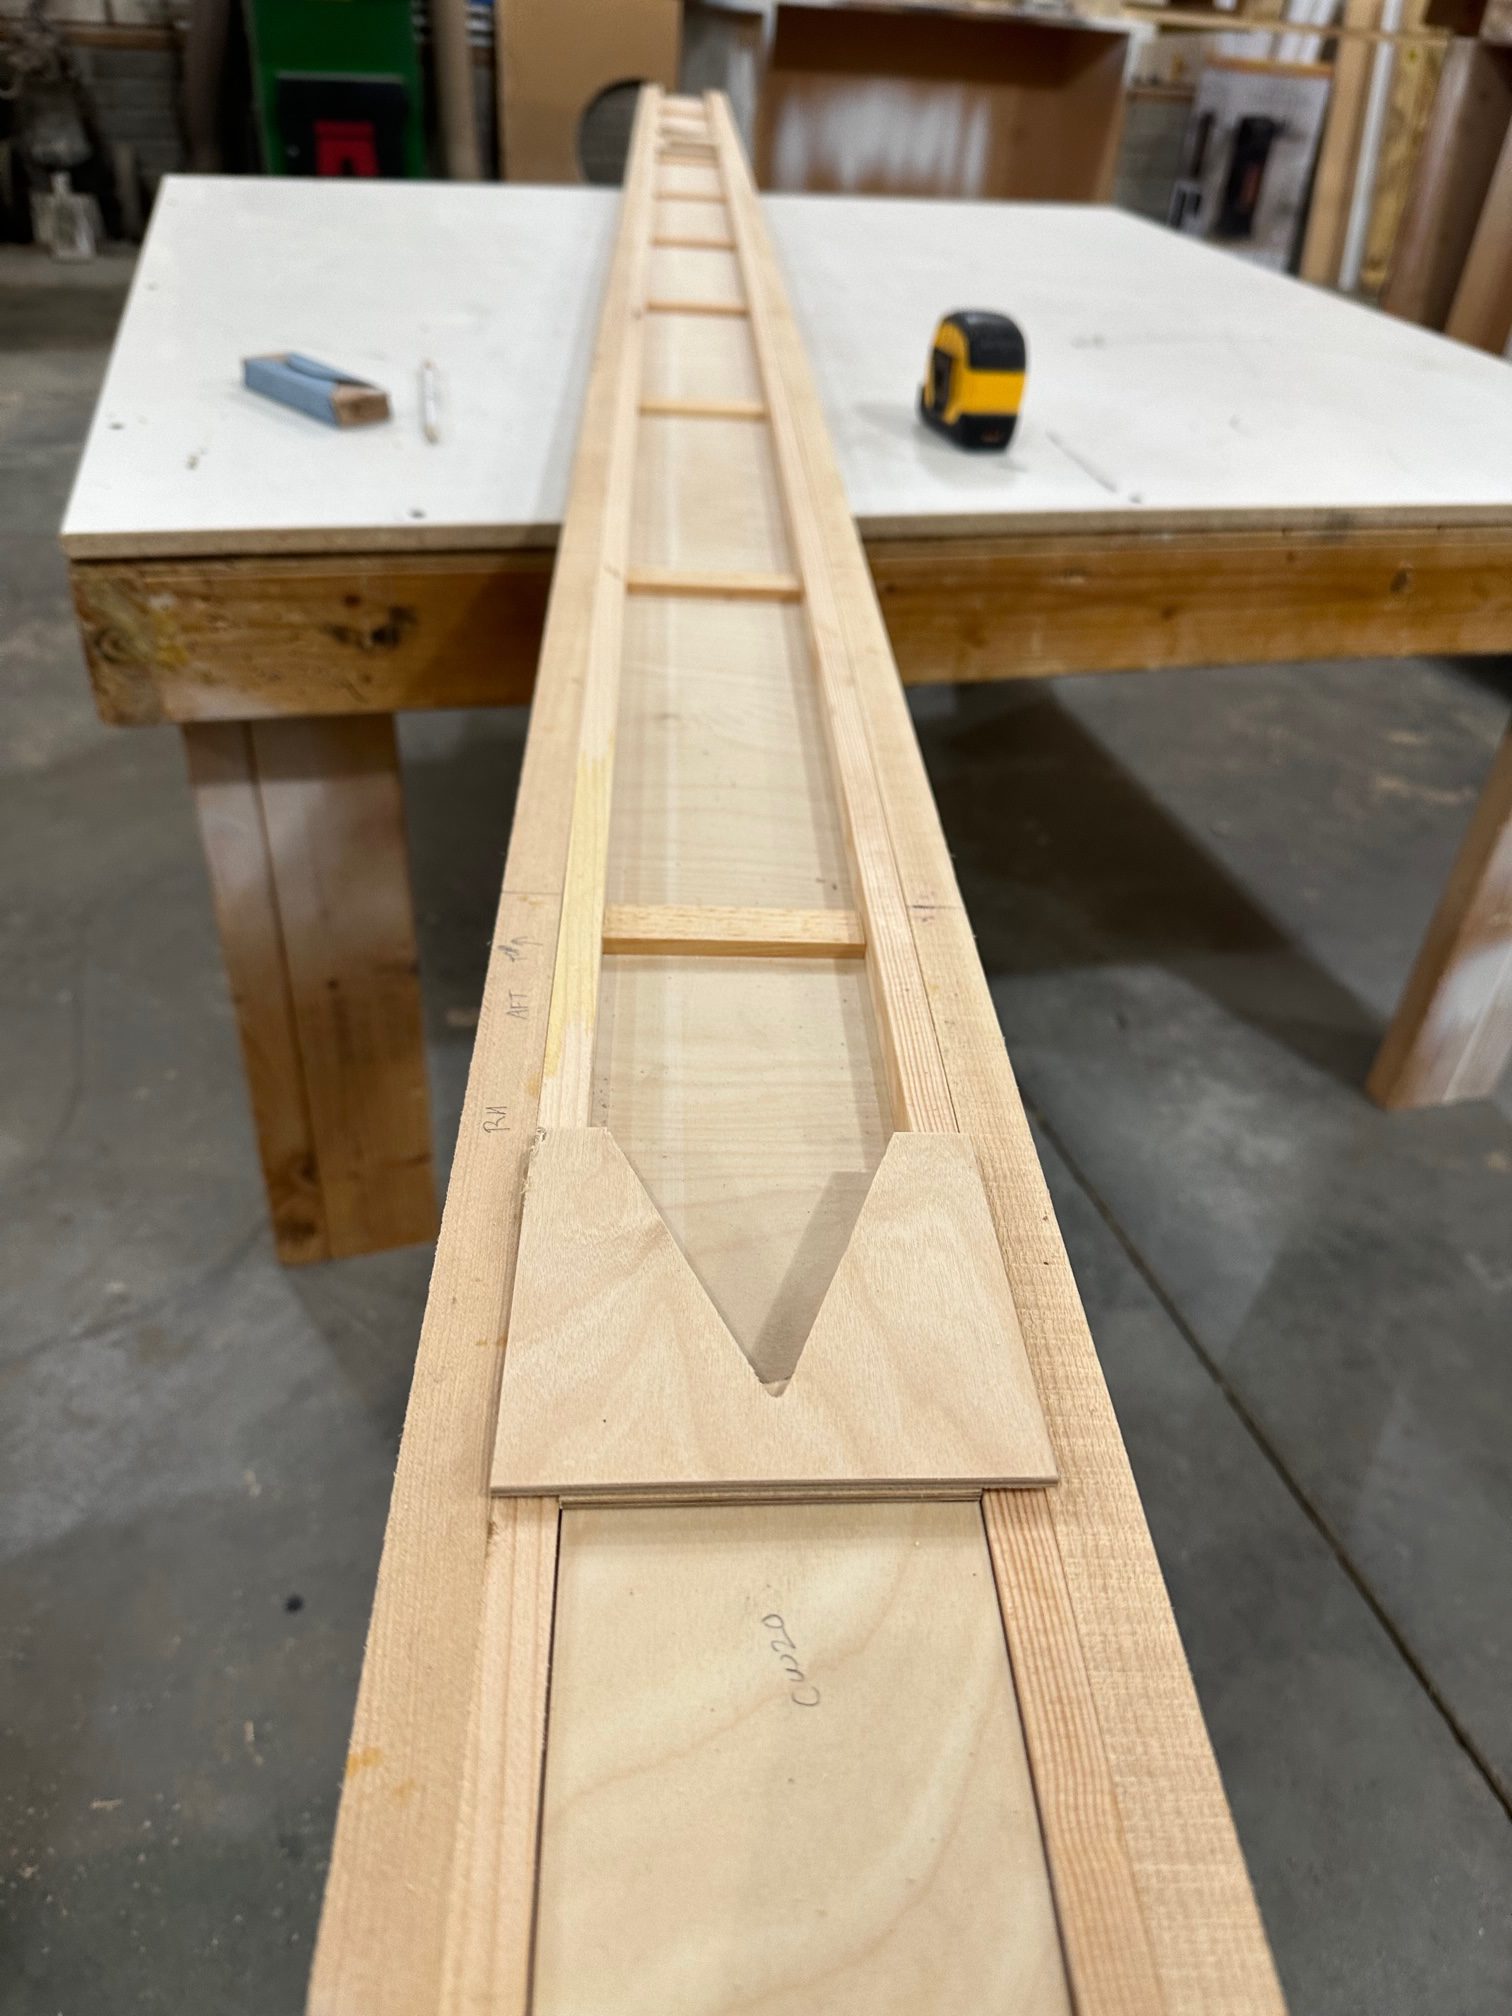
I built two more ribs last night and took them out this morning; I’m up to 14 now.  I’m trying to 3D print some clamps too use on one of the jigs that has locating blocks too thick to use the small red sprig clamps I bought.  of course first I have to fix the 3D printer…

When I used the steam box, the door warped — no, curled outward.  I flattened it out, but because everything isn’t perfectly square it really only fits on one way so I can’t just flip it over.  Tonight I cut a couple of 3/4″ square stiffeners and epoxied them to the outside of the door.  I need to bend some more pieces of capstrip, and I can’t do that until the door is usable.  We’ll see if this is enough or not, should be interesting at least.

Fixin’ and cookin’ ribs

Last night I glued the two separated ribs back together.  I cleaned off/out all of the old epoxy, sanded everything clean, mixed up some new T-88 and brought them in overnight.  Just to be extra sure of a good glue cure I’ve got them warming up under a heating pad.  I took one of the others to the EAA chapter meeting, no one seemed to see anything wrong with it…  although the reaction varied from “Wow, that’s cool” to something closer to “You’re nuts, why would anyone do that?”

It’s cold, I’m not looking forward to the next session of shaving down geodetics for the next batch of ribs.  I’ll have to go out tomorrow and do it though.

A little setback

This morning I went out to check on the two ribs I had glued last night.  The epoxy was set, but just a little “tacky”.  It’s pretty cold out in the garage, as the outside temperature has dropped into the 20s and low 30s.  I figured it was cured enough to be OK, and pulled the ribs from the jigs so I could compare the first rib out of the new jig to the others.  It’s a perfect match, so I set them on the bench and went inside.

A couple of hours I went out again to do some cleanup.  I found the two new ribs had pulled apart at the leading edge!  The glue was still pliable enough that the “spring” from the wood very slowly (judging by the long strings of epoxy still joining the pieces) pulled them apart from the main spar forward.  Fortunately I caught it before the glue had completely finished curing.  With some wiggling I was able to remove the geodetics from the capstrips and clean off as much of the excess epoxy as possible without carving into the wood.  I put the ribs back into the jigs, and will re-glue them tomorrow.  I’m pretty sure I can salvage and repair these two, but if I’m not 100% confident in them they’ll be scrapped.

I really want to figure out an arrangement to steam the capstrips.  Soaking in cold water doesn’t really seem to do much good, which is why I had not pre-bent these.  Trying to soak them in hot water works for about 10 minutes until it’s no longer hot water.  Two out of the six or eight I’ve bent in my former have split during that process.

Second jig built

Yesterday I did a little shop cleanup.  Not a lot, just enough to get done what I wanted to do.  I cut a length of 3/4″ x 3/4″ pine and cut a bunch of 1-1/2″ blocks for the second rib jig.  I got the work bench partially cleared off.  The box from the R/C Cub went underneath, and the plans sheet and wings were moved to one end of the bench.  I now have roughly half the bench covered by model airplane wings, while the other half is being used to build the real thing.  ‘Murica, as my kids would say.

So, I built the second wing rib jig.  I used the first rib from the first jig and blocked everything up.  I used some plastic sheet Lisa had picked up underneath it to prevent the glue sticking things together.  When it was all finished, I mixed up 20cc of epoxy and glued up two ribs.  That’s going to work as long as it stays cold, but the glue was gelling by the time I was finished.  If it warms up at all there won’t be time to do two at a time, unless I can find a way to pre-glue the capstrip grooves a lot faster.  I wonder if thinning out a portion of the T-88 and brushing it into the grooves would work.  For that matter, I wonder if pre-gluing the grooves is even necessary.

This morning I pulled both ribs from the jigs.  You can’t tell them apart, and you can’t tell them from the other four I had done.  Any differences between the six ribs I have done are slight enough they can be removed by sanding.  So, now I can double my production rate.