Wing walk extension

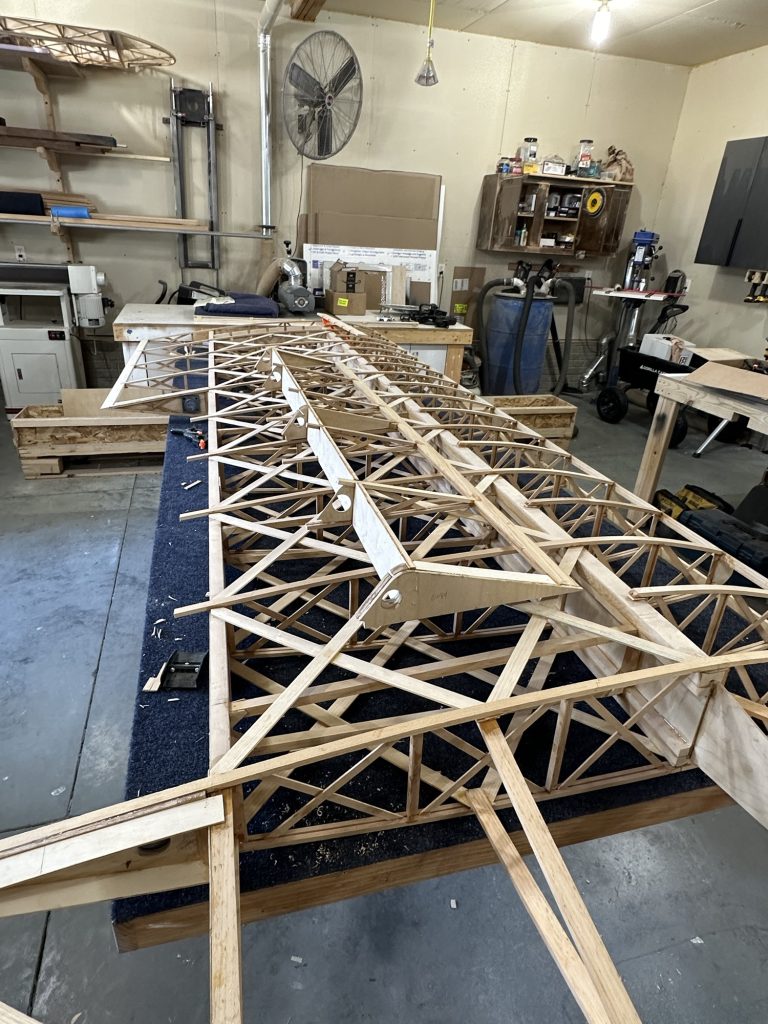
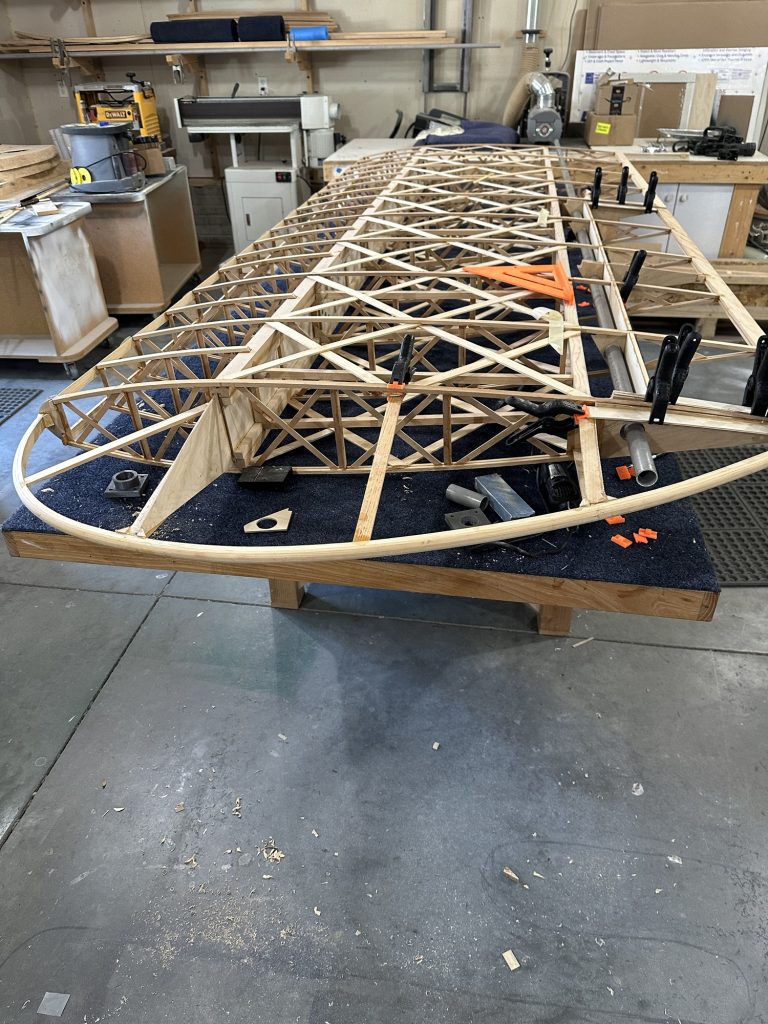
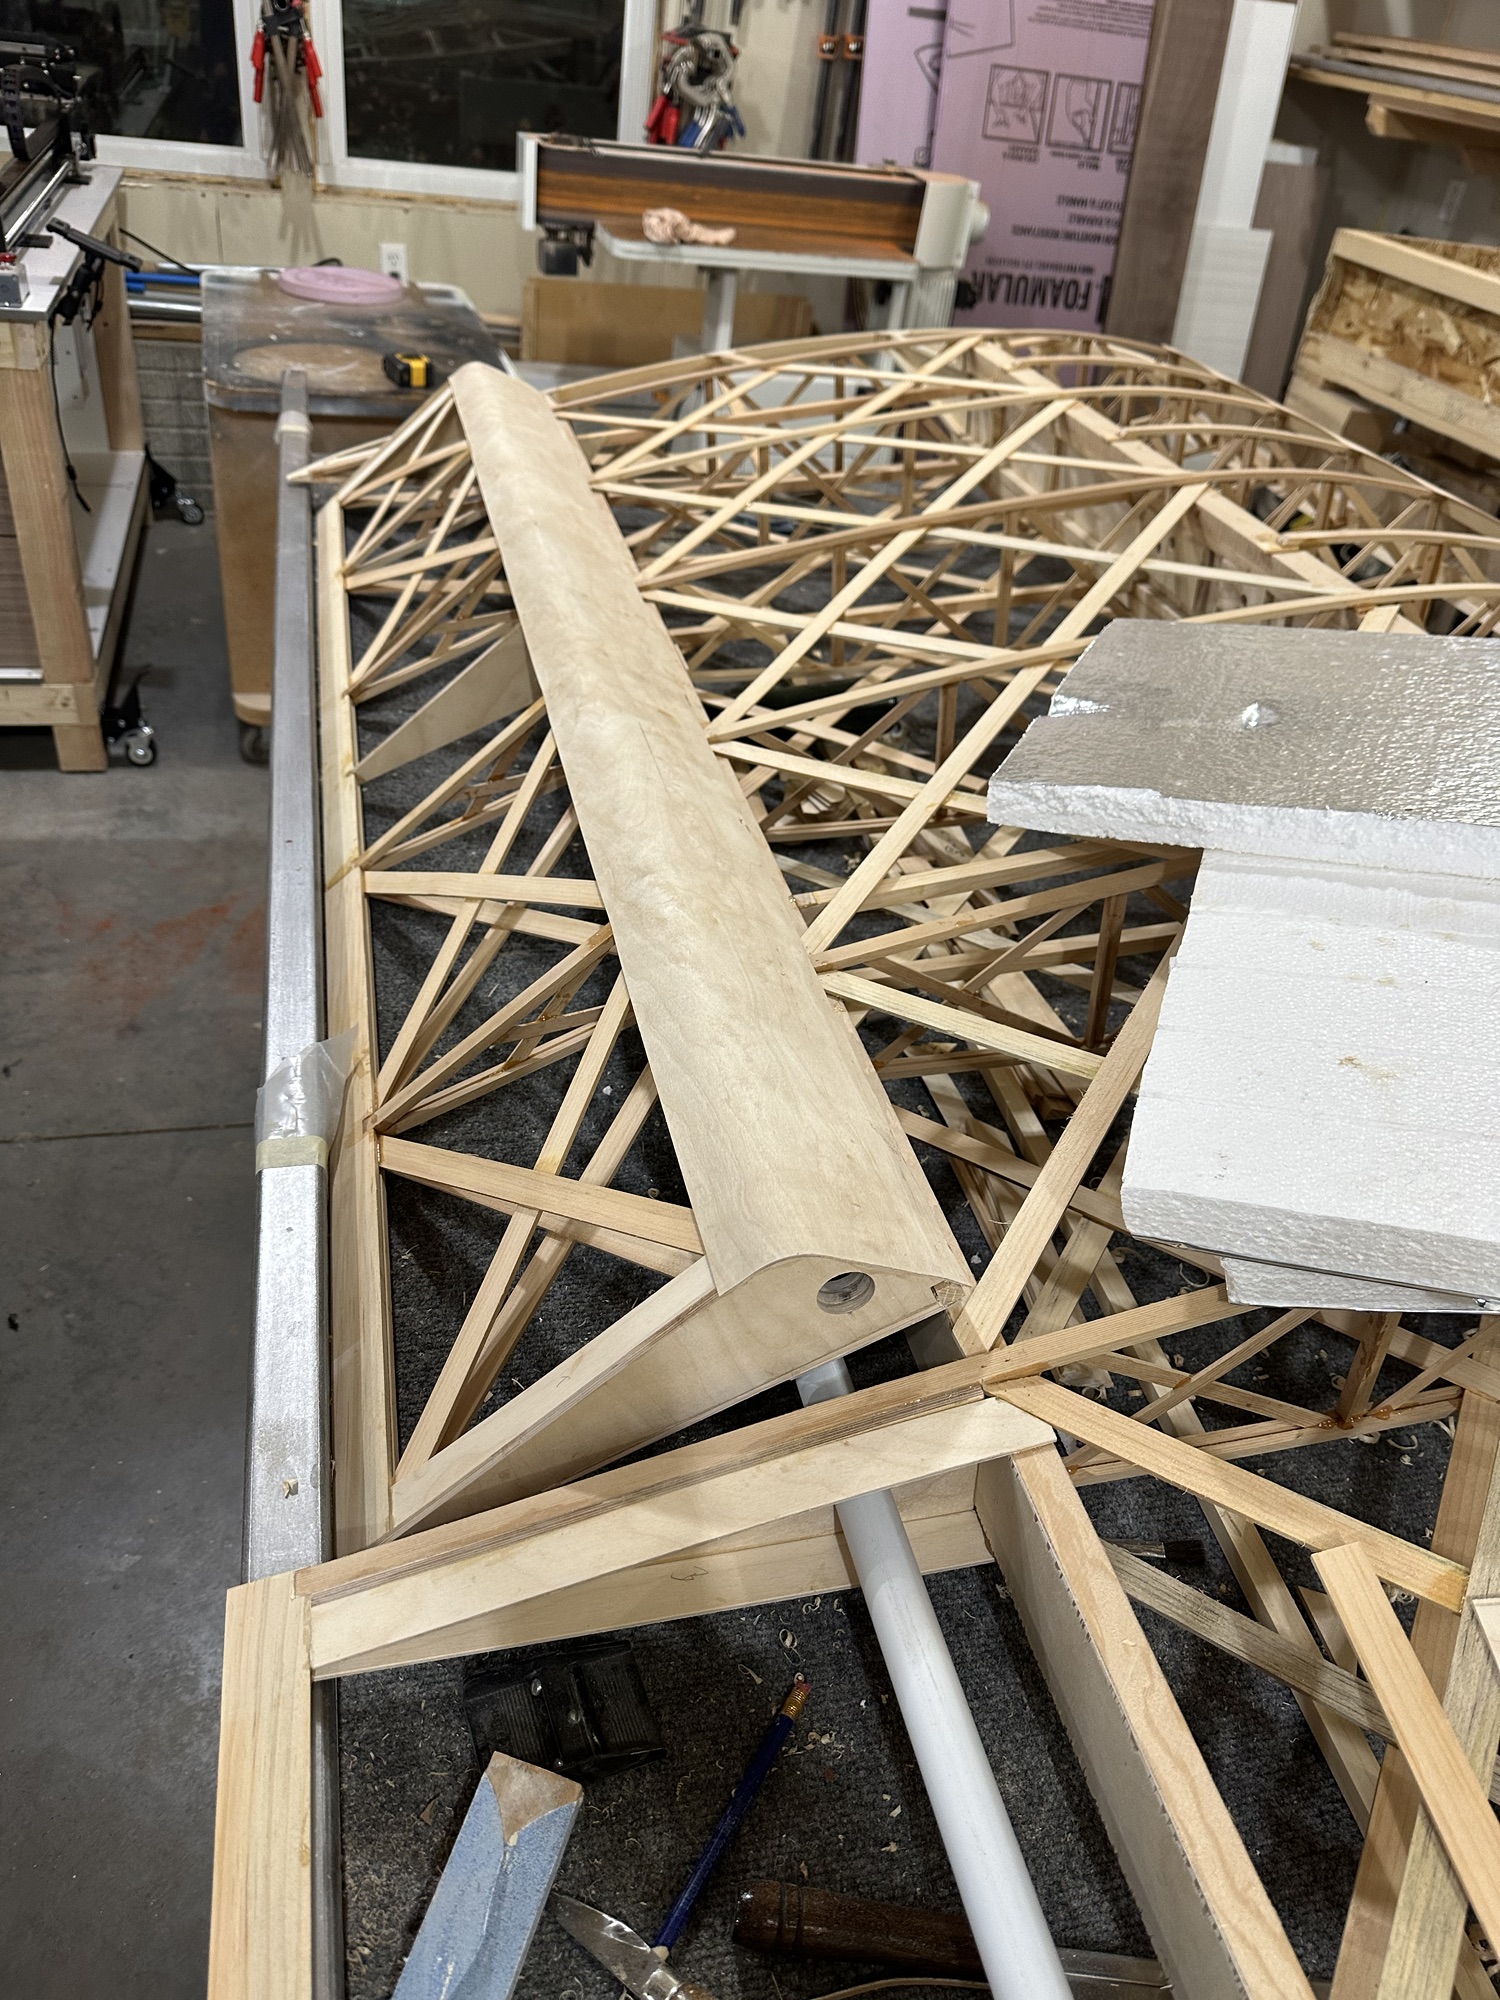
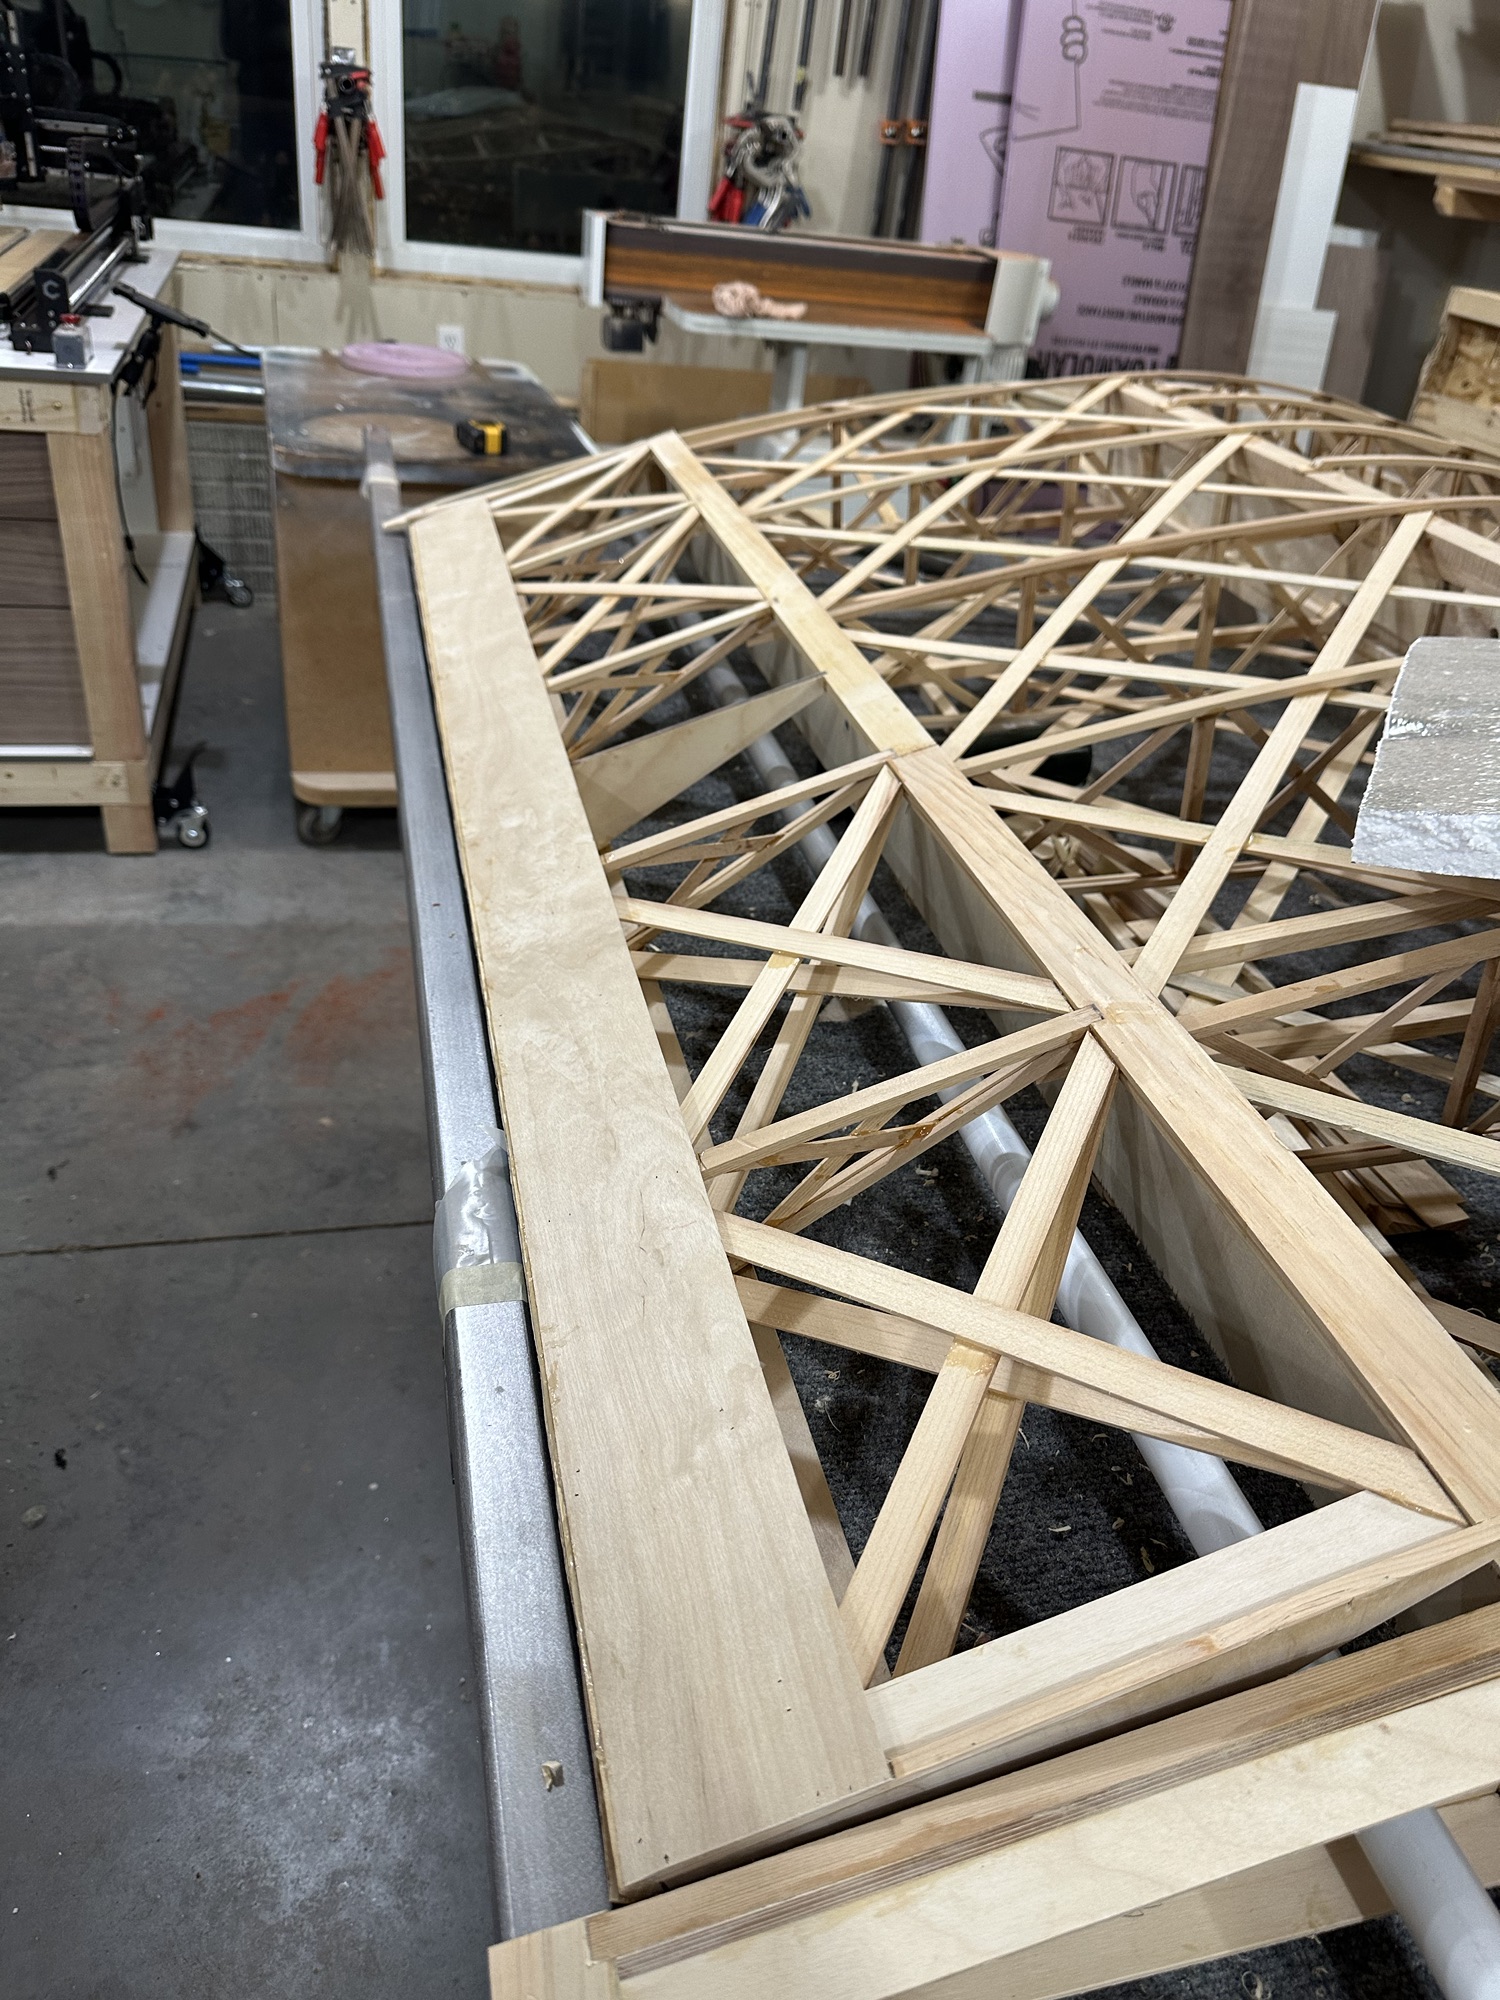
This morning I went over to check on the work I did yesterday. The main portion of the walk structure looks good. I still needed to get the extension (front portion) ready for the skin.

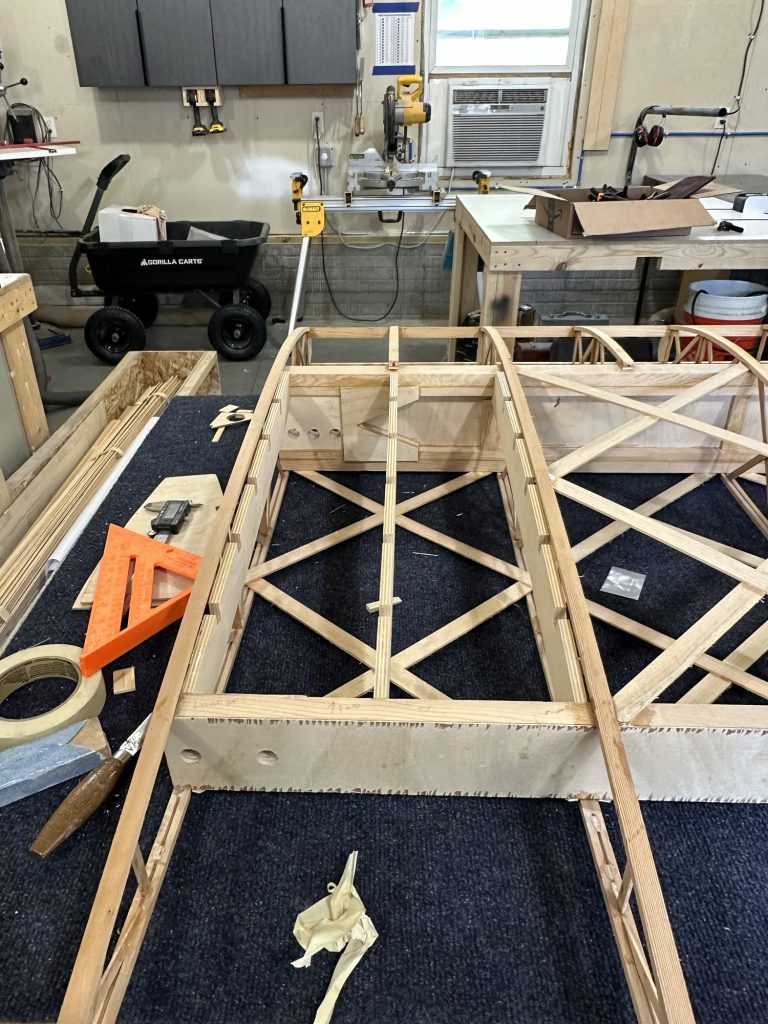
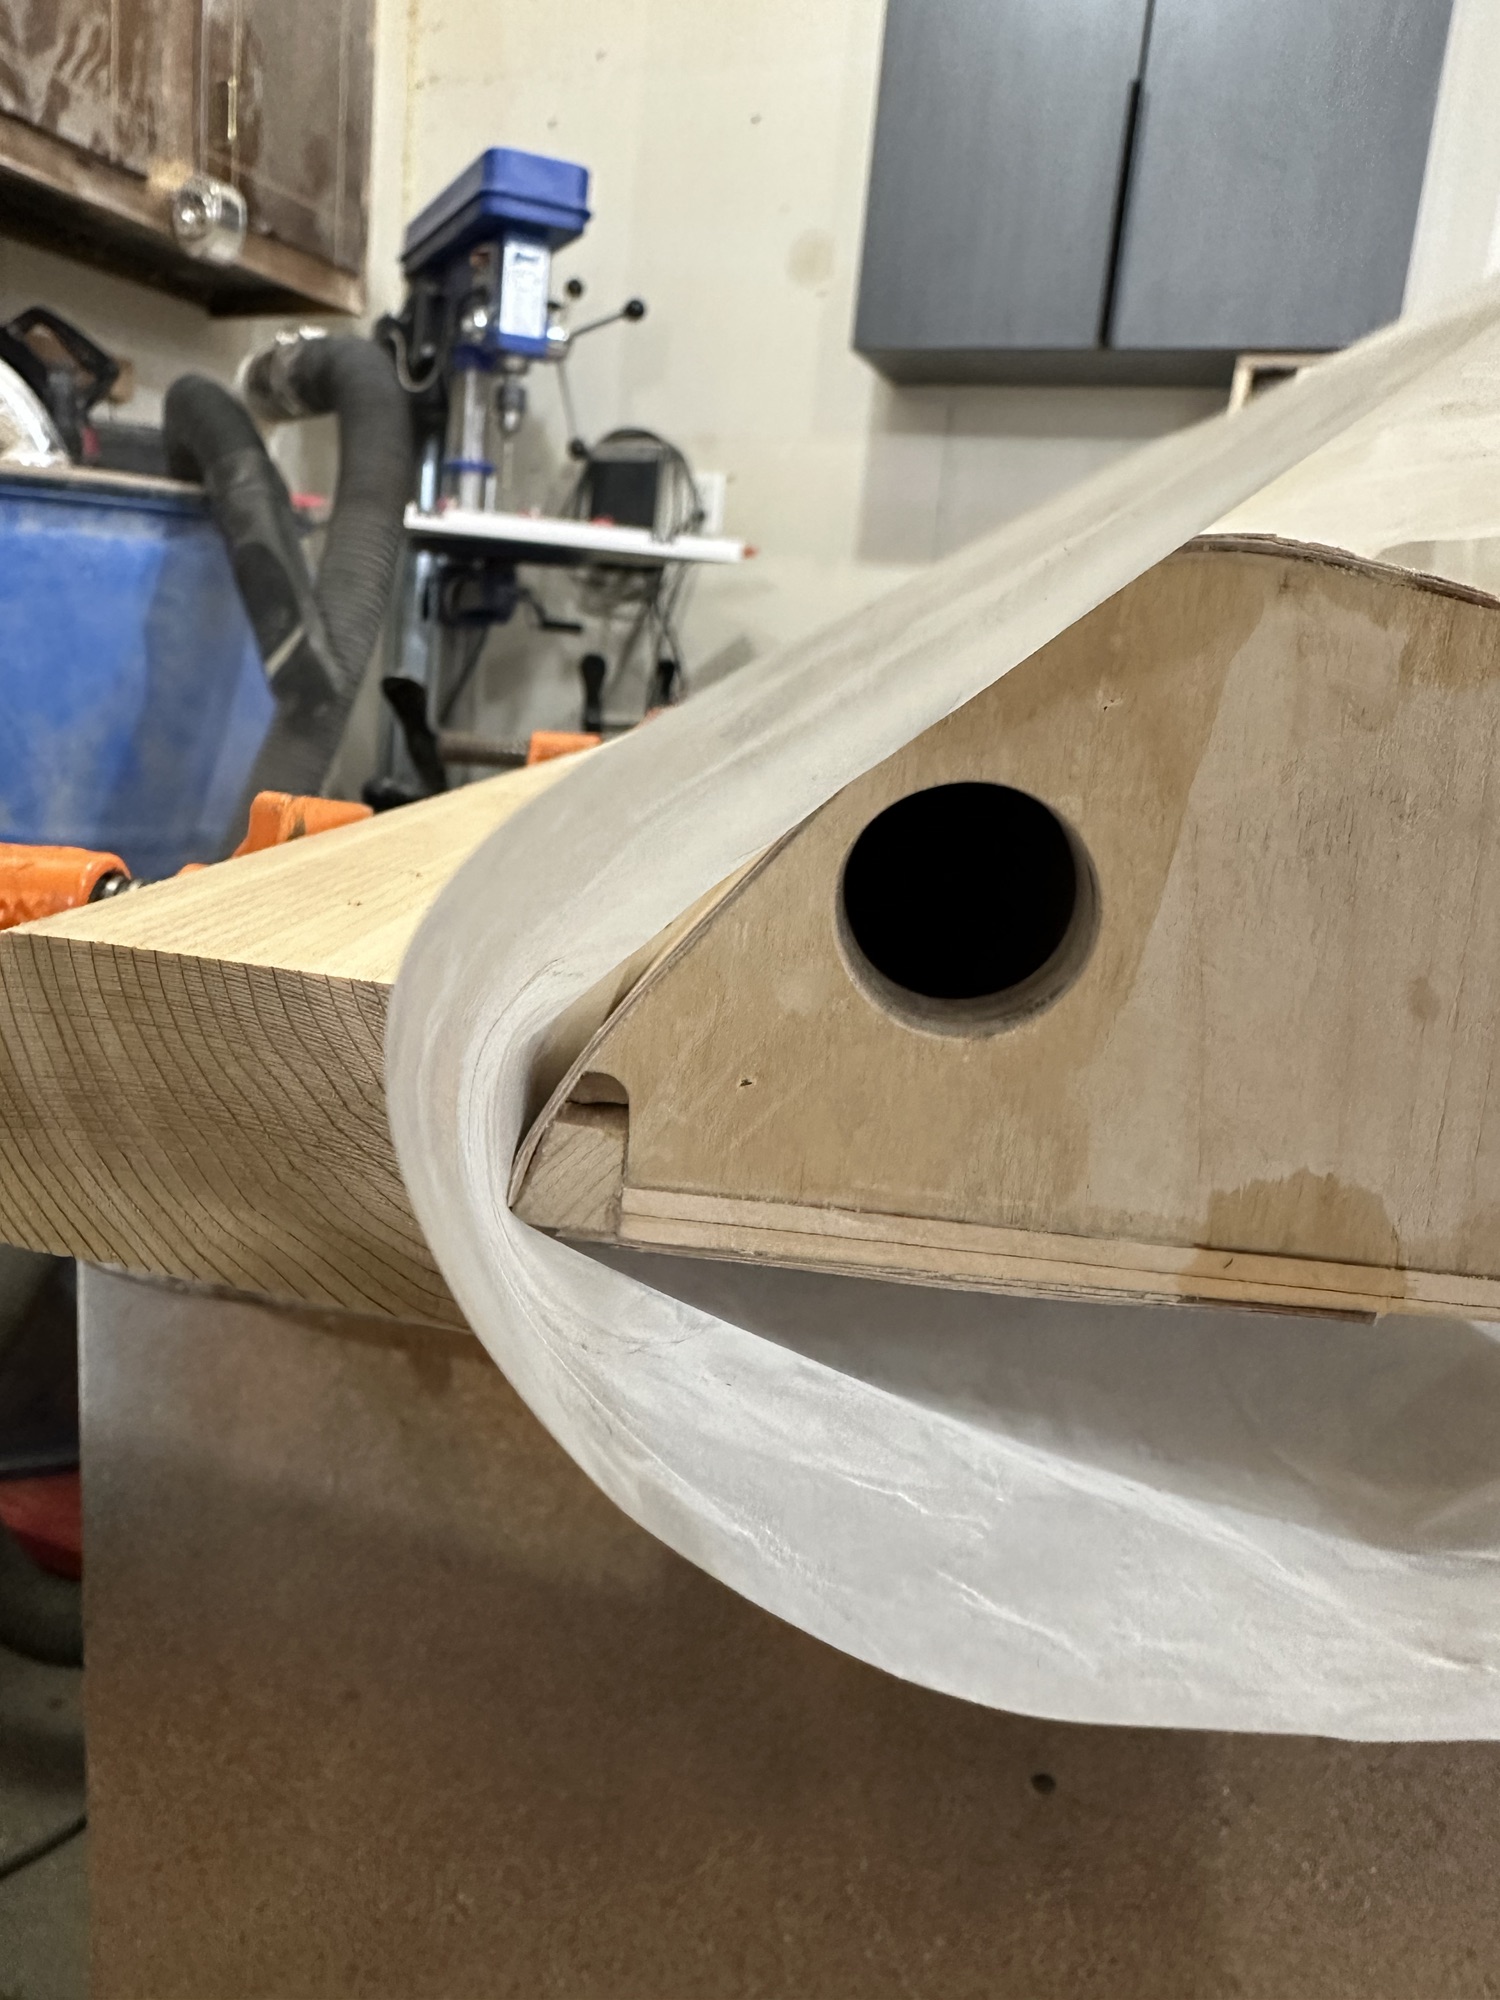
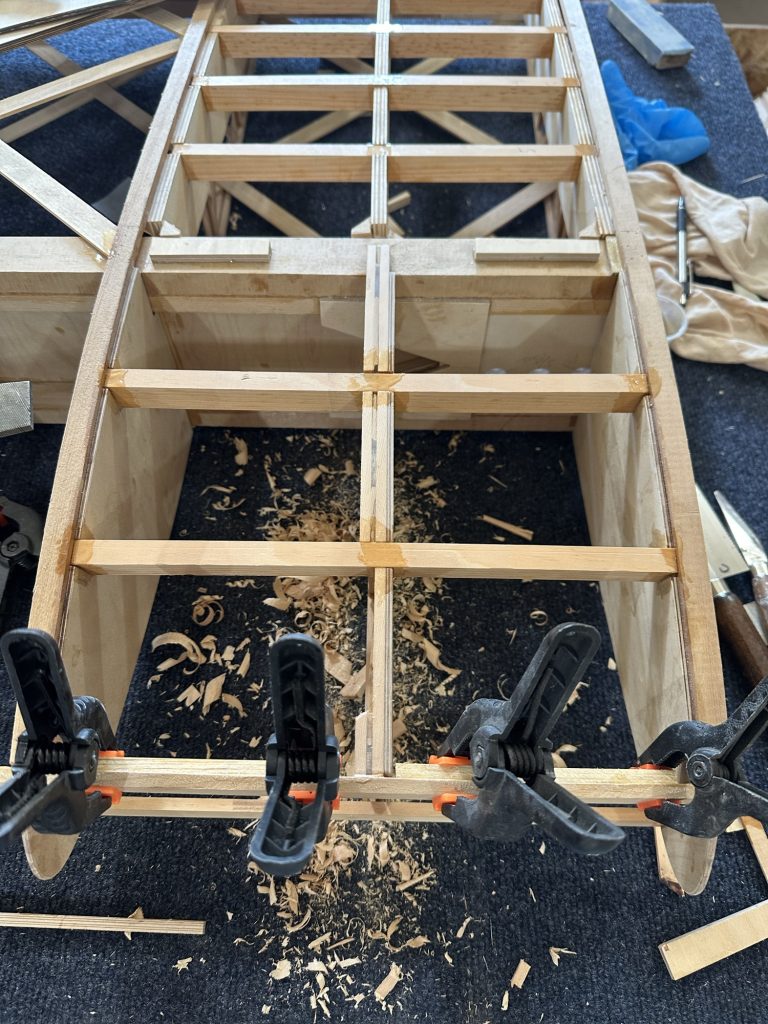
The center plywood support is glued to the first false rib, but of course the plywood skin sits between the ribs. That meant I needed to shave about 1/8″ from the top cap of the false rib. I used the razor plane for most of this work but needed to use a file for some of it like the front edge. I cut the cross supports and used them to gauge whether the top of the middle support/rib was level with the other two. In the end I used a DA sander to “fine tune” the high spots until it was all level.

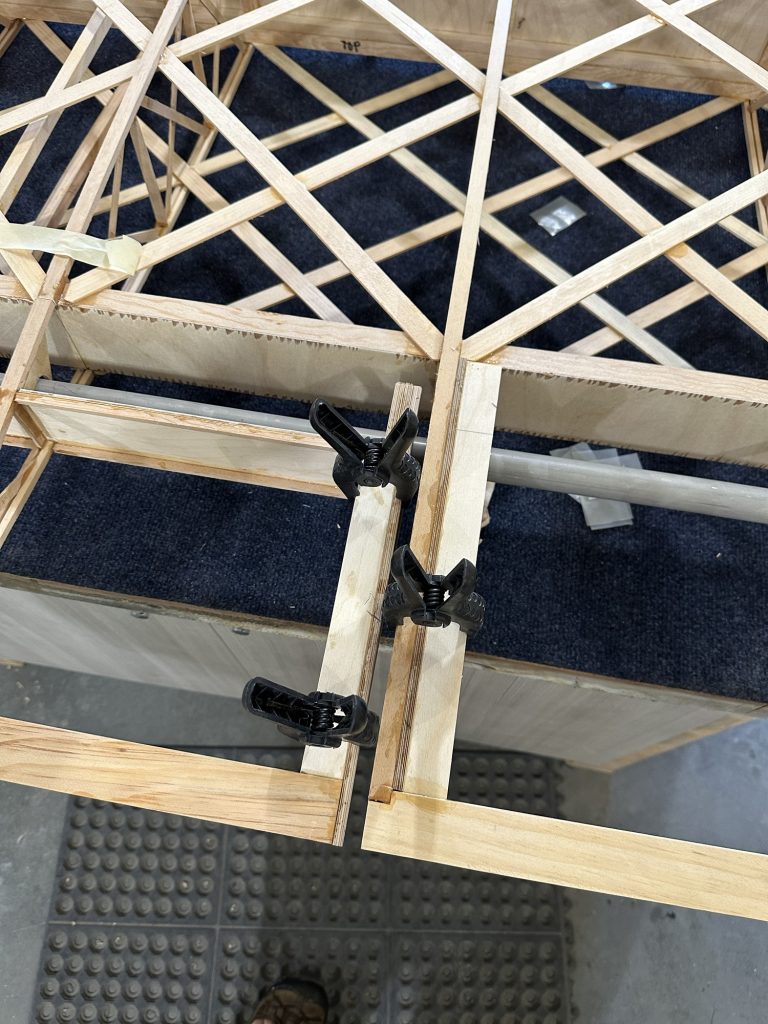
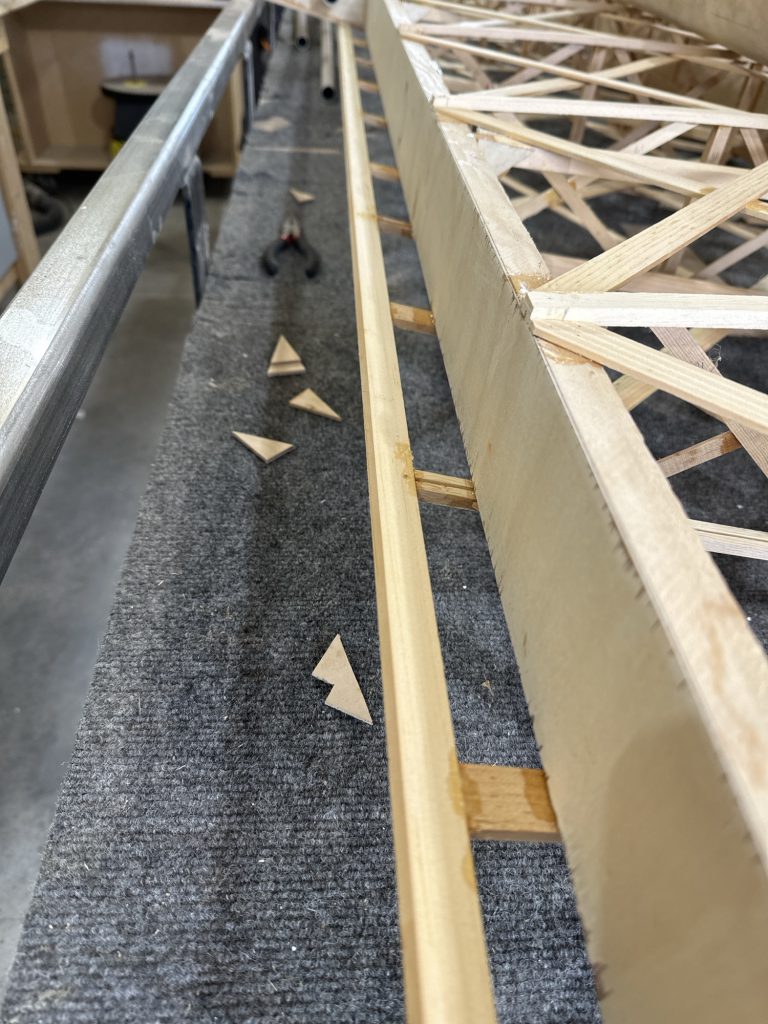
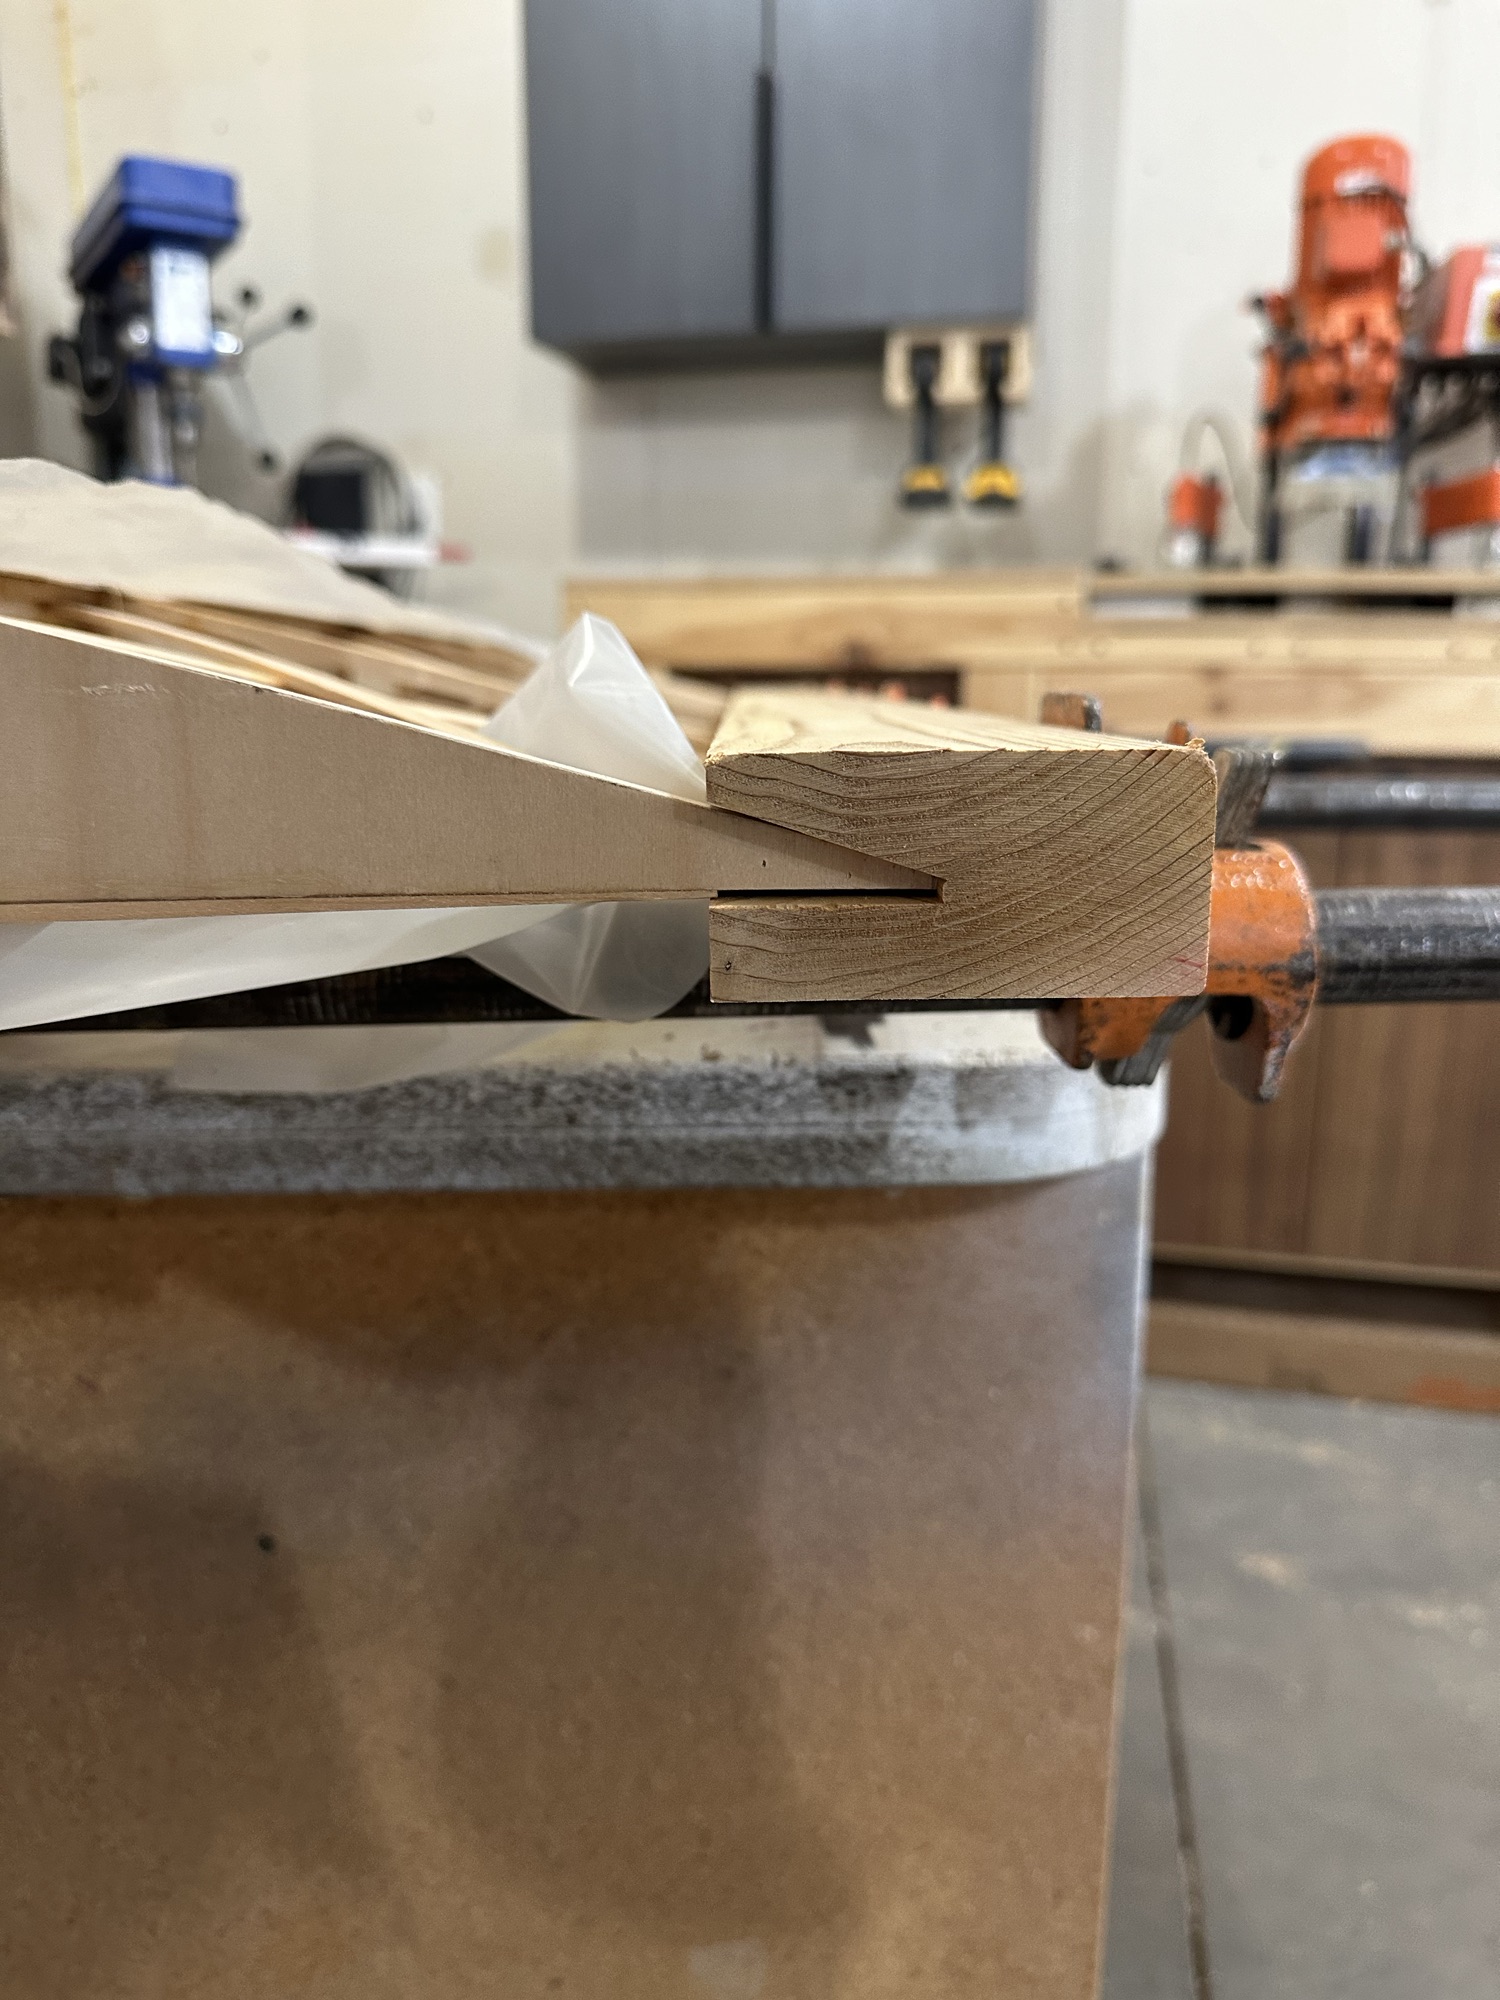
I also wanted to make sure the front and back edges of the thin plywood are fully supported and level with the thicker ply on the rear portion of the walk. I ended up just cutting a couple of support strips to attach to the top of the spar; I use da cutoff scrap of the wing walk for this as it was the perfect thickness. I also cut a couple of pieces of rib capstrip (I’ve got a lot of it left) to glue to the false spar to support the front edge of the walk extension. The plans don’t call for it, but I’ll feel better with a little added structure there.

I can probably remove half of the capstrip on the center one. if it’s not going to provide any strength, there’s no need for the extra weight!

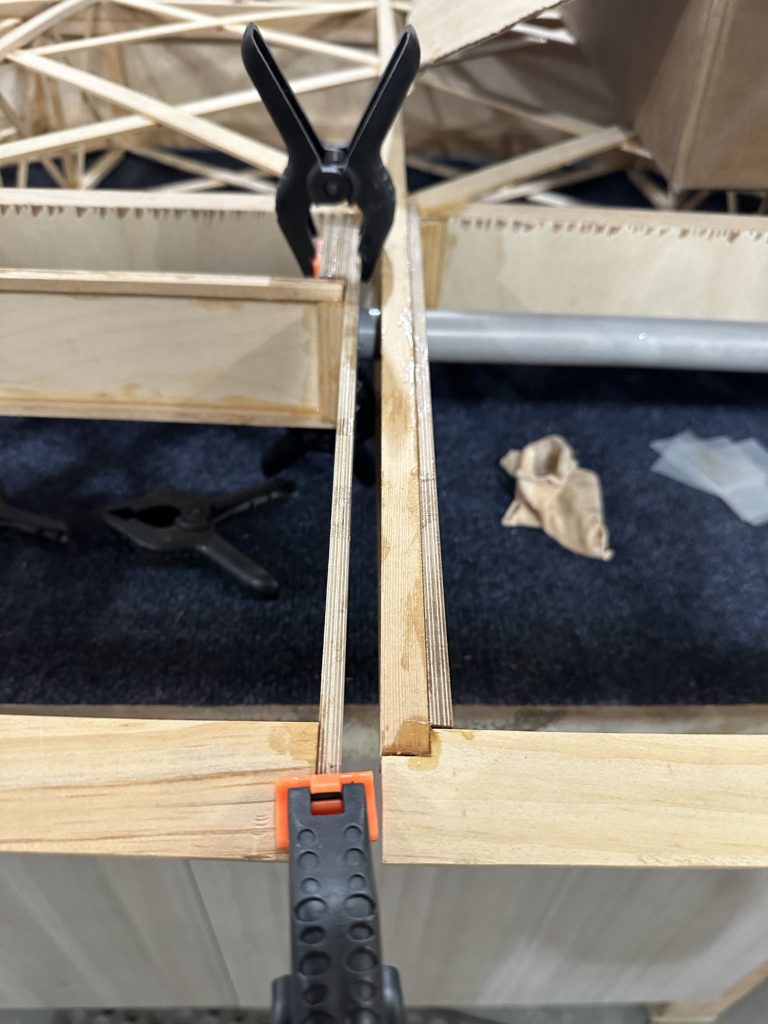
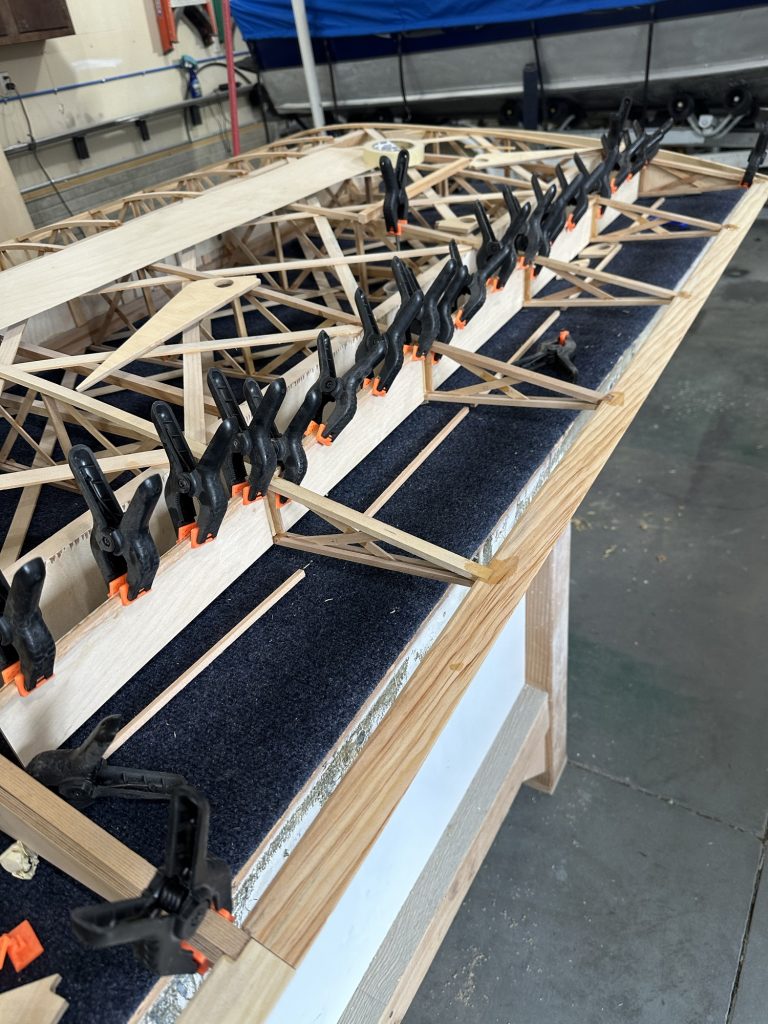
The plans call for using nailing strips and brads to nail down the plywood skins while the glue dries. That’s one way, but I’m thinking another way would be longer clamping strips and long clamps. One strip would hold down the aft end of the main walk and get clamped to the rear spar. One would hold both the forward end of the main walk and the aft end of the extension and get clamped to the main spar. A third would hold down the forward end of the extension… I’m not entirely sure how that one would get clamped, but since it’s 1/8″ plywood it won’t need a lot of clamping force. I’ll find a place, I’m sure.

Wing walk work

Today’s session was pretty much all wing walk. I got the notches for the cross pieces all properly fitted using a large file. I got the nose walk supports similarly modified to fit the cross pieces, and cut to fit the spar. Then I glued on all of the long supports as well as the cross braces under the main portion of the wing walk. The front extension portion will have to wait until I figure out exactly how I’m going to deal with the false rib in the center.

Along the way I also glued the top of the root wing rib to the top of the spar. The root rib is angled slightly to accommodate the dihedral, so the wing walk skin will need to be cut in an irregular shape to fit, of course. It has to be; cutting a simple rectangle would be far too easy.

Aileron freedom – and wing walk work

Today I located and temporarily screwed the bearing blocks in, and cut the aileron free from the wing.

With that done, I decided to have another look at the wing walk situation. I don’t know why the support bits were the way they were, but I decided to just get on with making them work. When I look at the plans, especially the oblique view, indicate that the parts may have been cut in an attempt to match a much earlier version of the wing without much of the reinforcement at the main spar root. Anyway… Two of them had the aft end cut well enough to work at the rear spar. The inboard support needed to be trimmed at both ends. All had to be modified to fit the main spar.

In the end I got all three to fit, though I’m not terribly thrilled with the lack of good options for supporting and blocking the ends.

Next up were the notches for the cross braces. Most were too shallow and look to have been cut out with an end mill or router; the corners were rounded. I used a file to square up the corners and deepen the notches to fit the 1/2 x 3/4 pieces.

I figure I’ve got another hour or so of work to get all of the blocking and support in place before mixing epoxy. Probably more; I still haven’t figured out what I’m going to do about the extension of the walk forward of the main spar. If I build it to plans I’ll need to remove or hack up the first false rib. And of course the plywood pieces require significant modification.

On the bright side, the plywood skin for the wing walk curves nicely and won’t be a problem to get glued down. I’d been worried about that, and had visions of needing to make my own laminated piece there, but it’s fine.

Same thing, different side

Today I went over and flipped the wing right side up, which is pretty easy to do with that nice big curved handle on one end. I cut and glued in the same bracing I did the other day, this time on the top side of the wing. It went pretty quickly.

Tomorrow I’m hoping to get the torque tube bearing blocks screwed in place and cut the aileron free from the wing. We’ll see how that goes.

Aileron end plates, blocking, tip supports

This morning I woke up early and couldn’t get back to sleep, so I headed over to get a little work done. I glued and clamped the aileron end plates (CW34) in place, along with the corner blocking for them. I also did a little work shaving off some of the excess plywood and corner blocking on the wingtip bow. I’ll probably just have to switch to some low-grit sandpaper to get that job done. I’d really like to get the plywood gussets cut and glued in — oh, wait, there’s more bracing for the wingtip bows to be done…

This afternoon I figured that after 8 hours or so it was safe to move on. I made another trip over and cut and installed the CW40 plywood stiffeners for the aileron and each end of the aileron bay. Then I cut and glued in supports for the wingtip bow. All of this is just the bottom side — since the wing is upside down. I’ll do the top side once I flip the wing back over, which will likely be tomorrow.

Getting two work sessions per day in could really speed things up. I think I’ll try and do more of that. I’m not thrilled with the fact that I seem to be averaging only three days a week working on this — I need to get a fire lit under things, figuratively speaking.

More aileron assembly work

Today I flipped the wing over and got the lower aileron spar caps glued in. I also glued and clamped the CW36 end plates, and a couple of the CW32 aileron nose ribs.

I also drilled the holes in all of the remaining CW32 parts. I may need to cut a couple more of those; it looks like I’ll come up short for the upper wings. I’ll check the crate to see if they got loose and are hiding somewhere, but it’s not a big deal – I have the plywood to make them.

Aileron spar and parts fitting

Today I got the aileron spar web cut and glued in, along with the top pieces of 1/4″ spar cap. I couldn’t get to the bottom side to clamp those pieces without some significant effort, so I left those for the next session. I also got the CW32 pieces cut and sanded to fit between the rib caps. I trimmed and clamped the CW36 and CW34 pieces in place to locate the aileron torque tube, then marked the CW32 pieces for the holes that will need to be drilled for the torque tube.

The wingtip is nice and solidly in place, so now I just need to sand the blocking and trailing edge flush so I can start installing the gussets and additional bracing.

This time around I plan to NOT screw up the same way I did the first aileron, by assuming that the holes in ANY of the parts are drilled in the proper place. As I did before, I’ll index everything off of the CW34 parts, using those to locate the torque tube, and drill or sand everything else to match them. And of course I’ve already 3D printed a pair of torque tube bearing blocks for this wing. The final parts will be milled out of UHMW or something similar, not 3D printed, but these are great for getting all the holes located without the risk of messing up a flight part.

The more I use it, the more I like my little razor plane. This thing was bought back in the 70s, I think, by my father for use on R/C airplanes that we (mostly he) built in our basement, usually from scratch. It’s a plastic body with a blade that resembled a heavy duty, oversized razor blade. The key thing I found was to use light passes, and hold the plane at an angle to the wood. It’s quite effective for shaving down spruce, plywood, and even the odd bit of end grain. It’s usually quicker than sanding.

The State of the Wing address

The main and rear spars are in place, and half the ribs are glued to them. It’s tedious and intense work, so I’ll finish them up tomorrow.

I dug the CW42 and CW43 plywood pieces for the wing walk out of the crate and tried test fitting them. As with many of the kit pieces, they simply don’t fit. At all. The nose reinforcing pieces will be usable, with some trimming. The rear pieces… not so much. Once the ribs are fully secured I’ll see if they can be used at all, or if I’ll need to order some new plywood and cut new ones. At the very least, the notches for the cross braces are rounded at the bottom from being cut out with a router with a fairly large bit. I can clean those up with a band saw, but the ends are also not right by a long shot. It will take some work to figure out how or if I can use these.

All in all I’m just happy I didn’t pay full price for this “kit”. I’ve found an awful lot of pieces that, quite frankly, I’d have probably been better off making myself. But at least now I know what to expect.

Wing work 2/10/24

This covers a couple days’ work. Yesterday we ripped the CW37 aileron bay TE stock down to 1/4” and I got that installed. Today I’ll glue in the triangular support pieces. And yes, I realized after cutting and gluing it all up that the CW37 piece is supposed to be notched for the rib caps. I’ll remember that for the next time.

I continue to be astonished at how light and strong this wing is. I can easily lift it off the bench and move it around; it can’t weigh more than 20-25# without the aileron installed.

The last thing that was really bugging me about the aileron was that the lower edge of the leading edge plywood still wasn’t glued down. I’ve got to find a better way on the next aileron, but this one had to be done so we can radius the lower edge.

Stu’s idea was to make a grooved board for the trailing edge and use that to clamp a board across the leading edge while the glue sets. He used a length of scrap cedar with a groove cut to match the angle of the TE, and we used four bar clamps to apply pressure. In hindsight – I honestly don’t know if just putting a radius on the front corner and wrapping plywood around it would be better or not. We’ll see how this works out.

In other news, Stu has his 4’ CNC machine in and working, and I’m going to put him to work cutting my torque tube bearing blocks out of some UHMWPE stock I have. Better than plywood, I think.

Aileron progress

It’s been an on-and-off couple of weeks. I’ve had a persistent cold/bronchitis that has kept me away from the shop for days at a time. On days I do feel like working, I’ve got a house cleanup project that’s been sucking time as well.

This evening I got over to have a look at the aileron. I’m not thrilled with the plywood, to be perfectly honest, but I believe it will be OK. I re-glued a couple of the geodetic braces and glued down a couple of corners of the thin plywood that were loos and/or slightly de-laminating. I think the fabric would probably have been sufficient, but I want to make things as close to perfect as practical. I’ve got a list of things to do differently on the next three ailerons.

I got a few corner blocks installed to make sure the plywood stiffeners don’t flex or bow. The pans don’t call for them, but I’ll feel better knowing they’re there. I also got the ends of the aileron nose plywood trimmed and sanded flush with the ends of the aileron. There’s one more round of gluing to do, then I can use a router to put a radius on the lower front edge and it will be done. I did check the aileron travel; 22 degrees up and down will not be a problem.