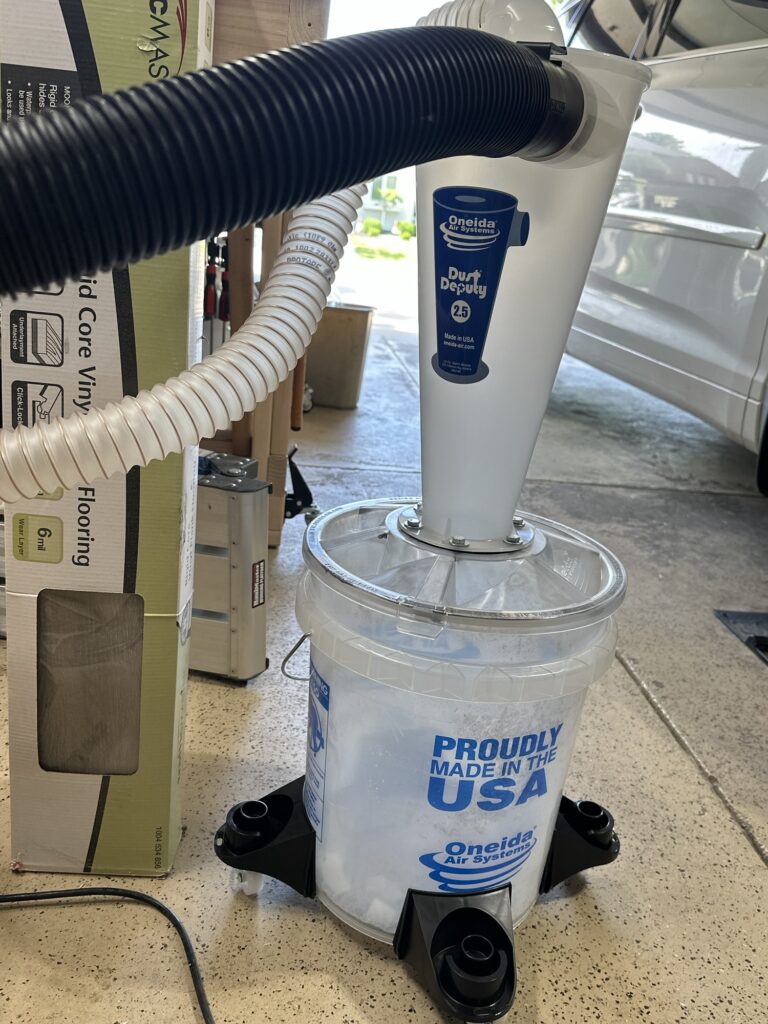
I ordered the Tosot mini-split heat pump a week ago. The main parts arrived Wednesday, but the mount for the outdoor unit didn’t get here until Saturday – quite frustrating. In the end, to make a long story short, I now have a heat pump in the garage that seems to do a decent job of keeping it tolerable to comfortable in there. We’ll see how well it does when the garage door gets opened and closed multiple times a day, but so far so good. As one might expect with a garage in Nebraska in the summer, humidity seems to be the biggest challenge.
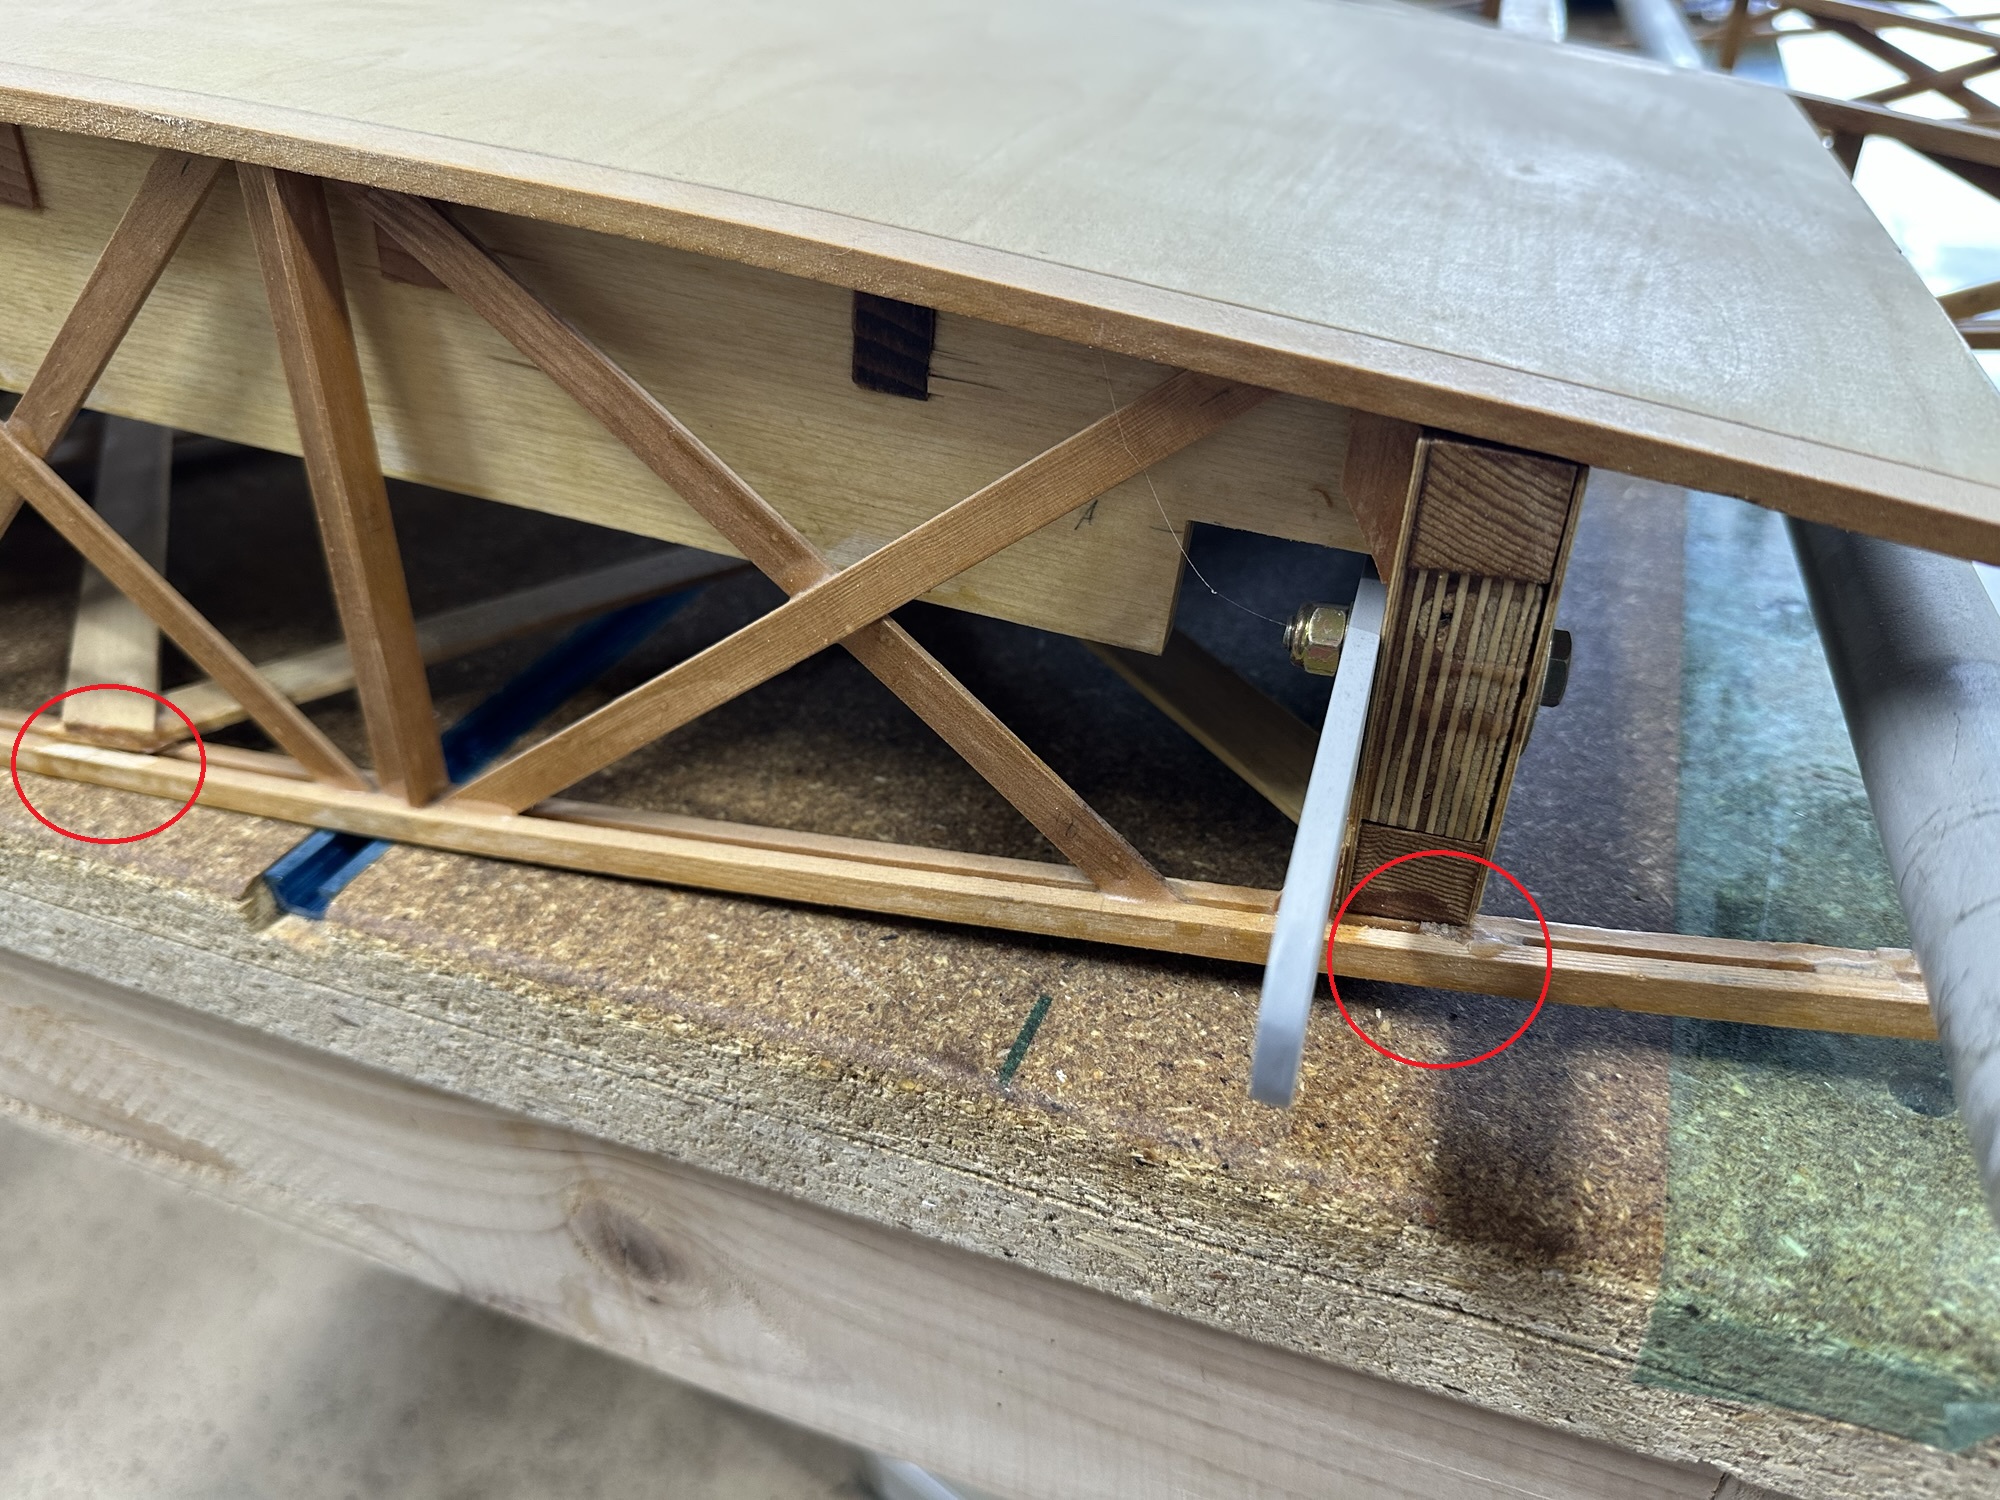
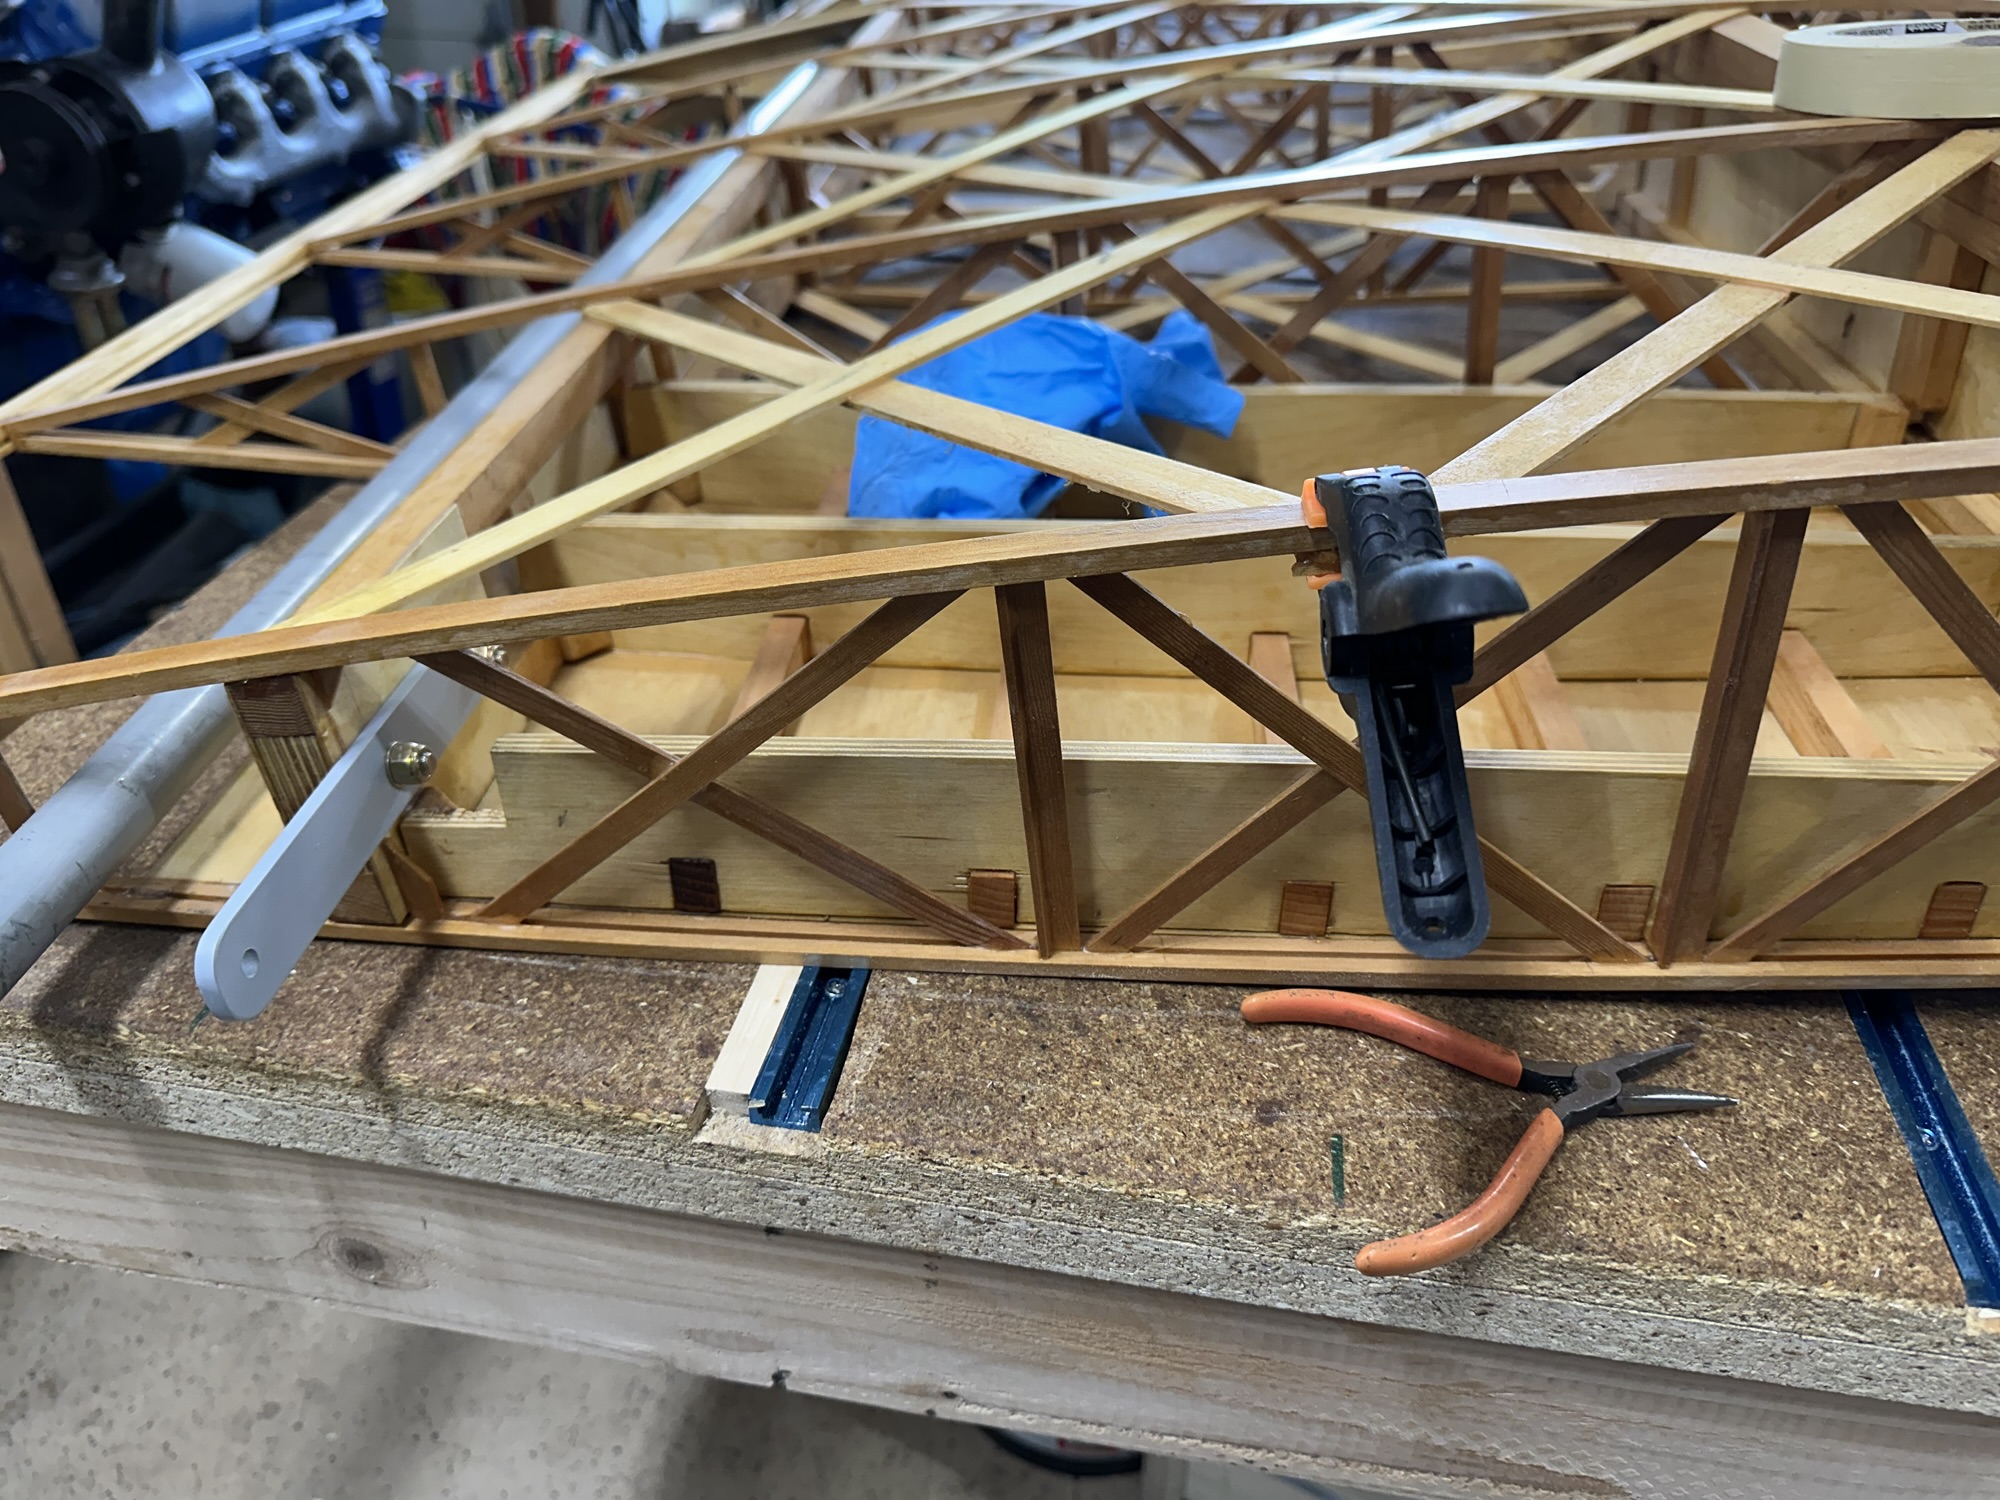
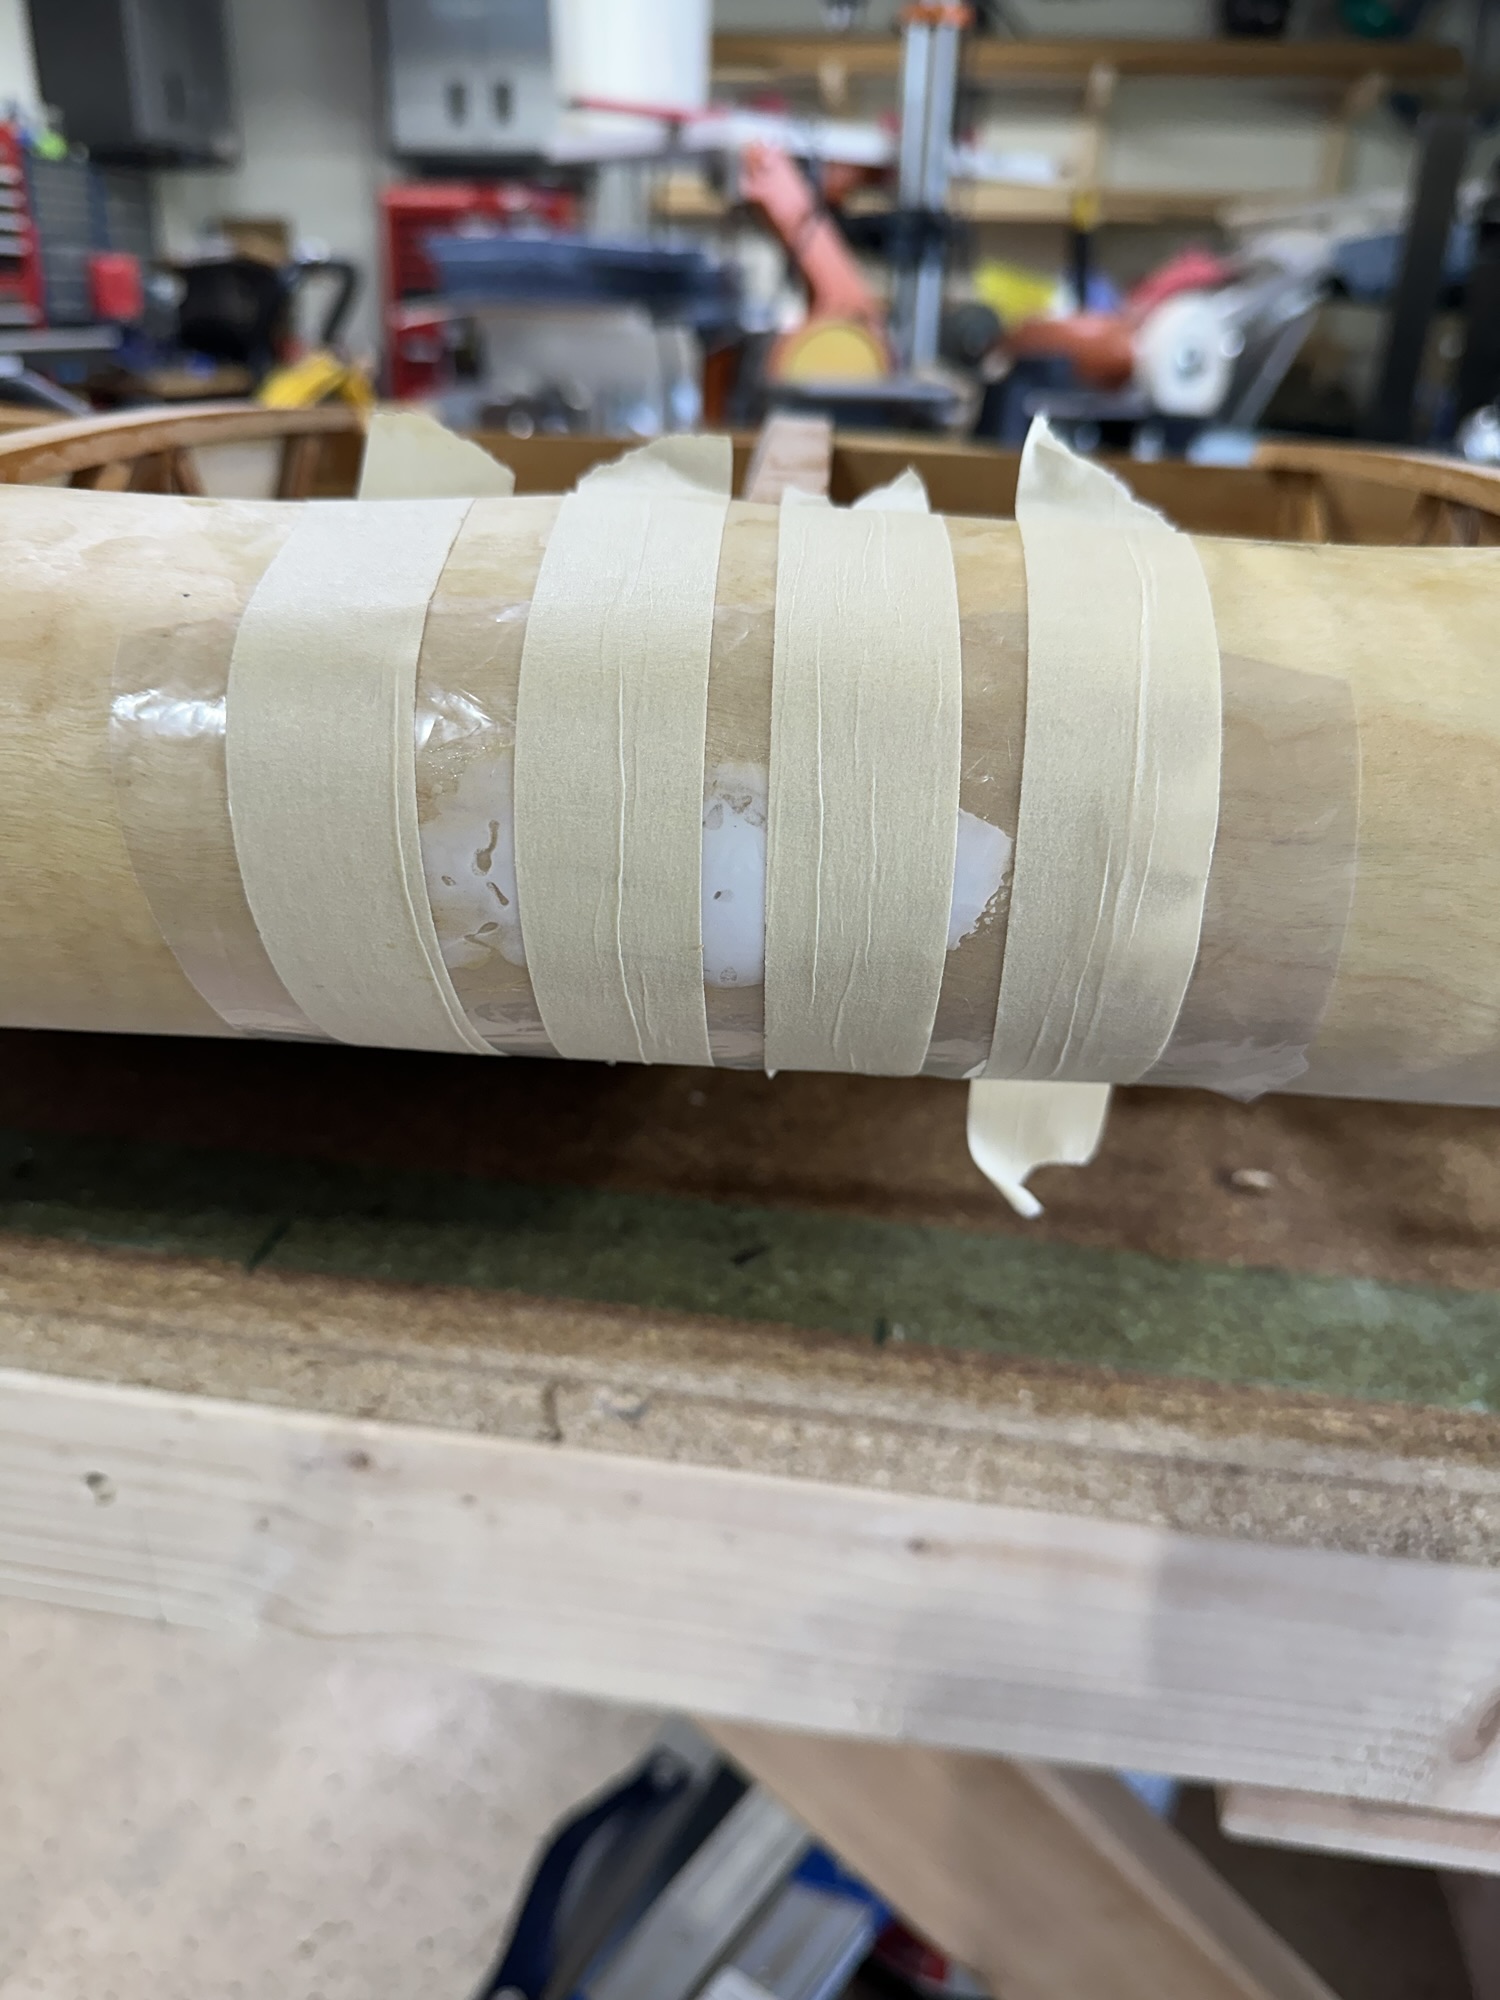
I also received my latest hardware order from Spruce on Saturday. I don’t know why I always seem to order something wrong (like AN970-4 fender washers instead of AN970-3) but it seems to be a particular talent of mine. Oh, well – The hardware store sells perfectly serviceable zinc-plated fender washers. I’ve just about got this wing ready to go to the hangar. This afternoon I glued up the one remaining loose bit from the last move, and got the hardware installed on the aileron coupling rod bracket.