Bending wood and building stuff

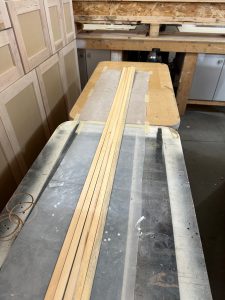
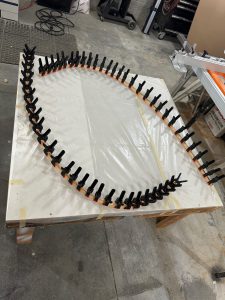
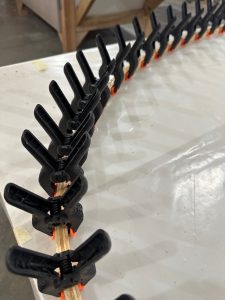
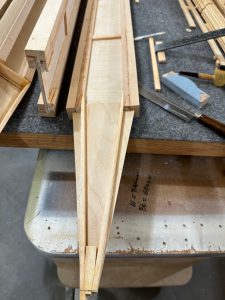
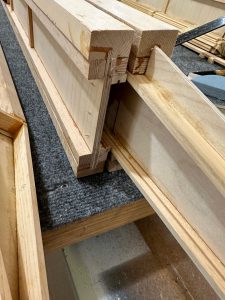
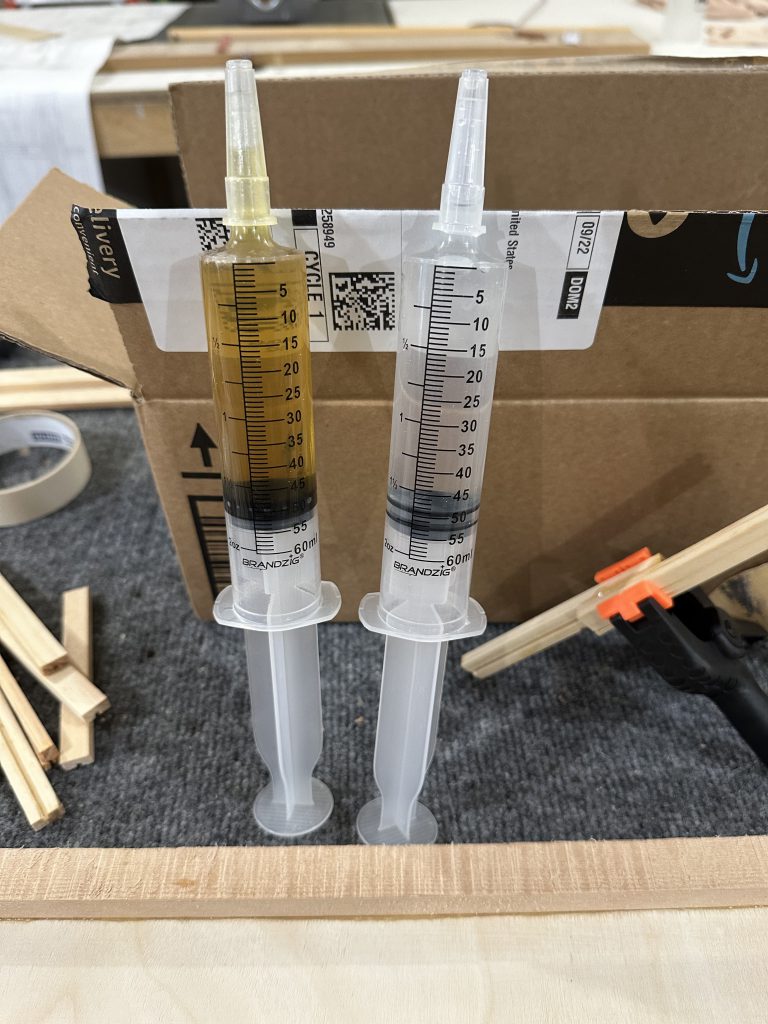
This morning I went out to check the epoxy on the bending form.  It’s not warm in the garage (low 50s), not ideal for curing epoxy.  In addition, I was not too precise in mixing the epoxy.  I have a small scale that weighs in grams, ounces or even carats that I plan to use for epoxy to be used when measuring epoxy for actual airplane parts, but I didn’t use that last night.  Anyway, the glue was hard but still a little tacky on the surface – so not totally cured but “OK enough” to use.  I pulled the three capstrips out of the water soak and clamped them in the form.  A few hours later they had taken a fairly good set — but one of them cracked at the peak of the bend.  Looking at that one, it would have been OK if I’d either bent the other end, or cut the slot on the opposite side.  I just happened to try to bend it in a direction that didn’t work well with the grain slope of that piece of wood.   I’ll have to watch that on future pieces.

Knowing that I’ll want to rip some 1/8″ thick strips to make the wingtip bows and the frames for the tail feathers, I went looking for a way to do that easily.  I’ve been successful in ripping thin strips on the table saw, but as countless others have discovered doing it between the blade and rip fence is not the safest way.  The blade tends to launch the cut strip backwards off the saw table.  I found this thin strip rip jig at Rockler.com, which looks to be exactly the tool I need to rip pieces for laminating.  It’s not expensive, and I can think of a dozen other projects for which it would be very useful to be able to make strips for curved laminations.  I ordered it.

At lunch time I pulled the strips out of the bending jig and installed the rest of the forming blocks on the rib jig.  As I thought, the bottom capstrips won’t need to be pre-bent.  So, the first rib jig is ready to go.

The next job will be to shave the 1/8″ x 3/8″ strips received from ACS down to 3/32″ thick.  They’re actually a little thicker than spec, around .135 or so.  I thought about setting up something to jig up my low end belt/disc sander to do the job, but I don’t see a lot of success there.  I have a razor plane, but it doesn’t seem to work well on the wide side of the spruce strips.  I will have to figure out a good way to shave or sand or plane these down to the right thickness.  I did cut out all of the geodetic braces for the first rib, and marked them according to their placement.  I’ll use them as patterns to cut the remainder — just as soon as I figure out how to get those strips pared down to the right thickness.  Sanding just the ends down is going to be too time consuming and the results would probably not be consistent enough to suit me.  I need to figure out the best way to shave about .040 to .045 off of those strips.

Finally — the first shipment of spruce!

The UPS man just delivered a 30# package of spruce capstrip from Aircraft Spruce.  I can now — finally — start building.

The first step was to set up the table saw to groove the top and bottom rib capstrips for the geodetic braces.  They need a 3/32 x 3/32 groove cut on one side.  Getting the saw set up to cut a perfectly centered groove was trivially easy, and it gave me a reason to install the zero clearance throat plate on the saw for the first time.  Not wanting to experiment on the expensive spruce, I cut a couple of strips of pine the exact size of the capstrip and used one to set up the saw for the right depth and spacing.  The strips are small enough that rather than trying to use a push stick to feed it all the way through, it works out best to feed most of it through in one direction and then flip the piece around and feed the other end in.  The saw is set up precisely enough that you can’t see where the transition is between the grooves cut from the two ends.  It’s perfect.  With that done I grooved a dozen pieces of capstrip and decided that would be good for a limited test run.

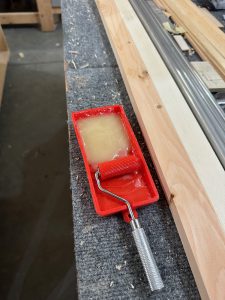
I’ll also need a bending jig for the capstrip, since the top piece needs a pretty good curve toward the leading edge.  I could really probably do it dry, but I’ll feel better knowing that the wood is less stressed during assembly.  Better to put the curve in beforehand, I think.  The spruce is flexible enough that I don’t think there will be a problem with the bottom pieces, but we’ll see how it works out.  I cut a bending fixture from a chunk of scrap 2×4 — it split on the end as I was finishing up the cut, so I figured what better time to mix up a spoonful of T-88 and epoxy it back together?  After all, the glue joint should be stronger than the wood itself.  We’ll test that out.  Once that glue cures and I get some capstrip soaked in water and bent, I will finally be able to finish blocking in the rib jig and start cutting the geodetics.  I’ll need to also set up some sort of rig to sand or plane the ends of those down to 3/32″.

The grandkids are coming over Saturday to get some help with their Pinewood Derby cars.  Looks like a full-on woodworking weekend.

Tooling up (part 2)

I spent some time today going through the table saw setup and adjustment.  As it turns out, my saw (a Ryobi BT3100) has a pretty decent following.  I did figure out why I’d never been happy with the rip fence.  I’d always used the grooves in the casting to align it.  As it turns out, this saw is not like others.  You don’t align the blade to the table.  You align everything off the blade.  I got the miter slot (an optional part), sliding miter table, and front scale all adjusted to the blade, lubed the jack screw that raises and lowers the blade, and checked the rip fence.  Turns out, it’s pretty close to dead nuts on and always locks itself in place perfectly aligned…  you just have to ignore the grooves in the table.  Who knew?  Anyway, I cleaned it up and gave the table a coat of wax, and cut a feather board and some trim strips for a remodeling project.  It’s awesome.  One down.

Tooling up (part 1)

If I’m going to be building something big out of wood, I’ll need to tool up for it.  Right now I have some basic tools that will work, but what I have in the garage is more geared toward building an RV (and even a lot of those tools are now gone).

My bandsaw is a very inexpensive, small Harbor Freight model.  I have tuned it up a little and adjusted it so that it works much better than it did out of the box, but it’s a very light duty saw.  It’s also WAY too fast for cutting 4130 steel.  I’ll need to at least get some good quality wood cutting blades for it, since it’s mostly been used for aluminum.  I was looking for a better bandsaw, like a 14″ Delta or Rockwell, but I may hold off on that.  This one might work, if I can come up with a solution for any steel parts that need to be cut.

The table saw I have is a fairly decent Ryobi.  Not as solid or as precise as I’d like, but if I can figure out how to get the rip fence parallel to the blade it should be serviceable.  But, for most things the radial arm should work anyway.

Belt sanders — I have two.  One is a small bench-top Harbor Freight unit that is fine for very small jobs.  The other is a 1950s vintage Craftsman that weighs well over 100# with its cast iron base and stand.  I need to get it moved back home, cleaned, lubed and a new drive V-belt installed.

Drill press — The one I have is a complete piece of crap, and I don’t think there is a way to make it any better.  I’m watching for a better one, preferably old and solid.

Chop saw — I have a De Walt 12″ compound miter saw.  It works fine, but takes up a lot of space.  In a shop environment I’d rather use a radial arm saw.

Radial arm saw — This could possibly be the secret weapon.  I need to retrieve it from my sister’s place, but there is a Magna Sawsmith radial arm saw.  My Dad used this to make a lot of furniture and other stuff, and it will do just about anything.  My brother in law (ex, actually, but still a pretty damn good guy) told me the motor had burned out — I’m hoping it’s something more like a bad motor start capacitor, since those are easy to replace and the original motors are long out of production and nearly impossible (and expensive) to find.  We’ll see how this one shakes out.  Honestly, I can see myself taking on a lot more non-airplane woodworking projects if this saw can be returned to service.

Dust collection — I have none, other than a shop vacuum.  The table saw, small belt sander and band saw all have dust collection fittings on them; the old (large) belt sander doesn’t.  Not sure about the Sawsmith.  I want to rig up something to suck up as much dust as possible, and I’ll for sure want to build a dust separator to keep from clogging up the shop vac.

Jointer/planer — I have none.  I may need to fix that.  This is an entirely new area for me, I’ve never used either tool and don’t know much about them.  But, I may need to plane down wood for cap strips.  We’ll see what the BOM that comes with the plans will reveal.