Bracing and gusseting

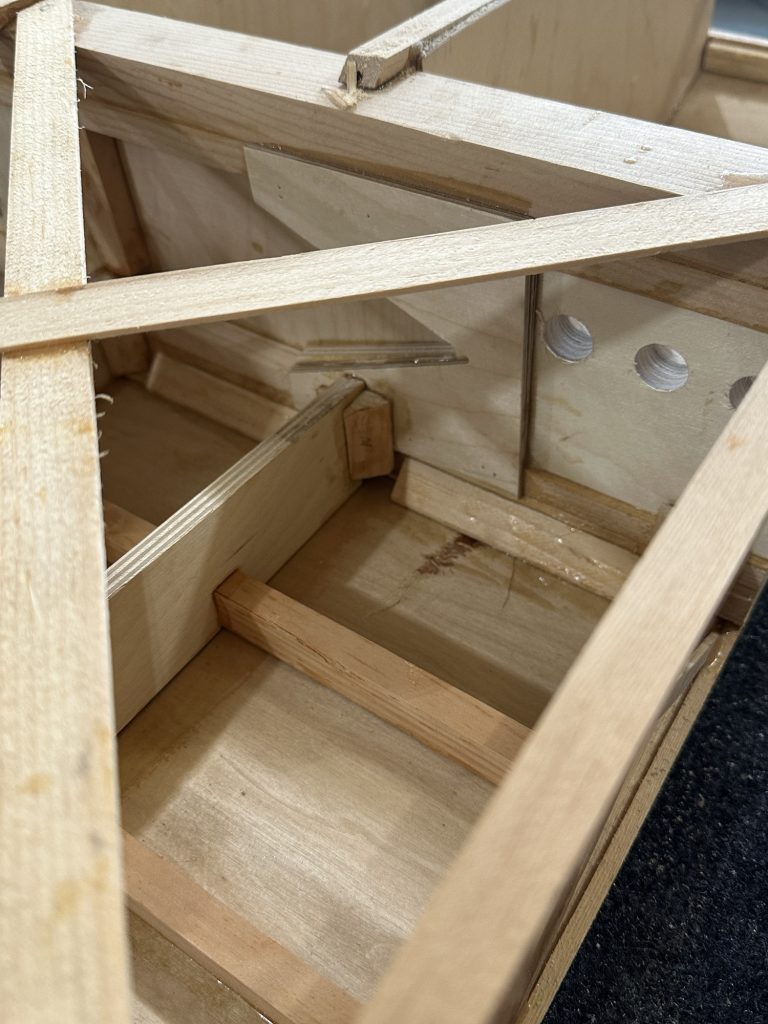
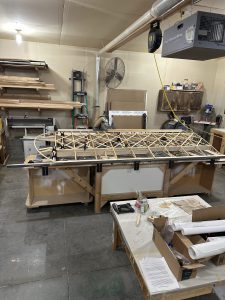
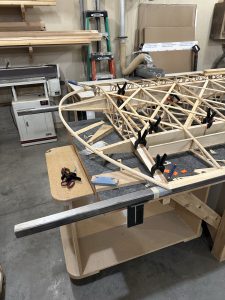
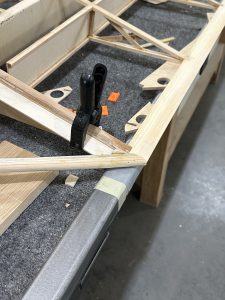
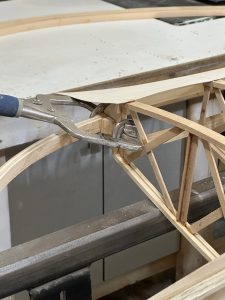
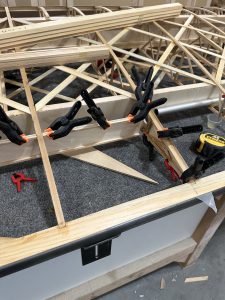
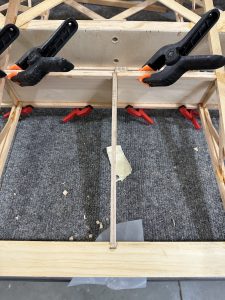
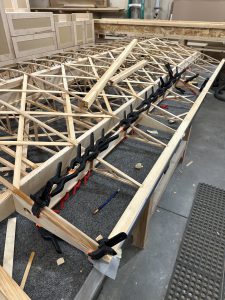
I got all the clamps off of the aileron this afternoon. Everything looks pretty good. Due to the way I had to cut the thin nose skin spar, I felt it best to install some bracing for it. These are just little half inch right triangles that I glued in to keep it straight.

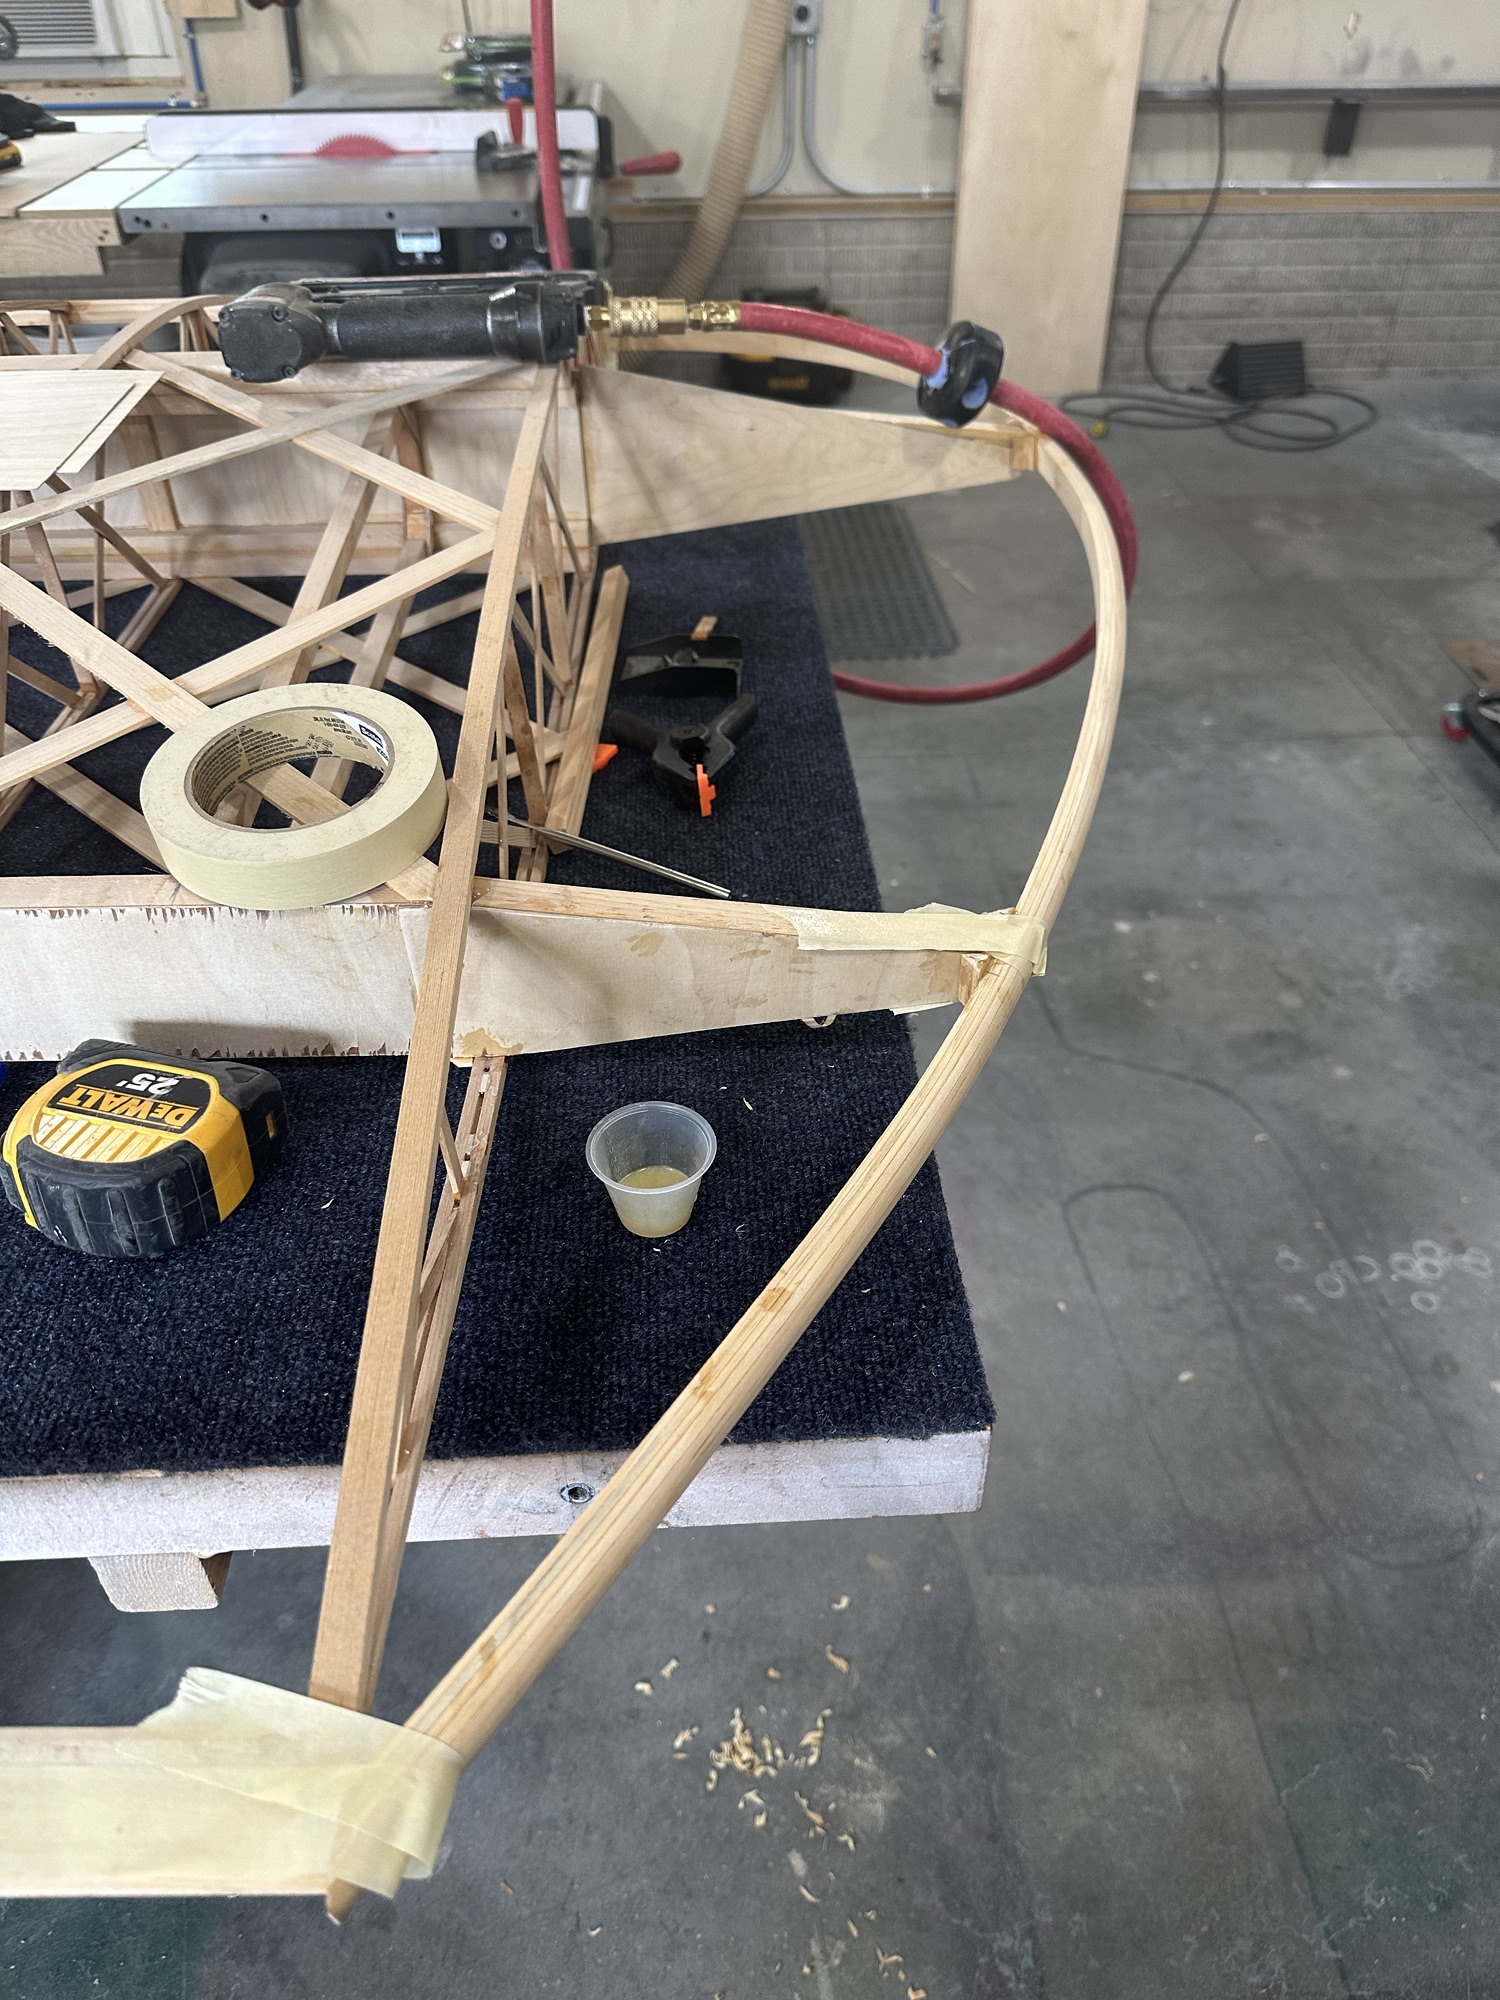
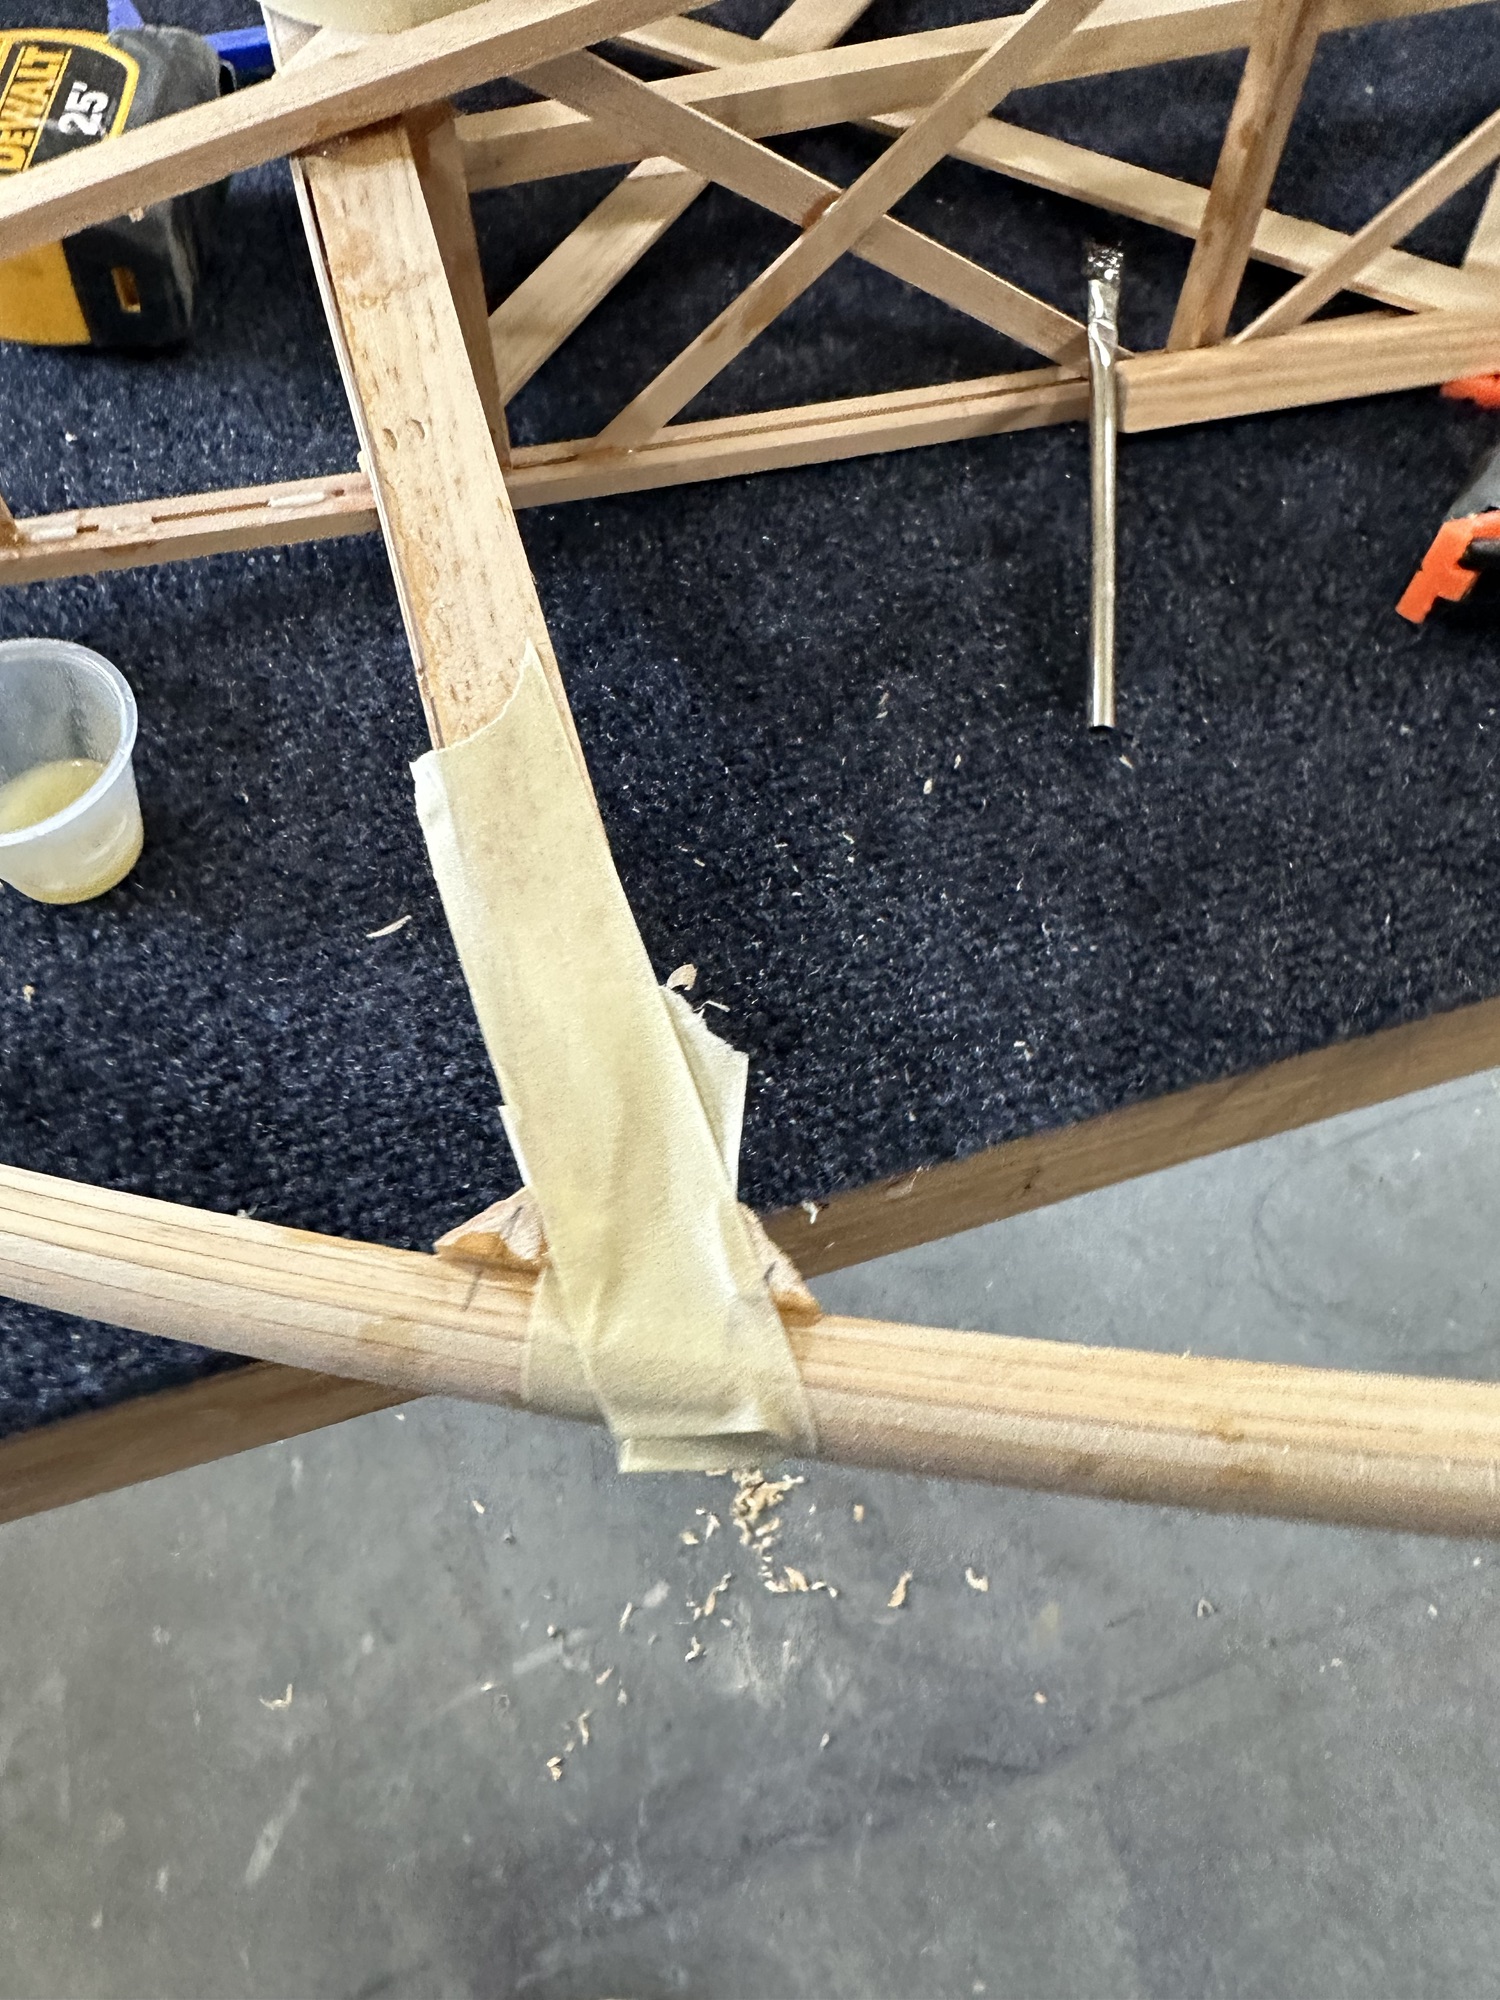
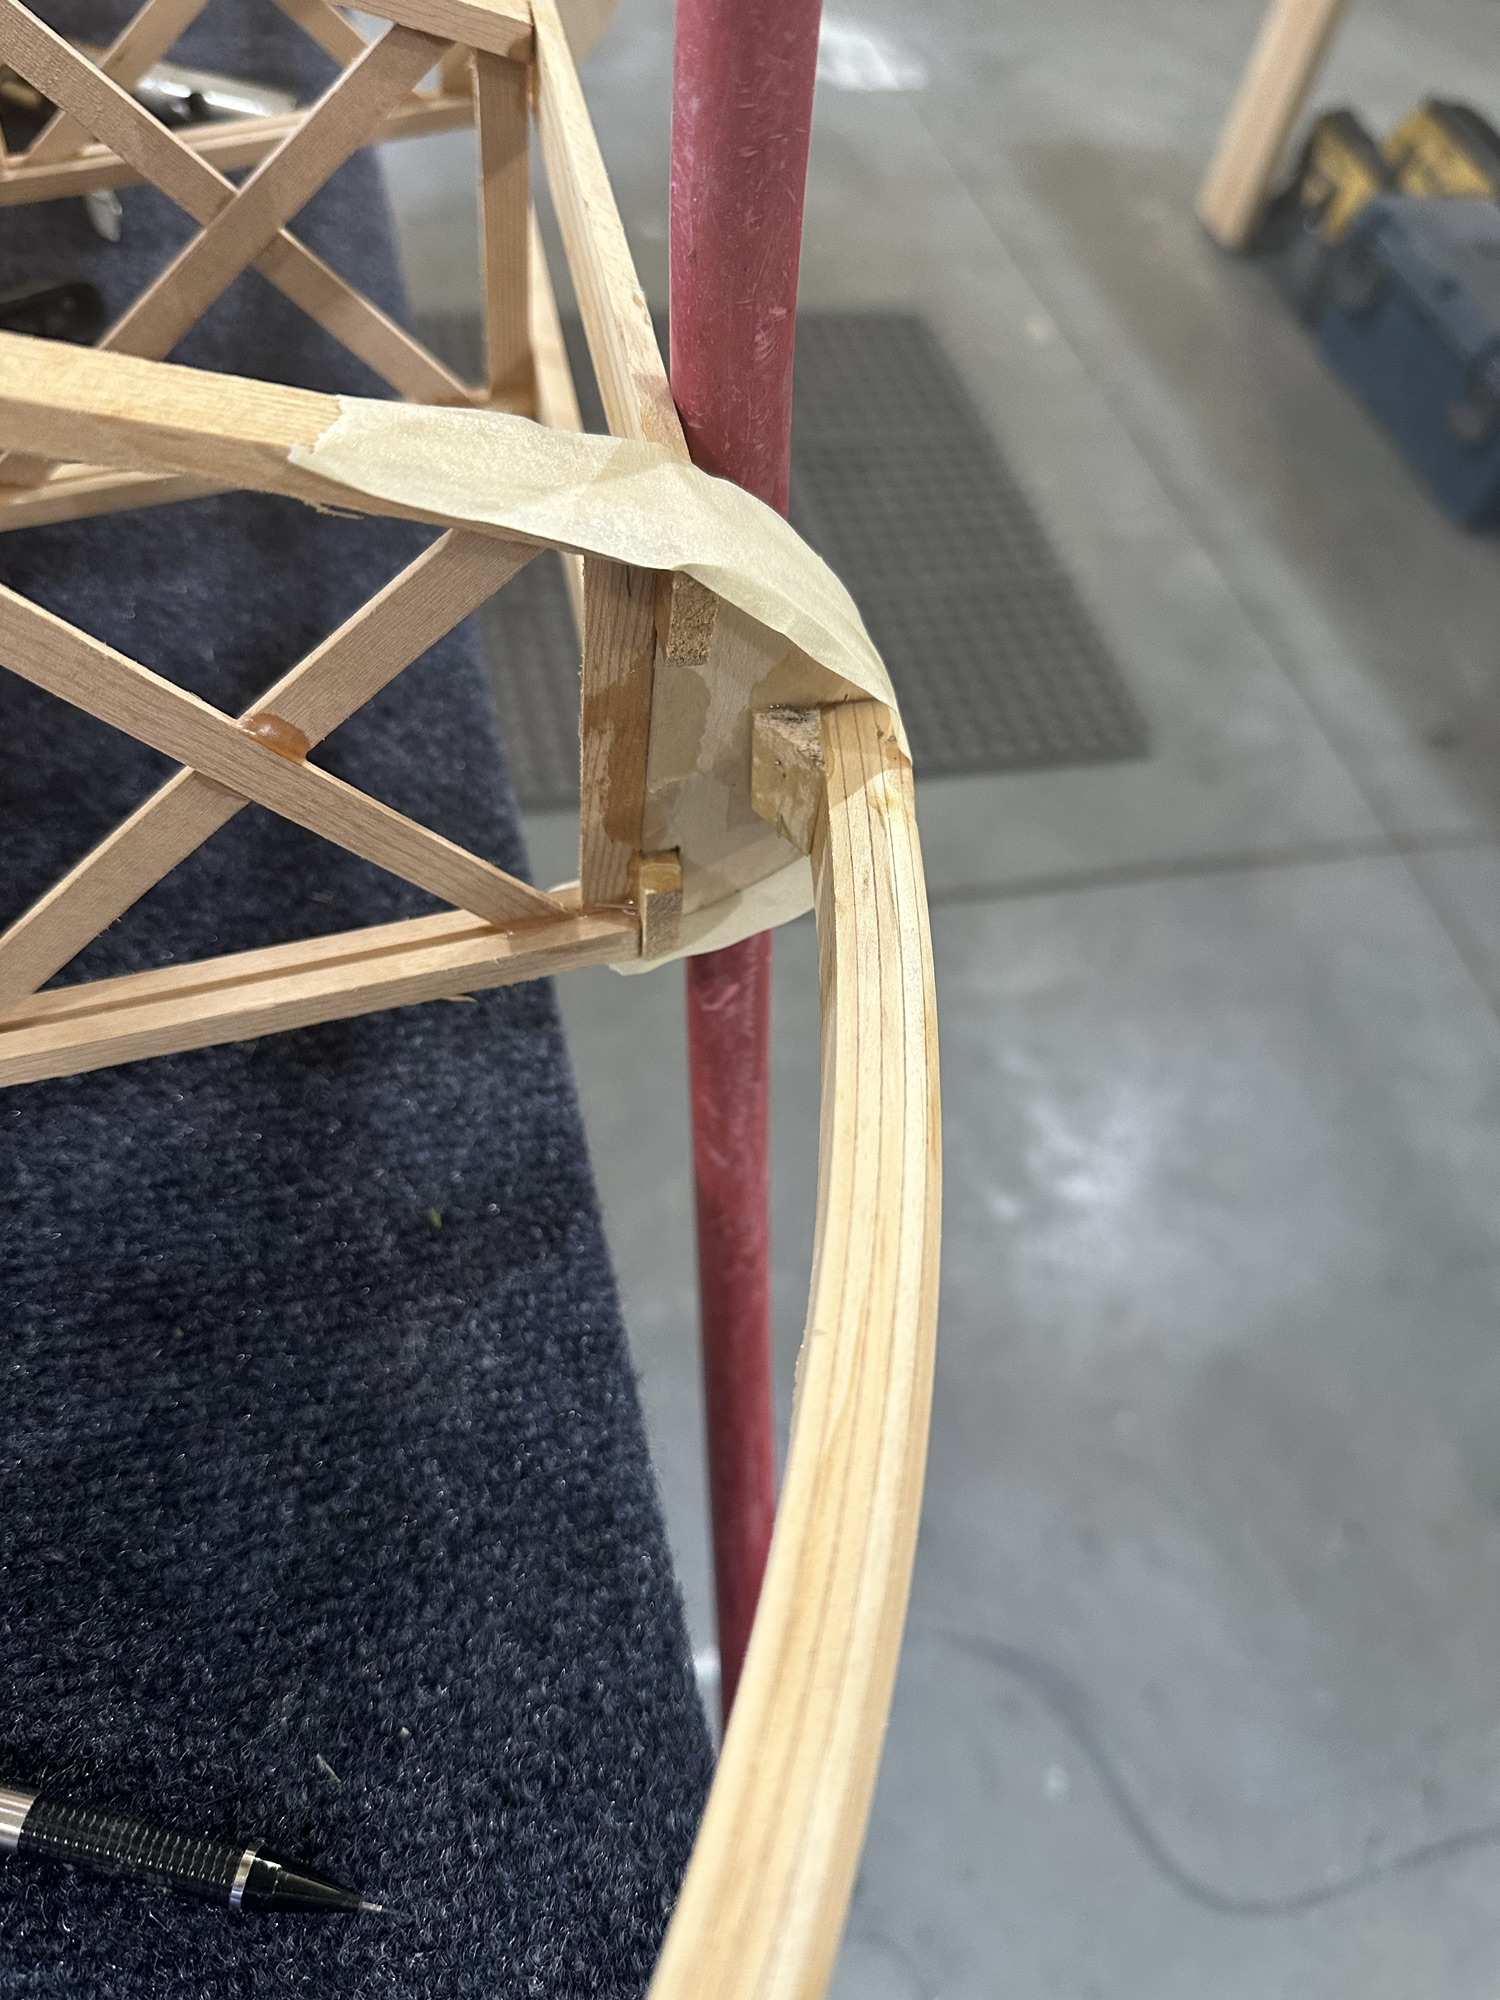
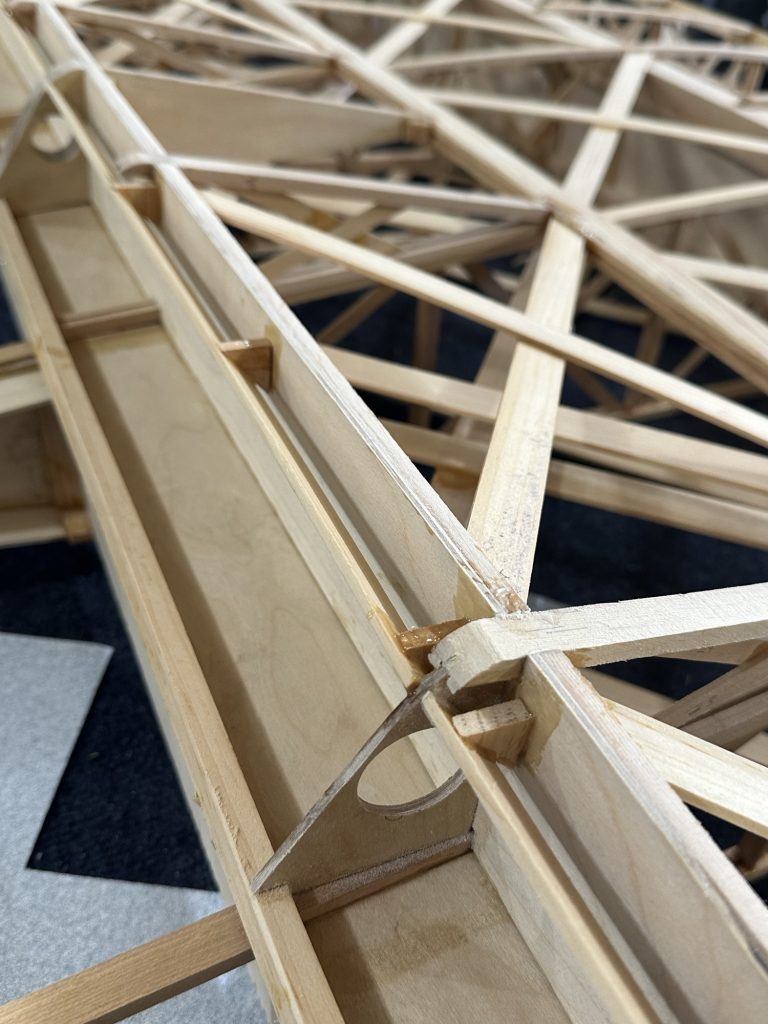
With that done, I removed the clamps from the wingtip bow and sanded down the gussets I’d installed last time. I won’t know if they require any “fine tuning” until I have a chance to get some fabric on it, but I think they’re good to go.

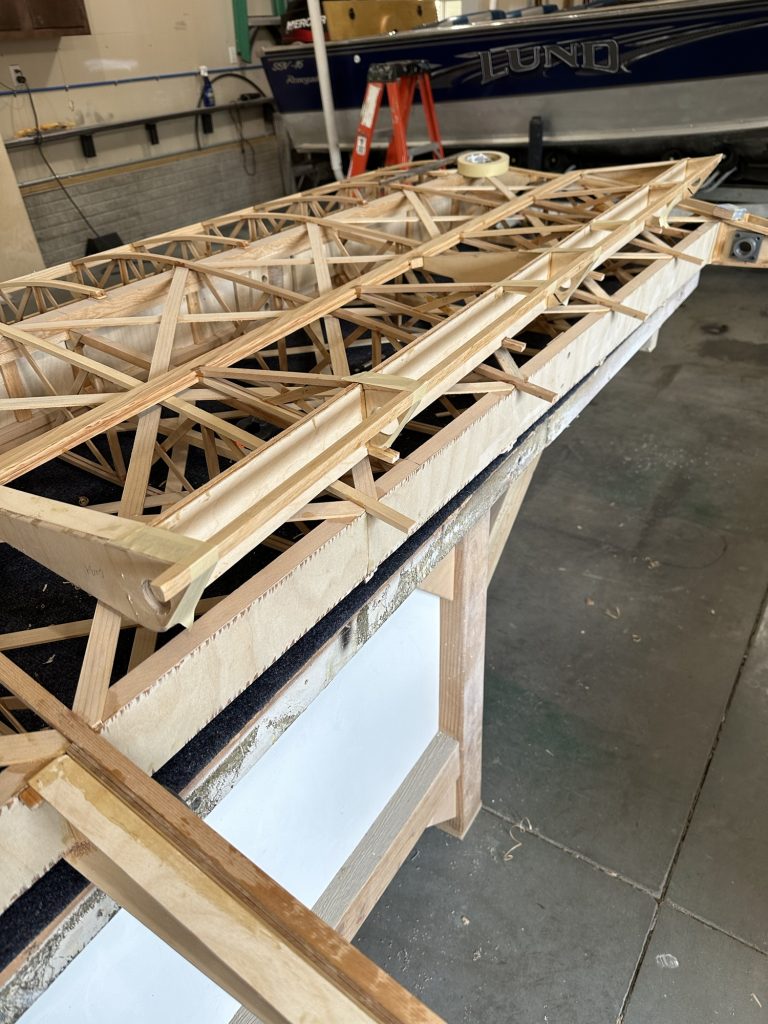
I flipped the wing on its top surface and added some more blocking under the ends of the wing walk. These are just regular corner block stock to tie the plywood to the spar caps. I think everything looks pretty sturdy there now.

With some time and glue left, I sanded down the corner blocks on the underside of the wingtip bow supports. I cut, glued, and clamped the gussets in place and called it a day.

On a roll!

Today I did some work with the razor plane and a new sanding block to get the aileron spar and other bits to their final dimensions. I got the top side geodetic braces cut and glued in place on the aileron. Then I glued the lower aileron nose skin in place – the aileron now has, I think, the maximum possible number of clamps on it.

With that done, I got the blocking sanded down on the wingtip bow supports, and cut and glued the top gussets in place. Only eight clamps there, but I think it’s still feeling the love.

And if you’re a Star Trek: Voyager fan, this makes Seven of Nine days in September that I’ve worked on the plane.

Wing walk skins down

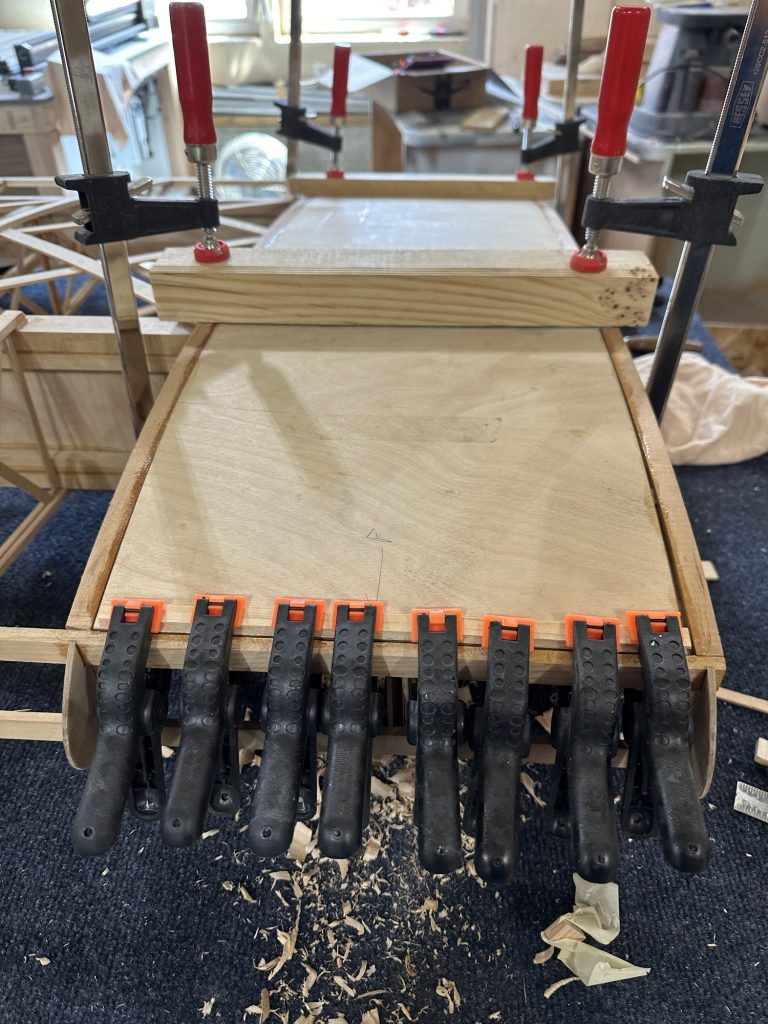
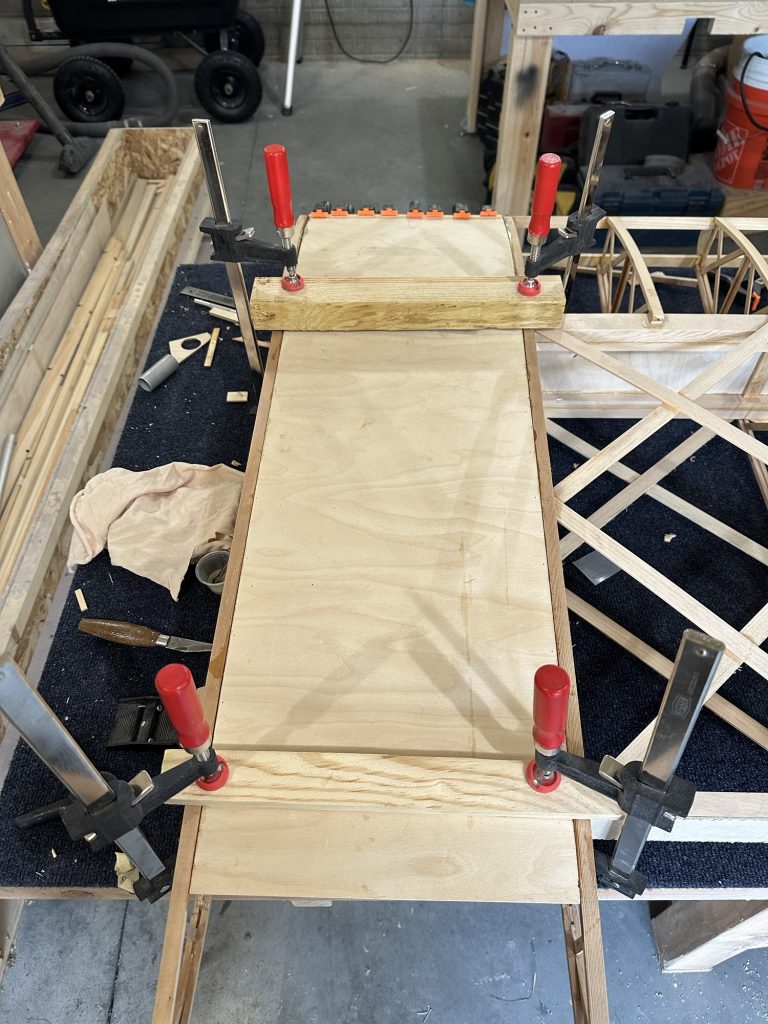
Today I went through more epoxy than I have since gluing the spar caps. After some sanding and test fitting, I pre-glued the wing wall structure and the two plywood skins. Then Stu helped me clamp the edges down, and pinned down any spots that weren’t firmly in place.

As planned, I used some scrap lumber to make clamping bars. I used strips of geodetic material between them and the skins to ensure good pressure and clamped everything together with bar clamps.

With some epoxy left over, I glued the nose spar onto the aileron and did a little more corner blocking on the wingtip bow supports. With all that clamped, pinned, and taped in place it was time for lunch!

Same thing, different side

Today I went over and flipped the wing right side up, which is pretty easy to do with that nice big curved handle on one end. I cut and glued in the same bracing I did the other day, this time on the top side of the wing. It went pretty quickly.

Tomorrow I’m hoping to get the torque tube bearing blocks screwed in place and cut the aileron free from the wing. We’ll see how that goes.

Glued wingtip in place

Today I got the end nose rib notched and the wingtip glued in place. I have the blocking at the spar tips and nose rib, but will still need to block and shape the trailing edge as well as gluing in the plywood gussets. Still, it feels good to have the wingtip on. It looks more like a wing!

I also trimmed the CW36 pieces. These go on the ribs just outside the aileron bay and hold the torque tube support bushings. As supplied they were about 3/8 too long for the inboard side, and 7/16 for the outboard side where there’s an additional thickness of plywood where the wingtip spar web overlaps. For this I just set the miter gauge on the table saw to match the angle of the piece, then set the table saw to cut off the length needed. I won’t glue those two pieces in place until after I have the rest of the aileron structure built up.

Miscellaneous work

Today came and went without mixing up any glue. I sorted out the nose plywood, then went through all of the aileron pieces and got them cleaned up, marked, and re-taped for the three remaining ailerons. I got the aileron spar web and marked it for the notches to clear the ribs, then brought it home and started cutting those notches on the bandsaw. I pulled a wingtip bow down and checked its fit; it looks like minimal trimming will be needed.

I also collected all of the aluminum pieces I had at Stu’s shop and brought them home, and cut the ends on the bandsaw. They’re all CAW2 pieces, I think — I need to dig out the rest of the pieces and get them all drilled and finished off. I’ll finish them on the belt sander and Scotchbrite wheel before priming them. My little 3D printed guide button worked great for this. I don’t recall if I described it or not, but it’s just a 1″ diameter by 1/8 thick disk, with a 1/4″ diameter by 1/8 thick nub in the center. Put the little piece in a 1/4 bolt hole, and the larger piece gives you a perfect guide for shaping the end of the bracket with a 1/2″ radius. They’re disposable if you nick or break one, and only take a little while to print up. I’ll probably print a few more in case I destroy any while using the belt sander.

I spent some time trying to determine whether the wing walk pieces will be of any use to me or not. The plan sheet and plywood supports all seem to be made for some earlier version of the wing. The notches on the supports don’t work (or even come close to working) with the root blocks on the main spar or rear spar. The forward plywood bits are too long, and even if cut off don’t match the curve of the wing ribs. There are supposed to be three installed forward of the spar — but that would only work if I removed one of the false ribs. I still don’t know what I’ll do for the wing walk. I do know that 1/4 plywood for the rear portion would need some curve in it, and I’m not sure about that. The plan notes say to nail it in place until the glue dries… ::shrug:: This is why I’m considering a laminated layup with some wood and maybe a layer or two of carbon fiber.

More aileron work

With a week or so off in there due to both my wife and I having COVID, things have been progressing. I got one of the torque tubes measured and cut for the wing. The plywood bits for the nose of the aileron ribs all got drilled out. Looking at how to do the aileron build brought up some issues, though. The plans say to glue and clamp those in place — the challenge is in how to do that, exactly. The clamping anyway.

In order to make the job a bit less complicated, I glued up the plywood sandwiches for the two ends and the middle, where the locking pins will install. I spread some epoxy and threaded the pieces onto the cutoff piece of torque tube to get them all perfectly aligned – and they were tight. With everything aligned perfectly, I shot a few 1/2″ 23 ga. micro pins to keep everything stable, then added spring clamps and took them off the tube so they wouldn’t end up glued to it.

Next day I ran those and the 1/8″ ply pieces on a spindle sander with a 3/4″ drum on it to enlarge the holes a bit. I wanted a slip fit on the tube for the thicker pieces, and a more “roomy” fit for the 1/8″ pieces. Those were supposed to get 1-1/8″ holes in the first place, but I missed that part in the instructions and we drilled them to 1″.

Realizing that the wing now can’t sit flat on the steel rail due to the trailing edge of the wingtip bow not being tapered to match the wing, I took care of that as well. Only the last couple inches of the bow need to be tapered. I started with a little razor plane that Dad used for model airplane work to shave the bow lamination and corner block down very close to the contour I wanted. I then finished it up with a sanding block, and I’m quite happy with the result.

Everything is ready now to get the plywood pieces glued into place. I’d have done it today, but as I was about to mix up the glue I was reminded that it was time to go pick up the grandkids, which turned into dinner and a late arrival home.
First wingtip bow

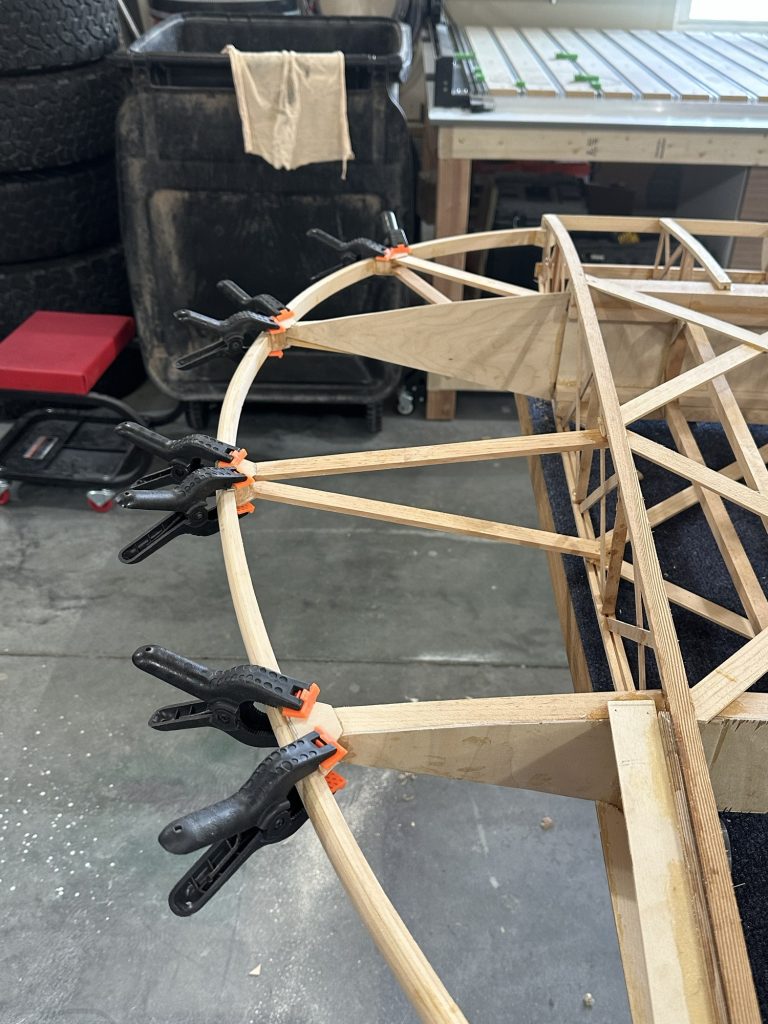
On Monday night we got the wingtip bow put in place and corner blocked. It’s looking very much like a wing now! I also received my order of plywood from Spruce, so was able to cut and glue in the gussets for the compression struts.

Of course there is still work to be done. Some additional bracing needs to be installed for the bow, and the trailing edge will need to be sanded to match the contour of the wing trailing edge. Details, details.

Yesterday I picked up three 12′ long sections of 6061-T6 aluminum tubing. Two of these will become lower wing aileron torque tubes, and the third will become the torque tubes for the upper wings. None of that stuff does not come cheap, I’m telling you. I’ve pretty much blown my materials budget for the month. But, at least now I can continue with aileron construction – once I get back over there to the shop. My darling wife is sick and has tested positive for COVID, so I’m avoiding getting close to anyone for a while just as a general precaution. Once I know I’m not contagious I’ll get back over and get that tube cut to length and resume work.

Aileron and wingtip 12/2

Today we got the ends of the wingtip bows trimmed to length, and the wingtip supports trimmed to fit. I want to get the bows routed or sanded to their final shape before gluing them in, so that’s going g to need to wait a bit. I did cut the corner blocks for both ends.

The CW36 aileron bay end plates aren’t as bad as I thought, and the holes can be modified as needed, so I glued them in place. I also cut and glued in the remaining aileron spar stiffeners and the plywood piece that will hold the bracket for the aileron connecting rod. I think that’s everything I feel comfortable doing before getting the torque type in place. I also need to stop at Lowe’s Aviation Department to pick up a little chunk of 1” PVC pipe. The Celebrity uses 3/8” slices of plastic pipe to keep the ailerons centered in the aileron bays.

I was pretty chuffed. I estimated it would take about 8 cc of glue for everything I wanted to glue today… so I mixed up 8 cc, and ended up with almost nothing left over.

Lower left wing, Day 5

After a couple days’ hiatus for Thanksgiving, I went over yesterday to resume work on the wing. We cut the notches in the nose ribs and got them glued in place, and I cut and glued the corner blocking for the four compression struts. I still need to cut and glue in the gussets for those. We took a look at some of the aileron pieces to figure out how all of that goes together. I’m waiting on a response from Millard Metals on my aileron torque tube stock; I don’t think we can do much until I have that. I think the next step will be to get the wingtip bow figured out, and wrap the leading edge with plywood. Then I could also start cutting and installing the bushings for all of the attachment bolts.