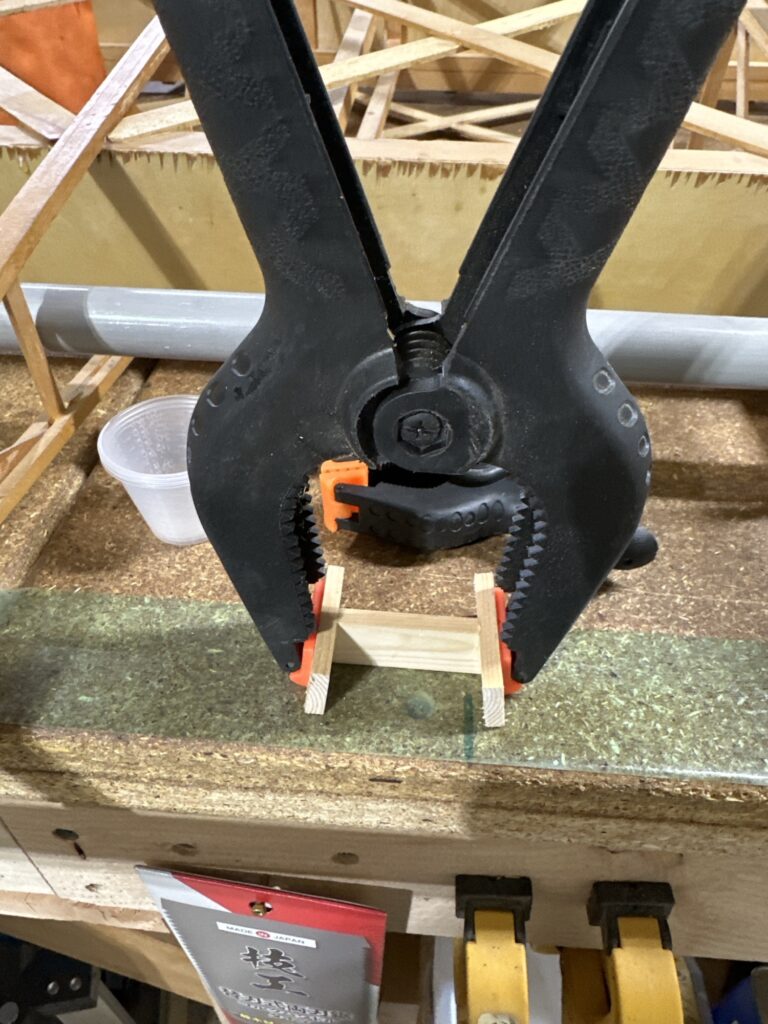
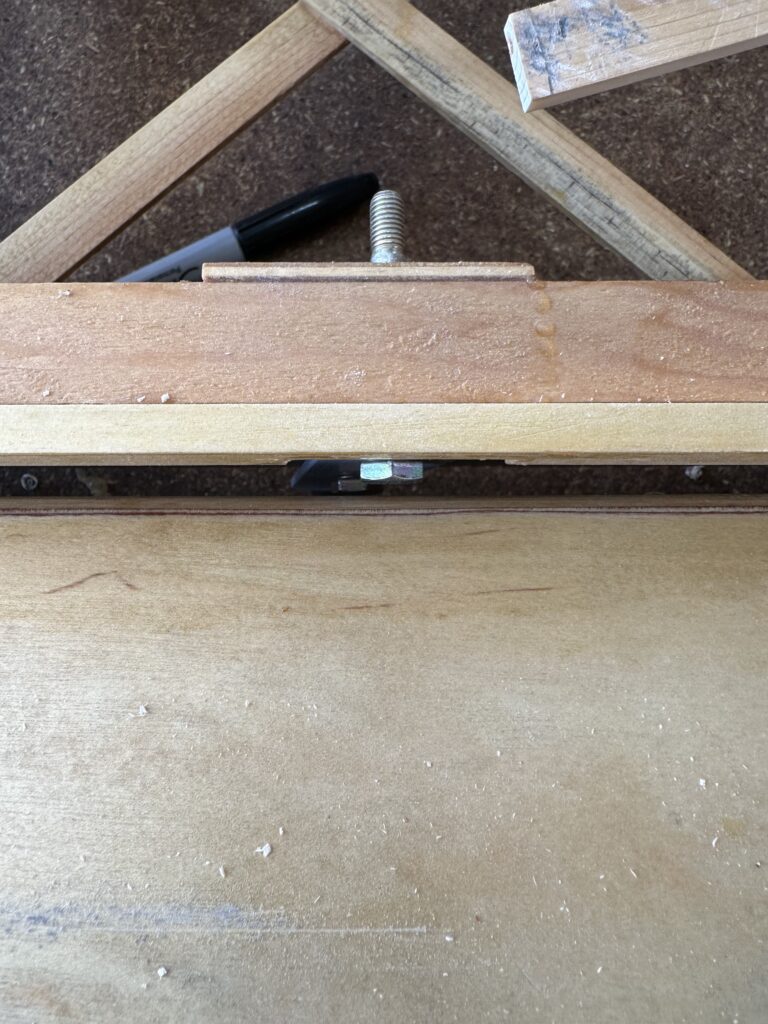
A few months back, I accidentally punched a hole in the aileron nose skin. I had glued a patch over the hole, but it needed a skim coat of epoxy and micro filler to smooth it out. I did that, and used the left over mix to fill in the gaps between the two plywood wing walk skins, and a little gap along the edge where the wing walk skin meets the root rib. Next step is to make the final torque tube bearings, I think, and wait for a hardware order from Aircraft Spruce to finish attaching the last of the brackets – then this wing is ready for storage and eventual covering.
Aileron cleanup
The torque tube still had quite a bit of drag, due to it rubbing on the edges of the holes in the bay end panels. This morning I sanded the areas where the tube was contacting wood and re-installed the bearing blocks and aileron. Now the only control drag is from the bearing blocks themselves. The set I have installed are 3D printed mockups, and I don’t know how accurate the hole size is. Before I machine the final items from UHMW or whatever I end up using, I’ll have Stu mill me out one or two from some cheap scrap material like plywood or MDF just to check the fit on the tubing and see if I need to tweak the OpenSCAD file.
With that done, I used the Jorgensen bench plane to shave down the trailing edge to match the rest of the wing. I haven’t tried to change the taper yet, or reduce the thickness, I just basically whacked a quarter inch off the trailing edge of the aileron. I’ve used the planes a bit now, and every time I do I like them more. I like the little curled shavings, I like the feel of the blade precisely slicing off exactly as much as I set the plane for, I like the perfectly smooth edge it leaves. It’s so much nicer than using sanding blocks or power tools. I’m sure I don’t have the blades as sharp as they could be, but it’s still a joy to use them.
Having a QUIET shop vacuum and a dust separator is really nice as well. I want to put together some sort of cart or something to reduce the footprint – maybe put the dust separator on top of the vacuum. I’m still struggling with keeping the garage from getting cluttered and difficult to work in, but I can see a path to having a little more elbow room.
Right lower aileron fixed
The recommended fix is to move the aileron torque tubs and the pivot point back 1/4″, then cut the trailing edge of the aileron and shave the rest to match the contour of the wing. I looked at numerous other approaches, but most would involve starting from the rib fabrication stage, or simply building all new ailerons. I had considered simply notching the aileron nose spar, but just wasn’t really comfortable with that idea.
I needed to enlarge the holes for the torque tubes in the plywood plates that close out the aileron bay. To do this I found a sanding drum for the spindle sander that, as luck would have it, slid snugly onto on the aileron tube itself. I was able to use this to oval out the holes enough to position the aileron where it needed to be. The most difficult part was holding the aileron perfectly in position forward/aft and up/down to align with the wing ribs. A bunch of clamps finally got that done, along with a pair of spacers to position the aileron the correct distance from the front of the aileron bay. With it securely clamped in place, I drilled the holes for the bearing blocks. I’m glad I didn’t sell off my right-angle air drill that I bought to build the RV-7; it was really the only way to get those holes drilled. A full size drill or chuck wouldn’t fit without hitting the adjacent rib and the torque tube.
Next up will be using a plane to shave a quarter inch off of the trailing edge and correct the taper to blend this with the rest of the wing. The nice thing is, I have the technique and the tools I need now to do the other wing, and it should only take half an hour or so instead of the few hours I spent on it today.
I also found a couple of areas where I had missed applying spar urethane, so I got those all painted this morning. There’s only a little work left to do on this wing before I will be able to move it to the airport and bring the other wing home.

Workshop prep
As often (always?) happens when a new large work table appears in a garage, it immediately got covered with a raft of postponed and opportunistic projects. Vegetable and tobacco seedling trays, a couple of 2-stroke implements that needed new carburetors, some engine work for the Mustang, a furniture project, and a bunch of random other stuff that just… collected, as these things so often do. I also routed grooves and installed a couple of T-tracks in each of the extension wings, just because it’s not uncommon for me to need to clamp something down to the bench. Now I can.
Today I got everything cleared off and wiped on one more coat of linseed oil just to try and keep the top of the bench from getting crumbly and maybe provide a little bit of paint/oil/glue resistance. Assuming the weather doesn’t turn nasty early tomorrow, I’m hoping to bring one of the wings home. I need to get the aileron interference issue fixed, the last of the strut brackets installed, and the second (right) wing varnished so it can go to the airport where the wing stand awaits it. Then I can bring the left wing home, fix that aileron and brackets, and get it to the airport as well – and finally start on the top wings.
Aggravating complication
So, I found the plan supplement that talks about the aileron interference. Written in 2010 — seven years before I bought my plans — it notes that the rear spar was changed at some unknown point in the past, by someone, but never really documented, and the “updated plans will be sent out as they are available”. Which, apparently, they never were and probably still aren’t. Then it talks about plans delivered electronically (which they weren’t, and to my knowledge weren’t offered) having an updated sheet with new dimensions for the ailerons. It also says that this is only an issue with the upper ailerons hitting the CAW9 bracket. Uh, no. The lower aileron hits the head of the bolt holding the CAW3 bracket. There is one sheet that seems to show an upper aileron, with no dimensions to be seen anywhere. Wonderful.
So what’s their brilliant solution for fixing an already built aileron? Simply move it rearward to clear the bracket – this means take a hole saw to the wing to move the torque tube back in order to move the aileron. Then just cut off the trailing edge to match the rest of the wing, and sand all of the aileron ribs to match the contour of wing at the new location. Oh, and that’s probably going to remove enough rib cap material that extra bracing will be required… How many ways can this be wrong?
I get the impression that whoever wrote all of that has never actually built a Celebrity wing with 3/4″ rear spar caps. Meaning, whoever it was hadn’t built a Celebrity wing to check this stuff out since 2010. Come on.
I’m currently evaluating whether notching the lower leading edge of the aileron is an option. The actual aileron spar wouldn’t be affected, and the torque tube runs the entire length of the aileron, so it’s not like it could fold up and depart the aircraft. Still, I don’t want to weaken the thing and take the risk of cracking or anything, especially since this structure will all be under fabric and not easily inspected. Stu seems to think it wouldn’t weaken the structure, but he’s a carpenter and cabinet guy, not an engineer (and neither am I).
I’m going to have an actual engineer look at this and give me his opinion. I could always add a layer of 1/32 or even thicker ply if needed, but my gut feeling is that it’s not going to weaken anything enough to matter. In the mean time, I’ll keep pushing on, but this is kind of a kick in the nuts, to be honest. I’m sure a year from now I’ll look back and marvel at how little it actually mattered. I would feel sorry for anyone buying a set of plans now at over $3K and probably still not updated… I hope the new owners of the Fisher IP take the time to fix this kind of stuff.
Nearly there…
I keep finding little things that still need to be done on this wing. At least it won’t take as long to do the next one. I’ve been getting over there nearly every day, but the little bits of work here and there didn’t seem worthy of a complete build log post. But since the last update:
- Cleaned, primed, and drilled the fittings for the upper/lower aileron pushrods
- Located and drilled holes for the aileron bearing block screws
- Managed to punch a hole in the aileron LE skin, and glued a patch over that (will need to smooth it out with some micro)
- Worked to trim the upper aileron bay piece to get full UP travel on the aileron
I also found that the aileron DOWN travel is restricted by one of the bolts for a fitting on the rear spar. I recall reading that the rear spar thickness was changed from 1/2″ to 3/4″ at some point, and that causes interference. The aileron should have 22 degrees travel in both directions; I get about 15 – 17 degrees down right now. It would be less if the aileron and wing were covered. I need to dig though the plan supplements and find the section that talks about that and see how to fix it. The obvious choice would be to notch the lower front corner of the aileron leading edge to clear the bolt head, but I’d really prefer some other solution… it sure would have been nice for whoever did the plan changes along the way to have properly documented this stuff on the drawings themselves, rather than just tacking on random pages with these “Oh, by the way…” notes (which are themselves occasionally wrong).
Wing fittings and aileron work
I’ve spent a couple hours this week getting bolt length sorted out and getting some of the wing fittings attached.
My strategy for the wing attach fittings was to make one of each type of fitting, pilot drill the holes with a 1/8″ bit, and use those to mark the location of the holes in the wing spars. Those holes got drilled on a drill press using Forstner bits. Then I cut the rest of the fittings, used the first ones as templates for drilling them, and figured all of the holes should line up.
Well – they’re close. I’m not a machinist, nor am I using tools techniques of suitable precision to produce perfect parts. For example, when looking at the CAW2A wing root mounting brackets, the holes are not perfectly aligned – so there’s a top and bottom to those, meaning until I figured that out it took a few tries to get everything lined up right. No big deal.
Then I discovered that one of the holes isn’t drilled perfectly square. It’s only off by maybe .010 total, but just enough that you can’t run a bolt through the forward bracket, the bushing, and the aft bracket without interference. If the bolts were just going through holes drilled in the wood of the spar, it would be fine – but the bushings are a snug fit, I had to do a little adjusting of that hole to get everything to fit properly.
We finally got the bottom of the aileron leading edge routed so that it’s now in its final state. When fitting the aileron and checking travel, I discovered that I’d messed up just a little when up finishing out the aileron bay. On the first wing, I’d positioned the top beveled strip with the aileron in place, and checking clearance per the plans. On this one, I just measured the first wing and matched it. I don’t have enough up travel on this aileron. After a little more investigation, it’s just the ends that interfere, so easily cleaned up with a couple minutes of work with the razor plane. I’ll need to pay closer attention on the next two wings. I’m thinking just use a length of 1/4″ shim stock to set the spacing with the aileron solidly fixed in its final location.
Catching up
I’ve missed a couple of updates to work done on the plane over the past week or so. I got the second coat of varnish on the wing, including the aileron. I got all of the bushings in place, and started to attach the various attaching brackets… oops! No torque wrench. And, I can only find one CAW9 bracket. I think I ran out of 3/16″ x 1″ 2024 flat bar stock before I got them all made; I need to go hunting and gathering again. Once that’s done I can finish off the aileron (the lower leading edge needs a pass through the router for its radius) and move on to varnishing the other wing.
Finishing out the aileron bay
Last session I cut and sanded everything to get the top of the aileron bay closed out. Well, not everything; after gluing in the CW37 piece I realized that there were some additional supports I hadn’t cut. As I was running short on time, though, I had to leave them for another day.
The fun part (and it actually was kind of fun) was cutting notches in CW37 for the ends of the rib caps. After marking the location of both sides of each rib. I cut a shallow slot with he razor saw, then used an X-Acto knife to gradually fit the depth of the notch to fit. In the end I got it in and clamped, then had to leave.

Aileron skin
Over the past couple/few days I’ve glued the bottom skin on the aileron, then attacked the top nose skin. Trying to get the lower and rear edges of the skin glued down at the same time is, I have concluded, a fool’s errand. I ended up gluing it to the flat front portion, then doing the top edge separately using a long piece of flat board to clamp it to the tops of the ribs and the aileron spar. The front edge I’ll do separately as there’s not a good way to clamp it in place.