Generic update

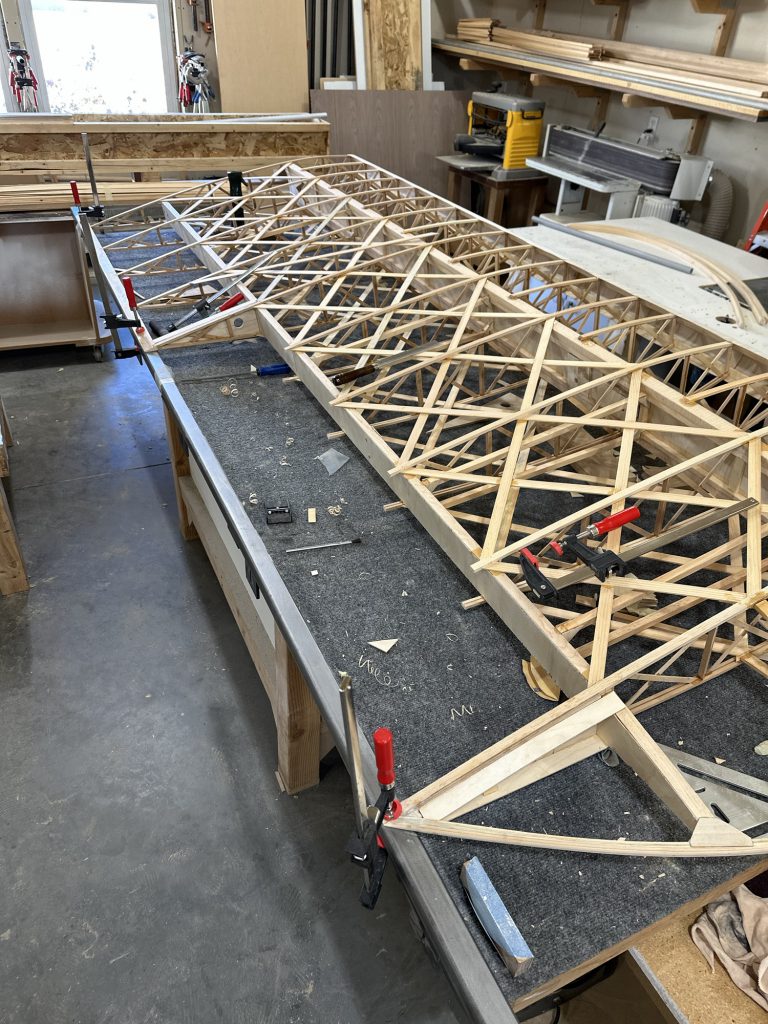
Yeah, it’s been a long time, no updates, and so on. I bought a few more pieces of capstrip from ACS to finish out the last of the false ribs, but honestly the lack of any place to assemble wings or build the tail surfaces — or really any other parts of the plane — has had me less than enthused about getting much done. I’ve got a tall stack of full wing ribs and an almost-as-tall stack of false ribs sitting on a bench on my basement, doing nothing.

From time to time I check Barnstormers to see if another Celebrity pops up for sale. Occasionally one does. The two that really gnaw at me? A gorgeous, Rotec radial powered Kitplanes Magazine article centerfold that was advertised for probably less than the engine would cost me, and one a couple hours’ drive from here with no engine that was listed at about $5K or so. In both cases the timing just was not right (hell having not frozen over quite yet).

Now I’m contemplating a run down to St. Louis. The purchaser of Celebrity serial number CE165 – one later than mine – had apparently never started building, and a crate with the complete wing kit is for sale. The seller is asking a fraction of the cost of a new kit, and it appears to be complete. I did some plotting, and even just ordering the wood for the wing spars – not the entire wings, mind you, just the spars — would cost more than he’s asking plus my gas for the trip, and that’s before I pay LTL freight costs to have it shipped from Aircraft Spruce. Plus it’s a complete wing kit, with all the pre-cut plywood pieces, laminating strips for the wingtip bows, trailing edge pieces, all of the bits that would add cost and time and aggravation to a scratch build. I can’t pass it up. I’d also have a full set of plans that I could sell to help defray a little of the cost.

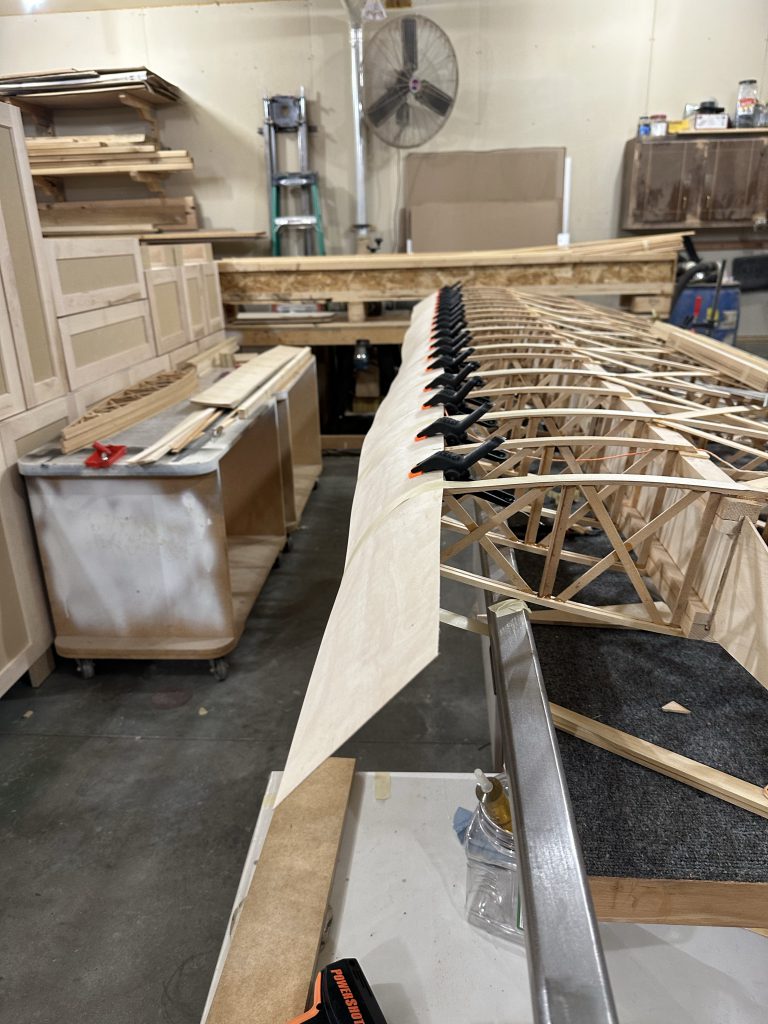
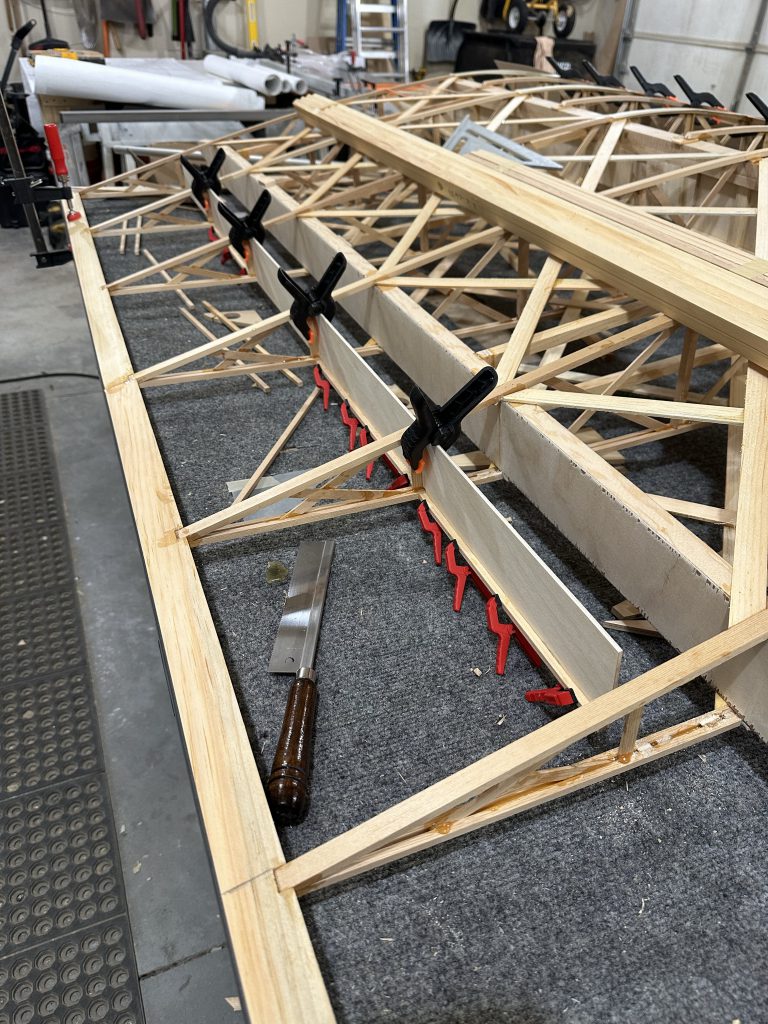
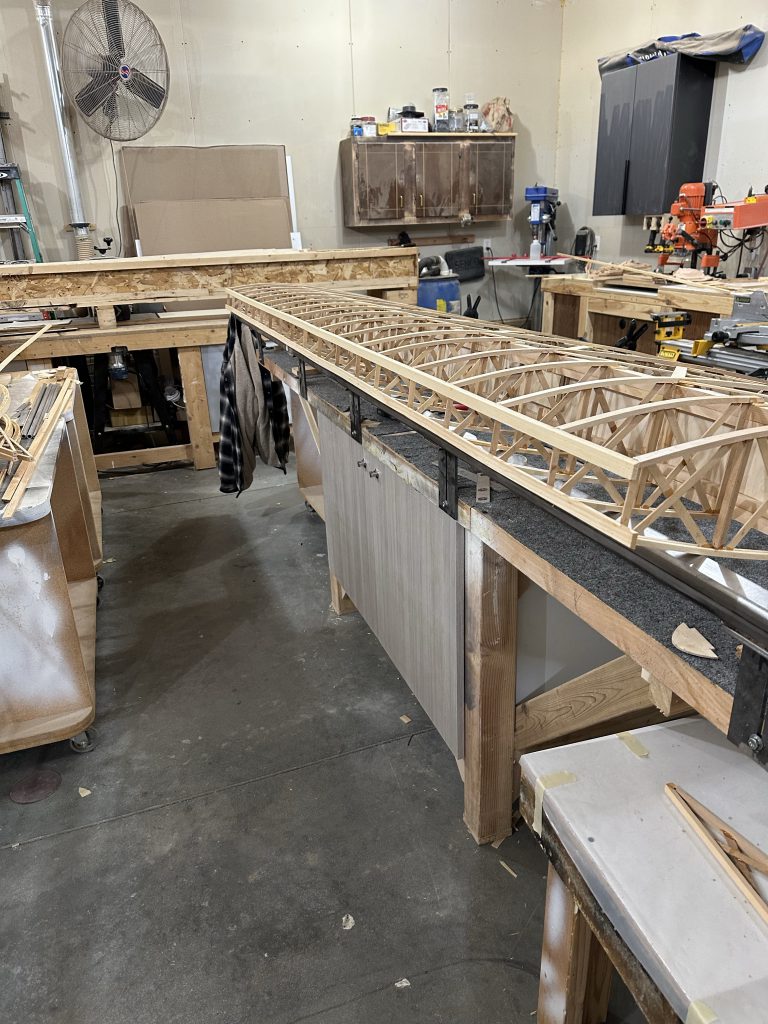
A friend with a large woodworking shop has offered to let me continue building there in his shop — heated, air conditioned, lots of space, plenty of power tools, and this all feels almost too good to be true. I’ve just got to make a 13-14 hour round trip with a pocket full of cash.

Stay tuned, I guess.

A few more false ribs

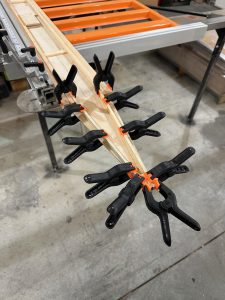
I glued up two more last night, and will do two more tonight. That will make 18 down, with 20 19 more to go. I’ll typically take some time at lunch to cut out the cross brace pieces and get everything set up. Then after work I’ll mix up some T88 and glue the ribs up, then let the glue cure overnight. By the next morning I can pull them out of the jigs and start again.

I’ve run out of cross-brace stock that’s been sanded down to 3/32″, so I’ll have to stop while I retrieve the small shop vacuum from the project house where it is now and run some more 1/8″ stock through the drum sander. It’s a pain, yes, but it has to be done.

I’m already debating where to go from here, once all of the false ribs are finished in a few weeks (maybe). I could start on the tail, but that will require a 4 x 8 work surface. The wing spars will require a longer bench, at least 12′ long. I may instead start working on cutting out the large number of nose ribs that will be needed, and the other high volume plywood parts. It’s awfully tempting to set up my CNC router again for that part, but I doubt that I will. I’d have to translate the outline from the printed plans into G-code for the router, and quite frankly I think by the time I got that right I could cut them all out by hand. I’ve seen a couple of guys use a router and a flush cutter to route the nose ribs from a pattern. I’m a little concerned about the radius on the inside corners where the nose rib glues to the false spar. I figure I could either sand a matching radius there, or touch up the corners of the nose ribs with a bandsaw or something. I’ll cross that bridge when I get to it.

Stacking them up

Nothing new, but last night I gathered up all 47 full ribs and stacked them up, carefully aligning the cross pieces for the main spar, aft spar, and nose spar.  I was a little concerned about the amount of variation I might find, considering the ribs came out of two jigs over a period of 20 months.  I was very happy to see that there’s no more variation than could be attributed to wood thickness.  Less than 1/64″, probably under .025″ anywhere along any of the ribs.  Then I stacked up the dozen false ribs I have done so far, same story. 

Wait – 47 full ribs?  Yes, it seems somewhere along the line I must have lost count and built one extra aileron rib.  I’ll either keep it around as a wall hanger/test piece, or maybe stick it under the wing walk for a little extra support.  I’m not sweating it.

This exercise has also reinforced my idea to build a sled for the table saw to lop off the ends of the ribs for the leading and trailing edge pieces.  They are very highly consistent, as they should be, so I think that will save time and make subsequent assembly steps easier.

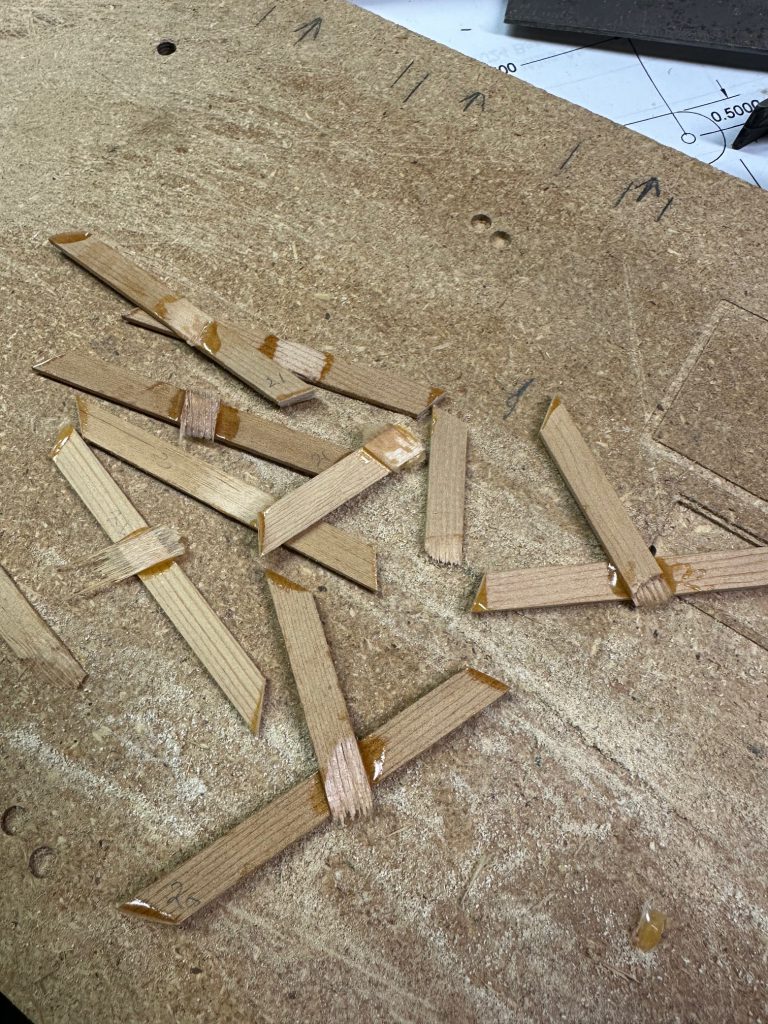
The bad news is — my T88 epoxy is junk.  I refilled the dispensing syringes and the resin looked a little “off”, not perfectly smooth and clear as it usually is.  Maybe a little cloudy and with a different texture.  I mixed up a small amount and glued up some test pieces.  Where I glued the flat sides two sticks of capstrip together, the joint held well and pulled apart well into the wood.  However, where I had glued a couple pieces of geodetic brace into the slots, the glue joints failed allowing the braces to pop out without breaking.  The glue also was not clear and hard, as it should be, but had an almost grainy or mealy texture to it.  I don’t have any trust in the remaining glue in those bottles.  I’m certainly not going to risk using substandard adhesive to save about $20 worth of epoxy!  Into the trash it goes.  I have two new bottles here, and half a dozen new 60cc syringes on the way from Amazon.


Score!

I haven’t been doing much on the biplane recently, but I did manage to score an altimeter for it.  I’ve been watching the for sale ads on line for decent deals.  Someone offered an altimeter that worked, but failed an IFR certification due to out of tolerance leakage at 15,000′.  Well…  if I ever do finish the bipe and fly it, it certainly won’t be at anything over 10K, let alone 15K.  So for fifty bucks it was a no-brainer.  It’s a pretty nice altimeter, not one of the super cheap imported junkers that’s being sold now.  It’s really more altimeter than I need… 

My “new” used Shinko Electric altimeter

So…  I have an altimeter, and a quad oil temp / oil pressure / CHT / EGT gauge for monitoring the engine.  I will still need an airspeed indicator.  Most that I see for sale have speed ranges not appropriate for the Celebrity — I really don’t need or want a 200 knot ASI.  Then I’ll need a compass, of course; a slip/skid ball; a tachometer.  Whether I need a fuel gauge or not depends on what I decide to do for fuel tanks.  I’m thinking no electrical fuel gauges, all float or sight type.

I could just ditch all of it and go with a single instrument from Dynon or Garmin, but I just think such a thing would look out of place in a classic biplane.  I’m not sure what I’ll do for the front cockpit, though.  It would be nice to at least have airspeed and altitude there for passengers, but I’m not sure I’ll be able to score a deal like this again.  There’s always UMA

Plugging along on aileron ribs

Five down, eleven to go.  Cutting the geodetic braces individually is really not as much of a chore as I thought it would be.  I am finding that I’m going through the 6′ lengths of stock quickly, though — I figure I have enough shaved down for the next 3 ribs, maybe 4, then I’ll have to fire up the drum sander again and make some more.  Not that it’s stupidly tedious work or anything, mind you.

In hindsight, it would have been a whole lot less work and actually less expensive to have bought 3/8″ thick spruce spar stock and just ripped it down to 3/32 strips, losing half the board to saw kerf.  I am at a loss to explain why that little bit of math didn’t make itself obvious.  Of course, I thought at the time that shaving 1/32″ off those strips would be quick and easy.  Not so much.  So…  if you’re building a Celebrity from plans, you’d be better off doing that.

What next?

It’s a little early for this debate, but given the long lead times for ordering wood…  not too early.  I could possibly be done building the wing ribs in a month or two, if I get on it with a purpose.  If I’m going to need a bunch of spruce, I probably need to get the order in now.  So the question becomes — what next?

  • I could build the wings.  It looks like the wood for the spars will cost me around $8-900, plus substantial shipping.  I’d also need to extend my workbench by at least 4 feet, so that’s another project in itself.  But I’d have wings, man, which would look bitchin’ cool hanging in the garage or hangar.
  • I could start on the fuselage.  It’s a big piece that would be a huge leap forward.  I haven’t calculated the wood cost yet, but it’s a significant amount of birch ply and spruce.  Again, I’d have to build another workbench to extend what I have by 8 feet or so (and rearrange the garage).
  • I could start on the tail feathers.  I could do all the work on my existing workbench.  After looking at the parts list, most of the wood specified is pine; I’d need some aircraft ply as well.  The elevator & stab. spars are specified as spruce, but I could source suitable quality Douglas fir locally and substitute that.  I’ve seen boards at Menard’s with growth rings and grain slope that meet specs, with enough defect-free wood to be usable.  That means all I would need to ship from Aircraft Spruce or Wick’s would be a couple sheets of plywood.  Plus, building the tail would give me some valuable experience with large/long glue-ups that I’ll need to do for the wing spars, and if I screw it up it’s relatively cheap pine instead of very expensive spruce.

So…  tail feathers it is.  Now I just need to consult the plans and see what size sheets of plywood I will need to order.

First aileron rib

Full rib top, aileron rib bottom.

Yesterday I glued up the last full rib (#26) and the first aileron rib.  I’m going to call this a milestone.  🙂  I now have 15 more aileron ribs to go, then 34 false ribs.  I suppose I should pull out the plans sheet for the spars and see exactly what I need to order for them.  I have the BOM, but it doesn’t really tell me what I need to know without looking at the plans too.

I had to look at the plans a few times.  It looked like the plan sheet was calling out just one geodetic brace to omit for the aileron ribs, but the locations to mark for eventual cutting didn’t make sense.  I finally realized that the text read, “Omit this X-brace for aileron ribs”…  as in, BOTH braces, not just the one.  Great!  That’s two less pieces to cut and glue.

It’s damn cold outside!

I’ve been wanting to get back to building ribs.  The garage bench has been piled too deep to get anything done, and now it’s been below zero for over a week solid.  Insulation or no, it’s damned cold out in the garage.  Too cold for epoxy to cure, and too cold to work.

So…  there’s a perfectly good work bench down in the basement.  8′ long and rock solid, built by Dad back in the 1960s.  It’s been pretty much completely covered up for the past several years with a collection of parts, partially-disassembled or -assembled prototype projects and assorted debris from the side business I was running, plus a CNC router that took up about 3′ of it.  I have cleared most of it off (much of it into a trash can).  The CNC machine is shelved for now; I’ll maybe resurrect it when needed at a later date.  It will probably come in handy for cutting the instrument panel and/or nose ribs.

The next issue is containers for the geodetic rib braces.  There are 24 braces used in each rib, all of which are of course slightly different.  Just enough so that none are interchangeable.  I was using paper cups to hold them in the garage, but it’s a completely unsatisfactory solution.  In the basement I think I’m going to try stapling taller plastic cups along the back edge of the bench and see how that works.

I’m not moving power tools down there from the garage, so new geodetics will be cut with a razor saw.  We’ll see how that works out…  it’s one of those jobs I wish I could set up a machine or fixture to do.  It’s 24 different lengths with over 40 different angle cuts, so I’m not sure how I’d make that work.  Even cutting them out in batches on the band saw meant fine-tuning each one with a sanding block before assembly.  It’s fiddly work and tedious as hell.  Classic gusseted ribs would be a whole lot faster and easier to build.  If I were starting this over I’d probably just depart from the plans and build them all that way; I’d probably have them all done by now.


Another rib

Just so I could feel like I’m not totally stalled, I built rib #15 this weekend.  6cc of glue turned out to be just about right, with no skimping and very little excess.  The new method of mixing and applying the epoxy with an acid brush worked out well.  I think I will go back to an earlier idea I had, of pre-wetting the groove with glue before putting the top and bottom capstrips into the jig.  It will be easy to do with the brush, and will save some assembly time.  I have a template with pencil marks defining where the glue should go; I think I’ll mark the glue lines along the bottom and top of the jigs to make it easier to apply the glue.

Trying out the steam box

The other night I finished up the steam box and made a set of little standoffs for the bottom.  I wanted to keep the wood off the bottom of the box to allow air circulation, but also allow water to run back to the low point at the rear.   I got a little lazy and didn’t put in dowels like most plans show.

Tonight I loaded it up with eight cap strips and let it run for 45 minutes while I went out and hung some outdoor lights on the deck.  When I came back I found that the door had developed a pretty good curl — concave from the outside – and was venting a lot of the steam past the door seal.  The spruce inside was fairly pliable, so I clamped three pieces in my bending form and put four more in the rib jigs.  They would only fit partway down in the jigs, since the wood is swollen.  While the wood cooled down I got all of the geodetic braces ready to install.  I’ll glue these two ribs up tomorrow night.

I did email System 3 about their epoxy.  Some of the ribs were assembled with the capstrips not pre-bent.  They’re fine, but the wood will spring out of shape if it gets hot enough for the epoxy to soften.  I don’t want that to happen. so I was thinking about clamping them in their current shape and steaming them to relieve some of the stress in the capstrip.  Of course that will soften the epoxy, and I wanted to know what that would do.  Their answer is that T-88 will begin to soften at around 120 degrees, but once returned to room temperature will be at full strength.  That’s great news.

I’m definitely not in love with the geodetic rib bracing design.  24 braces, no two alike, and I’m having to hand-fit them all.  It takes for-freaking-ever.  I have to wonder how much heavier 3/32 plywood would be with suitable lightening holes.  A guy could pop sets of them out on a CNC router in no time, save a ton of time and effort on the ribs, and probably end up with much stronger ribs too.   But, I don’t think I’m going to re-engineer the ribs right now.