Cold weather musings

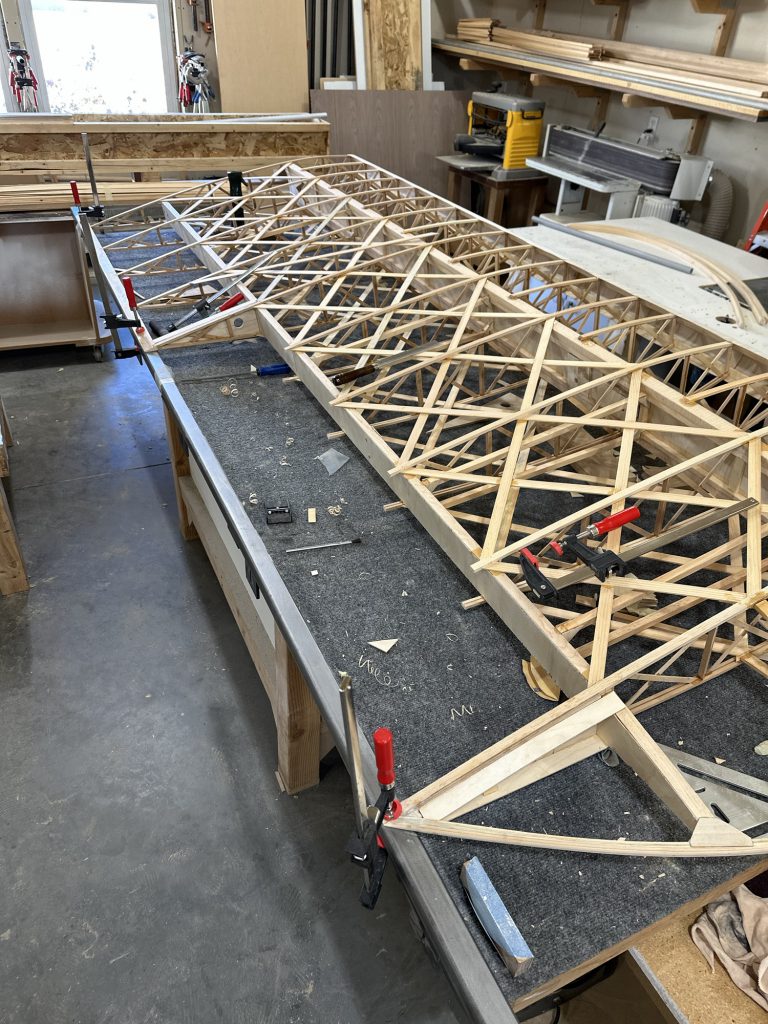
Haven’t done much on the plane for a few days now. We have been in the grips of a winter storm, followed by a cold snap. We got several inches of snow; anywhere from a couple inches in the front yard to maybe 2′ drifts closer in to the house. The temps throughout the 3-day weekend never got above -7, and the wind was blowing. This is not weather conducive to going outside for anything non-essential.

During the last build session, I tried cutting a few of the bushings needed for the wing. The results were not great. While a chop saw will go through and make a beautiful clean cut, it will also randomly launch the cut-off piece somewhere in the shop, often with a nice big chunk out of the end. Not what I was after! I did get one bushing cut successfully, and another done after much filing to get it down to its final size.

After doing some research, I believe I’ll end up building a band saw sled to cut the bushings. I can make it with a nice end stop to cut the tubing to consistent lengths, and it should make it relatively easy to get an acceptably square cut. I’m hoping the cut ends turn out clean enough to dress with a brief time with some sandpaper.

The bloody compass is still very slowly seeping fluid. I suspect the face plate is not perfectly flat. I think for now I’ll leave it, but at some point I’ll need to drain, disassemble, and maybe use a thin coating of Aviation Form-A-Gasket on the black rubber seal. At least everything works well, it looks great, and the LED light is quite effective. I have no idea why I’ve invested so much work into a mag compass, to be perfectly honest… but it’s been an entertaining project. I just like restoring old things.

I’ve had no success at all getting answers out of “CKD.aero” regarding the pricing and availability of parts and subkits for the Celebrity. I’ve been trying to get pricing for the wing tanks so I know whether to plan on using them or not. It just feels like Fisher got bought by people who have no clue what to do with it. The website has been stripped of any pricing or availability information. It took me weeks to get anyone to even respond to an email, and despite a couple of promises I have yet to get a useful response from anyone. I guess I’m on my own. It’s a shame, but I did decide to build from plans; I think I’ll be able to muddle through.

Aileron progress

Building this aileron has definitely been a learning experience. Some things that I didn’t think would make a big difference early on in the process have come back to haunt me… and of course I’ve learned how the whole thing goes together, which isn’t always 100% clear when comparing the plans to the parts received in the kit. The end result will be fine, but the next three will be a lot less hassle to build.

Lessons learned: All of the plywood bits need to align perfectly with each other and with the wing ribs. That means CW36 needs to be shortened and the hole moved, and CW35 needs the hole moved. I will also pay more attention to getting the aileron spars perfectly flush with the rib caps — otherwise there’s planing and sanding to be done. Ditto for the stringer on the leading edge; I’ll want to make sure the notches I cut for that are exactly the correct depth.

As my CW35 pieces were about 3/16″ high on each end, I glued a couple strips of the 1/8 lamination stock along the bottom edge to fill the gap. Once that was dry I planed and sanded to match the profile of the ribs. I had to sand the top down to match the ribs and CW34 contour, and finish getting the bottom of the spar flush with the ribs. There wasn’t much hanging down, but it was still fussy work. With that done I was able to glue the bottom layer of plywood to the aileron. Once that’s dry I can go to work on the rest of the plywood — of course the angle cut in the spruce piece at the bottom of the aileron doesn’t match the angle of the CW34/35 plywood pieces, so I’ll just have to sand a good profile for a smooth transition. Then I’ll be able to figure out the rest of the aileron bay.

Compass overhaul

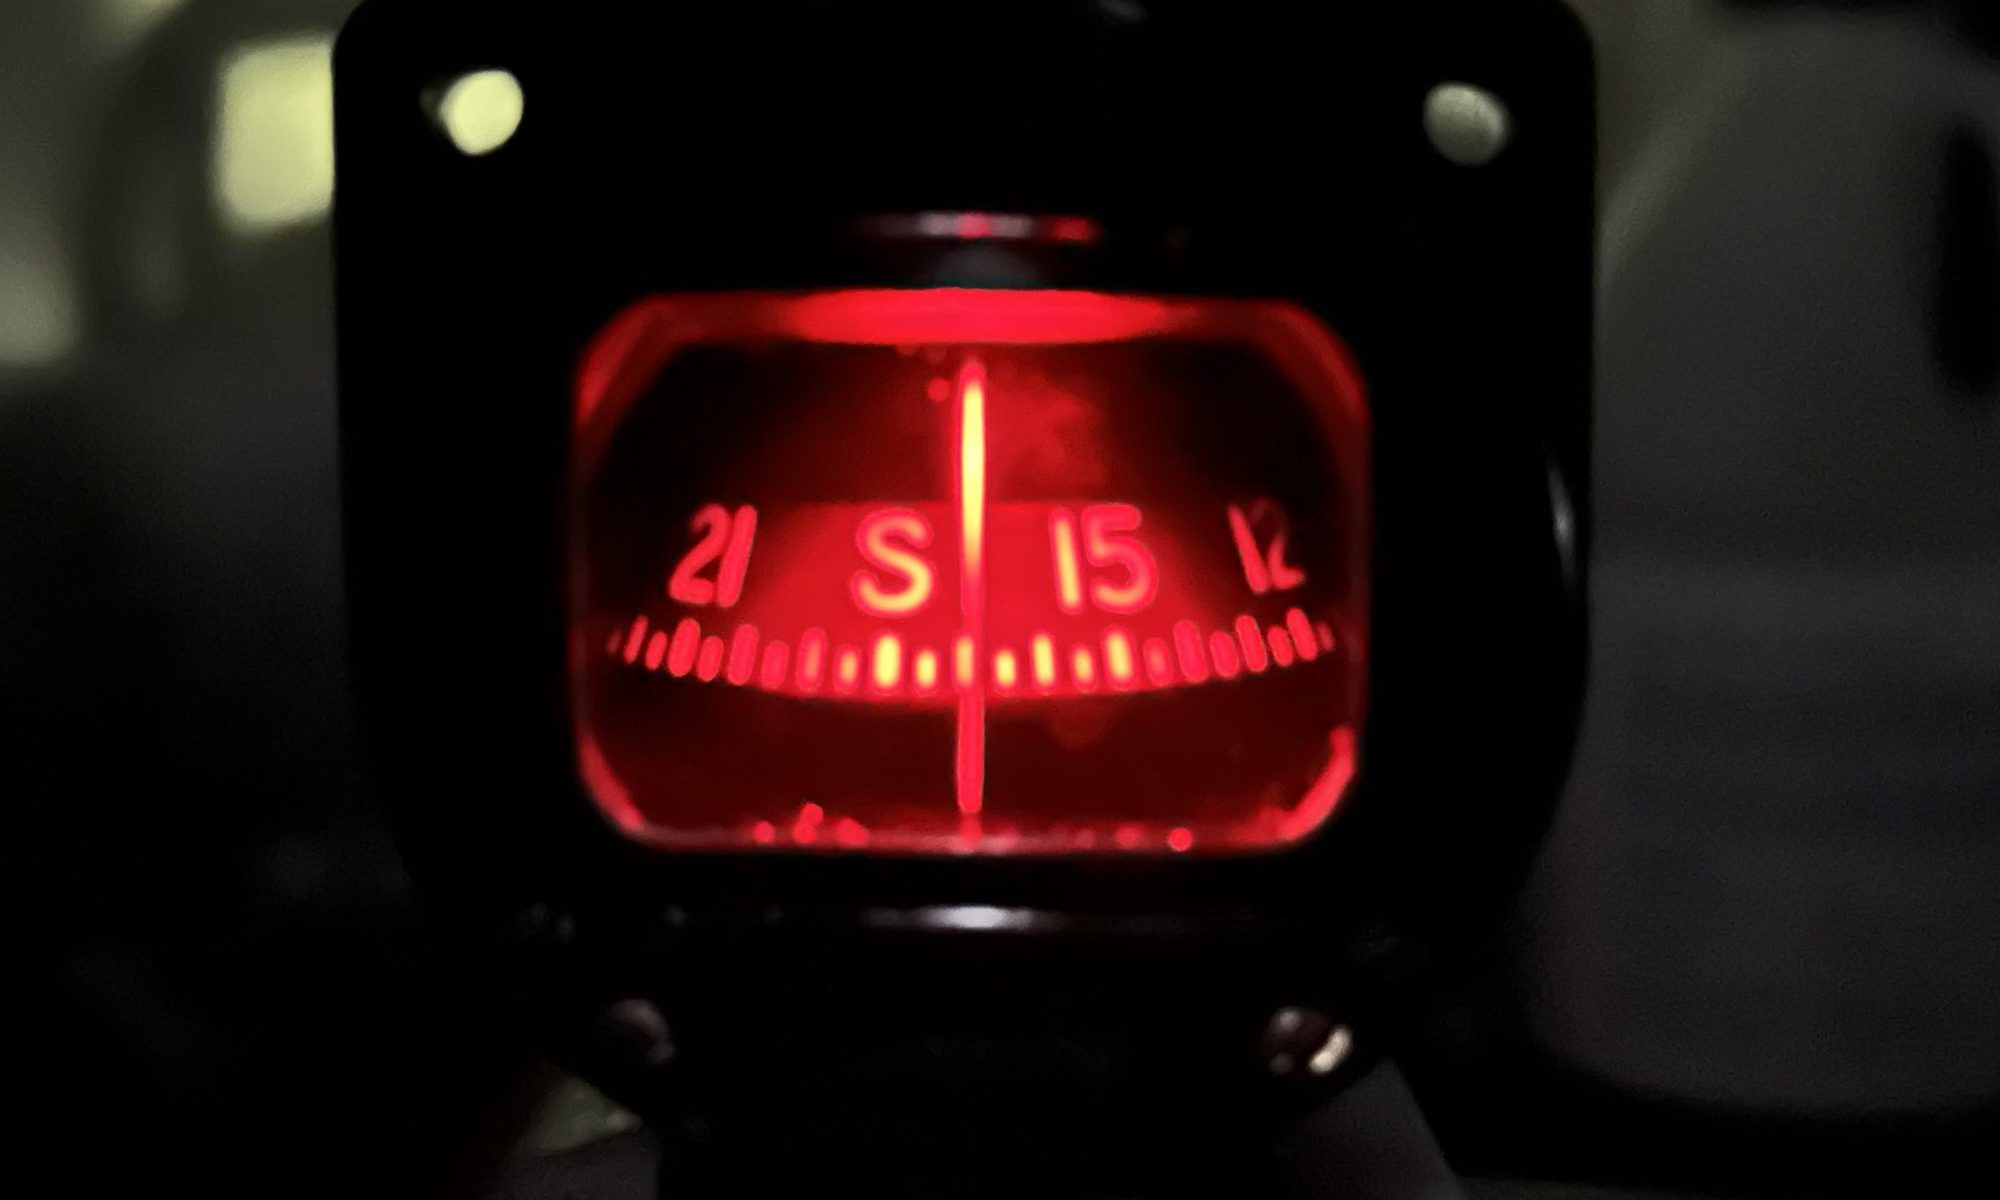
I think I’ve finished the compass overhaul. The rebuild kit arrived from ACS yesterday. After carefully cleaning the glass with denatured alcohol, I installed the new gasket and the glass. With everything reassembled, I filled it with compass fluid. I had about half a pint from a rebuild kit I had bought several years ago, when I came across an old Airpath compass that ultimately turned out to be an oddball military model for which there are no replacement parts or gaskets. It was leaky around the glass, and I eventually figured out that the cork gasket was slightly oversized. From what I can tell, it’s supposed to apply pressure around the edges of the glass to seal it against the inner black rubber gasket. It was getting squeezed between the case and face plate. After trimming about a millimeter or so from the outside, I finally got it to seal up.

Normally you would submerge the compass in a container of fluid to work out all the bubbles. In fact, the Airpath manual specifies submerging it and pulling a vacuum for a few hours to ensure there is no trapped or dissolved air. I didn’t go to those lengths. I was able to work all the bubbles out and get the fill (or drain) plug in, and so far there’s no sign of leakage.

The new LED lamp works great. In a dark room there’s a nice red light that makes the compass quite readable. I’m happy with it.

I’ll let it sit on the bench for a few more days to ensure there’s no leak and no bubbles develop. If I do see any air, I’ll submerge it in a container and do it their way. I figure it won’t be getting mounted in a panel for at least a year or two, maybe longer, so I’ll have plenty of time to validate the quality of the rebuild. For a total investment of less than $71 I’ve got a completely rebuilt, well lighted Airpath compass. That total includes an extra nine little LED lamps that I’ll use elsewhere; if you don’t count those it’s under $65 total. Not bad considering I see dried-out junkers going for more than that on Fleabay.

Opening 2024 with an aileron

Today I hit a pretty cool milestone – I cut the first aileron free from the first wing! Pretty jazzed about that. I trimmed up the rib cap ends as much as I needed to, and glued on the lower aileron spar and the upper stringer. Lessons learned here:

  • The CW36 pieces (aileron bay end plates that hold the torque tube bearings) did indeed have the holes drilled about 1/8 or 3/16 forward of where they needed to be. Not a big deal, since those will get UHMW bearings attached to them. I did a little cutting and some sanding with a 3/4″ spindle sander drum (hand held) to get them where they needed to be.
  • The CW35 pieces (aileron end plates) have the holes drilled about 3/16″ below where they needed to be. I didn’t realize at the time exactly how the whole assembly goes together, but now I do. What this means is that CW35 on each end is too high to match the profile of the ribs. The top will need to be very carefully marked and cut or sanded to match the rib caps, and the bottom will need to be filled with some spruce or pine scrap. Lesson learned; for the other three wings I’ll re-cut those holes to match the holes in the CW34 pieces. I’ll do that by gluing up the CW34/CW35 stack with the profiles aligned; once dry I’ll use the spindle sander with a 3/4″ spindle to make the hole in CW35 match those in CW34.

The next issue to deal with will be the thickness of the CW37 pieces. The plans clearly show it as 1/4″ thick, but the supplied stock is 1/2″ thick. It’s used on the top and bottom of the aileron bay. Once I have the aileron completed – CW35 bits corrected and plywood attached – I’ll need to install the aileron with the torque tube in place and figure out exactly how to finish out the aileron bay.