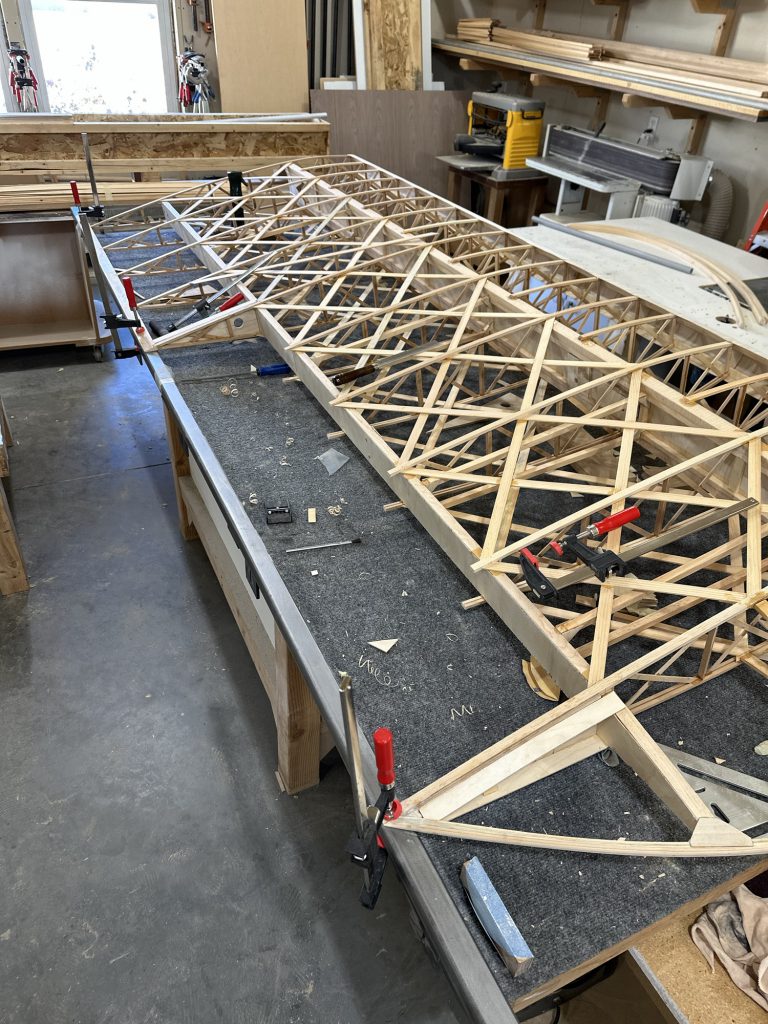
Today I hit a pretty cool milestone – I cut the first aileron free from the first wing! Pretty jazzed about that. I trimmed up the rib cap ends as much as I needed to, and glued on the lower aileron spar and the upper stringer. Lessons learned here:
- The CW36 pieces (aileron bay end plates that hold the torque tube bearings) did indeed have the holes drilled about 1/8 or 3/16 forward of where they needed to be. Not a big deal, since those will get UHMW bearings attached to them. I did a little cutting and some sanding with a 3/4″ spindle sander drum (hand held) to get them where they needed to be.
- The CW35 pieces (aileron end plates) have the holes drilled about 3/16″ below where they needed to be. I didn’t realize at the time exactly how the whole assembly goes together, but now I do. What this means is that CW35 on each end is too high to match the profile of the ribs. The top will need to be very carefully marked and cut or sanded to match the rib caps, and the bottom will need to be filled with some spruce or pine scrap. Lesson learned; for the other three wings I’ll re-cut those holes to match the holes in the CW34 pieces. I’ll do that by gluing up the CW34/CW35 stack with the profiles aligned; once dry I’ll use the spindle sander with a 3/4″ spindle to make the hole in CW35 match those in CW34.
The next issue to deal with will be the thickness of the CW37 pieces. The plans clearly show it as 1/4″ thick, but the supplied stock is 1/2″ thick. It’s used on the top and bottom of the aileron bay. Once I have the aileron completed – CW35 bits corrected and plywood attached – I’ll need to install the aileron with the torque tube in place and figure out exactly how to finish out the aileron bay.

